Table of Contents
The Stratum Mega Menu WordPress plugin will help you create a content-rich mega menu in Elementor. This plugin allows you to set the needed menu style and add any Elementor widget into the menu.
Installation & setup
To use the Mega Menu addon, any version of Elementor must be installed and activated.
- Download a .zip archive with the Stratum Mega Menu plugin files.
- Install the plugin from your WordPress Dashboard via Plugins → Add New → Upload Plugin → Browse → Install Now.
- Activate the plugin.
- Navigate to WP Dashboard > Appearance > Mega Menu to find a short guide on how to start creating a mega menu.
Watch Stratum Elementor Mega Menu video guides
Create or select a menu
Go to Dashboard > Appearance > Menus
- If you use the addon with the already existing site menu, simply select the menu you want to edit.
- If you are starting from scratch, at first create a menu you want to further edit with the Stratum addon.
There are a few changes that the Mega Menu addon brings to the default WordPress menu editing experiences right away. You can now see the extended menu settings that allow you to customize the top-level or sub-level menus in the following way:
- Add badges
- Add icons
- Change colors
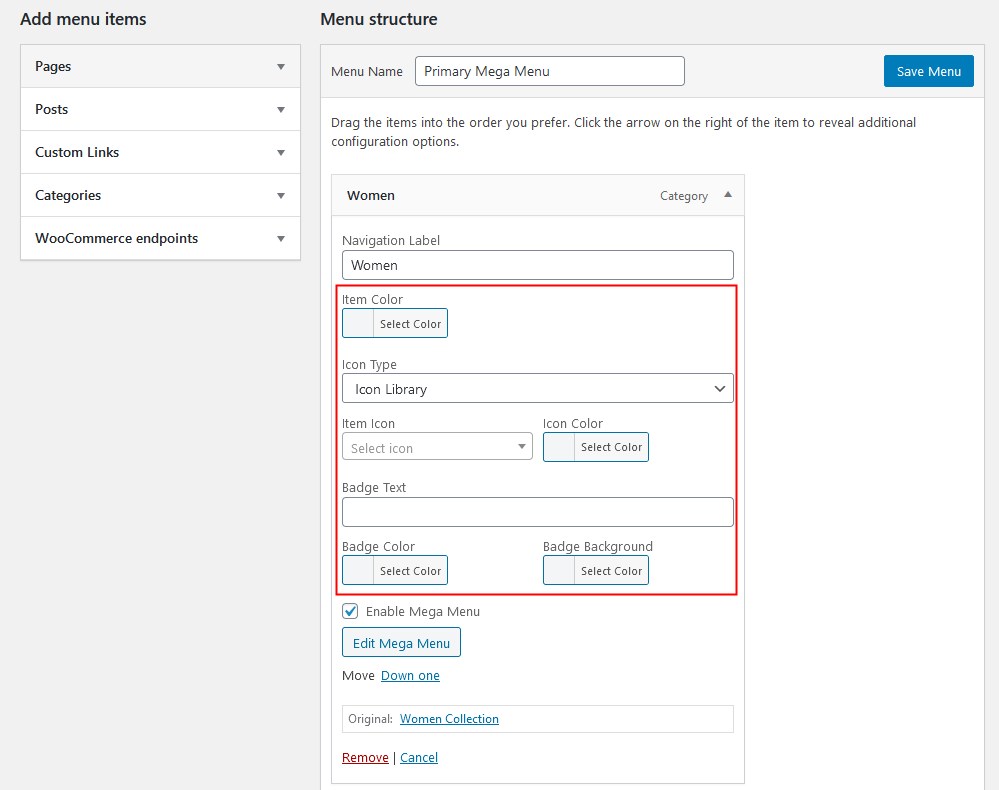
For example, let’s add a completely new menu and a few menu items to it. You can slightly customize top or sub levels using these tools. In the example below, we changed the color of one menu item and added an icon to it.

You’ll be able to further customize each item in Elementor so don’t worry if you don’t have enough styling tools here.
Create a mega menu
Go to Dashboard > Appearance > Menus
A mega menu is an advanced site navigation menu you can add to the menu items of your choice.
To build a custom mega menu in Elementor, again go to Menus and choose a menu item you wish to be opened as a mega menu when hovered. For this:
- Scroll down to the Enable Mega Menu section > tick the box.
- Click the Edit Mega Menu button.
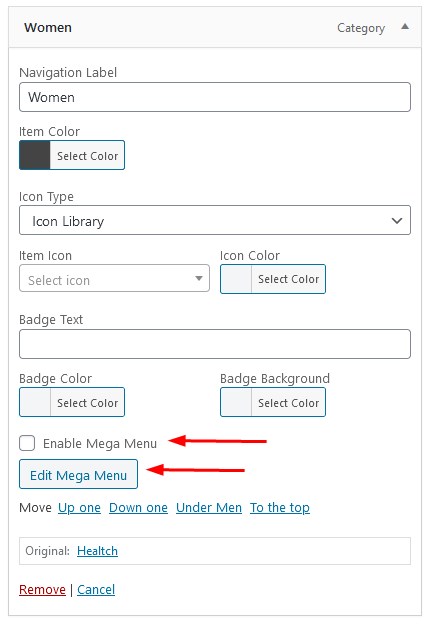 It should prompt the Elementor builder’s interface.

3. Start with adding columns if you want your mega menu to have a few individual sections.
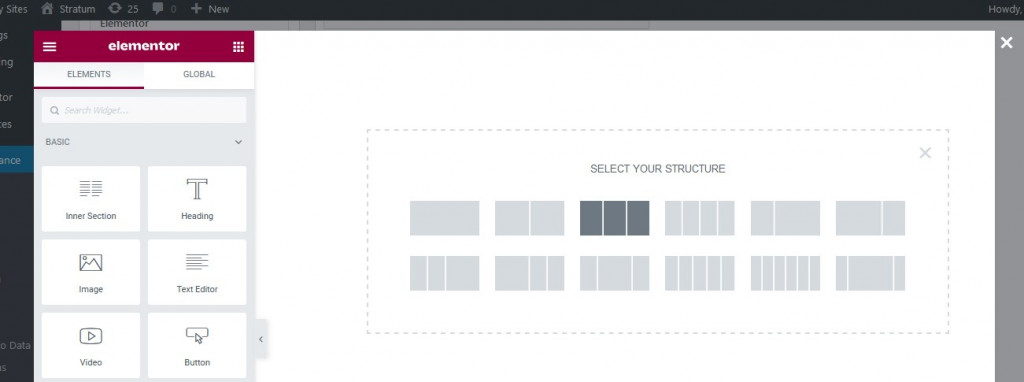
4. Add any widgets available in your Elementor’s widgets panel to the columns.
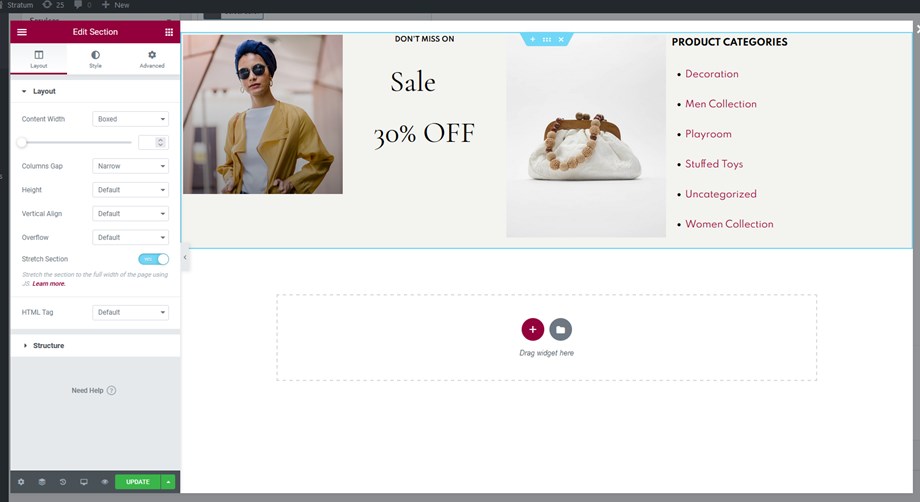
5. Style the columns and content inside them the way you want using individual widget’s settings.
You are free to add as many widgets as you wish. For example, we’re creating a shop menu so we can add a countdown Elementor widget to the Shop sale section in the menu:
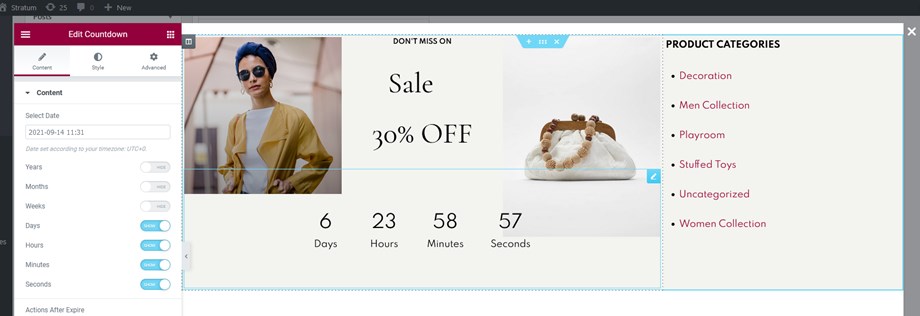
When you are done with adding widgets, update the changes and close the editor.
Get back to the Menus and save the changes.
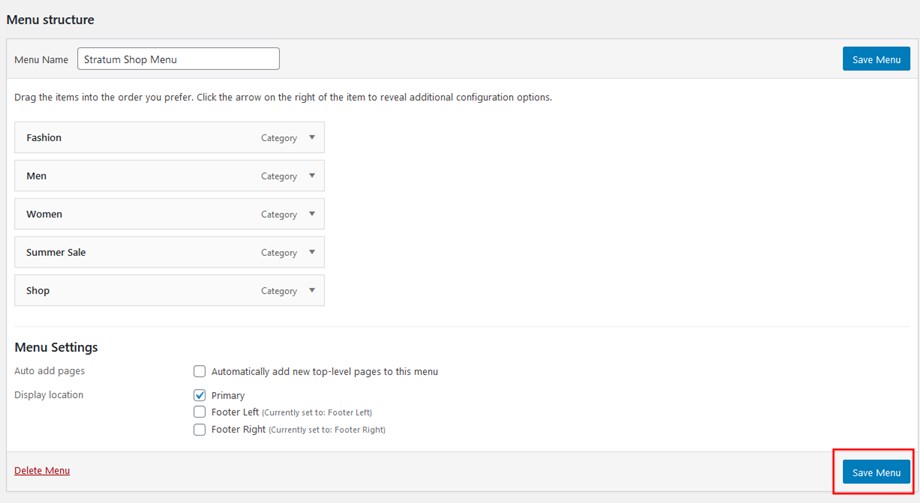
You can enable a mega menu and create it in the same way for all menu items.
Add your mega menu to the site page
Now it’s time to make your mega menus available in the site navigation menu. There are a few options how you can do it.
- Use a blank Elementor Canvas page
Using such a template, you can use your custom mega menu instead of the default WordPress theme menu.
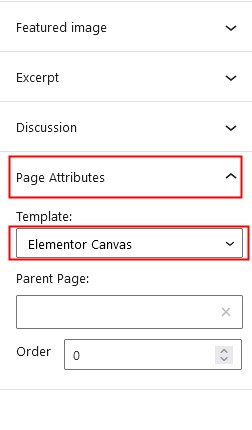
Go to the page template settings and select the needed template:
Open the page in Elementor > add the Mega Menu widget:
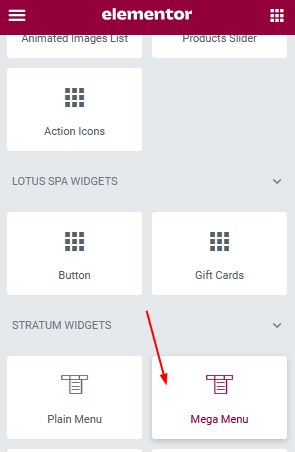
Select the menu you created via the Menus screen:

Apply the preferable widget settings via the Style tab.
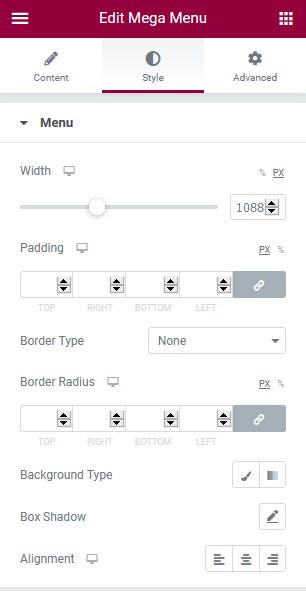
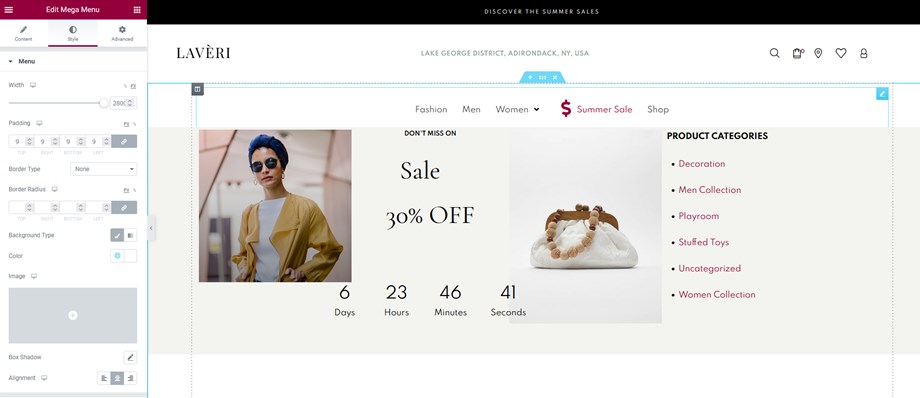 You can style different parts of the menu, top and sub levels; icons, arrows, etc.
The limitation of this approach is that you’ll need to do one extra thing – insert this menu manually into each page of your site where you want it to appear.
If you want to add it globally, meaning once and for the entire website, try the following approach.
2. Use the Elementor Header and Footer plugin
First, install and activate the Elementor Header and footer builder plugin.
Then go to Appearance > Elementor Header and Footer builder plugin > Add new > Edit with Elementor > add the menu via the Elementor’s interface.

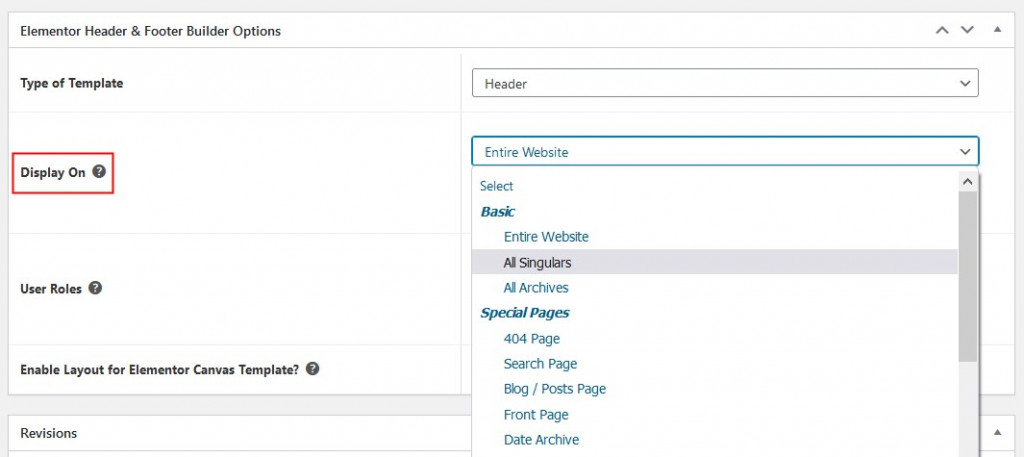
Then go through the plugin options and apply your changes:
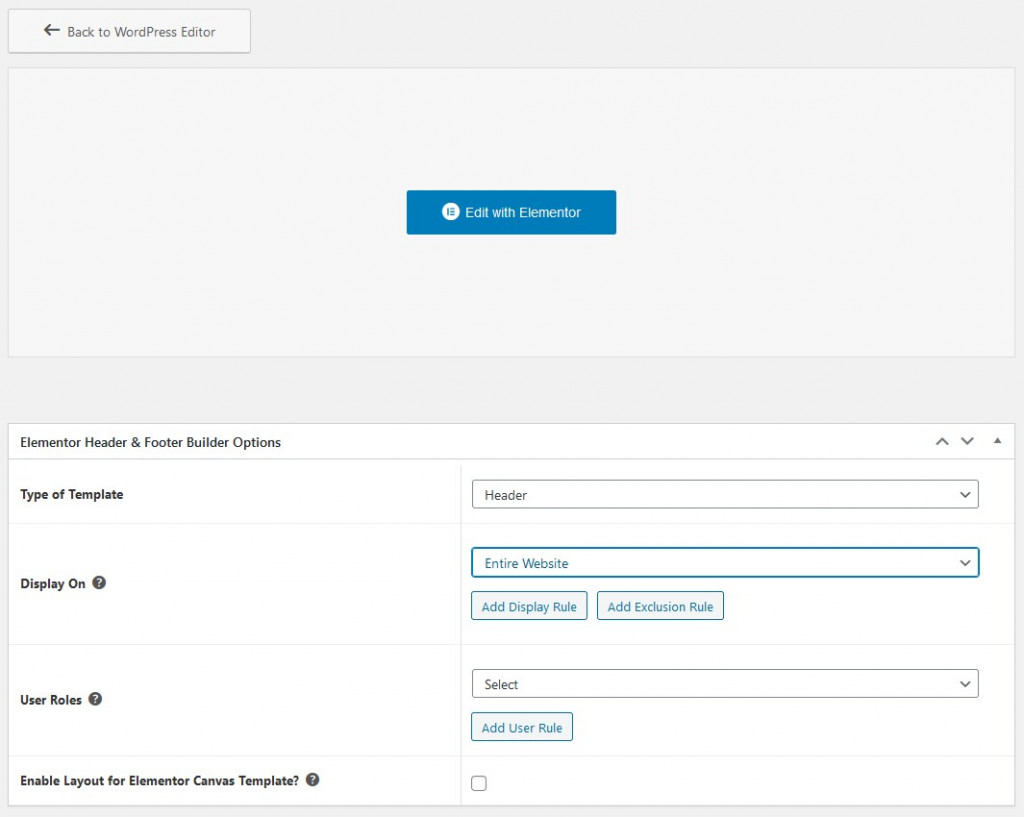
Save the changes. Your custom-created mega menu is now displayed globally site-wide.

If you want to apply a different menu to specific pages, just change the display rules settings via the Elementor Header and Footer plugin:
