Table of Contents
MotoPress Restaurant Menu plugin allows creating stunning and well structured online menus for any restaurant, café, bar, or other eating establishment based upon any menu style. Follow the instructions below for more information on setting up and customizing the plugin.
Create a menu item
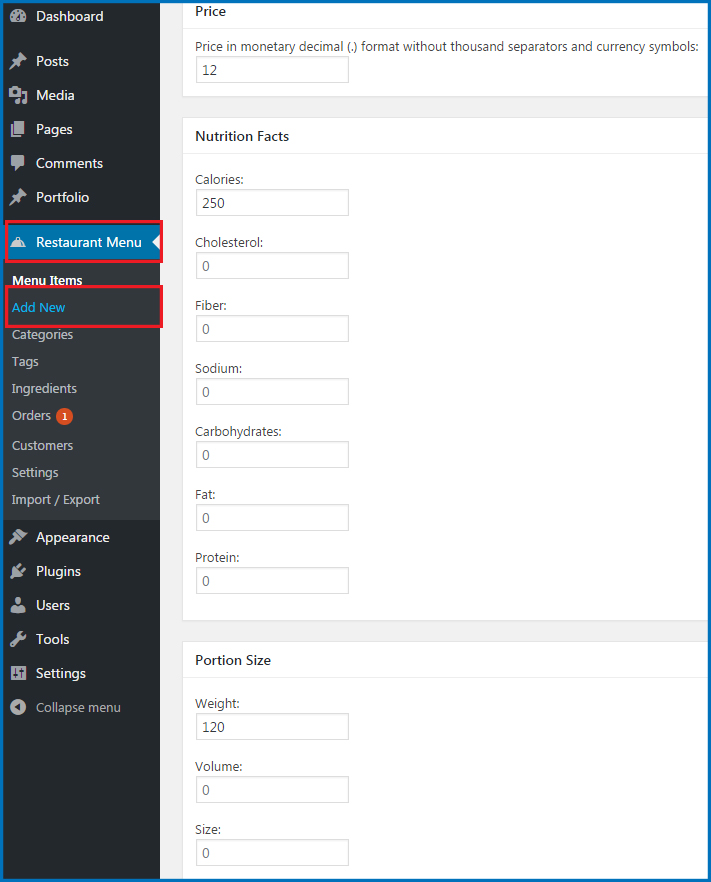
The menu item is one item from your menu, which works just like a regular post. To generate your menu item, please go to your WordPress admin dashboard and find Restaurant menu > click Add New. Then perform these steps:
- Give it a name by filling out the upper Title field.
- Put the suitable description of the menu item.
- Write an excerpt if needed.
- In the Discussion field tick ‘Allow comments’ if you want people to leave comments under this menu item. If you want to allow trackbacks and pingbacks, tick the appropriate field as well.
- Put the needed price into the Price field (without currency symbol).
- If you are going to provide the site users with a list of the Nutrition info, fill out the Nutrition Facts fields. Each field is optional, so you may add, for example, ‘Calories’ info and leave the others empty. The list of the chosen Nutrition Facts will be displayed in the sidebar on the menu item’s page.
- Add additional information about weight, volume or size of the menu item in the Portion Size section. All the fields are optional.
- Define SKU for the menu item (the identification code of the product) if needed.
- If the menu item belongs to any of the Categories, tick the appropriate one from the righthand bar to tie the menu item to it or click Add New Menu category to create a new Category and automatically add the menu item into it.
- If you’d like to use Tags for the menu item, you simply tick the needed tags or add new ones from the righthand menu bar.
- Choose from the already added to the system or add new Ingredients using the righthand menu bar.
- Specify the order number of the menu item’s appearance by setting the appropriate Order in the Attributes section.
- Set the Featured image of the menu item in the Featured Image section.
- To present the menu item with more images, go to Image Gallery section from the right and click Add images. You may add as many images as you wish.
- Click Save Draft to continue with your updates later or click Publish to display the menu item on the live site. All of the created menu items will be stored under Restaurant Menu > Menu Items.
Create a menu category
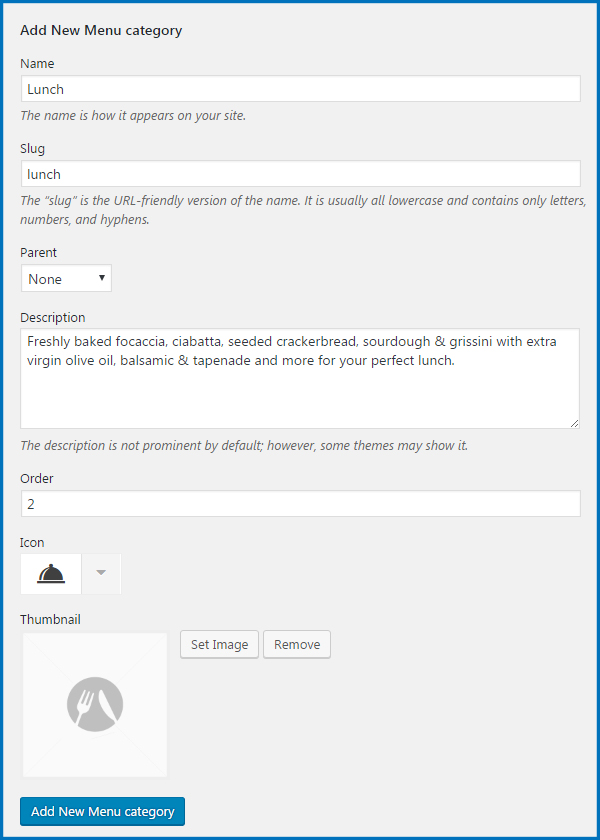
The menu items can be presented under separate Categories (e.g. breakfast, lunch,dinner; snacks, desserts, salads, sandwiches, soups, drinks, etc.). To add a new Category, please go Restaurant Menu > Categories.
- Give a name to the new menu category.
- Put the ‘slug’ if needed or leave it intact and the URL for the Category will be generated automatically according to the Category name.
- To make the category a sub one, define its Parent category by choosing from the Parent dropdown list. Please note, there should be at least 1 category added earlier.
- Fill out the Description field which will go along with the Category title.
- Set the suitable icon for the Category by choosing from a range from the dropdown list in the Icon section. Simplify your search by filtering the icons’ categories. The chosen icon will be displayed next to the Category title.
- Click the Set image button to set the custom thumbnail for your Category by choosing the image from the Media Library or Uploading from the computer.
- When you finished setting up the Category, click the Add New Menu Category button on the bottom.
You can also supply each menu item with a list of tags and ingredients. Check how you can do it:
Add a menu tag
Add the menu item tags to provide your customers with additional, up-to-date or any other kind of relevant information about individual menu items.
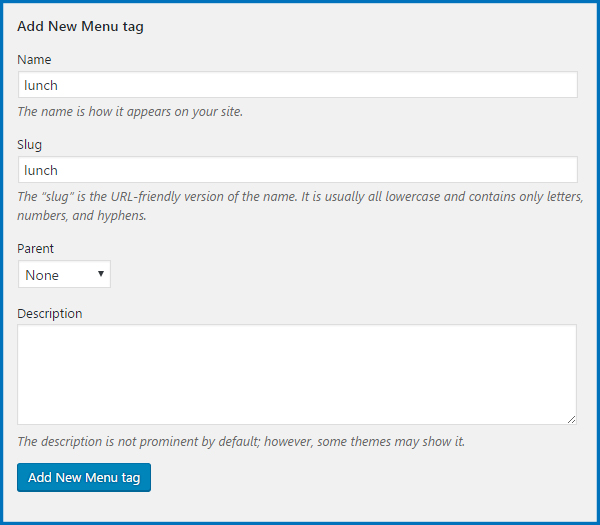
- To add a new tag, please go the Restaurant Menu > Tags.
- Put the tag Name Define the slug to customize the URL of the item.
- Choose the Parent tag from the dropdown list if you want to make this Tag a sub one. Please note, there should be at least 1 tag added earlier.
- Put the Description of the tag if needed.
- Press Add New Menu Tag button on the bottom.
Add ingredients
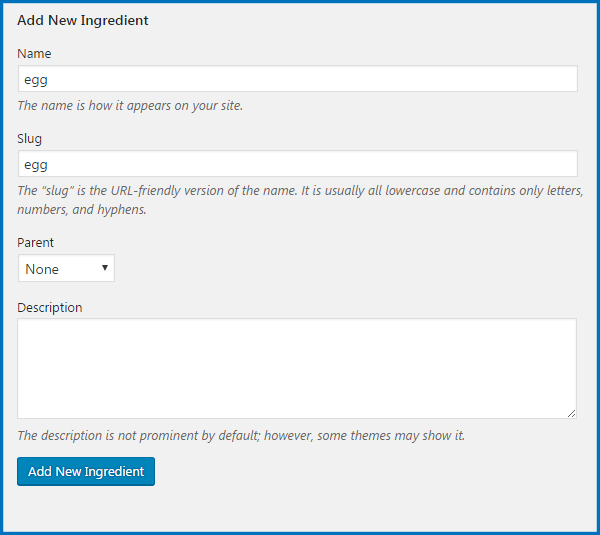
Add the entire set of ingredients you would choose from to display along with the individual menu item. The list of selected Ingredients will be displayed in the sidebar on the menu item’s page. To add a new Ingredient, please go to Restaurant Menu > Ingredients
- Put the Ingredient Name
- Define the slug to customize the URL of the item.
- Choose the Parent Ingredient from the dropdown list if you want to make this Ingredient a sub one. Please note, there should be at least 1 Ingredient added earlier.
- Put the Description of the Ingredient if needed.
- Press Add New Ingredient button on the bottom.
Wie kann ich das Wort Price in Deutsch Preis ändern, es kommt immer wieder Price.
Hi, You can change wording by editing plugin translation.
Is there a way to get the ingredient list to stay in the order I list them in vs. alphabetically? Like If I want to have Chicken as the first ingredient on a salad that also has apples, it puts apples as the first ingredient. Thanks!
Hi, You may try using a plugin like Intuitive Custom Post Order to set a custom order for Ingredients.