Table of Contents
This add-on allows you to edit the form that appears on the checkout page by adding new fields or editing current ones.
Installation and setup
- Download a .zip archive with the Hotel Booking Checkout Fields add-on files.
- Install the plugin from your WordPress Dashboard via Plugins → Add New → Upload Plugin → Browse → Install Now.
- Activate the plugin.
- Go to Accommodation → Settings → Extensions tab → Checkout Fields → copy and paste your license key and save the changes.
General settings
Once you’ve installed and activated the plugin, go to Bookings → Checkout fields.
If you want to add new fields, click Add New. If you want to edit the existing fields, just select the field and click “Edit”.
Edit existing checkout fields
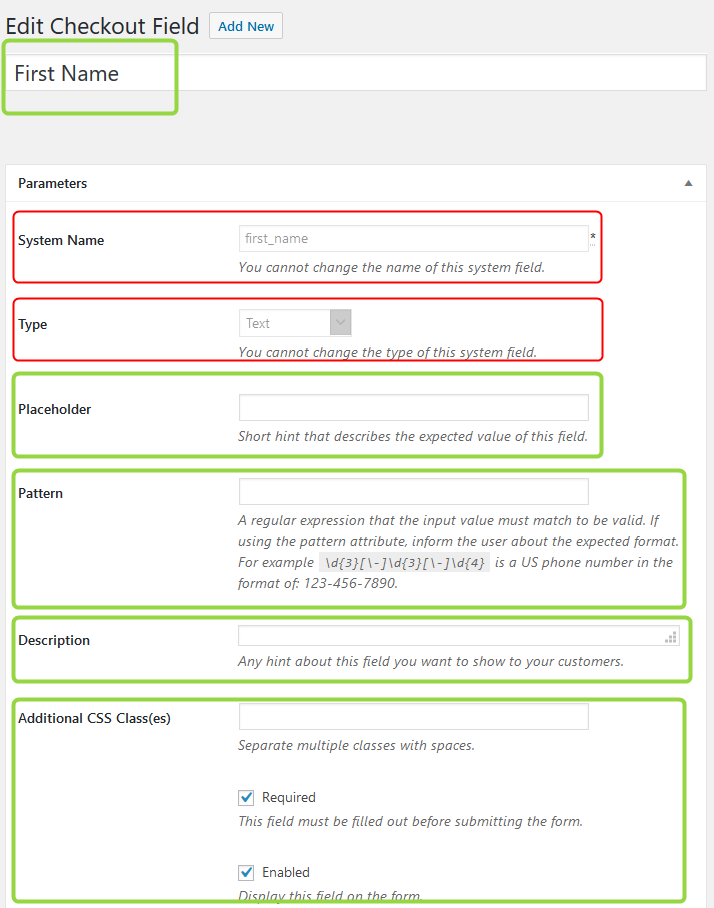
Having installed the plugin, you’ll see the list of so far 10 default fields you can edit:
You can modify all parameters of the default fields, except for the System name and Field type:
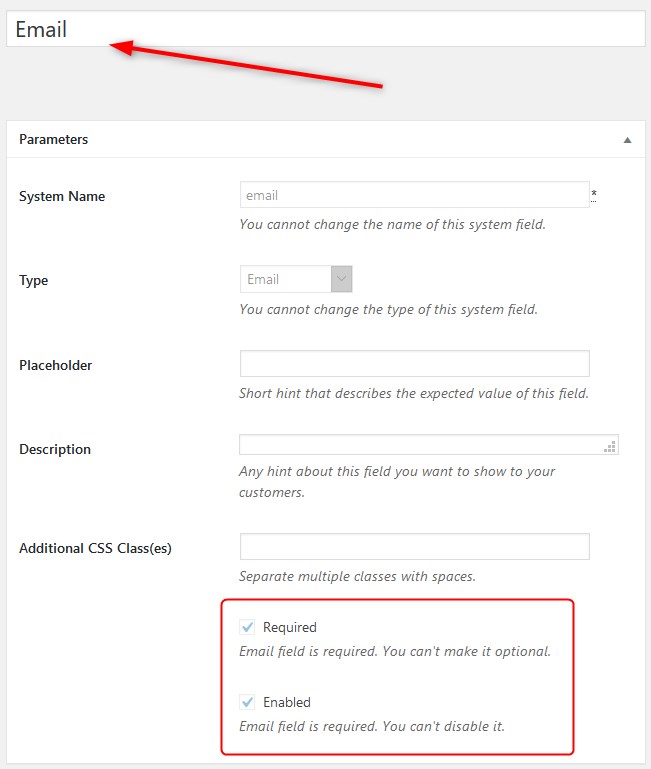
Also, you cannot disable/set non-required the following default field: email since it’s crucial for placing a booking.
Add new checkout fields
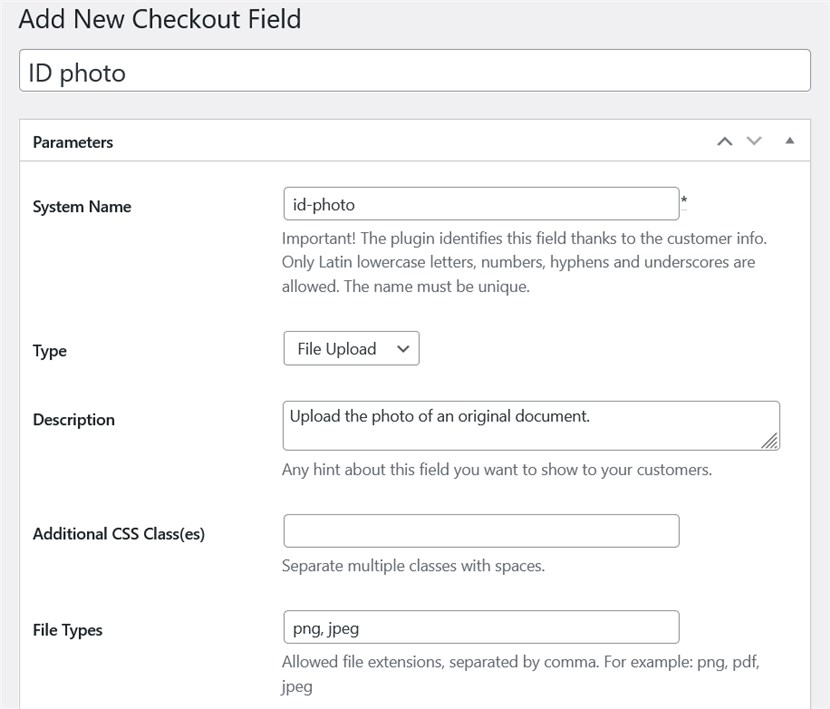
When adding a new field, you can set the following parameters:
Label
Field label – the field name users will see on the frontend.
Name
System name – a unique system name for this field.
Common parameters for most field types:
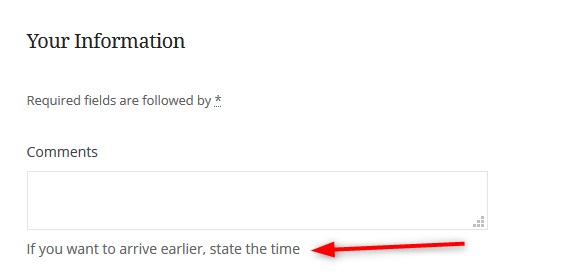
Description
Description is a hint or guide displayed under the field:
Additional CSS. You can add one or multiple CSS classes to customize the field.
Required
Required/Non-required. Required fields are compulsory for submitting.
Enabled
Enabled/Disable. Enabled fields are displayed in the form; disabled are hidden.
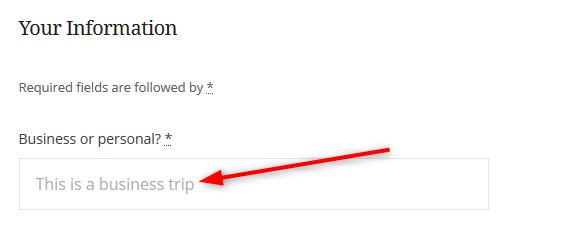
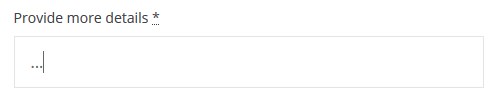
Some fields have placeholders that allow you to provide guidance about what you expect to see in this field:
Field type
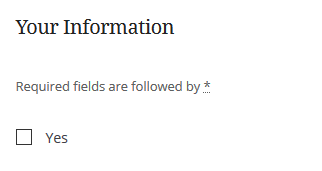
- Checkbox. You can add a checkbox text that will be visible on the frontend. For this field, you can also display it checked by default (not recommended)
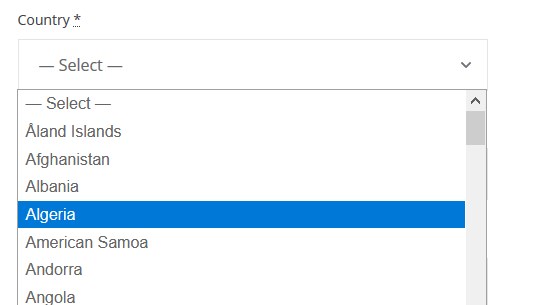
- Country will automatically output the list of countries.
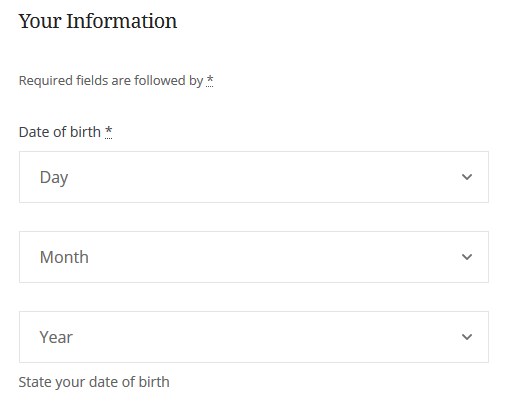
- Date of birth will output a three-field selector for the date, month and year.
- Email can be used to ask for extra contact emails.
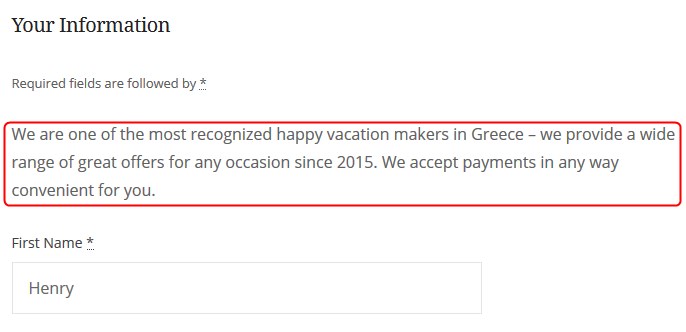
- Heading can be used for better visual separation of different groups of fields.
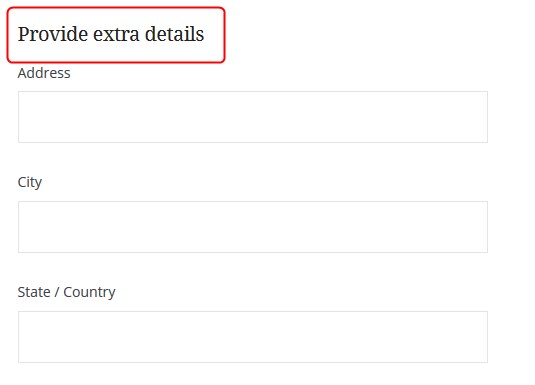
- Paragraph can be used for longer texts, guidances and warnings.
- Phone comes with such extra fields as a placeholder and pattern. Use patterns to provide the regular expected format.
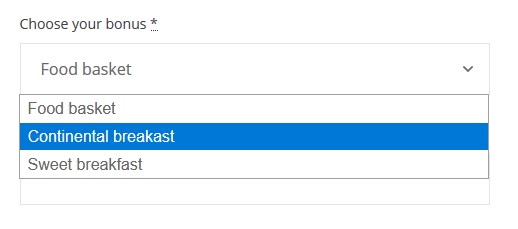
- Select can be used for adding several fields that can be checked:
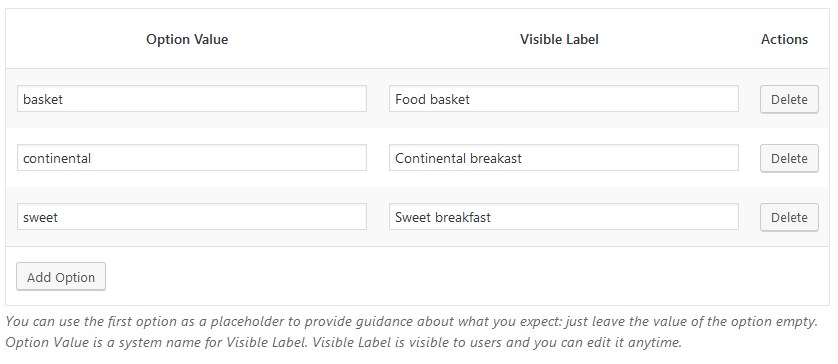
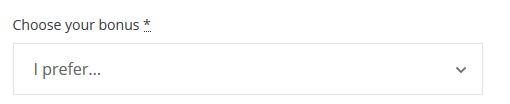
On the frontend, the first option will be displayed by default:
If you want to provide some guidance, leave the first “option label” empty and use the “visible label” as a placeholder:
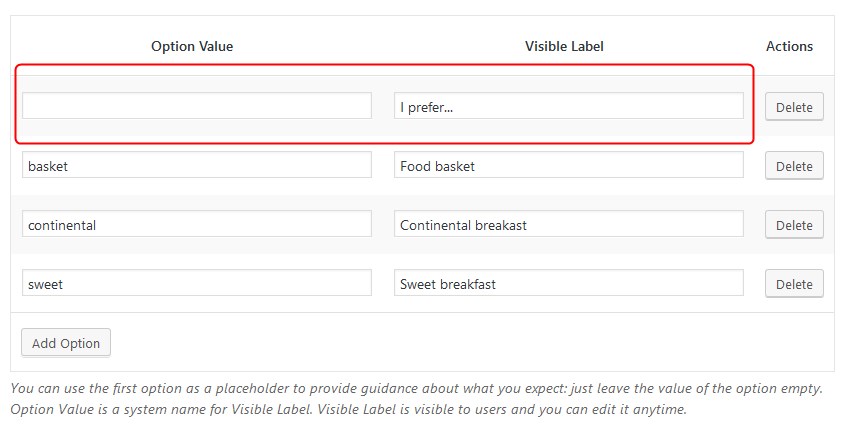
The first label will be your instruction, not a selectable option:
- Text is a more multifunctional field and can be used with a placeholder and pattern.
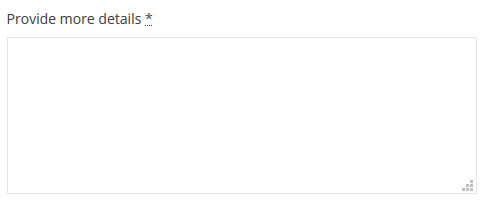
- Textarea can be used for collecting any information in a text format but it doesn’t offer the ability to add pattern and is by default displayed as a multi-line field.
- The File Upload filed can be used for collecting media files, such as ID photo. It has a lot of options you can configure, for example, specify allowed file extension types, the file size, etc. Note: one field can be used for uploading just one file. If you need more, add a separate field for each file.
In the admin dashbaord, you can view the file by clicking on the View File button in the Customer information section (open the needed booking to see it). You can also upload a photo when adding a booking from the admin dashboard (in the version 1.0.5 of the addon, you can do that only when you create a booking for the first time, not edit it). If you delete a booking, image uploads are also deleted.
You can reorder the fields by dragging and dropping them.
Use fields as email tags
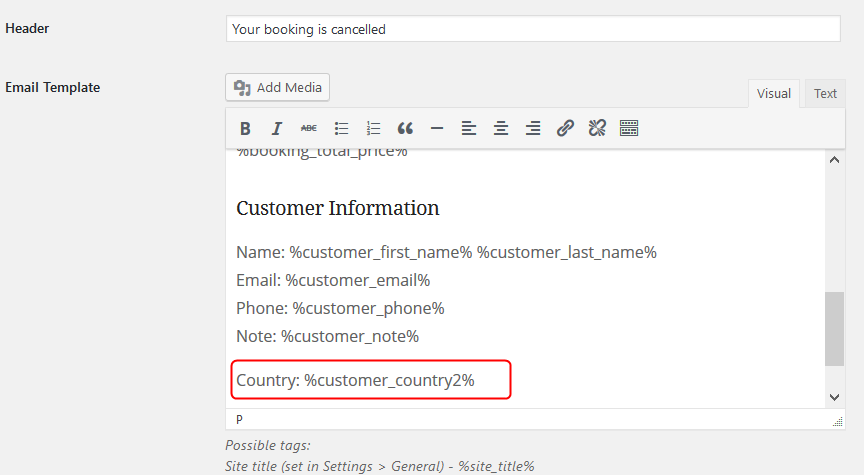
You can use the information collected through your custom checkout fields in any email template.
You need to copy and paste the needed email tag into the needed email template and the tag will get replaced with the information submitted through the form.
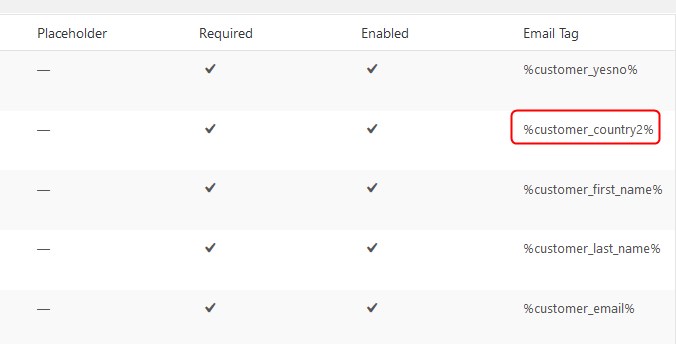
Find the tags right in the table under the “Checkout fields” menu or in the list of tags under the email templates via Accommodation → Settings → Customer/Admin Emails.
Export data via Reports
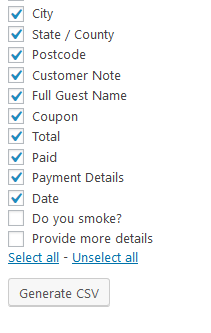
All custom fields are by default added as optional values for your CSV reports in Reports.
If you need to export information collected through custom fields, go to Reports → click on the Select Columns to export → select/unselect the needed columns → Generate CSV.