Table of Contents
Installation and Setup
- Download a .zip archive with the Hotel Booking & Mailchimp Integration add-on files.
- Install the plugin from your WordPress Dashboard via Plugins → Add New → Upload Plugin → Browse → Install Now.
- Activate the plugin (Note: this add-on requires Hotel Booking plugin 3.7.0 or greater).
- Go to Accommodation → Settings → Extensions tab → Mailchimp → scroll down to License to input your license key and save changes.
Obtain Your Mailchimp API Key
Since Mailchimp is a third-party integration, you need to obtain the API integration key associated with your account to connect it with the Hotel Booking plugin.
Here is a quick guide on how to do it (if you already have an active Mailchimp account, start with the step #4.)
- Register a free Mailchimp account (you can have up to 2,000 subscribers within one audience/list for free).
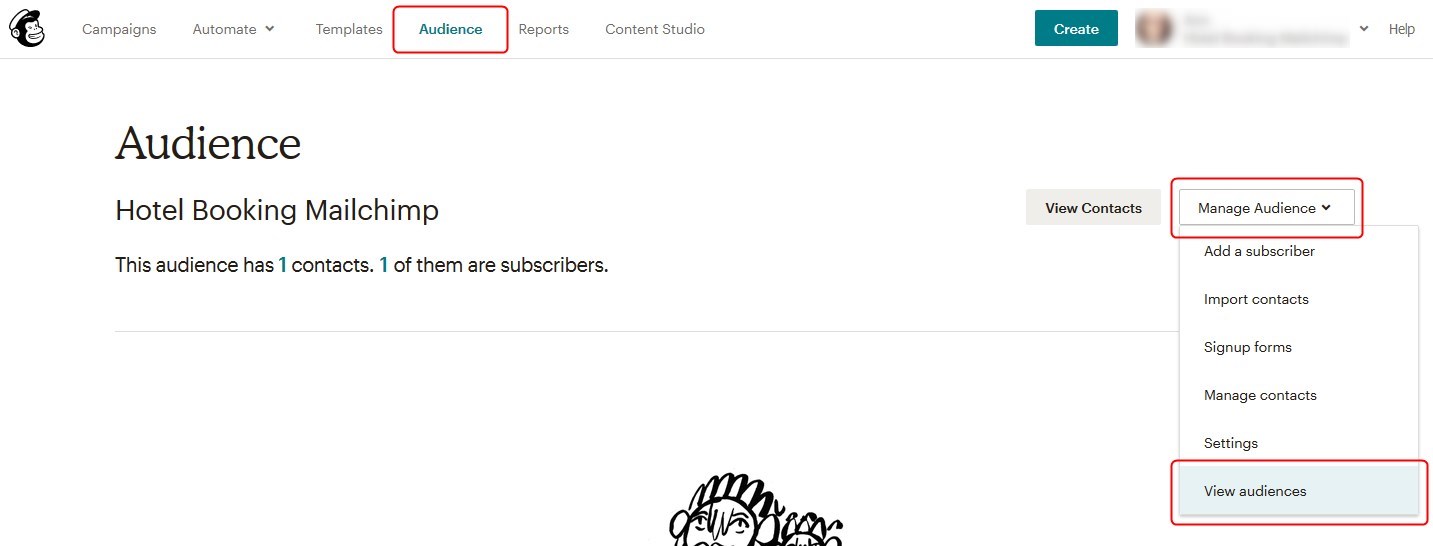
- Create an audience/list you want to add your guests to via Audience → Manage Audience → View Audience.

- Optionally segment the audience by groups and interests (via Manage Contacts).
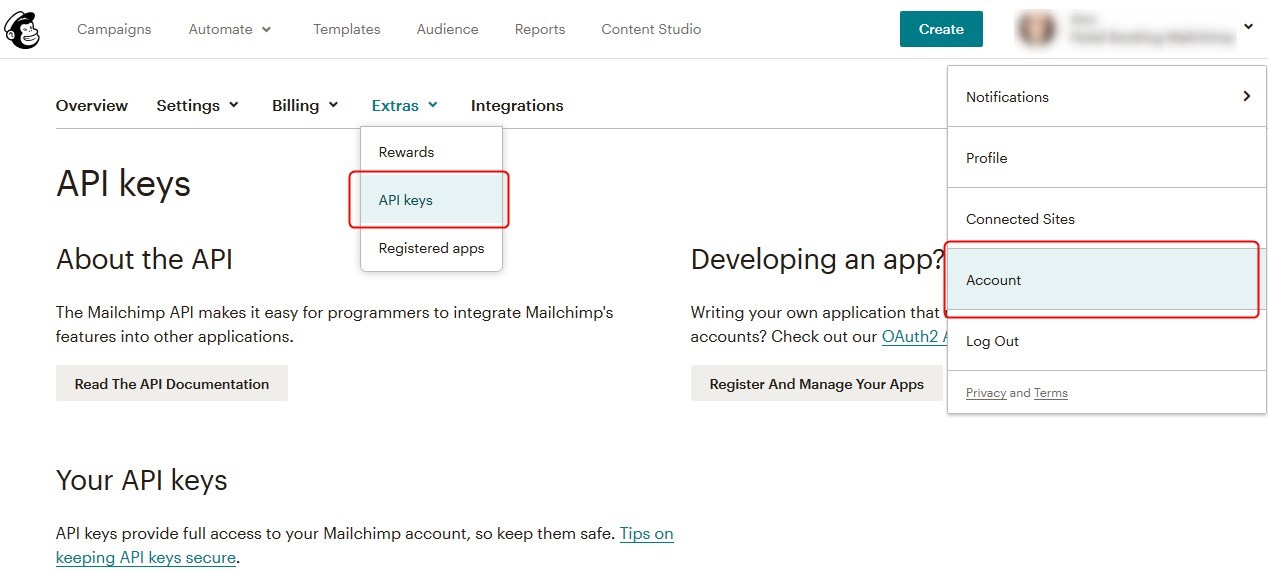
- Generate your Mailchimp API key in the account Account → Extras → API keys → Create a key.
Synchronize Mailchimp with Hotel Booking
Go to the Hotel Booking & Mailchimp Integration add-on and check “Subscribe users to Mailchimp after booking confirmation” if you want to add email addresses associated with confirmed bookings to your Mailchimp lists.
When this box is unchecked, new users are not added to Mailchimp so you can uncheck it to temporarily stop subscriptions. Then follow the next steps:
- Copy and paste the API key via the Hotel Booking & Mailchimp Integration add-on’s interface into the respective field.
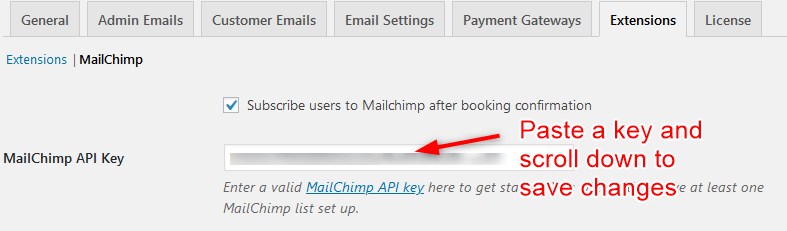
- Scroll down to save the changes.
- Hit the “Refresh” button and wait for the Mailchimp lists to be synced with the add-on. Select the needed audience and groups by interests (the lists must be added in advance via Mailchimp).
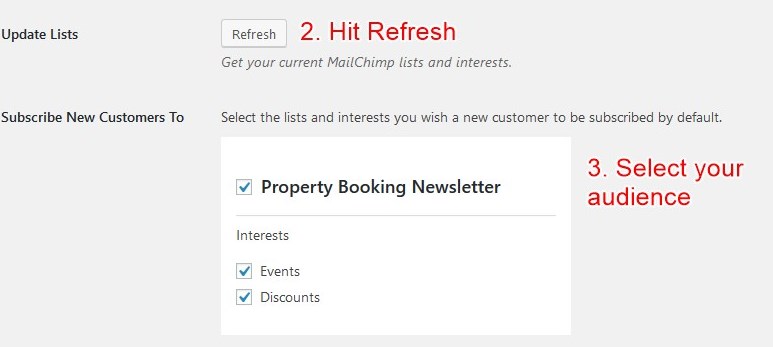
When you add or change the audiences lists in Mailchimp, you just need to press “Refresh” to see all new available lists and groups.
Control the Subscription Process
Go to the “Double Opt-in” menu to select the preferable subscription method:

- Subscribe automatically: this method enables automatic subscriptions for confirmed bookings, i.e. a new subscriber is added to Mailchimp automatically (without customer’s consent) only in case their booking has the status “Confirmed” (no matter whether it was confirmed by payment or manually).
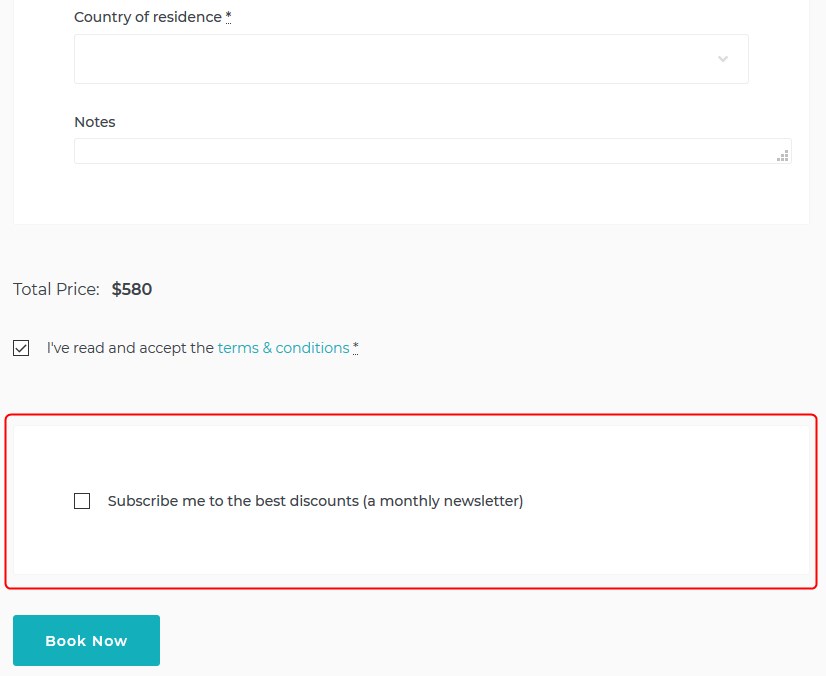
- Ask the customer on the checkout page: this method allows you to output the opt-in consent checkboxes at checkout and optionally add your custom text to state the policy. You may also choose whether the box must be checked or unchecked by default.
- Enable double opt-in: this method involves sending an extra confirmation email to the user even after they checked the consent box on your website at checkout.
E-commerce Settings
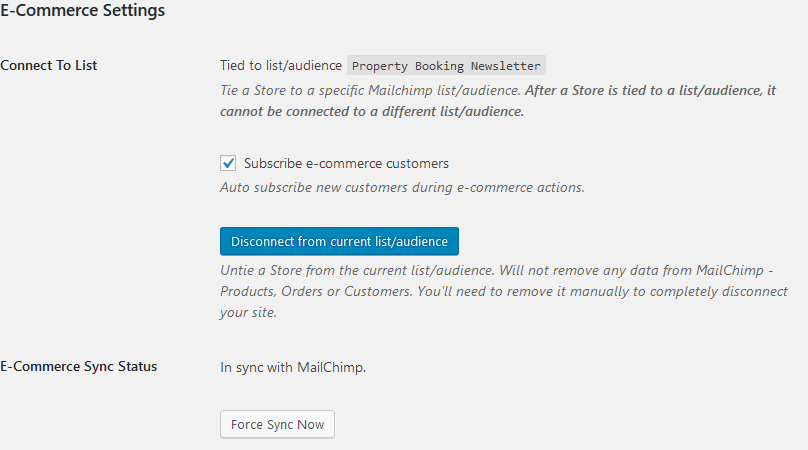
In this menu, you can set guest’s automatic subscription to specific Mailchimp lists not only for confirmed bookings but for all email addresses related to eCommerce actions that take place through the Hotel Booking plugin. In simple words, if somebody left their email address but haven’t finished a booking or didn’t confirm it (applicable for the Pending Admin, Pending User, Pending Payment statuses), for example, they will still be automatically added to your Mailchimp contacts and will be sent marketing emails.
If you already have confirmed bookings in the Hotel Booking plugin, all those client email addresses are automatically added to the list of contacts in Mailchimp when you synchronize e-commerce actions to Mailchimp.
To enable this functionality, check the following box: “Subscribe eCommerce customers” and sync it with the Mailchimp lists (it should be synced automatically when you connect the list).
Create and Send Targeted Email Campaigns via Mailchimp
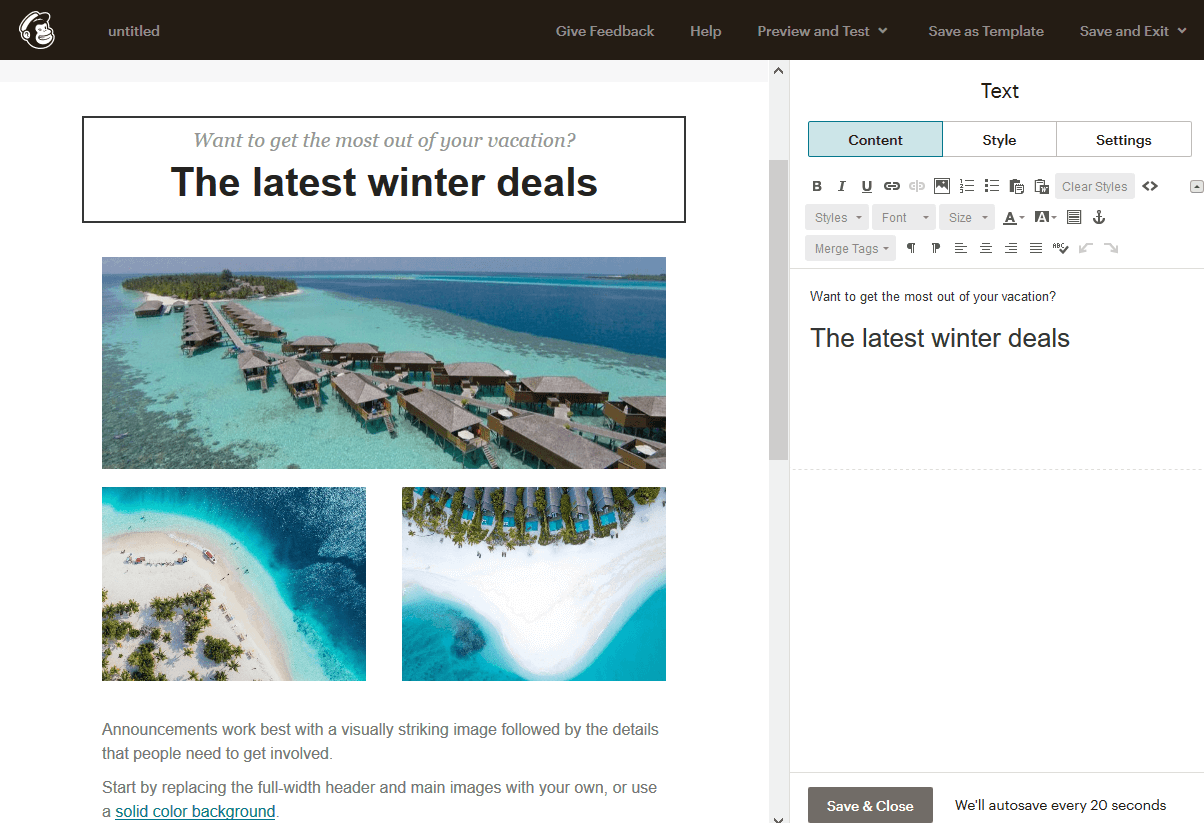
If you are new to Mailchimp, you should know that it allows you to build and send many types of automated emails. The platform comes with an intuitive email builder, where you can select a needed template and customize it according to your needs.
To create a new campaign, follow the next steps:
- Navigate to the Campaigns page.
- Click Create Campaign.
- Click Email.
Learn more at Mailchimp.
For example, for Hotel Booking, you can create regular emails campaigns, such as:
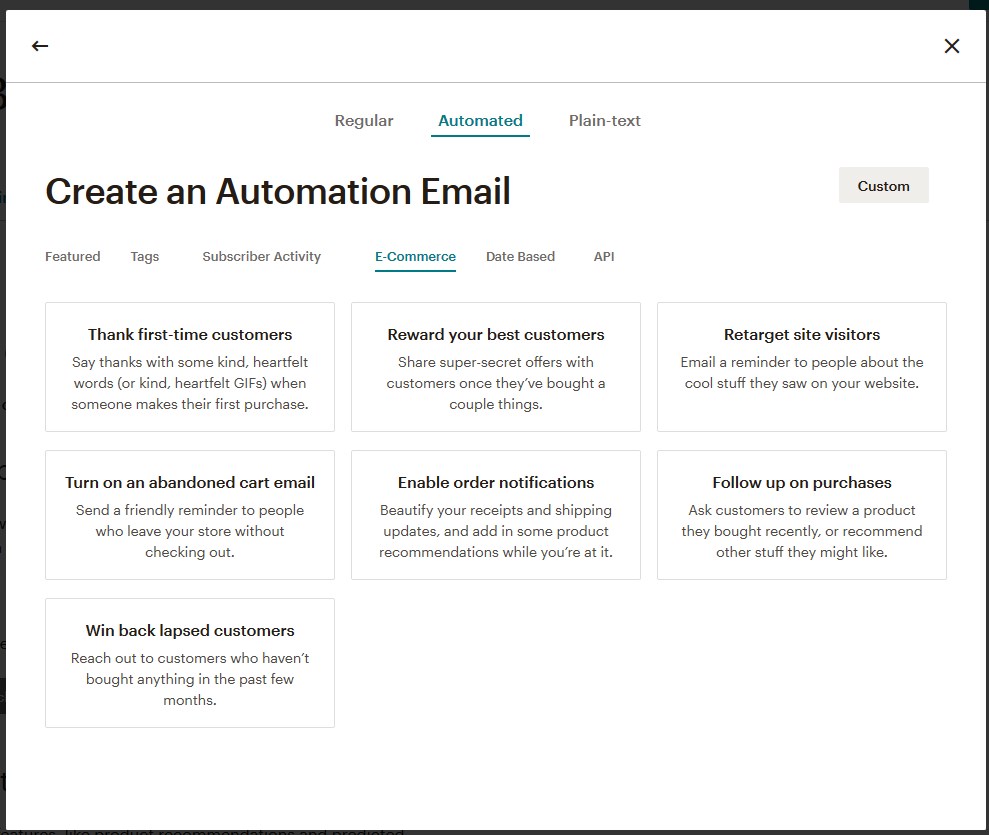
- Abandoned cart emails.
- Enable order notifications (you may use them instead of the Hotel Booking booking notifications or in addition to them).
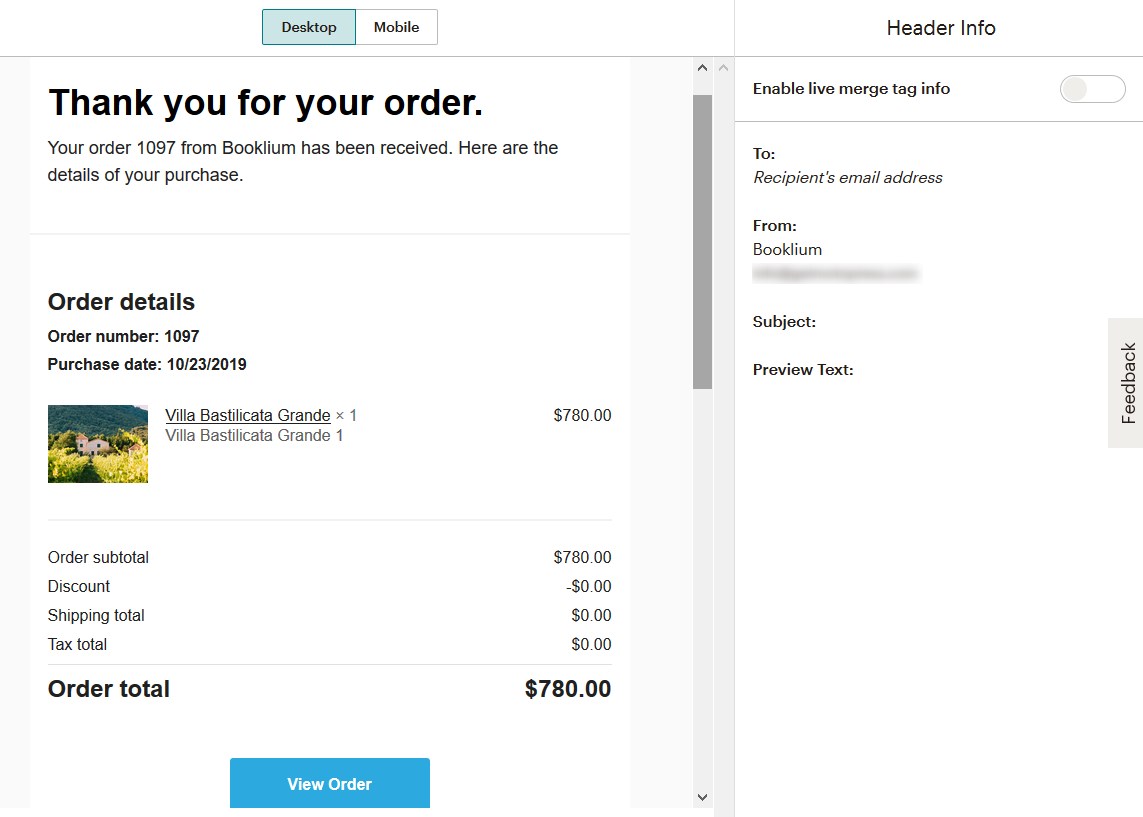
- Send “Thank you” booking notification emails (you may use them instead of the Hotel Booking booking notifications or in addition to them).
- Follow up on purchases.
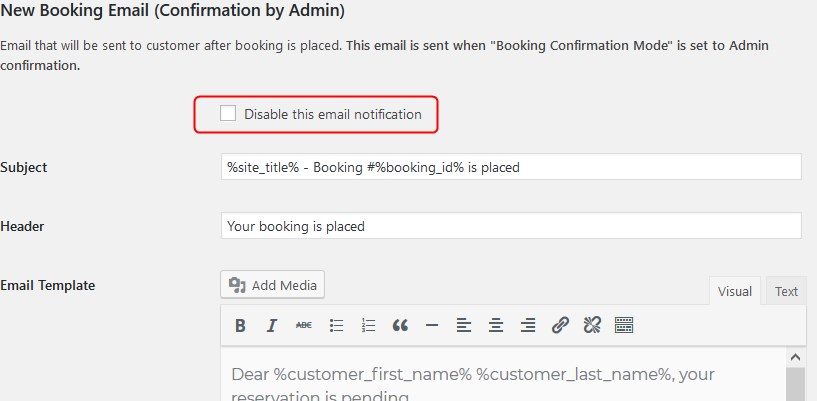
If you want to use Mailchimp email notifications instead of the ones provided by Hotel Booking (or turn off just some of them selectively), don’t forget to turn off the needed types of emails via the Hotel Booking → Accommodation → Settings → Customer emails and set them up in Mailchimp.