Since version 1.3.1 you are able to create Posts and WooCommerce Sliders using MotoPress Slider plugin. Try to follow the steps below to add a new Posts Slider:
- Go to MotoPress Slider and click ‘Create Slider’ button
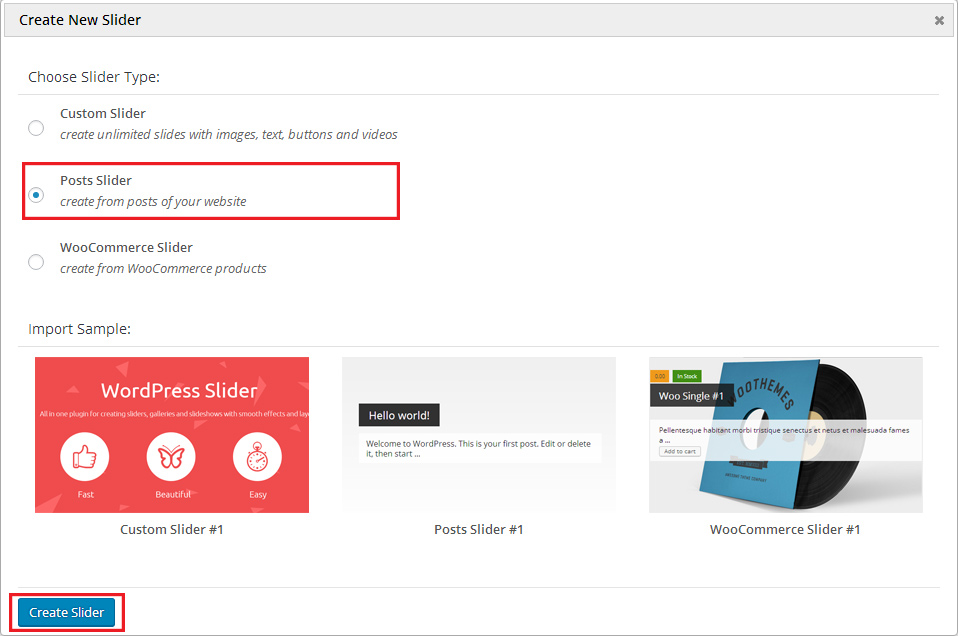
- Select ‘Posts Slider’ option at the popup and press ‘Create Slider’ button
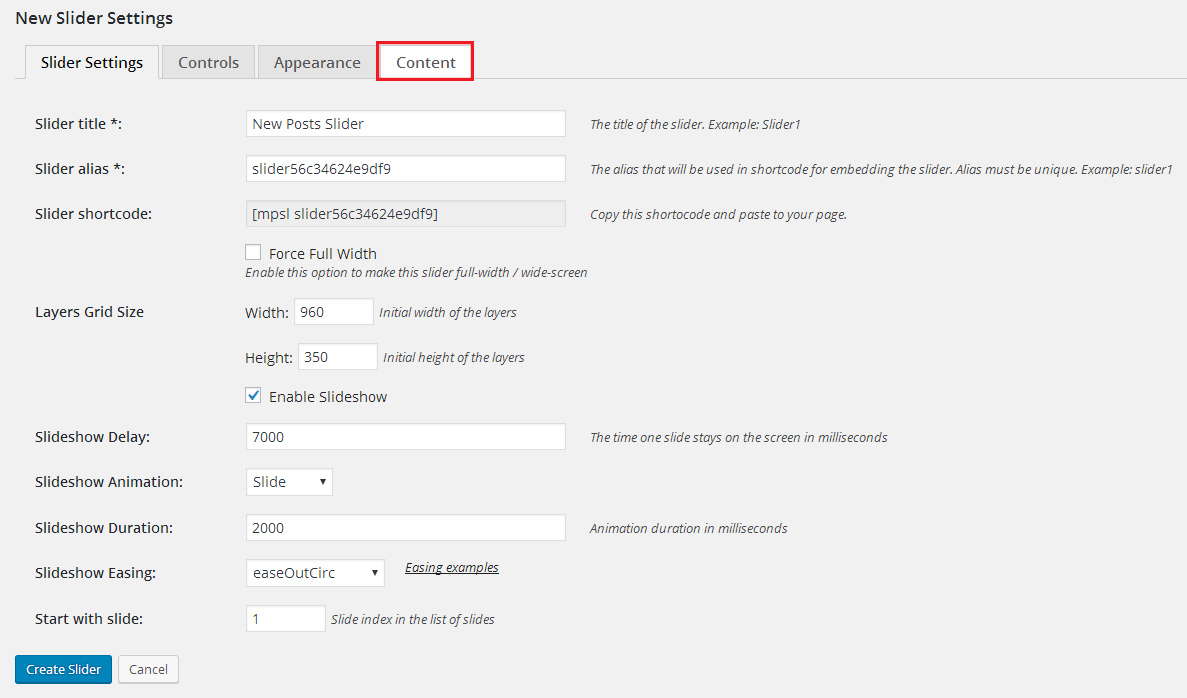
- Configure Slider Settings, Controls, Appearance and switch to Content tab in order to filter posts slides and define the content for slideshow.
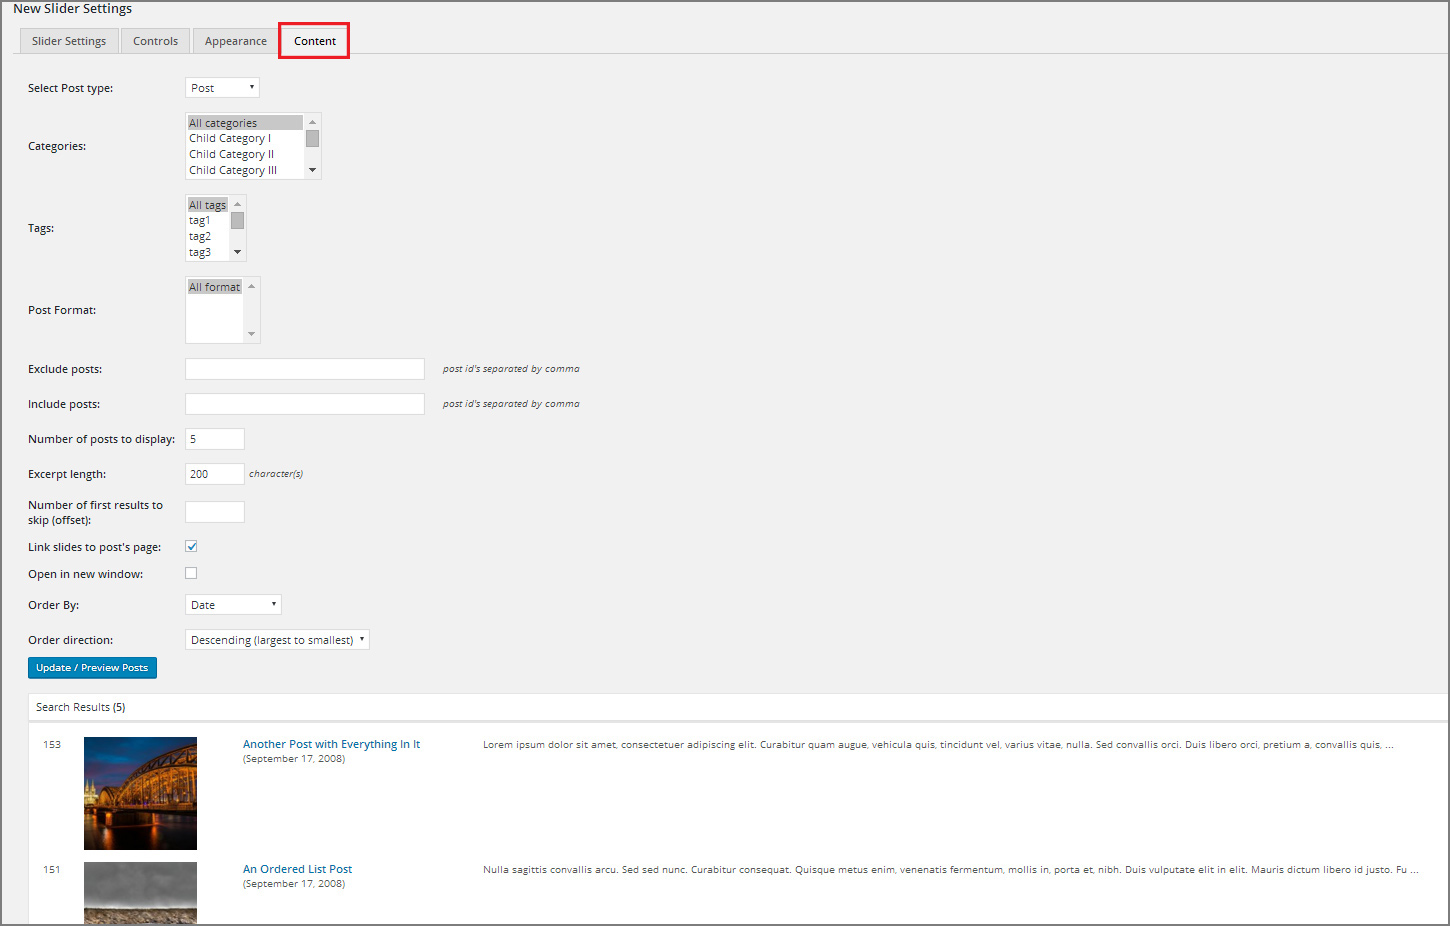
- Switching to Content tab of your Slider Settings you are able to:
– Define a Post Type for your slideshow. It may be Page, Post or any custom Post Type integrated by your theme or plugin like: Portfolio, Testimonials, Services, etc.
– Filter posts by Categories, Tags and Formats to show the posts slides of certain categories, with same tags and of the same formats
– Exclude/Include posts by IDs. It allows to remove some post from slideshow and add needed post from other category which was not selected previously. If you want to include or exclude more than one posts you can type its IDs separating them by comma e.g. 141, 28, 2763
– Define the number of posts to display in your slideshow. Just type the number of posts e.g. 5
– Set the length of excerpt i.e. determine how many characters should contain post description in your slider.
– Set the number of first results to skip i.e. you can set 1 and first post from the list of the filtered ones will be skipped.
– Enable link to launch the post by click and define whether to open it in a new tab or reload current one. If you leave this option unchecked your posts slides will not be linked.
– Order the posts slides by date, menu order, tile, id, random, comments, date modified and none
– Set order direction – Descending/AscendingHaving configured the content for your Posts Slider you should click ‘Update/Preview Posts’ button to see the list of Posts you filtered for slideshow below with all the data. If everything is correct and you can see the posts you would like to slide you can scroll down and Save Settings to go to the next step.
- When the posts for Slider are selected and configured you can create and edit Template for your slides. Make sure you have saved the slider settings then find and press ‘Edit Template’ button. It will bring you to Editor of the template for all your Posts Slides. In order to output the title, description, author, etc you should use Macros.

For this you should:
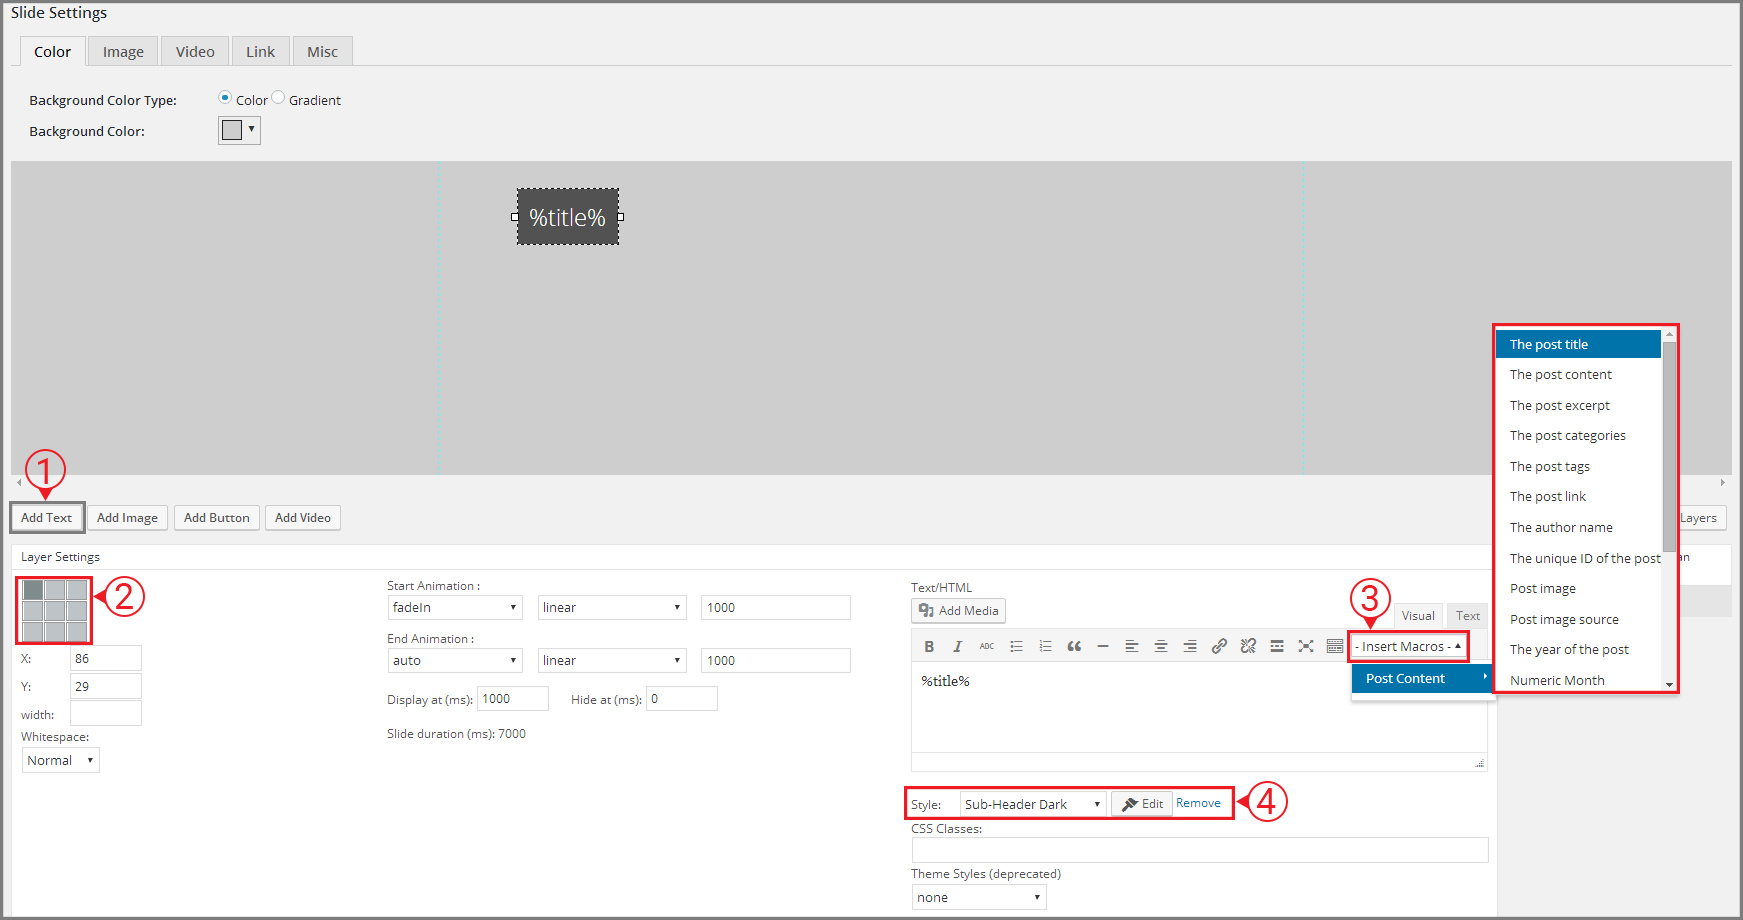
– Add Text Layer to the stage
– Align this object to any side you need and adjust the indent with your mouse.
– Select a macro from the list using TinyMCE. It can be post title, description, content, categories, text, etc.
– Style it using predefined styles or using Visual Style Editor.The preview of applied %title% macro
- Now you can style the background of the template for your slides. It can be:
– Solid or Gradient Color
– Image. And here we have a few options:a. Image from Media Library. If you select this property for the template of your slides you will get static image for all your posts.
b. Image by External URL. You can paste link of the image from another website and it will be applied as background for all your posts slides.
c. Auto Image. The system will set the any image from the post to the background of its slide.
d. Featured Image. It means that featured image of the post will be applied to the background of the slide.
e. First Image in Post. The system will set the first image from the post to the background of its slide.
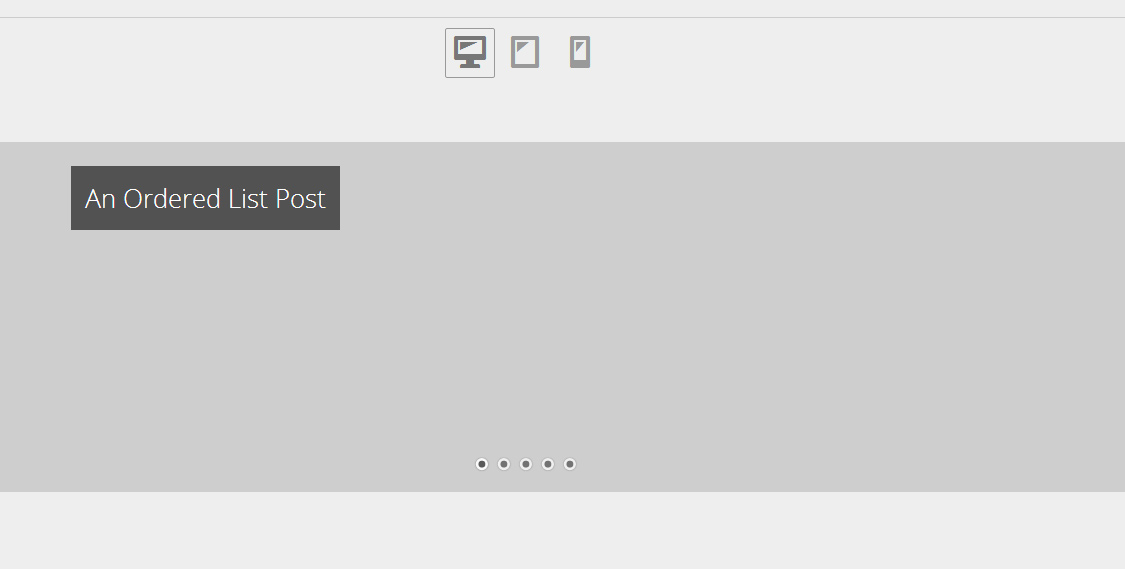
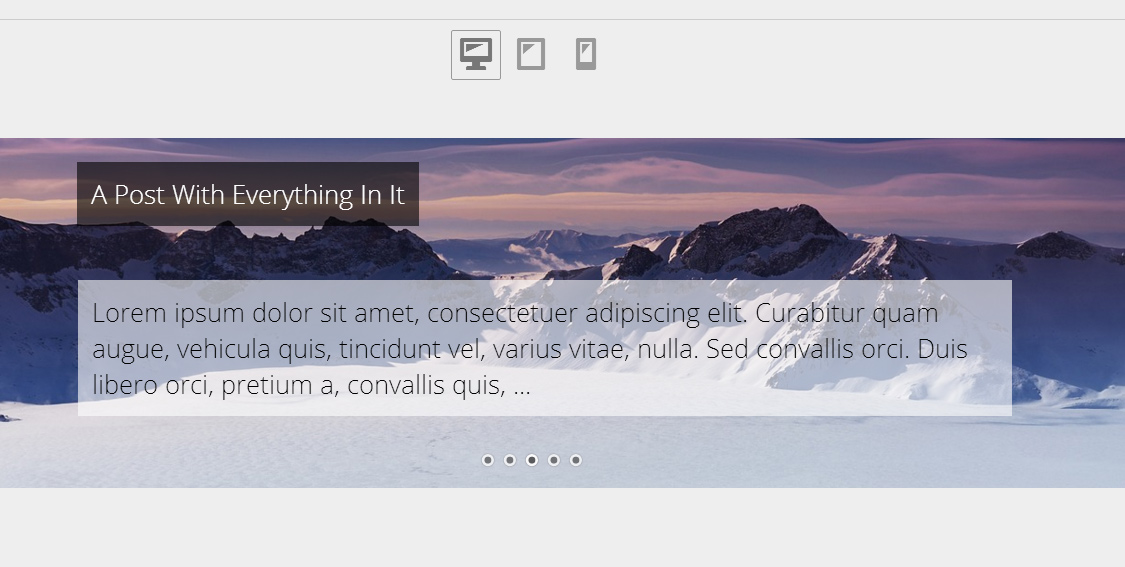
Here is an example of Slide with %title% and %description% macro and Featured Image at the background
Hi, I love the Slider plugin and I created a slider which shows my posts and take the first picture of a post. I edited the template and add the macro %title% but the post title isn’t shown. The style I selected is Sub-Header Dark and I only see the dark line.
I tried these with the WP default Posts and my News plugin but I have in both ways the same behavior.
Do I do something wrong? It seems that I have the same problem like Ken in the above post. Thank you! Jens
Hi Jens, we are terribly sorry for this inconvenience and kindly ask you to downgrade WordPress ill we release a new update that will be fully compatible with WordPress 5.6. Thanks for understanding.
Hi, I love your themes but having a hard time getting it to work for me. I downloaded Hotel Sydney theme and trying to customize it but I’m experiencing the following issues:
1) the texts on the slides appears for a second and disappears but the action button appears.
2) The ‘Blogs’ and ‘Our Services’ sections in the home page does not appear but the ‘Rooms’ and ‘Contact’ sections does.
Note: I did tick to show ‘these sections’ but they just don’t display except there ‘title’, or sometimes they display (rarely) and they disappear when the page is refreshed.
I’m looking forward for your urgent response, thanks.
Hi Ken,
Could you submit a request to our support team as we do not provide technical assistance in the comments. Thanks
Hi team, I’m using Motopress posts slider and have a custom Post Type called news. When I select this though, I want to be able to show all News custom posts with the category ‘Superannuation’. But Motopress post slider only gives me the option of ‘Custom Taxonomy’ and ‘Taxonomy term(s)’, neither of which make any difference and continue to show ALL News Post Types. Any ideas?
Hi Richard,
We need to check your News post types to advise you if there is way to filter them by category. Also you can show just required posts using Include IDs. Please email us the details. Thank you.