Table of Contents
Install and set up the addon
- Install and activate the WooCommerce addon for Appointment Booking (requirements: Appointment Booking plugin 1.18.1 or greater and WooCommerce 6.6.0 or greater).
- Enable and set up preferable WooCommerce payment gateways via WooCommerce > Settings > Payments.
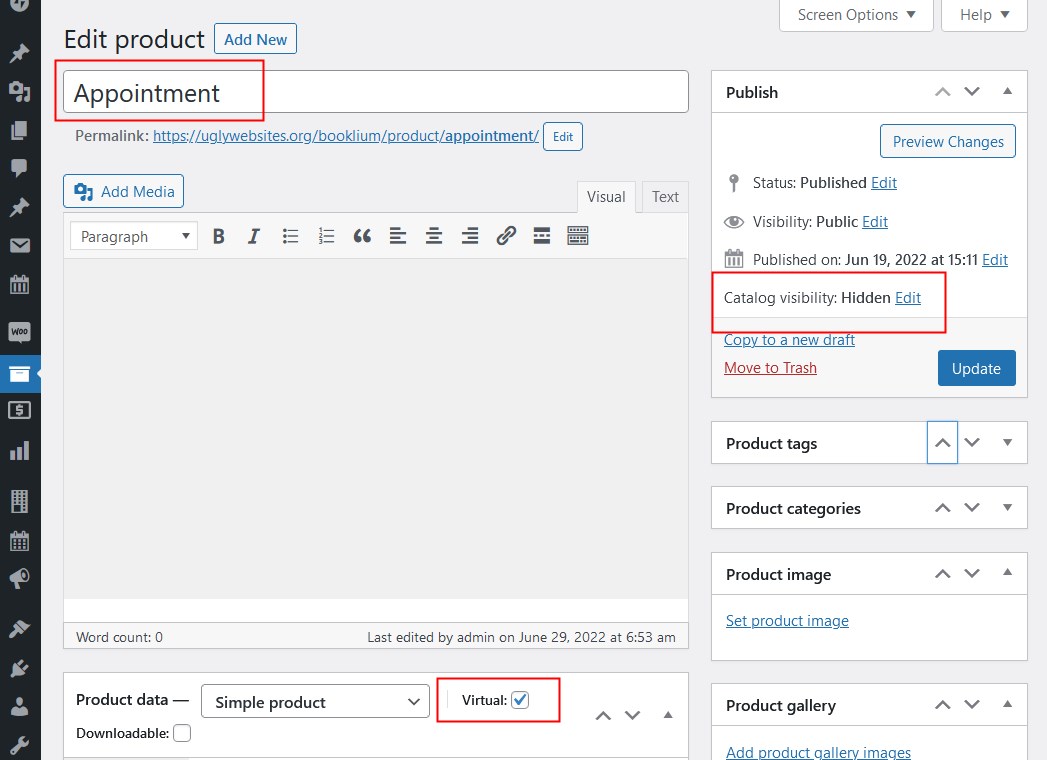
- Create one WooCommerce product: Go to the WordPress dashboard > Products > Add New > label the product appropriately (e.g. Appointment).
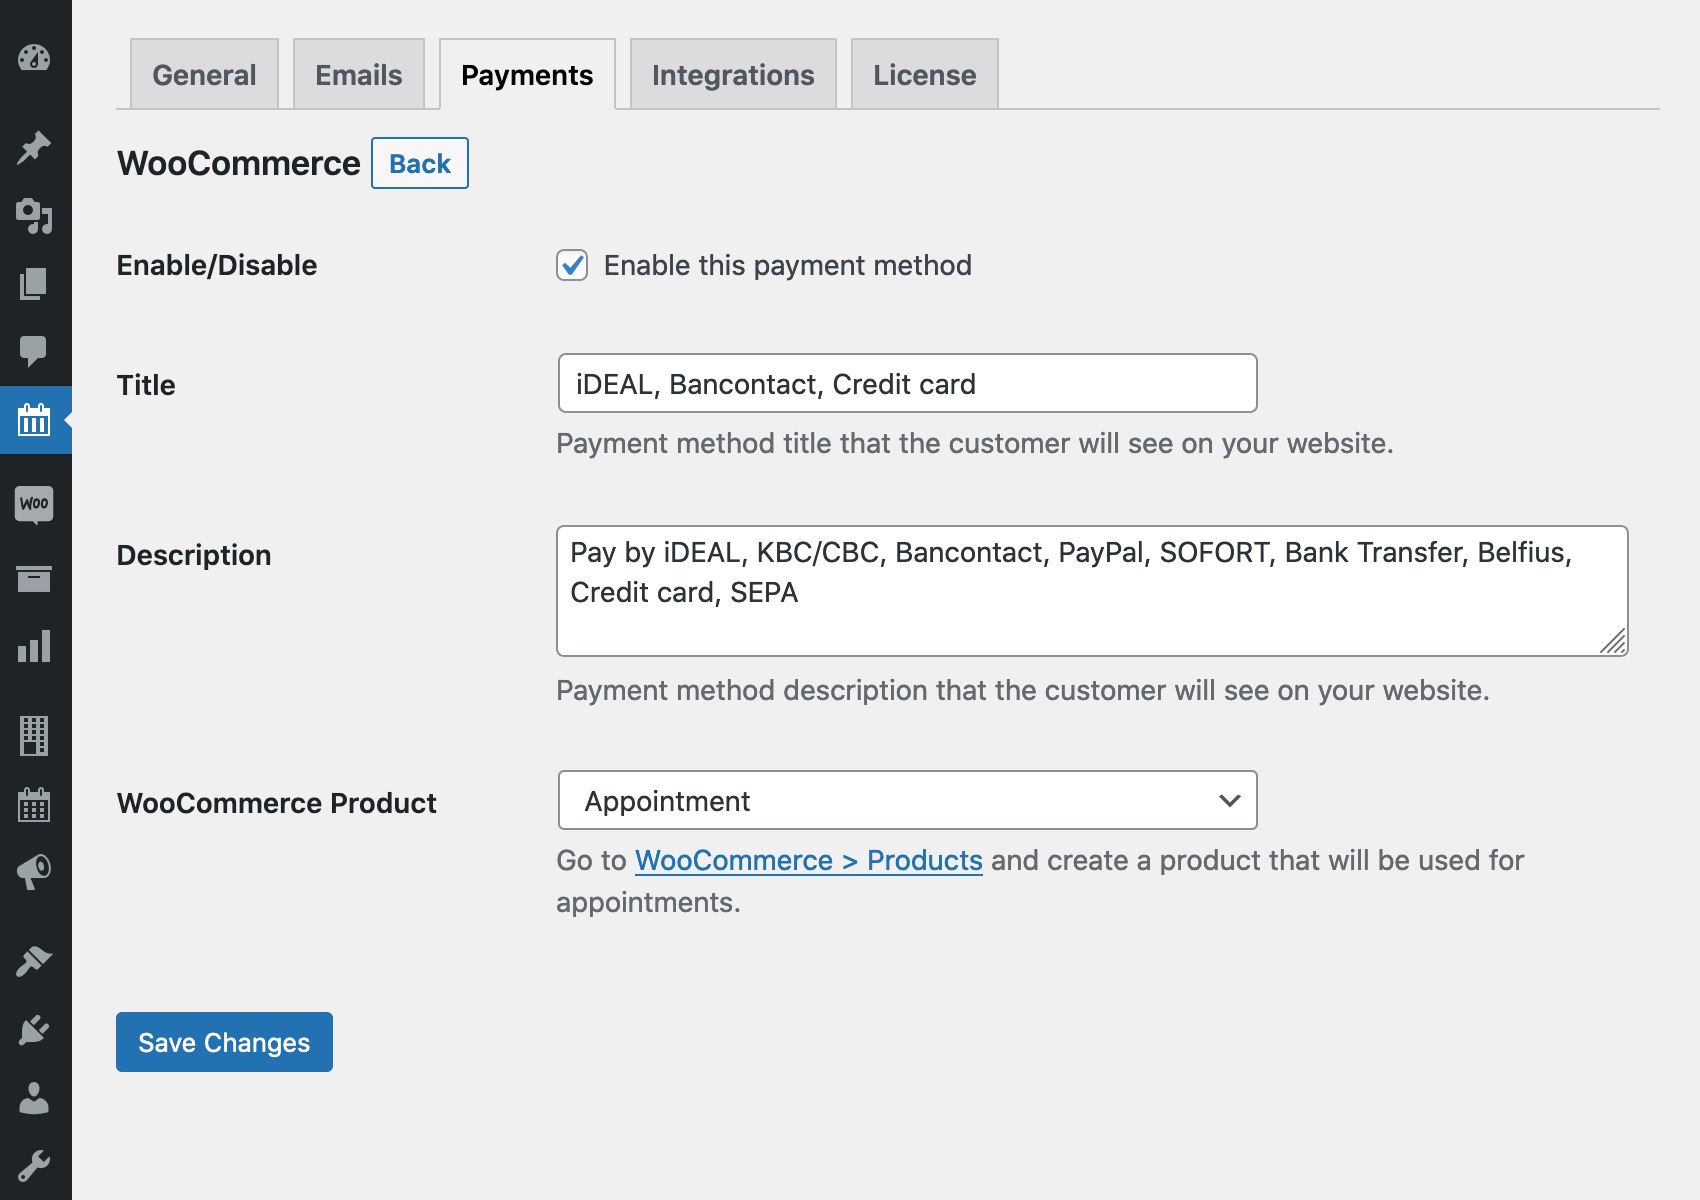
- Go to your WordPress dashboard > Appointments > Settings > Payments > WooCommerce > Manage > Enable this payment method > select the WooCommerce product you created during the step #2.
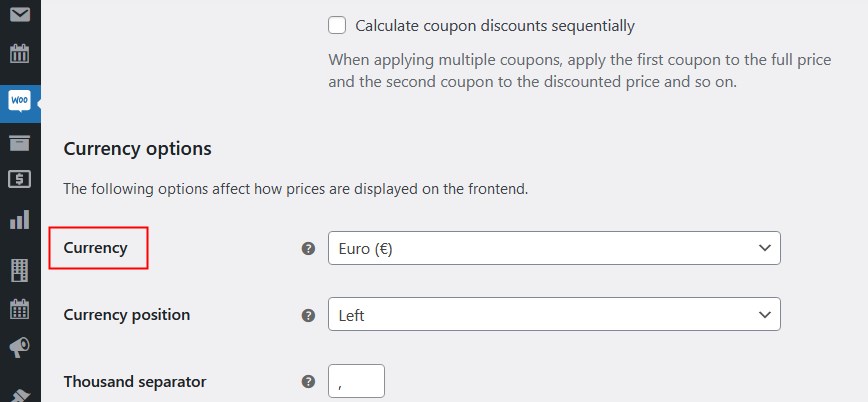
- Make sure that the currency in WooCommerce is the same as in the Appointment Booking plugin. (WooCommerce > Settings > General > Currency options.)
How it works for clients at checkout
- A client chooses the needed service and available time and date.
- To confirm their booking, they are asked to provide some personal information, such as name, email address, etc.
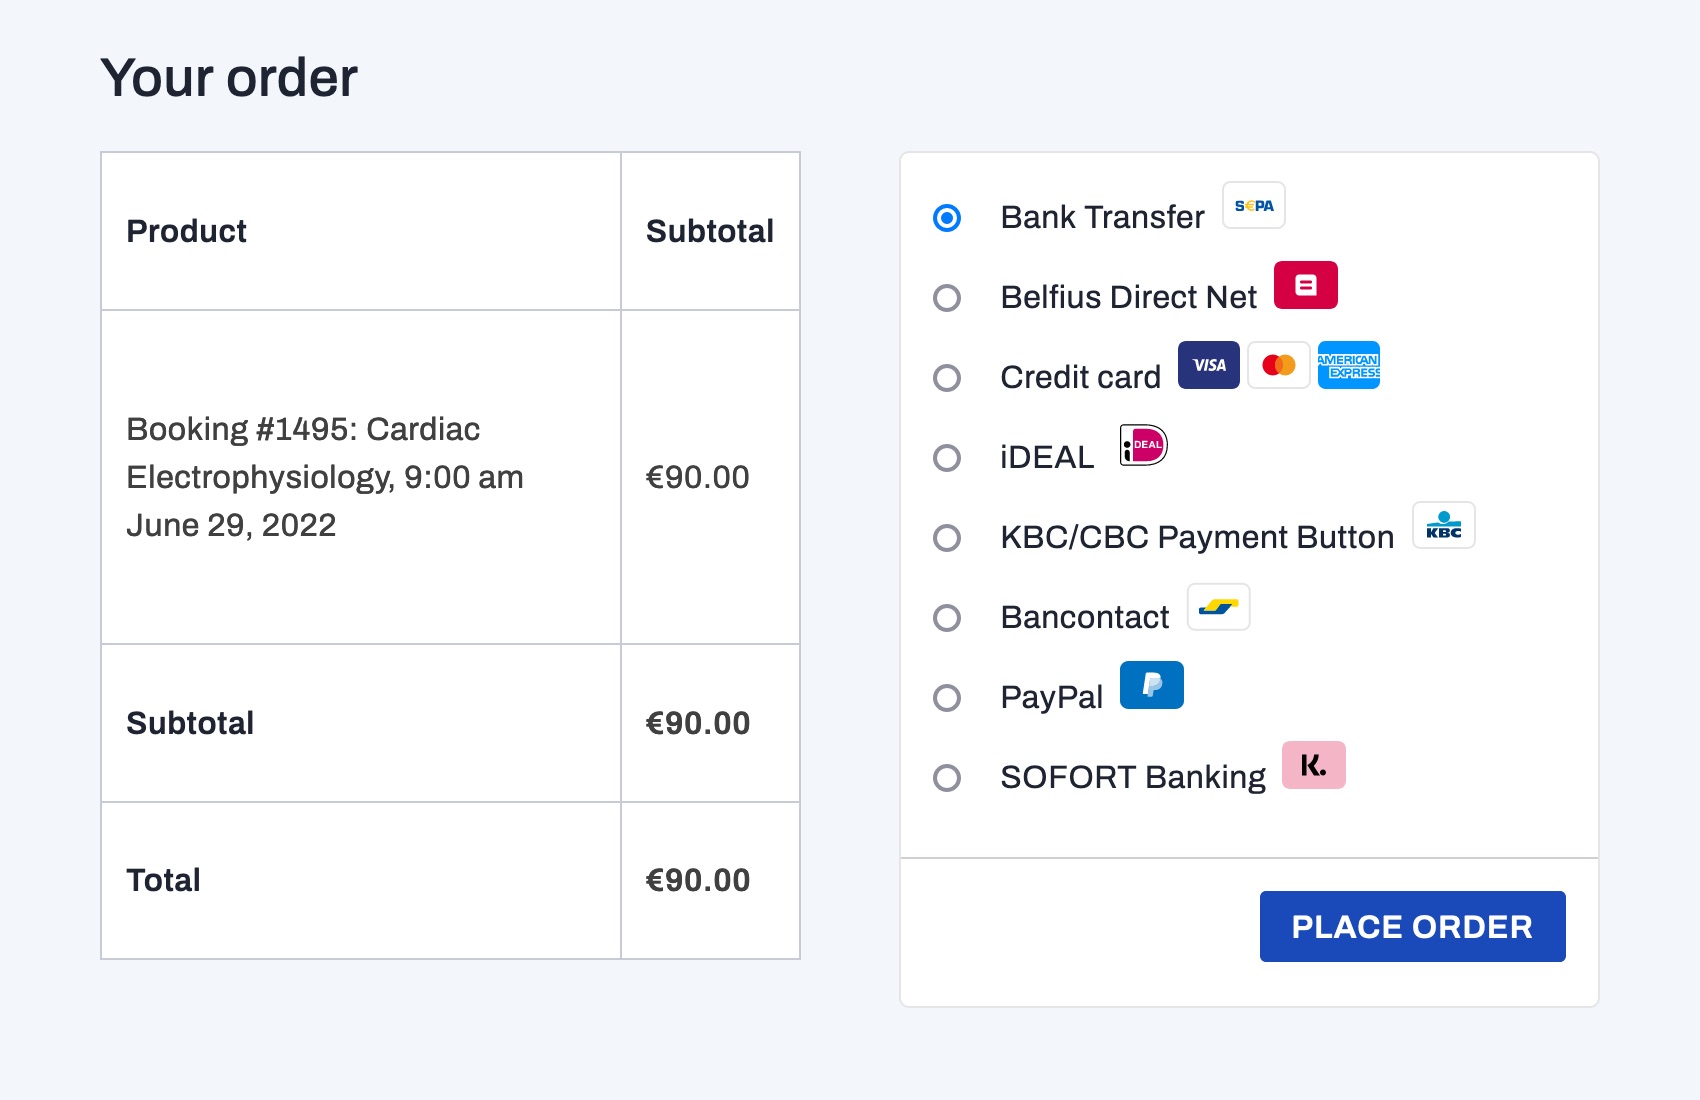
- They choose WooCommerce (you can label it in any other way), then select the payment method among offered ones and pay.
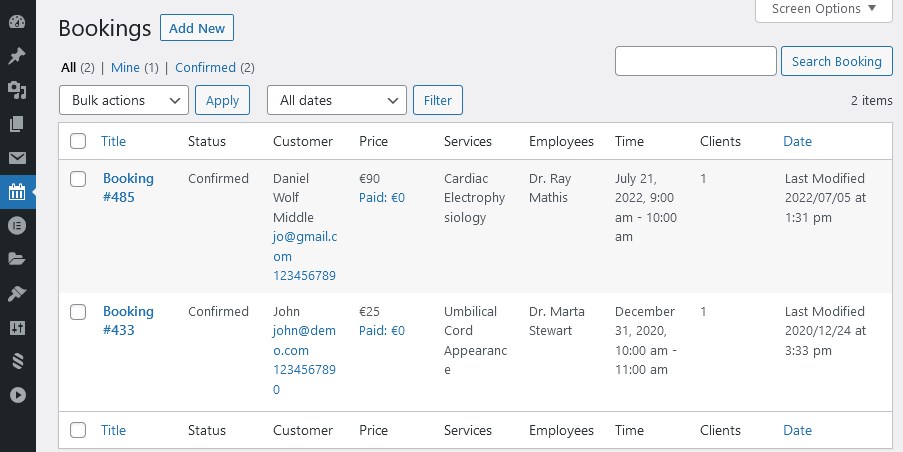
- If their payment is successful, a new booking appears in the Bookings menu of your Appointment Booking plugin.
- Orders in WooCommerce are automatically synchronized with booking updates of the Appointment Booking plugin.