Table of Contents
Go to the Settings > General menu to configure the following parameters:
Default time step
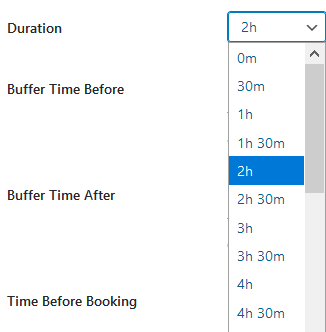
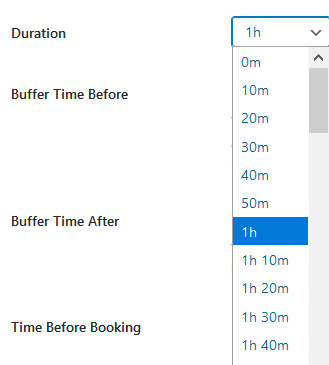
A default time step is the bread and butter of the MotoPress WordPress Appointment Booking plugin. Your choice of the default time step directly depends on the duration of your appointments. For example, if you want to create an appointment that lasts 1 h and 10 m, you need to set the default time step to 10 minutes to be able to set this duration.

If there are no appointments or breaks/lunchtimes that last, for example, less than 30 minutes, it makes sense to set a default time step to 30 minutes. However, if you have appointments that last 1 h 40 m, again, a default time step of 10 m is required.
Depending on a time step, you’ll see different time slots when setting appointment durations:
 |  |
Confirmation mode
Specify the way you want to approve booking requests:
- Confirm automatically: all requests submitted via the booking wizard are immediately added to your bookings database with the status ‘Confirmed’.
- By admin manually: you go through all booking requests and change their statuses manually.
- Confirmation upon payment: if a client submits their booking using any of the payment gateways offered, bookings are immediately added to your bookings database with the status ‘Confirmed’.
Terms & Conditions
If you want clients to accept your policies (terms & conditions) before they can place a booking, set the dedicated Terms & Conditions page (just create a regular WordPress page and select it in the drop-down menu) in these settings.
On the checkout page, clients will need to check the dedicated “I accept the terms & conditions” checkbox.
Allow multibooking
Tick this box if you want to enable clients to add multiple services to cart during one booking procedure. Watch the video below to see the multiservice booking feature in action:
Allow coupons
Tick this box if you want to allow clients to use discount coupon codes on your website.
If this option is selected, the coupon code field will be added to the checkout page of the booking widget irregardless of whether you enabled payment methods. To create coupon codes, go to Appointments > Coupons > Add new.
Allow cancelation
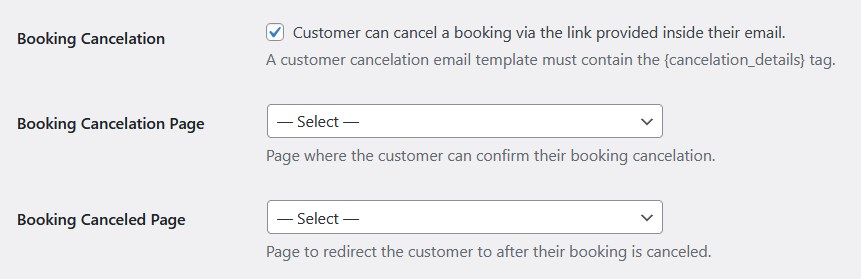
By ticking this box, you give customers an option to cancel their booking by clicking on a link via email.
It’s a secure 2-step process that requires an extra confirmation from the customer, so there is little chance bookings can be canceled by accident.
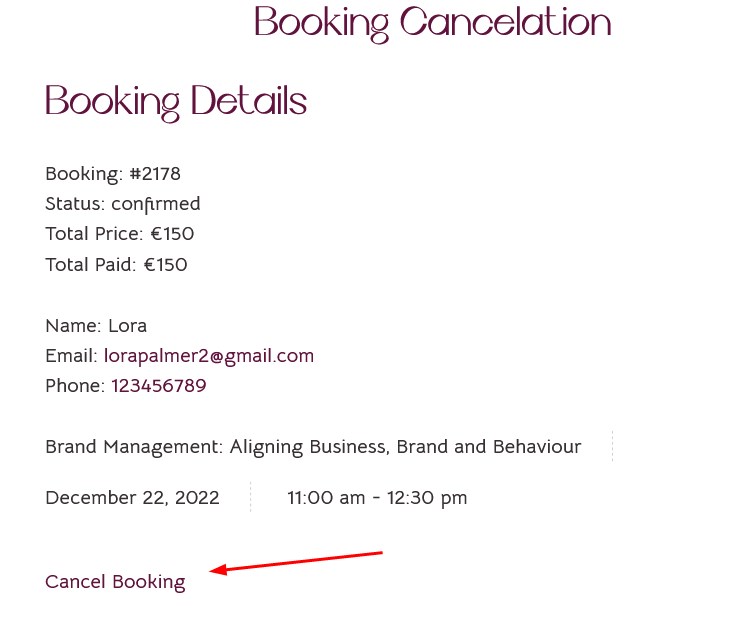
You must also set up 2 system pages for this action. Here are their default looks:
- Booking Cancelation Page
- Booking Canceled Page

If you are okay with the default look presented above, you can go with automatically created pages (no need to create them manually). For this, simply leave the pages unselected and the plugin will use automatically create ones (although in the drop-down menu they will stay as unselected).
If you want to modify the content you want to display on these pages, first of all, create 2 new pages, modify them, then select them in the appropriate drop-down menus in the Booking Cancelation section. Here are recommendations if you decide to modify these system pages:
Booking Cancelation Page
The [mpa_direct_link_booking_cancellation_link] shortcode is necessary on this page, since it asks the customer to confirm their cencelation intention. You can also add any custom text or use extra shortcodes from Appointments > Help menu here.
Booking Canceled Page
You can add any text to the page that says that their booking is canceled.
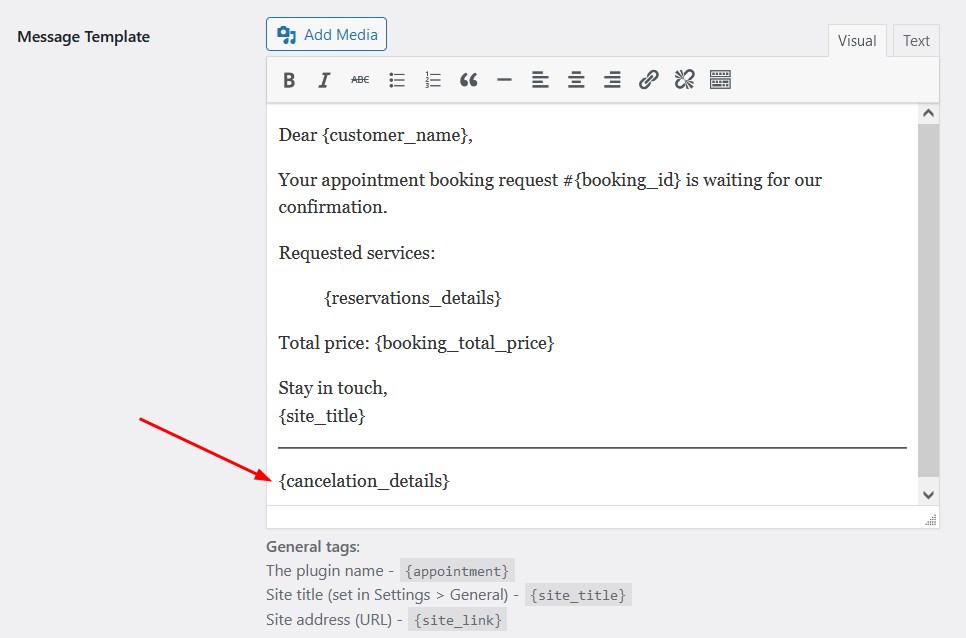
To make sure clients will receive the cancelation link in the email, you need to add the {cancelation_details} tag to the needed customer email template (depending on what type of a confirmation mode you use).
So to cancel their booking, a customer needs to firstly click on the link in their email, then they are redirected to your website, where they are required to confirm their intention.

Once the cancelation is successful, both admin and customer receive the relevant notifications. The booking status automatically changes to ‘Canceled’.
You can also change the content of the data generated via the cancelation details tag for the customer email by customizing template parts by navigating to: Appointments > Settings > Emails > Template parts > Customer Booking Cancelation > Manage.
Currency
Set the default currency and its settings – it’ll be displayed on the individual service pages and at checkout.
