Table of Contents
Here you’ll see the example of creating a default demo website.
Go to the Dashboard of the main site that you’ll use for a demo presentation. Now you can fill it with the needed content, activate/deactivate plugins, change the theme, etc.
Add a Registration Form
There are specific shortcodes to add a registration form for new demo users (for them to get access to your demo backend).
You can add this form to the page or post following any of the ways below:
1. Write it by yourself using the following shortcodes
[try_demo][/try_demo] – this shortcode outputs form that allows your users to create their sandboxes. There are optional parameters:
title – form title
label – label for email address field
placeholder – placeholder for inputting email address
submit_btn – label for Submit form button
success – success message upon submission
fail – fail message upon submission (with error message details)
wrapper_class – class to add to the upper shortcode div
source_id – this Blog will be available as a source of a demo website
Within shortcode tags you can write text, which is located right under the email field – this will allow you to add HTML tags there.
[try_demo_popup][/try_demo_popup] – this shortcode outputs button which opens a Registration form in pop-up that allows your users to create their sandboxes. There are optional parameters:
launch_btn – pop-up button label
title – form label
label – label for outputting email address
placeholder – placeholder for outputting email address
submit_btn – label on the submission button
success – success message upon form submission
fail – fail message upon submission (with error message details)
source_id – this Blog will be available as a source of a demo website
Within shortcode tags you can write text, which is located right under the email field – this will allow you to add HTML tags there.
[is_sandbox][/is_sandbox] – Text written within this shortcode will be visible only on the sandbox (demo user website), which was created with a help of this plugin. Within shortcode tags you can write text that will allow you to add HTML tags there.
[is_not_sandbox][/is_not_sandbox] – Text written within this shortcode will be visible only outside the sandbox (demo user website), which was created with a help of this plugin. Within shortcode tags you can write text that will allow you to add HTML tags there.
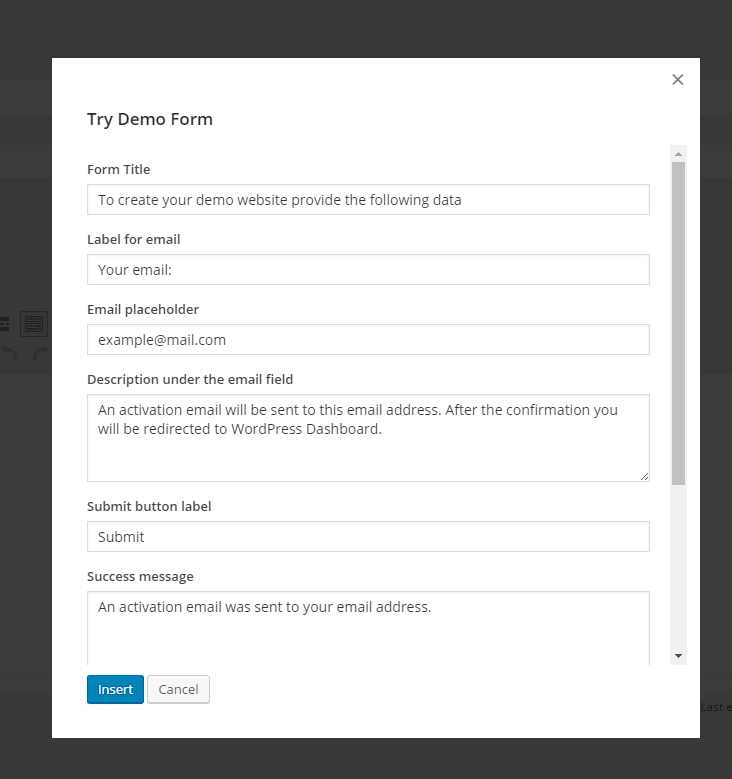
2. Using a button in WordPress post or page
Choose the needed shortcode from button-dropdown

Fill the fields and click Insert:
Now you can preview or save the changes.
Done!
3. Using Widget
Go to Appearance → Widgets. Here you’ll find the needed widgets: MotoPress Demo Form and MotoPress Demo Popup. They correspond to the shortcodes of creating the forms and pop-ups and come with the same settings.
Configure the plugin settings
Go to Network dashboard: My Sites → Network Admin.
Find demo settings: Demo → Settings.
The following configuration settings are available:
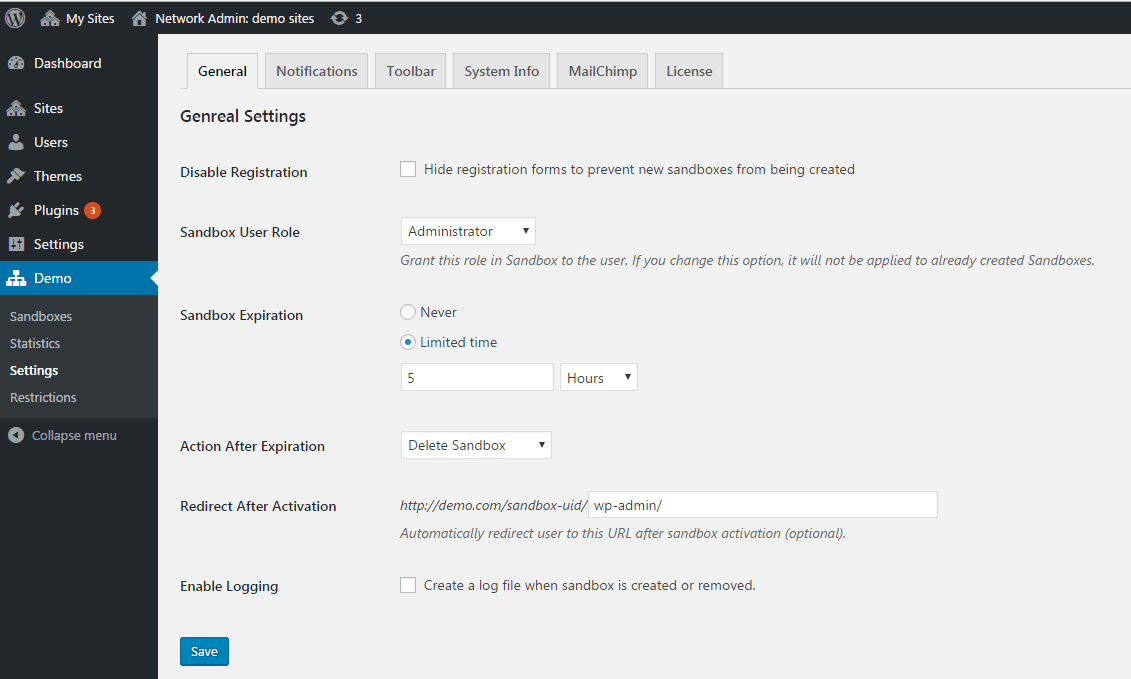
General
In the General tab you are able to set the following configuration:
- Disable Registration – tick to hide sandbox registration form
- Sandbox User Role – the role for demo users (sandboxes)
- Sandbox Expiration – set to Never or Limited Time (amount of time the sandbox is live from the date of creation). If limited, define the amount of time.
- Action after expiration: Delete, Archive or Deactivate.
Note: if you need to change the message for the archived site, then create a file in the wp-content folder and add blog-suspended.php file with your updates text message.
Note: If you need to change a message for your deactivated site, then create a file in the wp-content folder and add blog-deleted.php file with your updates text message.
- Redirect – define where the user will be redirected upon the demo account creating
- Enable Logging – logs will help you track how the entire site works
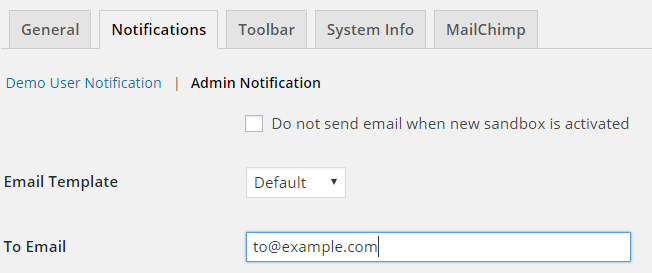
Notifications
- In the Notification tab you can set up notifications the demo user (Demo User Notification) and administrator (Admin Notification) will receive.
You can change the email address of the sender, email subject and email text. You can also use macros {sample} – default set of ready-to-use keywords to automatically put your custom info.
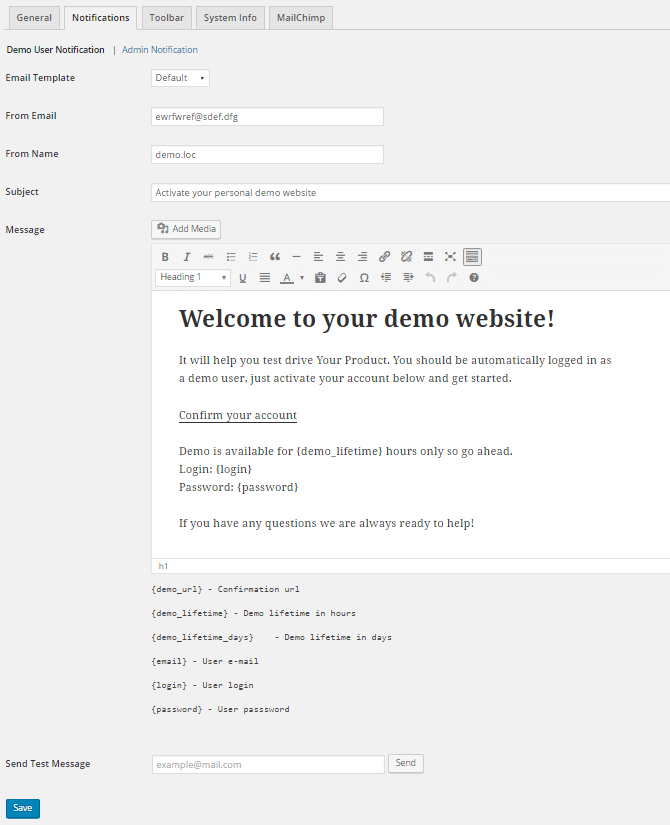
In Administrator notifications, you also can update the email receiver address and turn notifications off.
Toolbar
- In Toolbar tab you can choose what to display on the upper Toolbar on the live demo website: related products, emulator to test the site responsiveness on different devices and/or call-to-action button.
If your Products List contains elements, the Toolbar will show drop-down Selector.
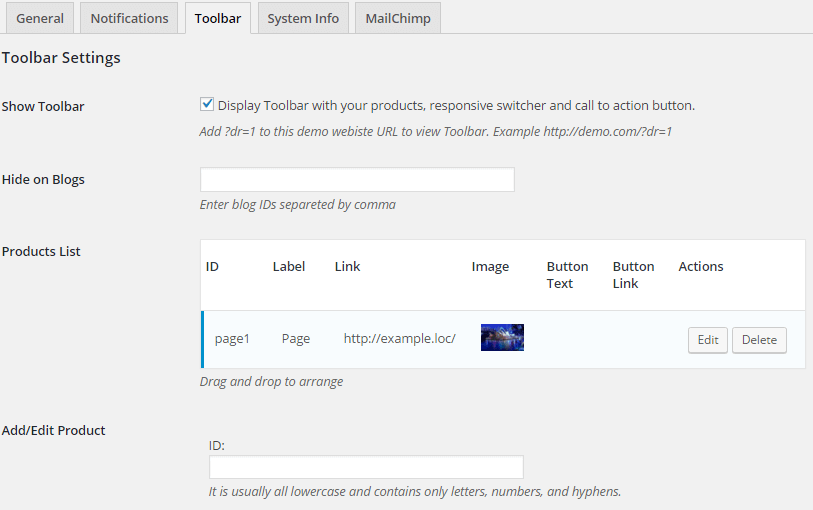
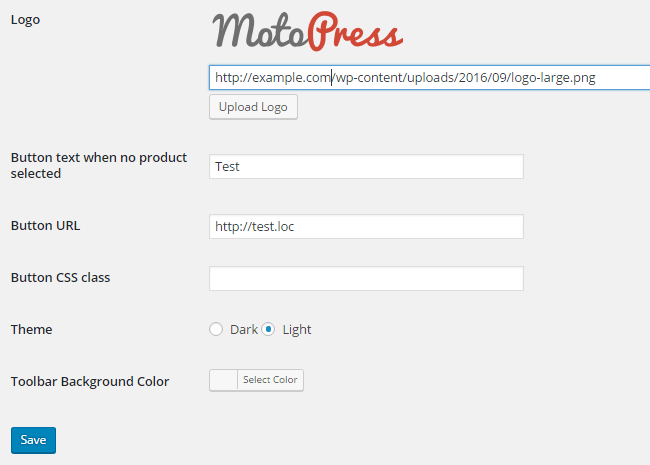
Moreover, you can add your logo to this Toolbar and place a linked button, change the theme and color scheme of the toolbar as well.
- If you don’t need this toolbar at all, simply disable it: uncheck “Show Toolbar with your products” box.
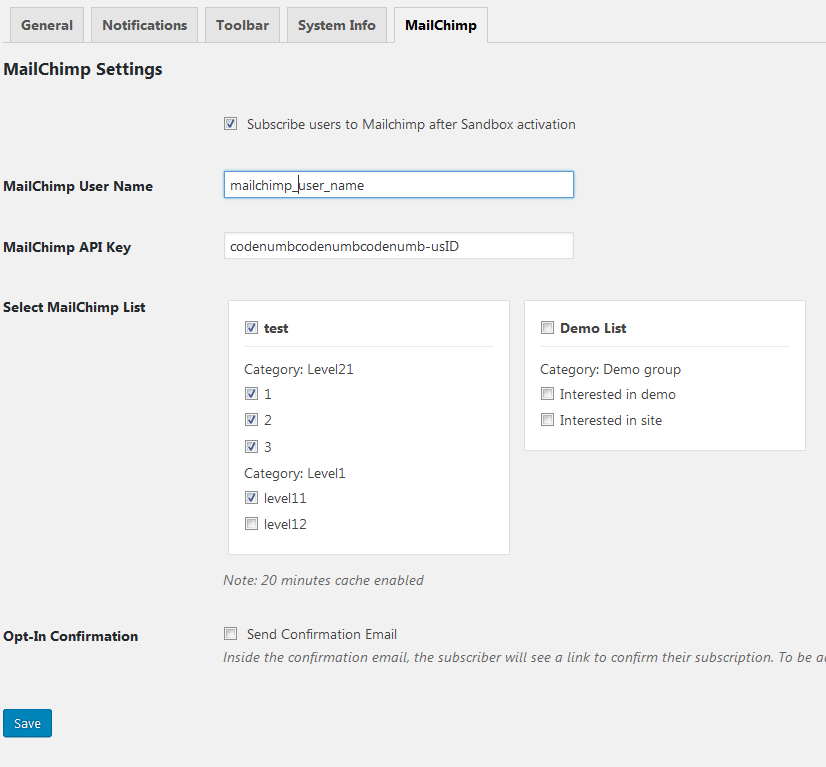
MailChimp
- In the MailChimp tab you can organize all verified emails. If you have MailChimp accounts, you can add email addresses to the appropriate MailChimp lists.
Before You Start
If you want to set up an integration with your MailChimp account, chances are high that you’ll need to generate an API key. So find or Generate Your API Key (About API Keys):
- Click your profile name to expand the Account Panel, and choose Account.
- Click the Extras drop-down menu and choose API keys.
- Copy an existing API key or click the Create A Key button.
- Name your key descriptively, so you know what application uses that key.
You’ll need to create a list in your MailChimp account if you don’t have one already (Create a Mailchimp Audience).
Setup
At first output your username and API key → click Save Changes. After this you’ll see a list of your lists (or one list) with groups from MailChimp. Choose exactly those lists and groups you want to add verified email addresses to.
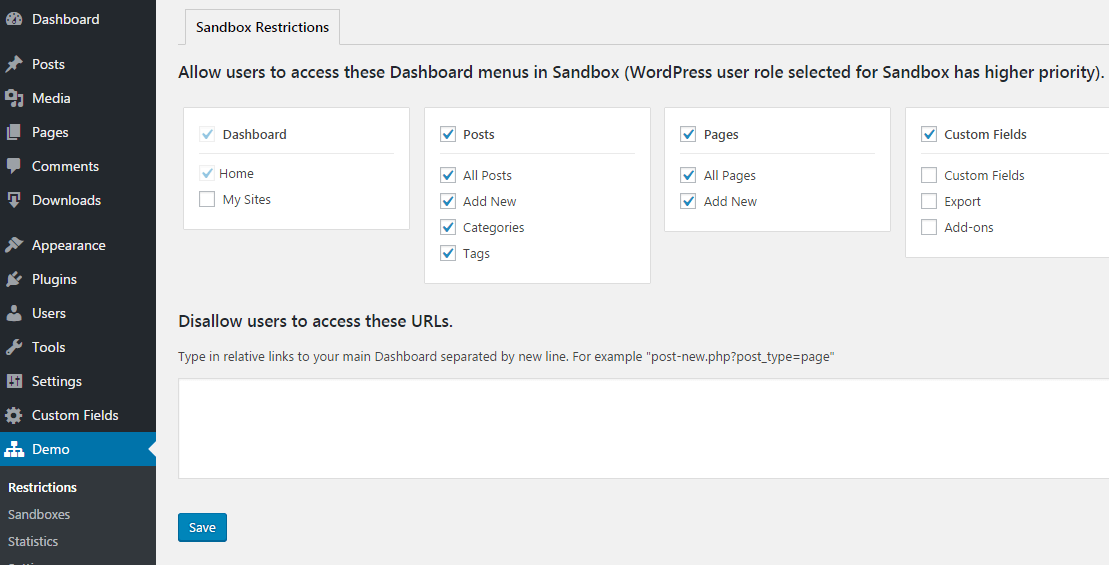
Restrictions
- In Restrictions menu you define which menus and pages will be available for demo users (sandboxes).
To set them go to Network Admin → Dashboard, find Demo → Restrictions. Choose menus that you want to display for demo users: