Table of Contents
Here you will learn about WordPress Page Builder styling aspects.
What is Element Style Editor
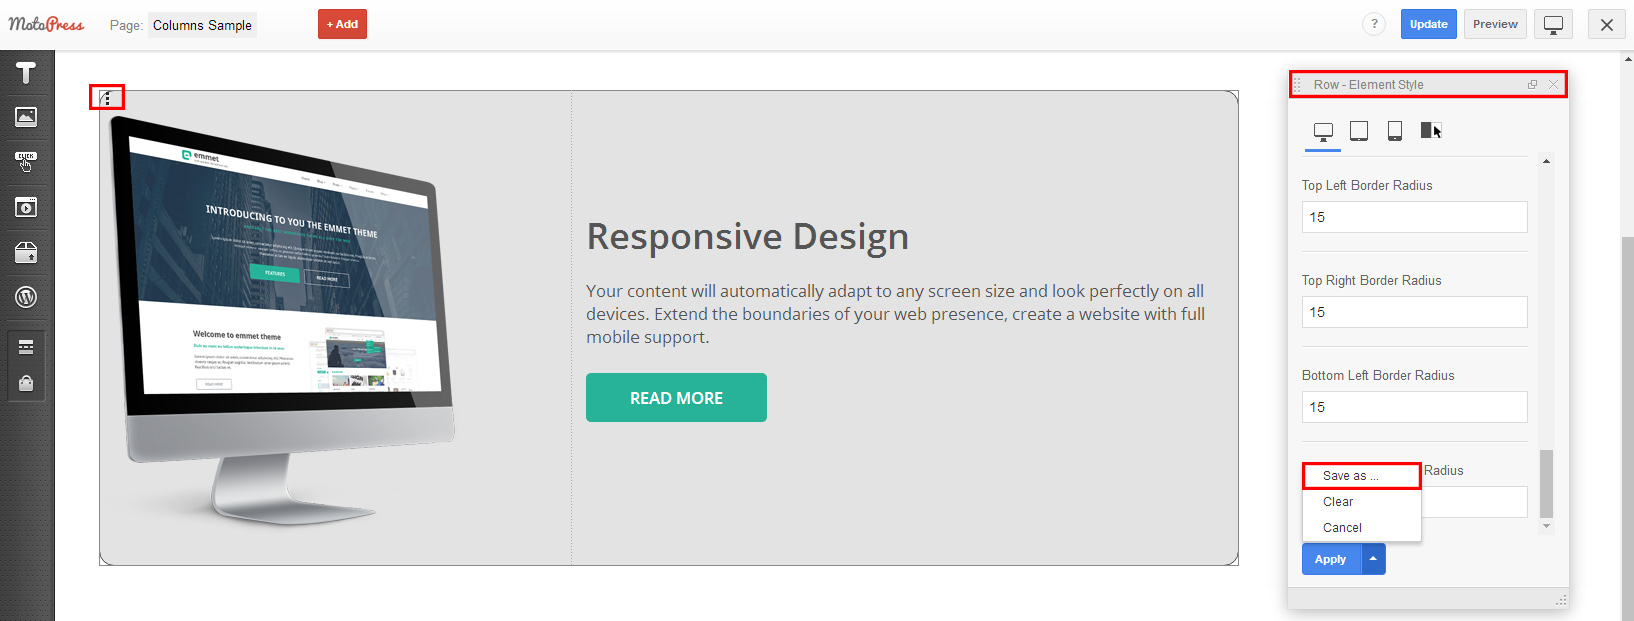
When you switch to Style tab at Object Properties Panel you can see tools to style MotoPress modules, rows and columns. Let’s start with Element Style Editor. There is the same set of properties for each object row or column. You can switch between screen dimension types (Desktop, Tablet and Mobile) and style element individually for each device. Moreover there is Hover state available. Thus you can style hover state for each element in MotoPress Page Builder.

- Set Background Color. You can just pick a color with color-picker, paste color code and set transparency
- Edit Text color. If there is text in the object you modify you can change its color within Element Style Editor
- Put Image or Gradient to the Background. You can set different background images for default and hover states of the same element
- Add Custom Padding and Margin – top, bottom, left, right
- Edit Borders fully – define a border type (default, none, solid, dotted, dashed, double, groove, ridge, inset, outset), width, color and radius
When you customized an element you should apply the changes by click into ‘Apply’ button at the bottom of Element Style Editor.
Create and Apply Custom Presets
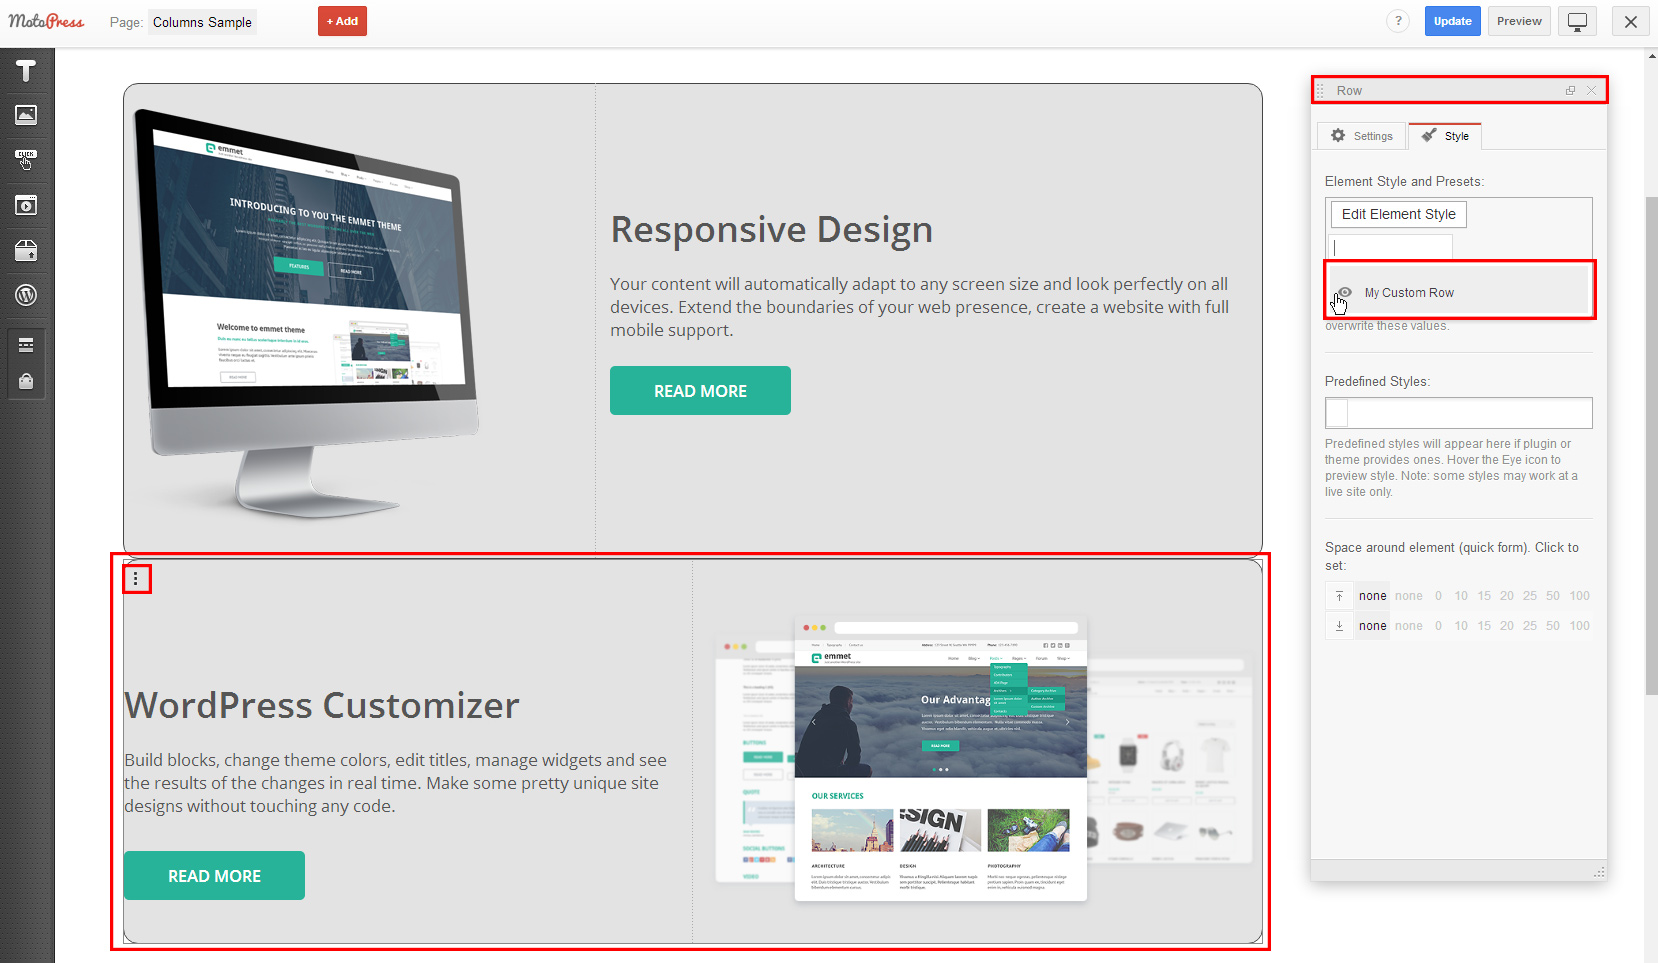
As there is the same set of properties for each object at the Element Style editor you can ‘Apply’ the changes and save them as preset for further usage. So you can style the Row, save the changes as a new preset and apply it for other rows and objects. Follow the steps below:
- Select a row or any other object, switch to style tab at properties panel and go to Element Style Editor
- Edit the style of the element
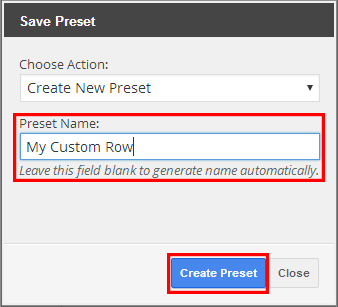
- When you are done click on ‘Apply’ options arrow to save your preset

- You can create new preset or edit previously created. Give it a name and save
- Apply your preset for other rows and elements
Predefined styles
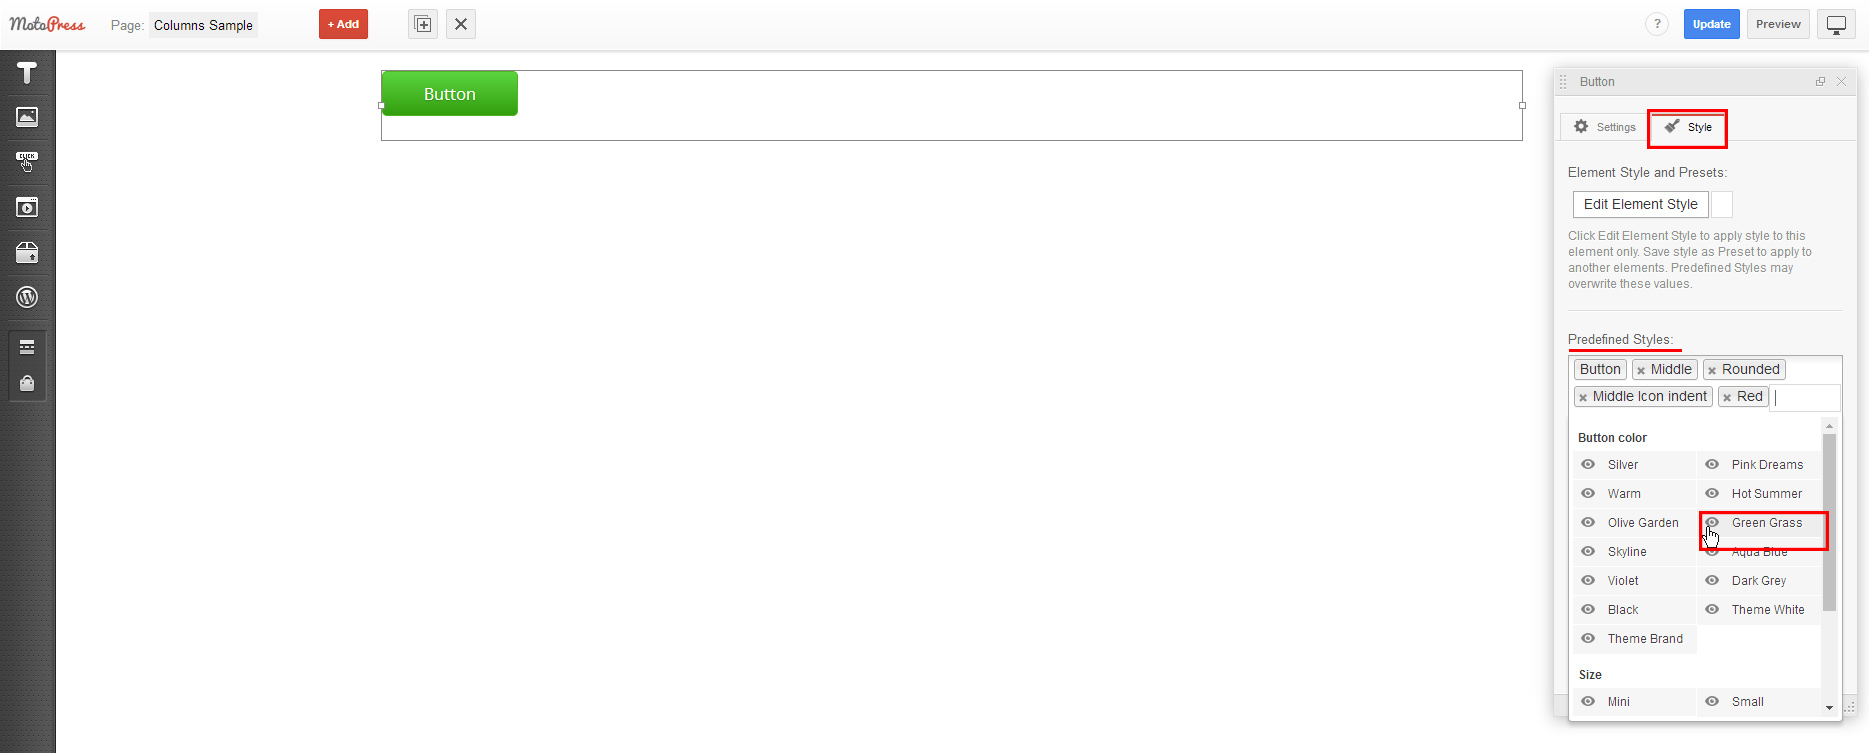
Except presets there are Predefined Styles available for elements, rows and columns. These are default styles prepared for certain elements. For example you can select color for row, columns background, font for Paragraph object or style the button with Predefined Styles.
The set of styles is unique for each element so there might be any predefined style for some of them e.g. Icon (it can be styled visually using elements parameters), Image, Slider, etc.
You can also Apply Class Styles from your stylesheet or register your Custom Predefined Styles.
Hi, I am using the Motopress content editor with the wordpress. When I apply a style to any of the element it gets apply but it not get saved and when I open that page in the browser the styles get disappear from the element. Can you please guide why this is happening.
Hi,
Thanks for your question. Make sure you click ‘Apply’ button after you finish adding styles. You can email our support team describing the steps you make to apply style and they will see if you do this correctly or if there is any issue at your WordPress installation.
If I have a box background color and want to type a text, the text lines become white. If I write a text and want to make the background in a color, only above and under the text the color appears. So either way: I get white lines on my promotion pages. How do I fix this?
Hi Emmy,
Make sure that you are using the latest version of the plugin, which is 2.5.1 now. If it is so, but the problem is still there, please, contact our support team through the ticket system for further investigation
Custom Predefined Styles link is dead
Hi,
It is anchor link that points to certain paragraph of this page. Please try to scroll and find paragraph with sub-title Create and Apply Custom Presets
Hi,
I’m sorry for confusion and thank you for reporting an invalid link. I’ve corrected it and linked to code example that adds new color for button element. You can use it as example for adding style for other elements. Thank you
I really don’t get it. What I want is to downsize things for mobile and make fonts and such smaller to fit the screen better. Don’t understand how this does that
Hello Joseph,
It is recommended to control the font style and its responsiveness via theme style and not via individual elements.
In order to edit style for mobile device you should select element you want to edit, switch to Style tab, switch to Mobile mode and adjust padding, margin, etc. You can also hide elements for certain type of device.