Table of Contents
By providing customers with the ability to log in and make bookings through their personal accounts, you can enhance the booking process by automatically pre-populating the fields with the information they previously submitted, as well as enhance the overall interaction with bookings for regular clients.
The Customers menu
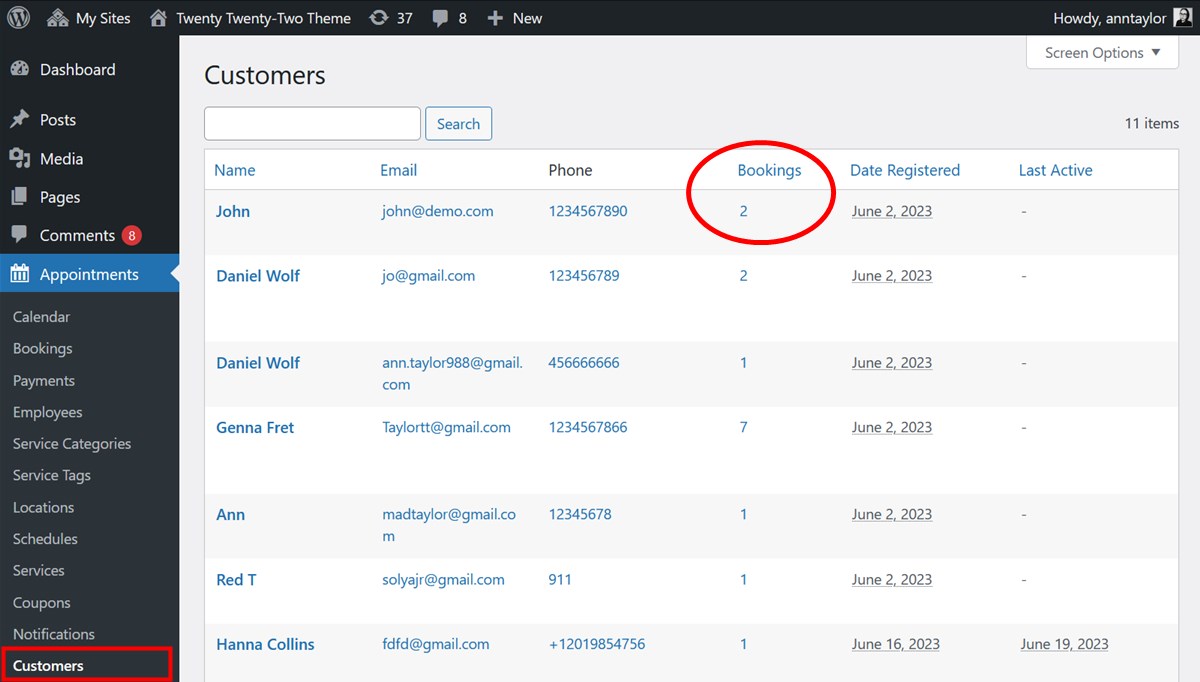
You can see the database of all of your customers via Appointments > Customers.
Important: This database contains information about ALL your customers whether they have an account on your site or not.
Customers are included in the list under one of the following circumstances:
- When a booking is made through the booking widget on your website.
- When a booking is manually added by the site administrator.
- When information in the existing booking is updated with the new email address.
When a new booking is added with the existing email address, it will simply be assigned to the respective customer. Click on the bookings number to see all the bookings by one customer.
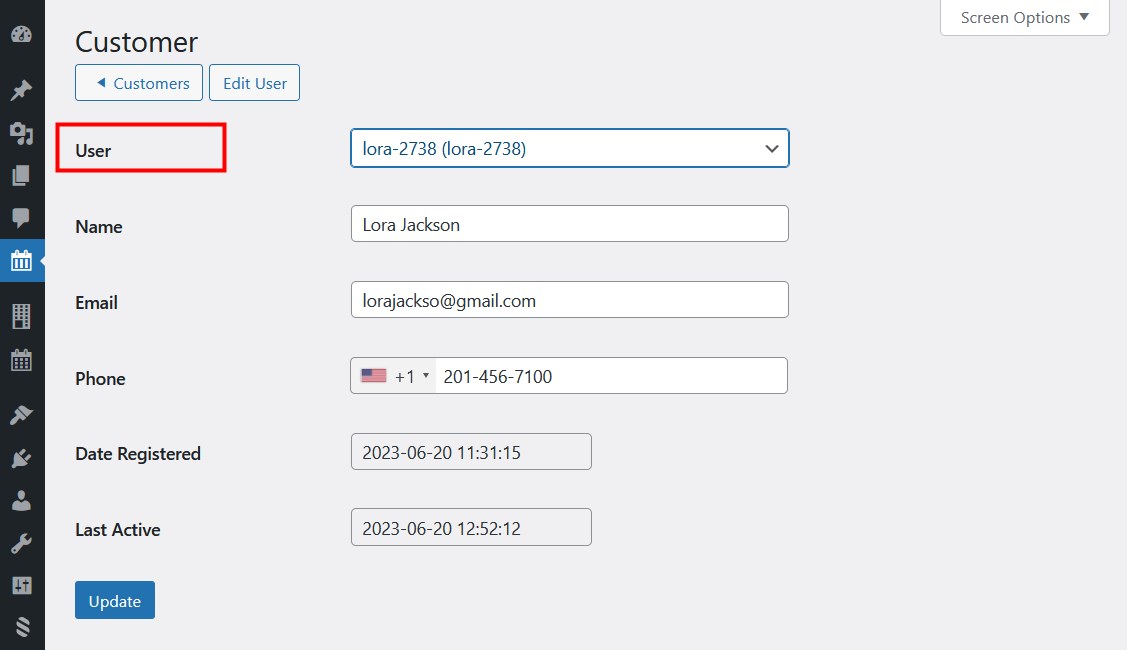
You have the ability to modify any information pertaining to a customer while retaining their identity, including updating their email address or phone number. More information include:
- Date registered – shows the date of the first booking.
- Last active – shows the time of the last booking.
Customer account creation settings
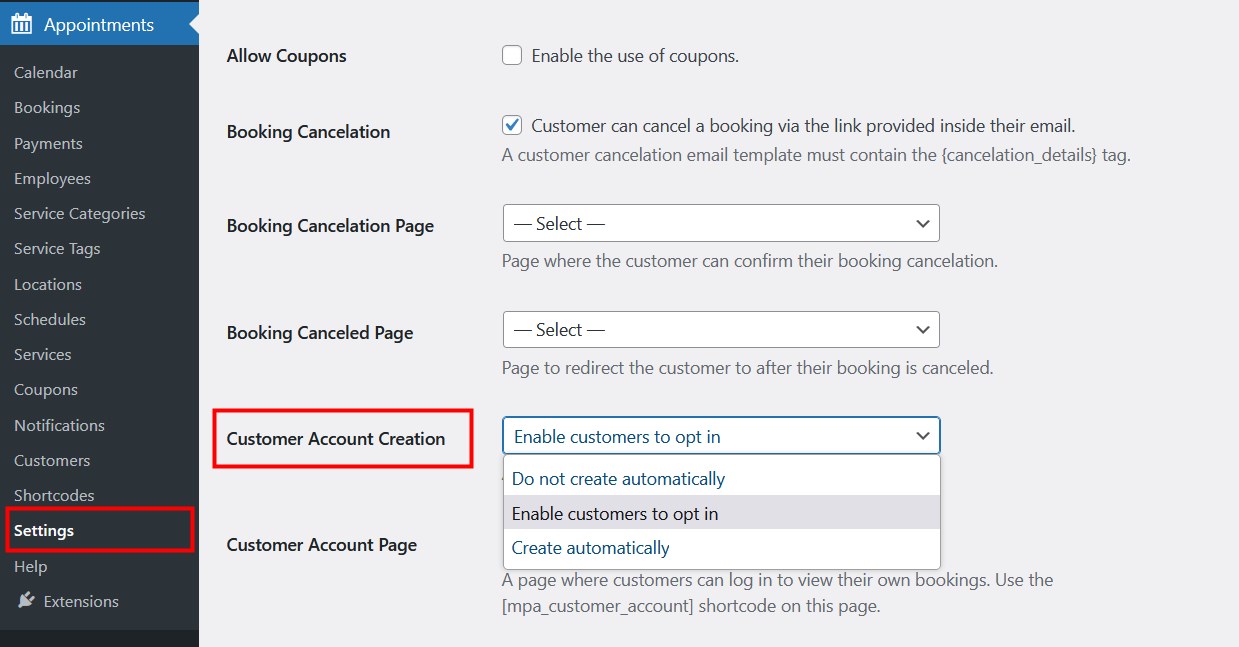
To activate customer account registration on your website and configure your preferences for this procedure, navigate to Appointments > Settings > Customer Account Creation.
- Do not create automatically: disable the option of immediate account creation.
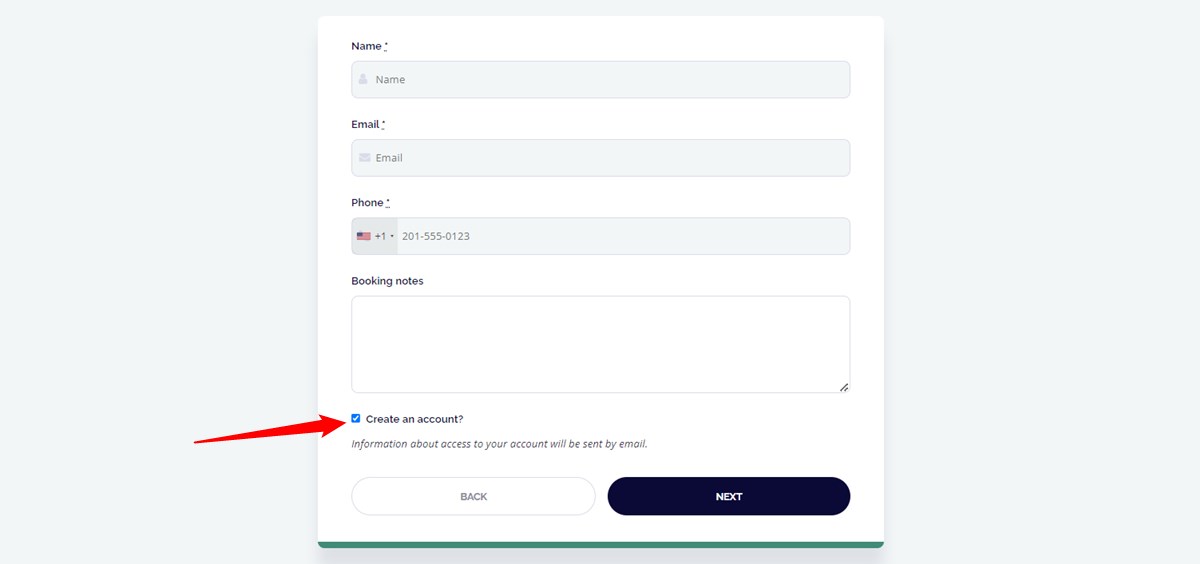
- Enable customers to opt in: leave the decision up to the customer. During the booking process, they will encounter an optional checkbox at checkout. Clients will receive login credentials via email upon the account creation.
- Create automatically: to force a user account creation for everyone making a booking via the booking widget. Clients will receive login credentials via email upon the account creation.
There is a fundamental difference between WordPress users and Customers. Customers refer to all individuals with assigned bookings, with or without an account. If they have an account on your site, they must have a WordPress user assigned to them.
- When a customer creates an account, a WordPress user name is created automatically.
- If you want to assign a user name by hand, you firstly need to create a new WordPress user via WordPress dashboard > Users > Add new and then assign it to the needed Customer.
- If you delete a WordPress user, a customer associated with this user won’t be able to log into their account, but their customer information will be saved in the admin dashboard.
- If a logged-in customer makes a booking using a different email address and name, a new booking will be created with the provided details but a new customer won’t be created, the booking will be assigned to the logged-in customer.
- To assign an existing booking to another customer, go to the Customers menu > choose a customer > click on the number of Bookings to open the list of all bookings > Click ‘Edit’ for the needed booking > update an email address in a booking with another one assigned to an existing customer.
- If you update an existing booking with the new customer data not added earlier (e.g. a new email address), a new customer will be created.
Create an email with login credentials
To customize an email template with the account login credentials, go to:
Settings > Emails > Customer Emails > Customer Account Creation
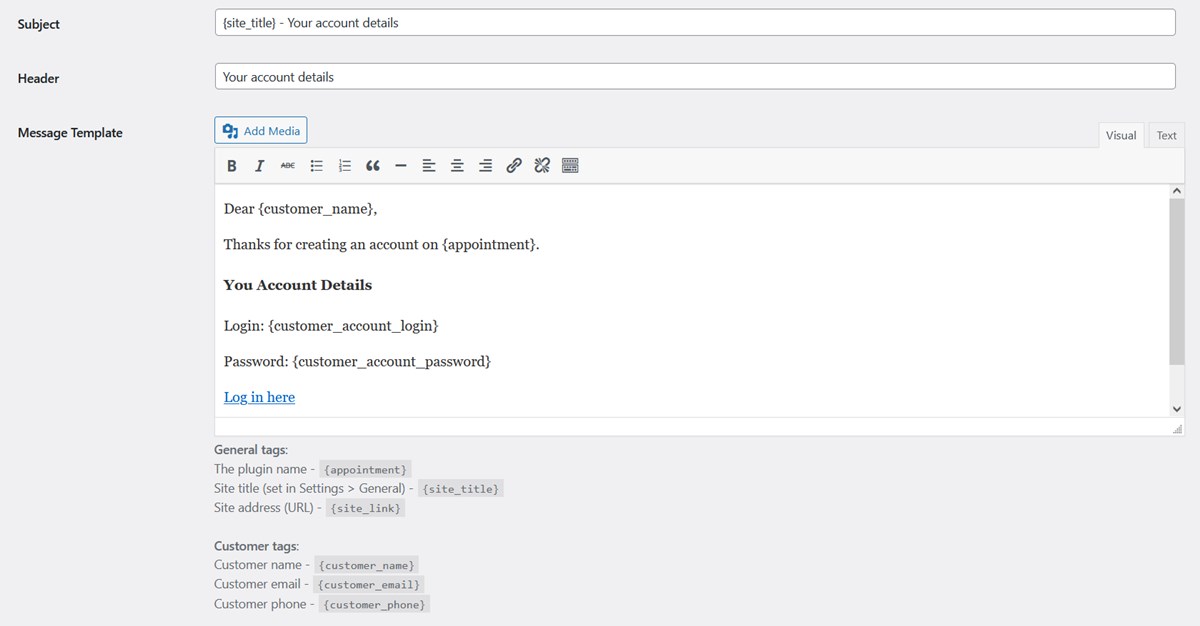
Here is a default email a customer receives once their account is created:
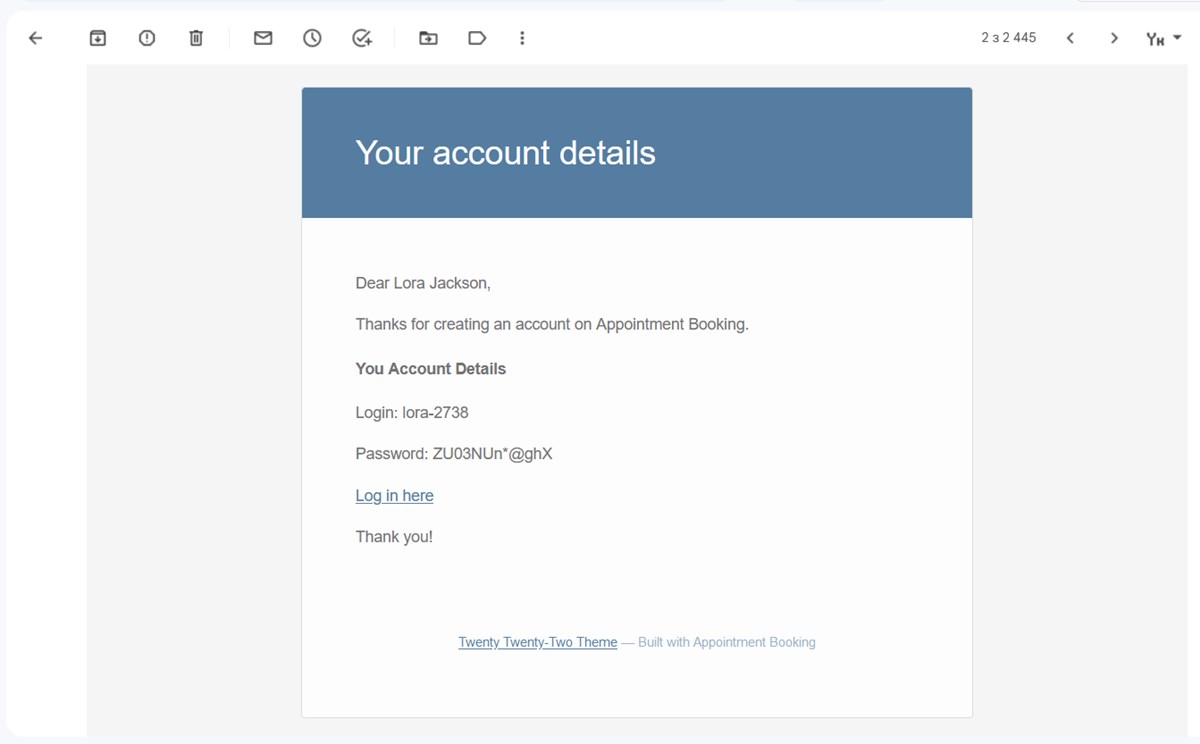
Customers will need to click on the link in the email and insert their login details to sign in.
Inside customer account
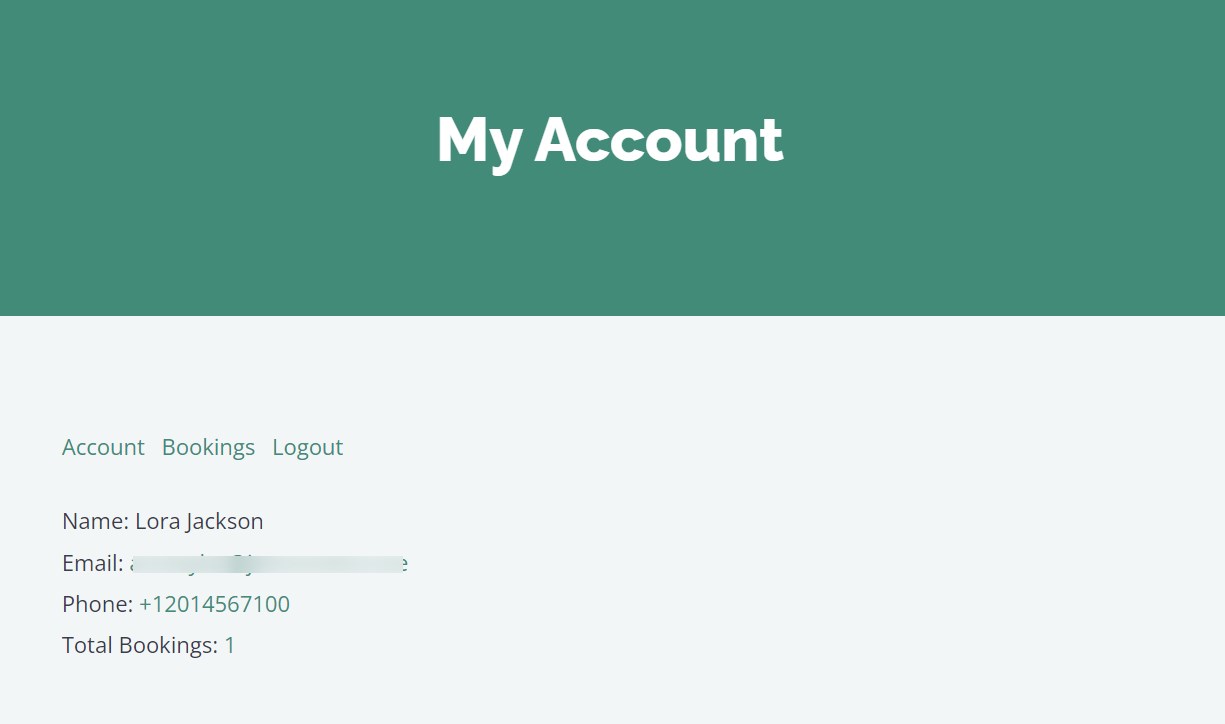
Customers can log into their account by following a link in their email or by signing in via the dedicated login area on your website (more on this in the next part of this tutorial). In their account, customer can:
- View their personal details.
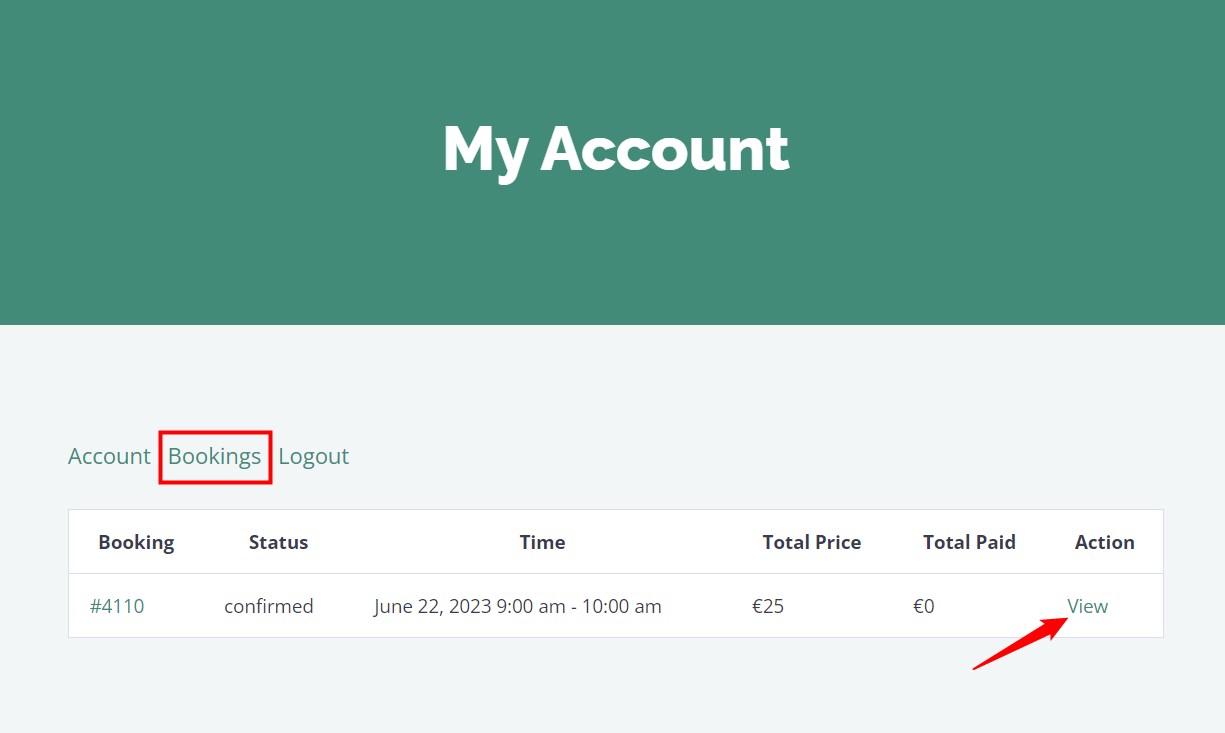
- View all bookings.
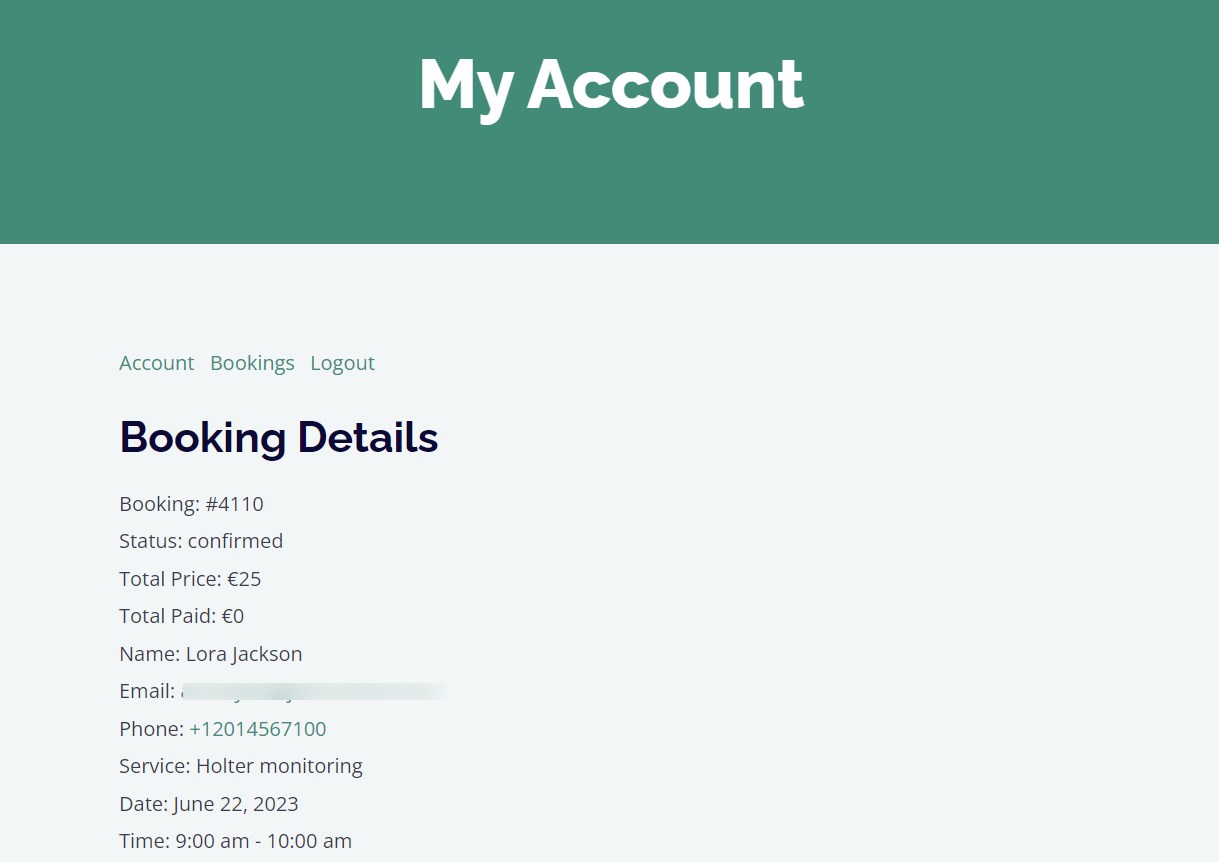
- View details of individual bookings.
How to add a dedicated user login area on your site
To create a public customer login area on your website, do the following:
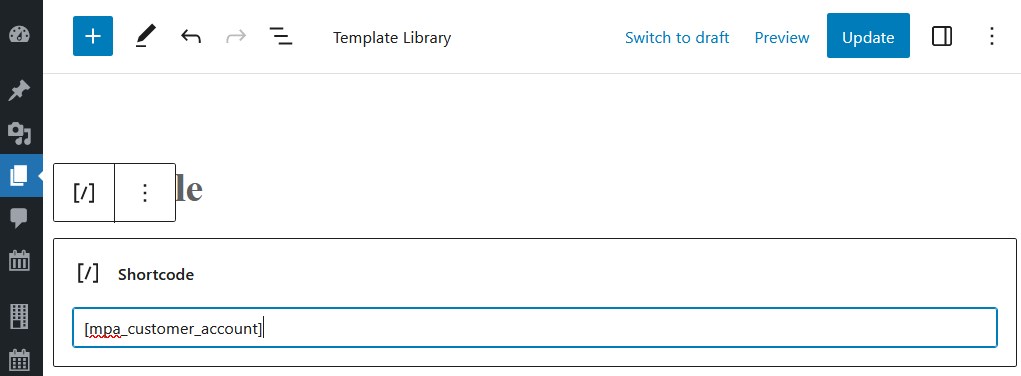
- Create the login area by placing the dedicated
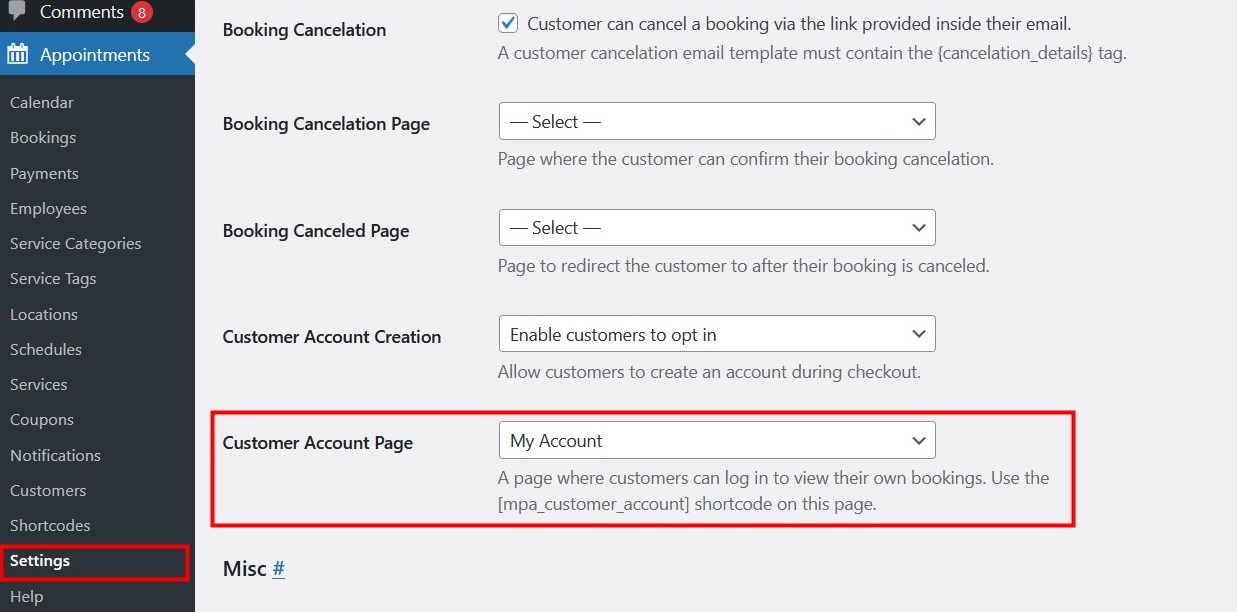
[mpa_customer_account]shortcode to the new page. Title it in any preferable way and save the page. You can find all shortcodes via Appointments > Help. - Go to Appointments > General > Settings > Customer Account Page and select the page you’ve created in the drop-down menu.
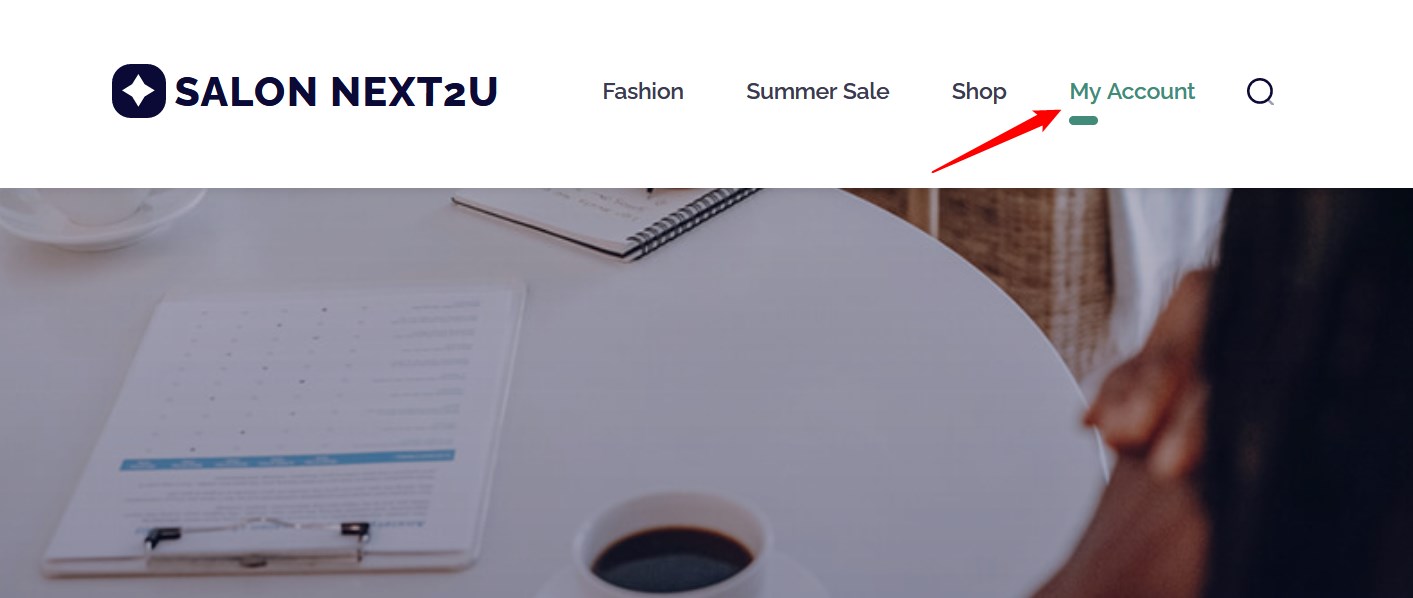
- Add the link to this page via any suitable navigation menu on your site using the preferred way to work with menus or widgets in WordPress. For example, you can add the My account link to the primary menu, footer menu, sidebar or any other.