Table of Contents
Go to: Calendars → Settings
Here, you can configure global settings that apply to all calendars and forms on your site.
Booking Confirmation Page
Decide what customers see after completing a booking:
- Select a page to redirect customers to a custom “Thank You” or confirmation page after booking.
- If no page is selected, customers will see their booking details immediately after completing the booking.
Booking Confirmation Mode
Choose the action that confirms a booking:
- Confirm automatically (once a client made a booking, it’s automatically confirmed): Bookings have a ‘Confirmed’ status automatically. To get automated notifications for such requests, add ‘New booking’ emails via the Notifications menu.
- By admin manually (you need to manually review and confirm a placed booking request):
- Confirmation upon payment (a booking is confirmed only after successful payment):
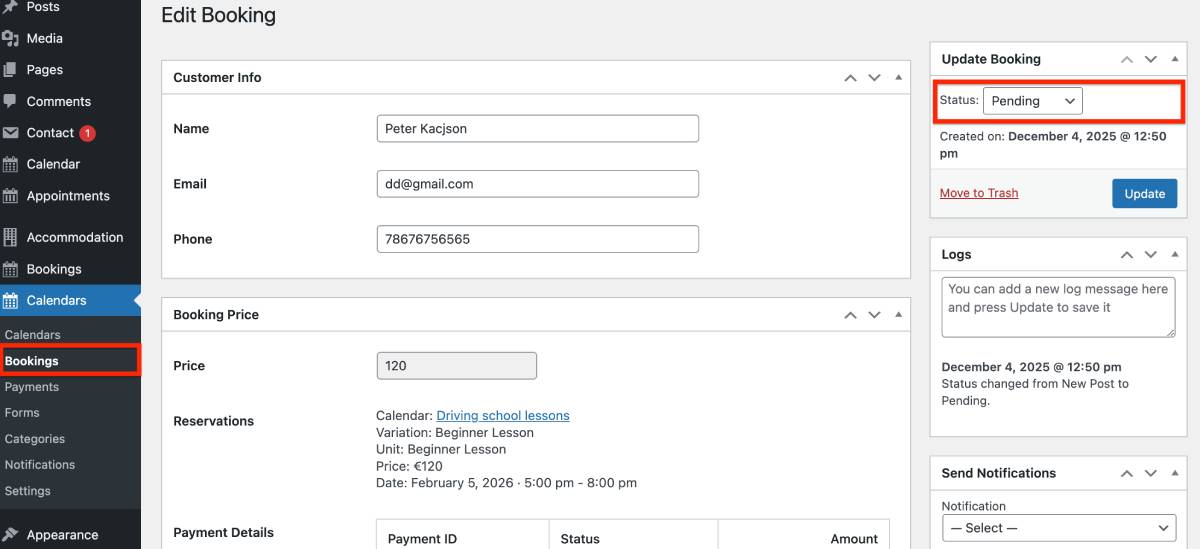
Once a customer places a booking, you see a new booking with a Pending status in the Bookings menu. To change the booking status to Confirmed, open it and choose the needed status in the Update Booking section > Click ‘Update’. That’s it! Now you have a manually confirmed booking. To get automated notifications for such requests, add ‘New booking’ emails via the Notifications menu.
Currency
Set the default currency for your site, which applies to all rental items and bookings.
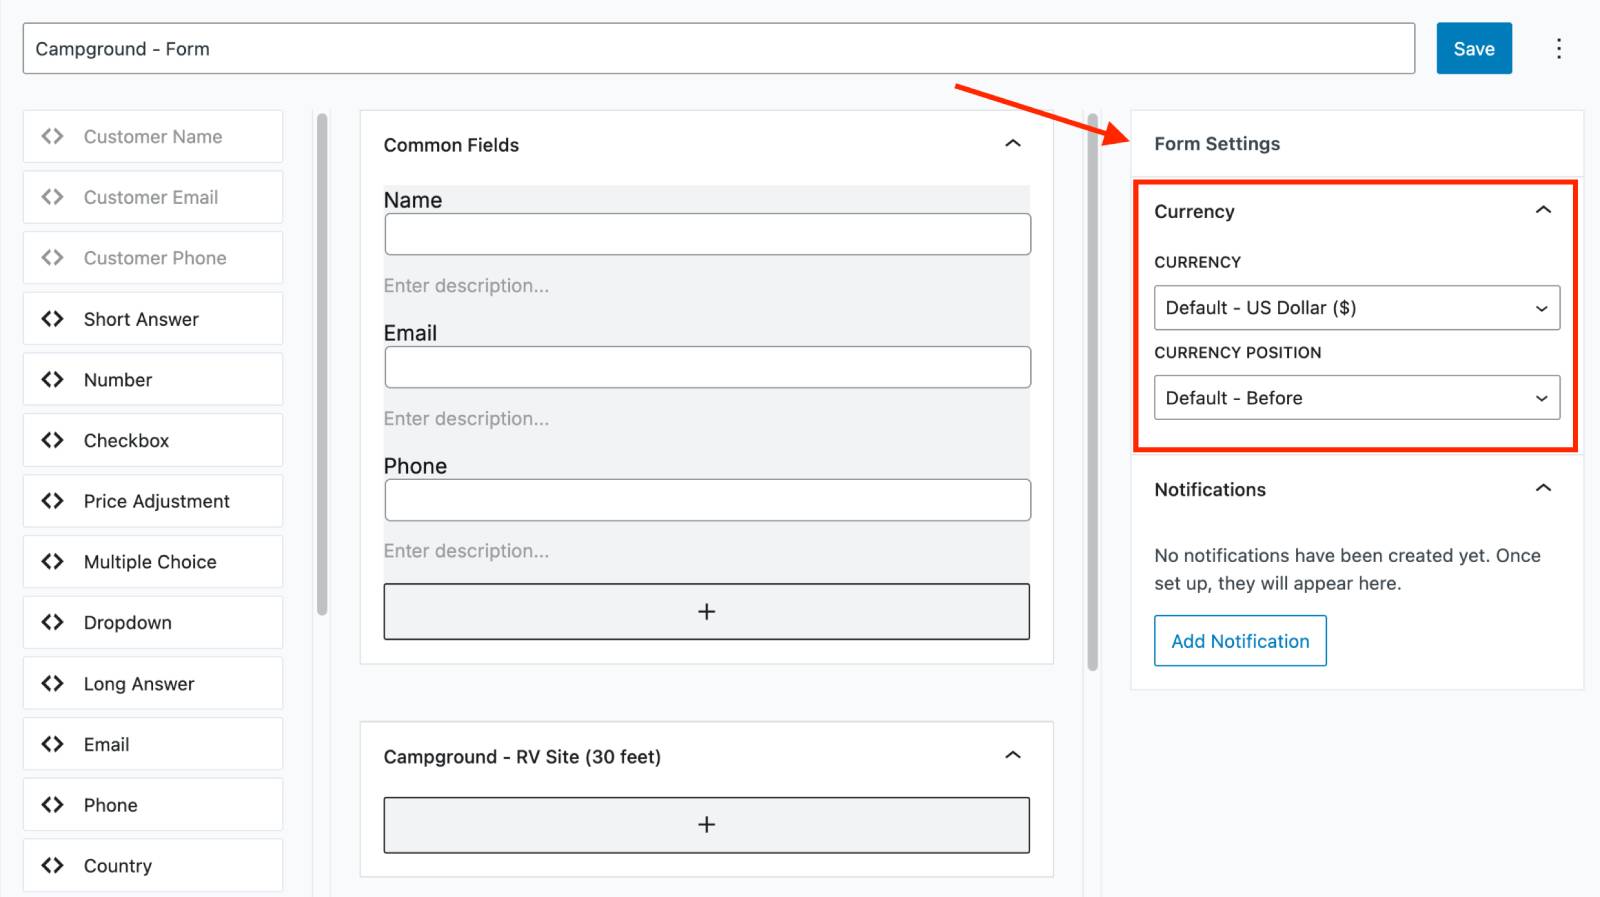
Need different currencies for different calendars? You can override the global currency for a specific calendar by navigating to: Form → click on the form in the centre → Form Settings → Currency.
Email Settings
Here, you can:
- Set the administration email address for receiving booking notifications.
- Customize the content and design of email notifications sent to your customers and admin.