Table of Contents
Set up the front page
Here are the steps to follow to set up the front page:
- Go to Pages → Add New and add a page.
Note: if you used the sample data installer, Home – Front page should already be among the default pages and you can customize it without creating a new page.
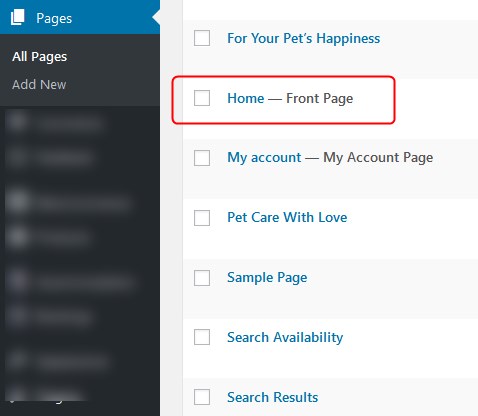
In this case, disregard the steps 2, 3 and 4.
2. Label it appropriately, e.g. home page, front page.
3. In the Gutenberg Page Attributes panel, select the preferable template (“Canvas” is the default one for the home page).
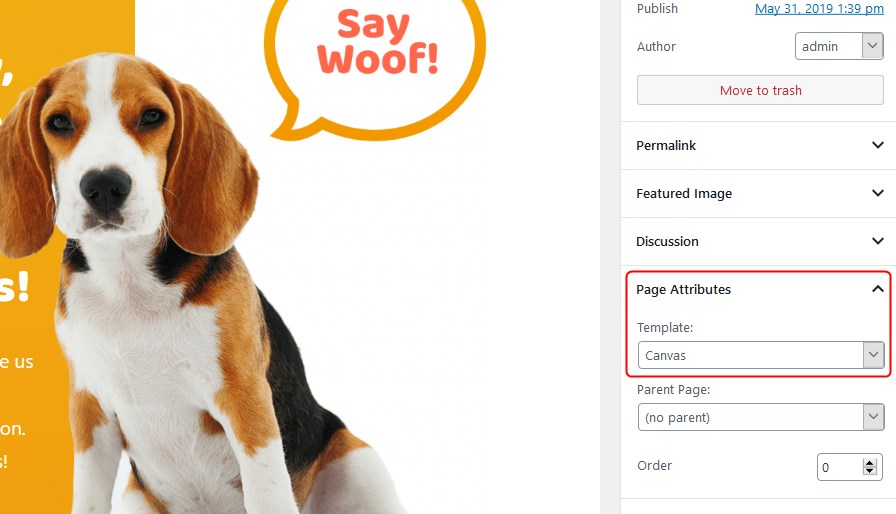
4. Publish your page.
5. Go to Settings → Reading: set ‘Front page displays’ to Static Page.
6. Select the ‘Homepage’: choose the one you created during the step #2 and save changes.

Customize the front page
General website customization settings can be modified via the WordPress Customizer and the Gutenberg core editor.
Go to the front page you created during the previous steps. You’ll be able to edit the page visually via the Gutenberg block-based WordPress editor in visual mode. To empower you to add and use more custom and various blocks, Petotel relies on:
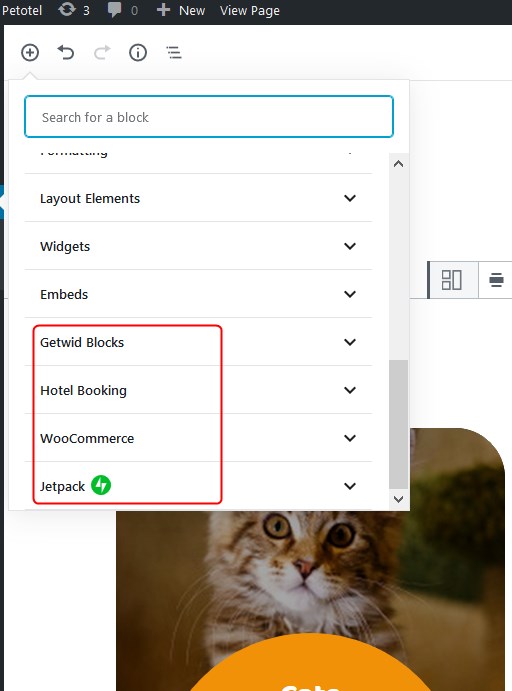
- Getwid (WordPress Gutenberg blocks by MotoPress) for general content building purposes. Read more about Getwid.
- WooCommerce blocks to streamline your workflow of adding shop-related content. Thanks to the product blocks, you can seamlessly integrate content and ecommerce offerings across a store you might want to integrate with Petotel theme.
- Jetpack for more optional tools, such as website optimization, performance improvements, etc. (particularly in Petotel we use Jetpack for out-of-the-box contact form). For all functions to work properly, Jetpack requires connection to WordPress.com (it’s free).
Note: you’ll see the respective blocks for all these plugins in Gutenberg only in case you installed and activated the recommended plugins.
You can definitely play with all these and other blocks on any website page, not just the front page.
The front page of Petotel by default contains (if you imported sample data) the following fully customizable blocks:
- The upper website section is created with the Getwid ‘Section block’, which is one of the most powerful blocks with various settings – you can add any blocks inside ‘Section’. It by default contains two columns – one for the image and another is a nested ‘Section’ block with the ‘Availability search form’ Hotel Booking block and headings.
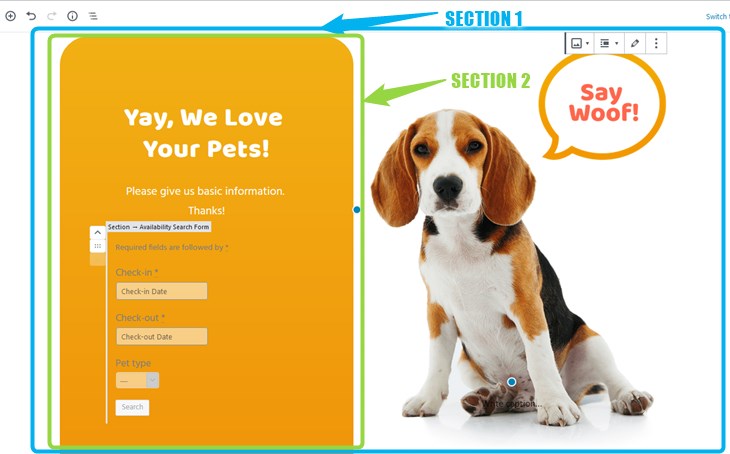
You can modify its look, feel, size, buttons, typography, media, etc. via the Gutenberg block configuration panel from the right:
Since ‘Section’ is the top-level block, you can add any other prefered blocks inside the section:
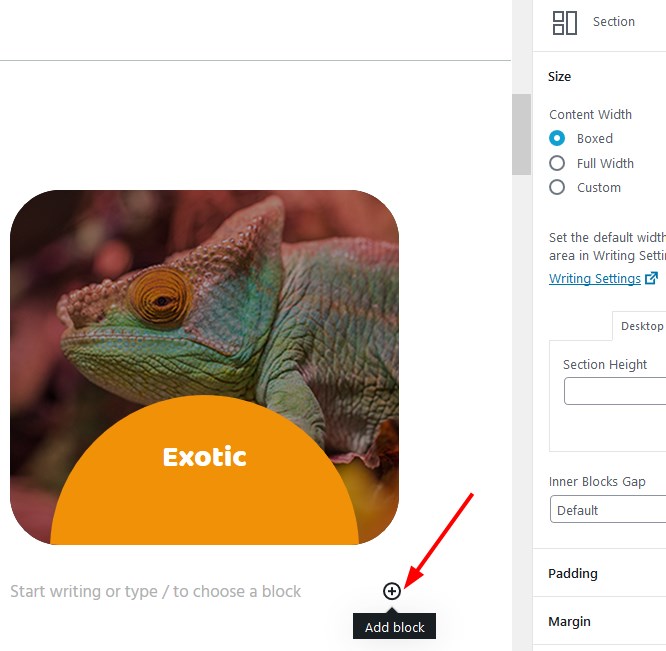
2. The pet types are built with the top-level ‘Section’ block and ‘Banner’ Getwid blocks. The core Gutenberg block ‘Column’ is used for a columned layout inside the section.

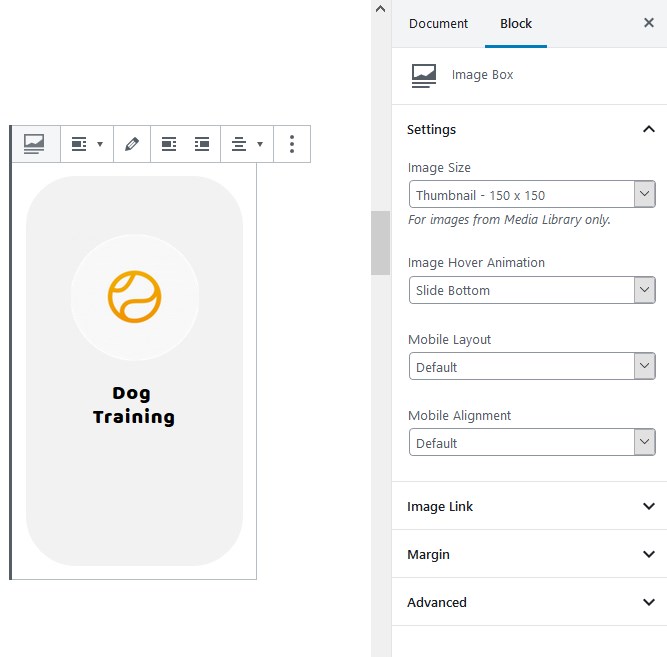
3. The next ‘Section’ block is devoted to services and encompasses ‘Image box’ blocks along with headings, paragraphs and a button. You can figure out the block by hovering your mouse over the needed content block or clicking on it.
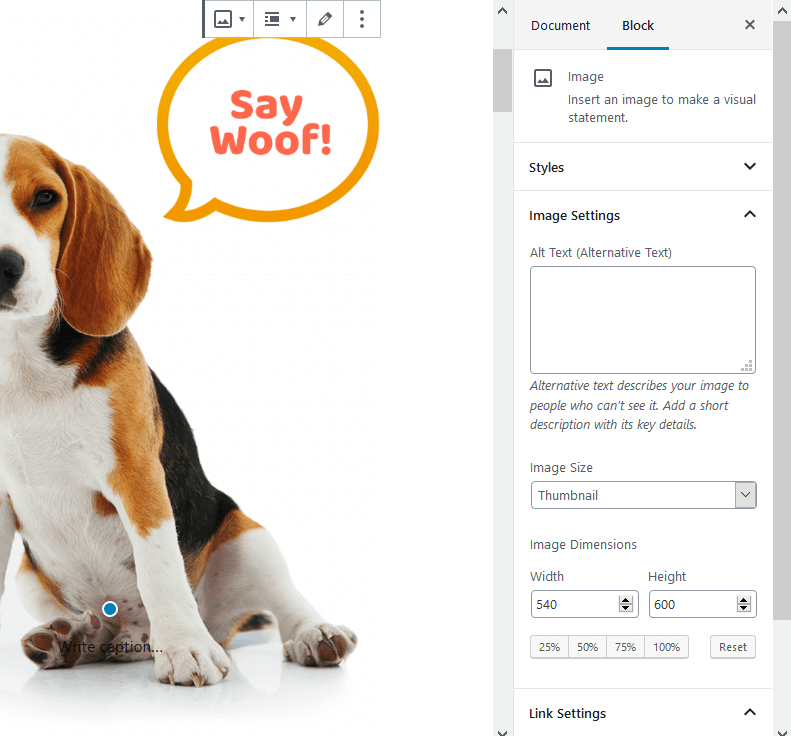
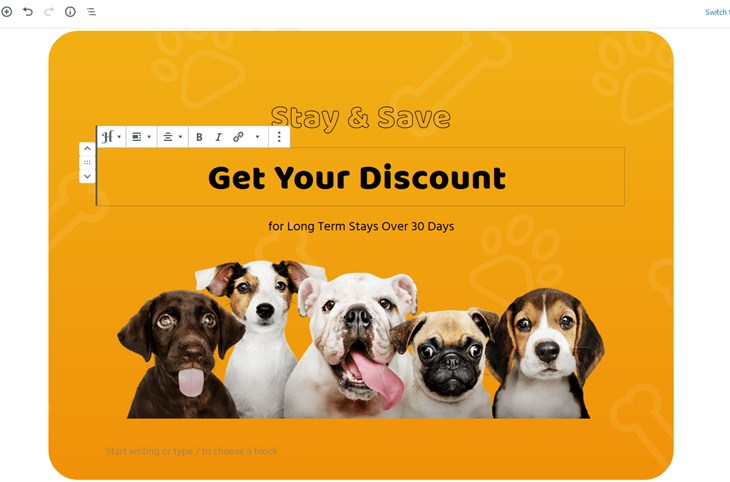
4. The section you can use as any call-to-action is a combination of ‘Advanced heading’ and ‘Image’ blocks.
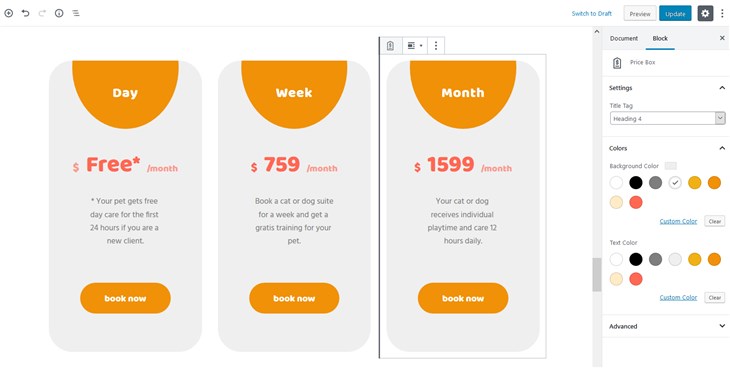
5. The ‘Section’ with several ‘Price box’ blocks can be used for displaying any comparisons or pricing tags for different services.
6. Testimonials are featured with the help of ‘Section’ and ‘Testimonial’ blocks by Getwid. You can edit a testimonial content right in the block as in many other blocks.

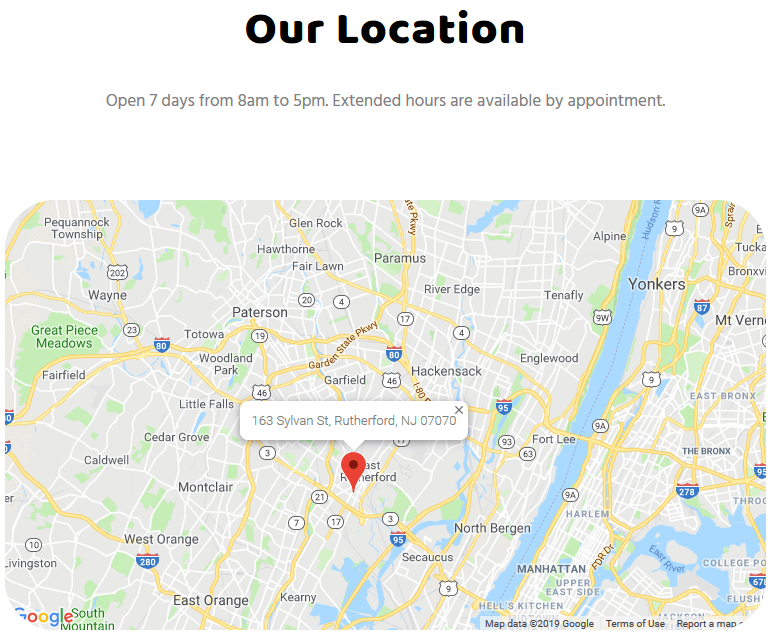
7. If you want to use Google Maps, it needs to be connected with your API key.