We developed our custom hotel room/property booking plugin (MotoPress Hotel Booking plugin) and integrated it with the AlpenHouse WordPress theme.
When installing the theme, you’ll be offered to install and activate the Hotel Booking plugin. The plugin fulfills several functions: with its help you will present all accommodations, services, details of the vacation rental as well as turn on online reservation of your property.
AlpenHouse theme is optimized for a single property (vacation rental / hotel) bookable by the room. It also means you can rent out multiple vacation rentals as single items. In the current theme demo, in any of the front page designs, you can see:
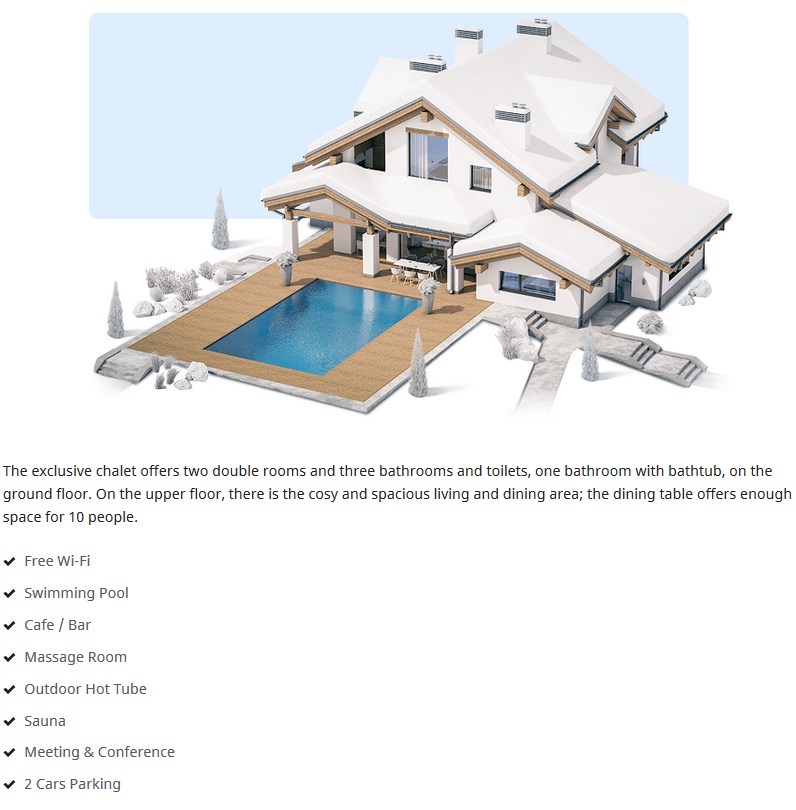
1. The general info about you the lodging (in the header slider, header image, facilities details). All of this information is added manually – either via WordPress Customizer or via Elementor / default WordPress editor. So, you’ll be able to update it later when editing the theme, it’s not connected with the Hotel Booking plugin.
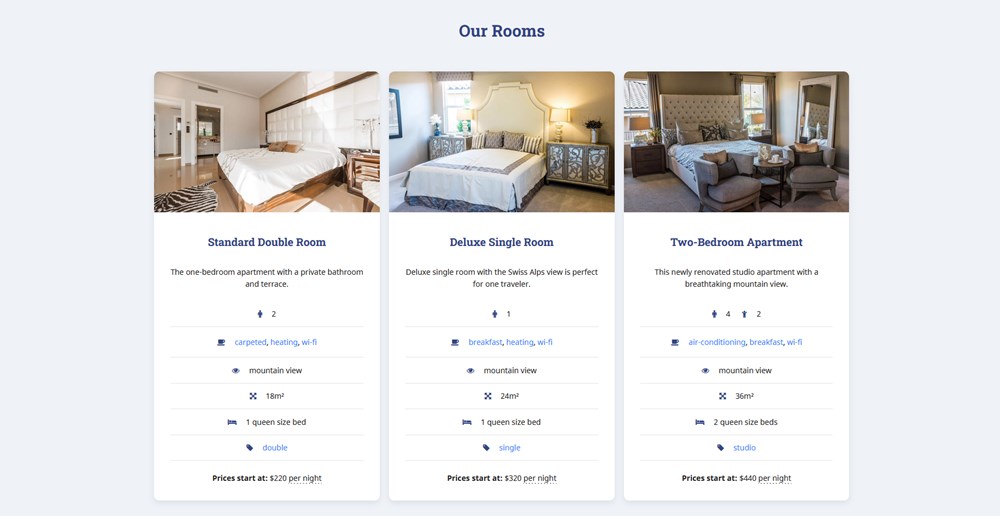
2. Information about rooms (room types, a categorized bunch of info tied to a room, the widgets like search availability form). This content is generated with the Hotel Booking plugin.
Proceed in the following way to add your rentals with the Hotel Booking plugin. Note! This is just a quick guide of how to create accommodations listing with booking service enabled. When you need a step-by-step guide, check out the detailed Hotel Booking plugin documentation.
1. If the MotoPress Hotel Booking plugin is activated, two menus should appear: Accommodation and Bookings. You’ll need to add rooms available in your property via Accommodation → Accommodation types → Add New. By default, the property reservation option is enabled (Accommodation → Settings → Disable Booking).
To make it even easier, firstly add the list of available categorized items: Amenities, all Services available (paid or free, e.g. parking, luggage storage, spa service), and Bed types (under Settings → Bed types). Once these are added, you can head over to adding accommodation types.
The difference between Accommodations and Accommodation Types is the following: accommodations are real bookable rooms, while Accommodation Types are just the catchall term for the same accommodations. For example, you may have 3 physical bookable Accommodations under a “Standard double room” Accommodation Type. The number of real rooms is added from the same Accommodation Types screen.
If you rent out multiple vacation rentals as single items, add them all as different Accommodation Types (e.g. villa 1, villa 2).
If you rent out only one vacation rental as a single item, add it as one Accommodation Type and set the “number of accommodations” to 1.
2. Add Seasons – specific time periods that can come with different pricing (for example, Summer, 2019; April, 2020).
3. Add Rates to present the same accommodations with different conditions (e.g. refundable versus non-refundable). Your guests will be able to choose rates when booking a property. From the same screen, you can add variable pricing if you need different pricing options depending on a number of guests.
4. Create all needed pages (you should be offered to install these pages automatically): Search Results, Search Availability, Complete Booking, Booking Confirmation, Booking Cancellation pages with appropriate shortcodes and messages.
5. Navigate to configure general plugin Settings and Payment gateways. (the plugin supports multiple bookings reservation so you have no limit in setting adults and children number for the search availability form).
6. Configure Language settings.
7. Go to Shortcodes to get the needed ones and add to the needed pages and posts.
8. Create your booking rules to manage all or individual accommodations: go to Bookings → Booking rules. These rules allow you to set minimum and maximum check-in and check-out dates, minimum and maximum stay-in days for all or individual accommodations. Also, using this menu you’ll be able to block the booking option for chosen accommodations at specific periods of time.
9. Apply taxes and fees under Bookings → Taxes & Fees.
10. Optionally sync bookings with external calendars via iCal (under Bookings → Sync calendars).
11. To view, add or delete your real booking requests, go to Bookings menu.
The plugin is translated into 14 languages. By default it’s in the language set in your WordPress global language settings.
This is just a quick guide. Most likely, you’ll need more details on how to work with the plugin, so please take a look at the Hotel Booking plugin documentation.