Table of Contents
Configure the MotoPress Appointment Booking plugin
The Pixetty theme is powered by the MotoPress Appointment Booking plugin.
For a step-by-step tutorial of working with this plugin, go to scheduling plugin documentation.
Here are basic steps required to set up the plugin:
- Navigate to Appointments > Settings > General to configure how bookings must be confirmed, currency, default time slot for bookings, choose to use multibookings, etc.
- Go to Employees menu > add your staff members.
- Add locations via the Locations menu (e.g. cities or rooms where you provide the sessions).
- Create schedules via the Schedules menu (e.g. add working hours, lunchtimes, days off, etc.).
- Add and customize your services (e.g. family photography, sessions photography) via the Services menu.
- Use tags and categories menus to categorize your services.
- Go to Appointments > Settings menu > Emails to customize default email templates for notifications.
- To set up payment gateways, go to Appointments > Settings > Payments and click Manage next to the needed payment gateways.
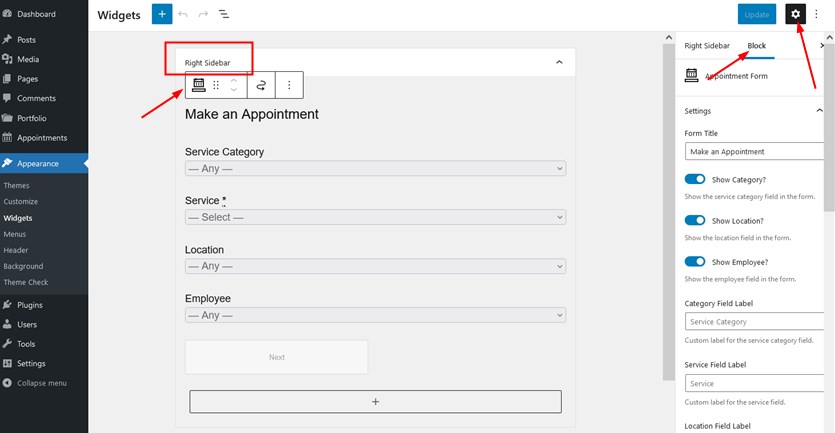
- Customize the appearance of your booking widget via WordPress dashboard > Appearance > Widgets > the Right Sidebar widget> open the block settings > Edit field labels.
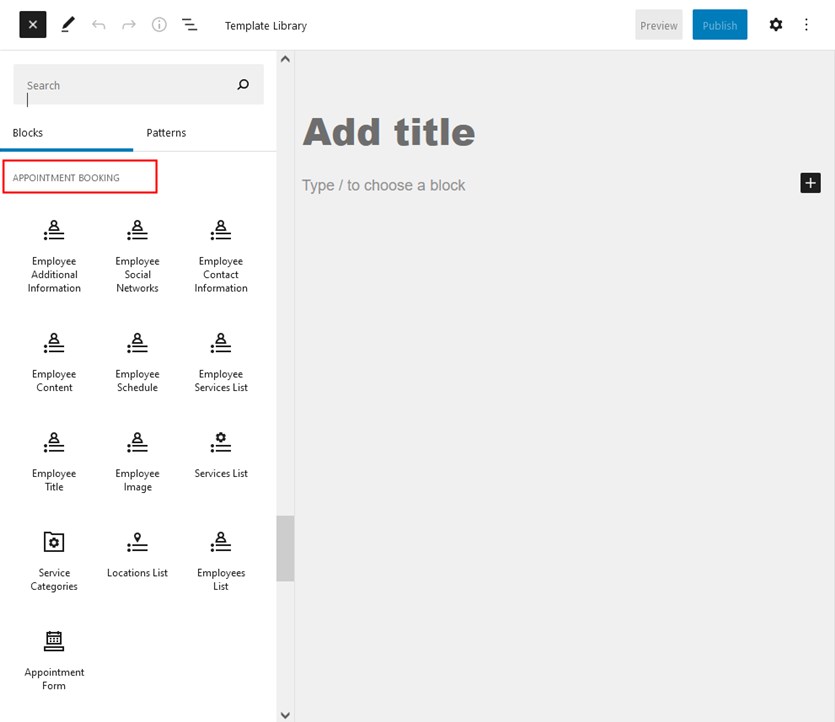
You can also use other Appointment Booking widget blocks via the Gutenberg editor:
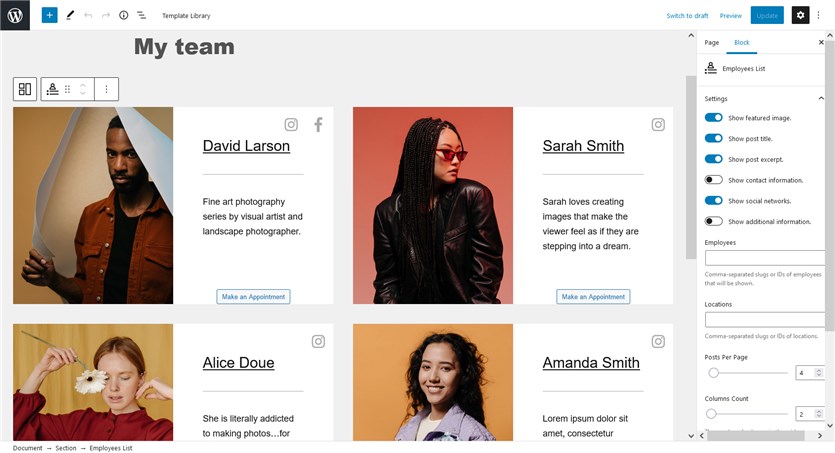
For example, you can add the team view and customize its appearance:
How to make any button or link open your sidebar
To open a sidebar by the button or link on your website, you need to add the CSS class right-sidebar-toggle to any link, button, or menu item of your website.