Table of Contents
Set up the front page
Here are the steps to set up your front page:
- Go to Pages → Add New and add a page (if you use sample data, Home – Front page should already be there and you can customize it without creating a new page).
- Label it appropriately, e.g. home page, front page.
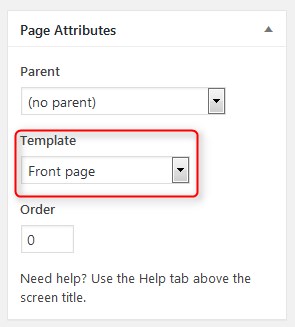
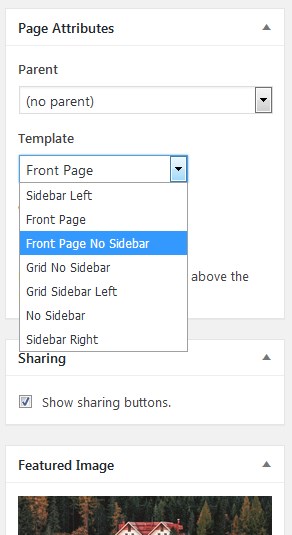
- In the Page Attributes, select Front Page template.
Publish your page.
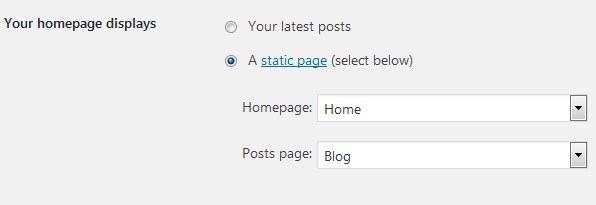
5. Go to Settings → Reading: set “Front page displays” to Static Page.
6. In Settings → Reading set Front Page to the one you created during the step #2.
7. Save changes.
Edit front page
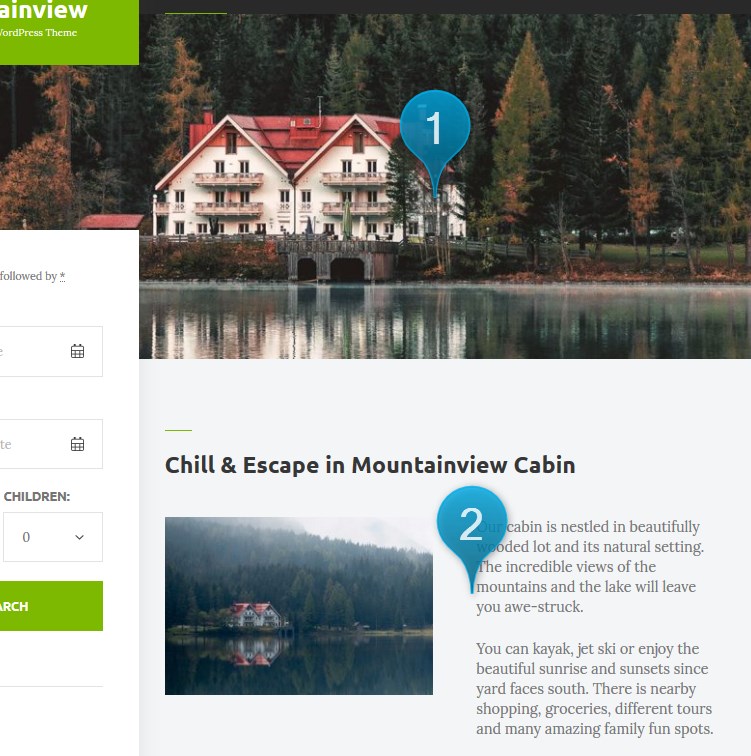
The front page can feature several sections: a sidebar (optional), a text area, widget areas, and your featured pages (via child pages).
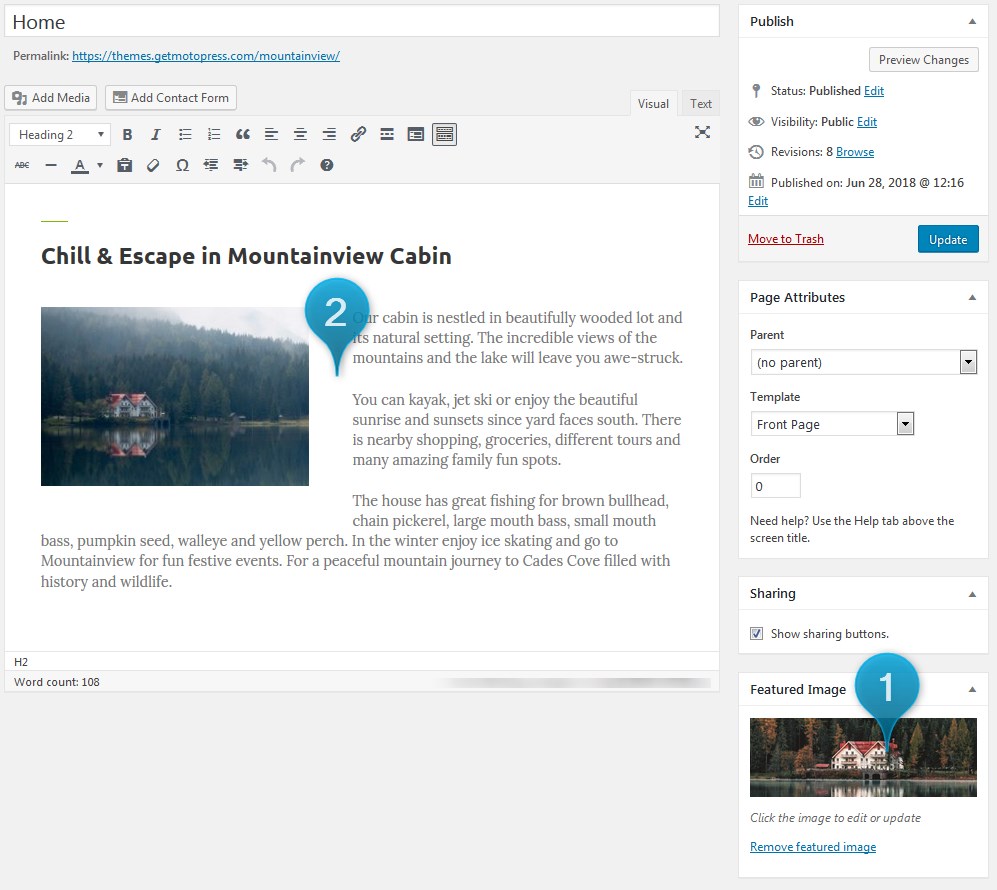
- The header image of the front page is a featured page of the Home page.
- The intro section is a standard WordPress text of the Home page.
On the front page:
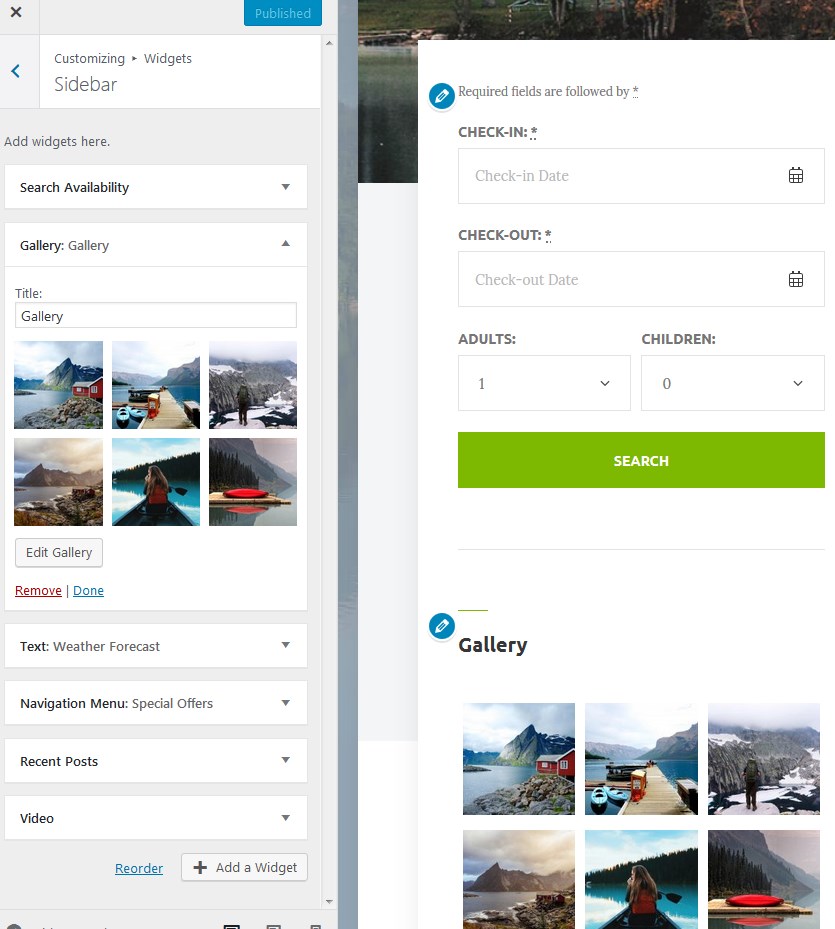
Another huge part of the front page of Mountainview can be easily editable with the WordPress Customizer – a live editor.
To start working with it, go to your WordPress dashboard → Appearance → Customize.
The changes you make in the left-hand side menu are instantly visible (but not saved until you click Save button). You may also notice the blue icons with the pencil – you can click on them to get an instant access to all theme parts you want to modify.
3. Set widgets you want to see in the sidebar: Widgets → Sidebar. (there is a different Blog sidebar that will be displayed on the blog.)
If you don’t want to use sidebar on the front page, go back to Pages → Home page → Page Attributes → Template → select Front page no sidebar.
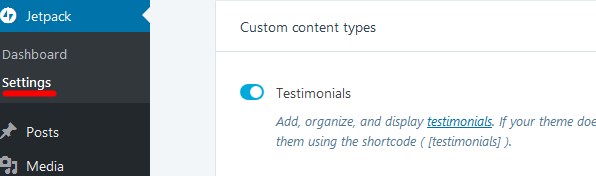
4. If you enabled Testimonials module in Jetpack plugin, you can display them just like in Mountainview. For this, make sure to follow the next steps:
- Make sure that Testimonials functionality is enabled in Jetpack: WordPress dashboard → Jetpack → Settings → Writing tab → Custom Content types → enable Testimonials.
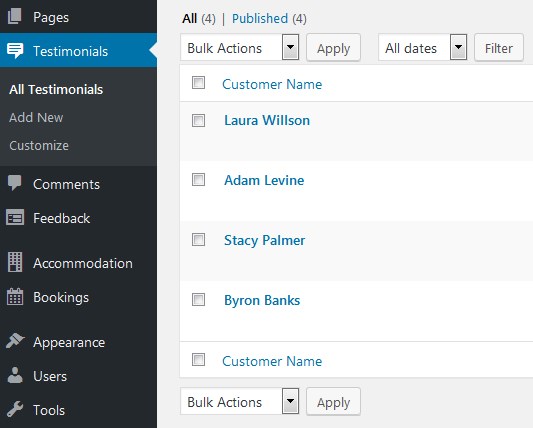
B. For the testimonials to be displayed properly, you should firstly add them via WordPress dashboard → Testimonials → Add new.
C. Go to WordPress Customizer → Widgets → Front Page Footer top. Add “Text” widget and insert Testimonials shortcode: [testimonials]. Your earlier added testimonials should appear.
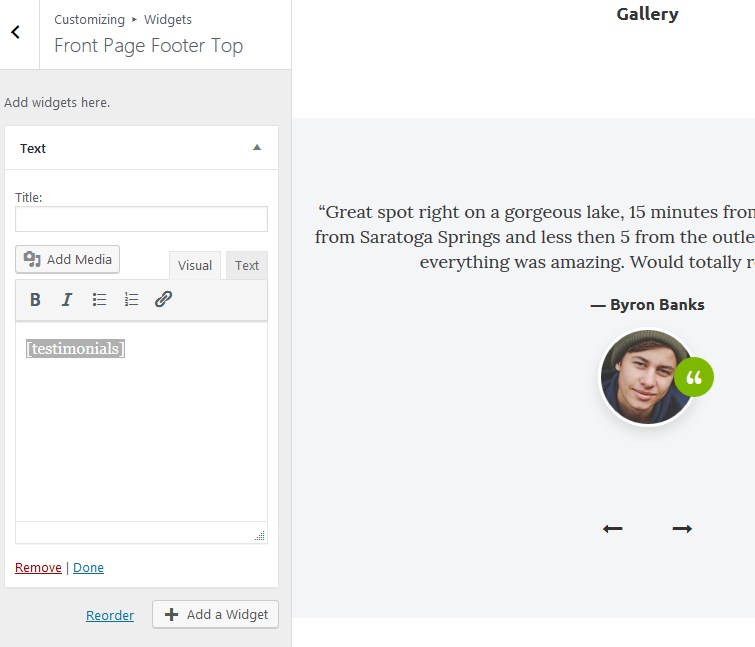
More shortcode attributes for modifying Testimonials layout can be found here.
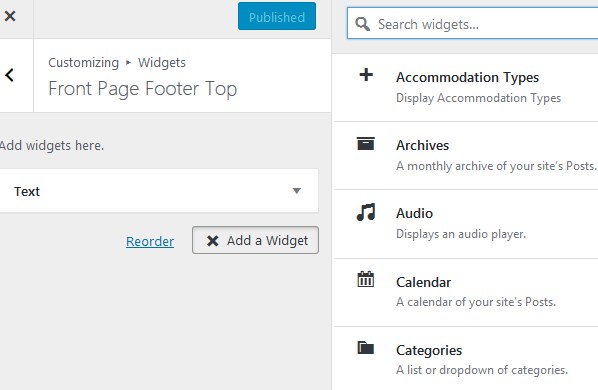
If you don’t want to use Jetpack Testimonials in this front page widgets section, you can use any other preferable widget into this section (click “Add widget”).
5. The front page also features Rooms, Activities and Gallery links. This is a Featured pages section.
To create the sections with featured pages, you must use WordPress child pages. We created them to make sure that all your content is added easily, looks great and remains even if you uninstall the theme.
For example, if you want to feature quick links to your property offers, deals, activities or any other page on the front page in an elegant gallery, simply go to those pages (e.g. property offers, deals, activities) and set the parent page of each to Front page: go to the needed page → Page Attributes menu:
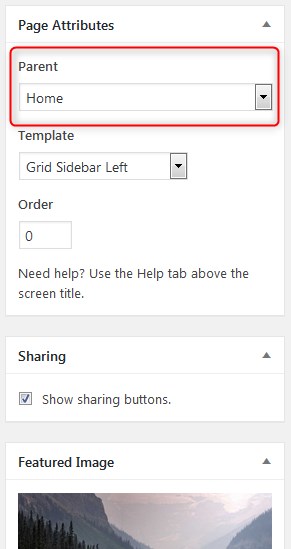
Make sure that each page has a featured image. In result, all the child pages will look like this:
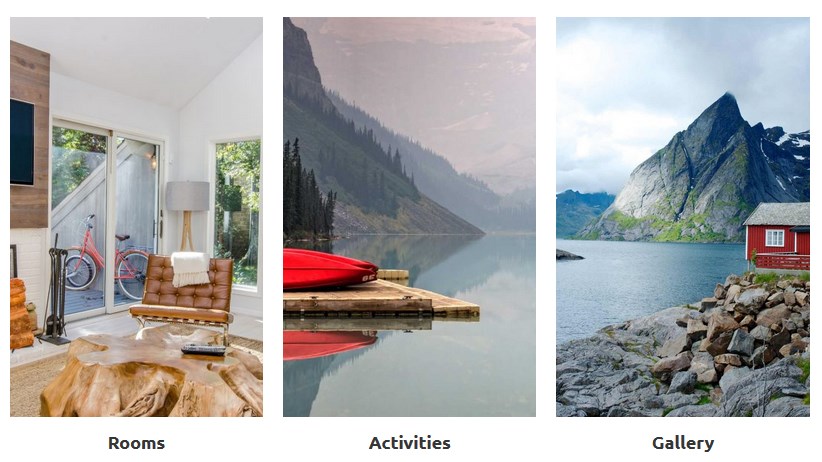
Featured pages section (3 pages are Child ones of the Parent Front page)
You can add Activities in the same way using child and parent pages (add Activities page and then add the actual activities as child pages of Activities page).
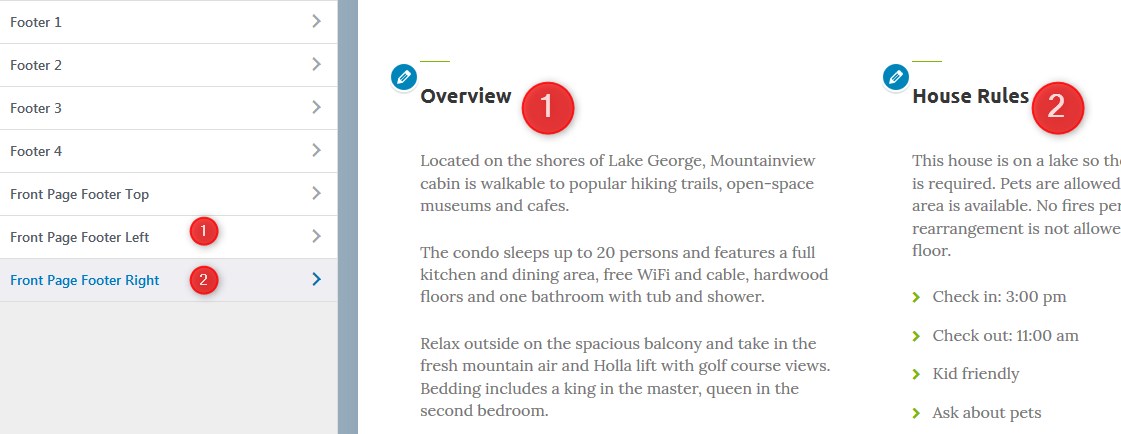
6. There are also two front page bottom widget sections: you can use any needed widgets there. To customize them, go to WordPress Customizer → Widgets → Front Page Footer Left and Front Page Footer Right.