Table of Contents
Set up the front page
Here are the steps to set up your front page:
- Go to Pages → Add New and add a page.
- Label it appropriately, e.g. home page, front page.
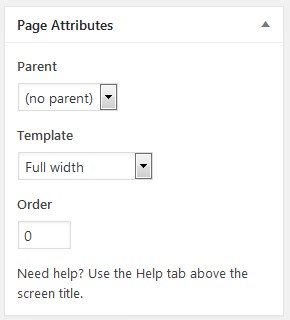
- In the Page Attributes, select Full width template.
- Publish your page.
5. Go to Settings → Reading: set “Front page displays” to Static Page.
6. In Settings → Reading set Front Page to the one you created during the step #2.
Create projects for portfolio
The front page features your portfolio, powered by the Jetpack plugin. So, you’ll need to add your works and categorize them (by project types and tags.)
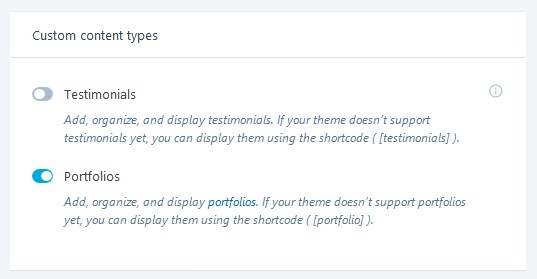
At first, make sure that Jetpack plugin is activated and configure its settings first: go to Jetpack → Settings → Writing tab → scroll down to Custom Content types → switch on Portfolios.
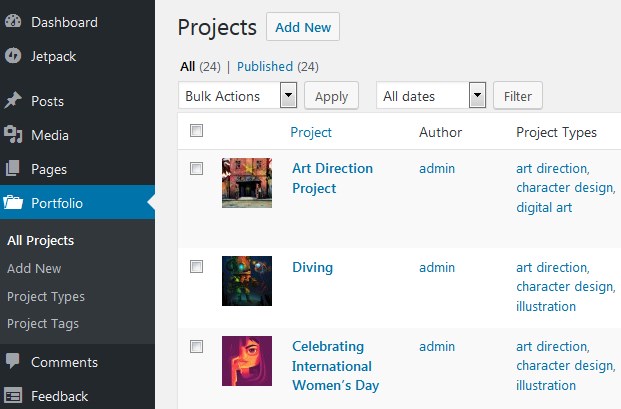
And then go to Portfolio → Add new and add all needed projects with the needed tags and categories (you’ll use them later to showcase only chosen works.)
Editing the project, you may add different types of content – image, texts, videos, etc. By default, you may simply add your images one by one (with a space) and they will appear on the live site without spaces. Like this:

If you want to add spaces between the images, simply use double Enter.
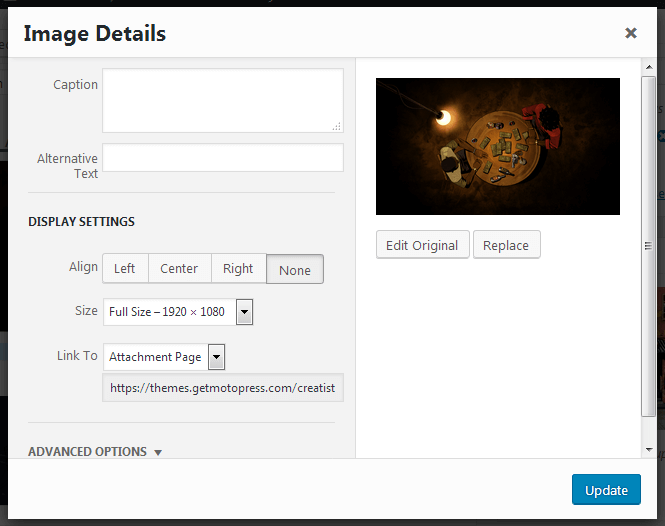
If you want the image to be opened in the lightbox (it will allow site visitors to view the image in different sizes and comment under each image), make sure that it’s linked to the attachment page (click on the image to edit → ‘Link to’ set to Attachment page):
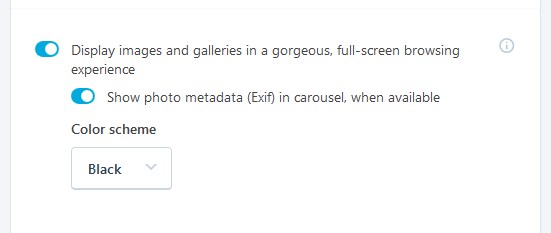
Also, for the lightbox to be opened properly, make sure that you turned this option on in the Jetpack settings: Writing tab → scroll to Media → Turn on ‘Display images and galleries in a gorgeous experience’.
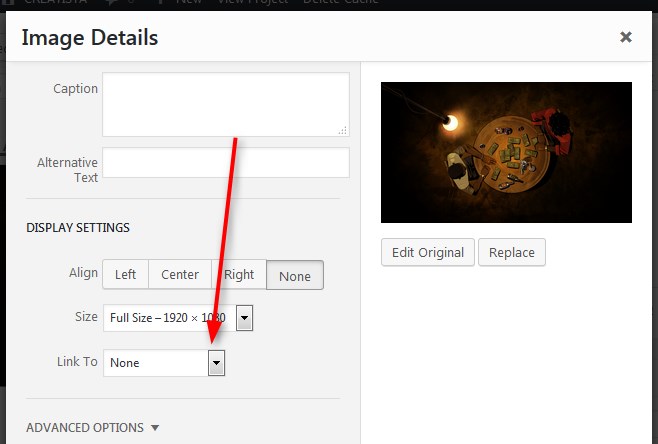
If you don’t want to turn on the Lightbox feature, set the Link page to None.
Quick tips:
- Setting the featured image of the project, make sure that it doesn’t crop inappropriately on the live site. If so, make sure to crop it before setting up to keep the focal point on the needed part of the image. Then, set it as a featured image after that manipulation. Add the original image to the project itself.
- The ‘full size’ of the image should fit most nicely into the page layout of the individual project (edit the image → Full size).
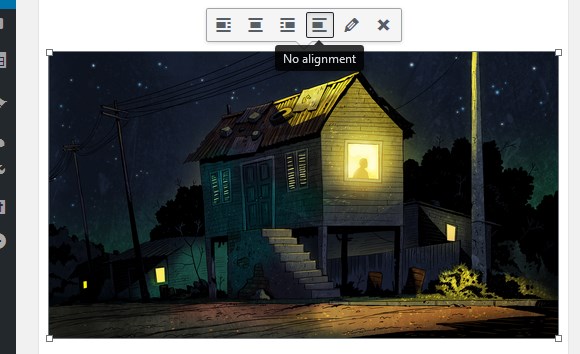
- Use “None” Alignment:
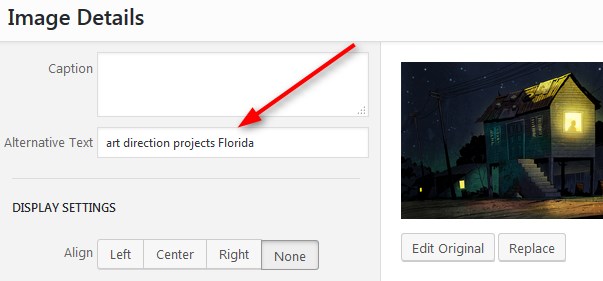
4. For your images to be better indexed by the search engines, don’t forget to supply each image with Alt text:
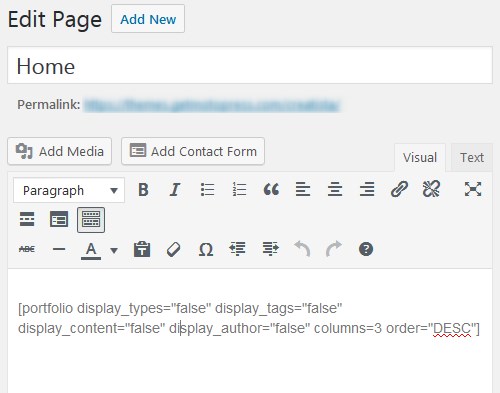
Once your projects are added, you should simply put your Jetpack customized shortcode onto the front page:
To create the front page with your portfolios, follow this way:
- Go to home page you created earlier.
- Make sure that the Full Width template is selected.
- Add the Jetpack Portfolio shortcode with your custom settings: set what info to show and what to hide:
Here are the Jetpack shortcode attributes you can use for customizing and showcasing the portfolios (choose which details to show and which to hide). You may use only the names of those tags and categories you’ve created and added to your projects.
- display_types: display Project Types – displayed by default. (true/false)
- display_tags: display Project Tag – displayed by default. (true/false)
- display_content: display project content – displayed by default. (true/false)
- display_author: display project author name – hidden by default. (true/false)
- include_type: display specific Project Types. Defaults to all. (comma-separated list of Project Type slugs)
- include_tag: display specific Project Tags. Defaults to all. (comma-separated list of Project Tag slugs)
- columns: number of columns in shortcode. Defaults to 2. (number, 1-6)
- showposts: number of projects to display. Defaults to all. (number)
- order: display projects in ascending or descending order. Defaults to ASC for sorting in ascending order, but you can reverse the order by using DESC to display projects in descending order instead. (ASC/DESC)
- orderby: sort projects by different criteria, including author name, project title, and even rand to display in a random order. Defaults to sorting by date. (author, date, title, rand)
Site title and logo
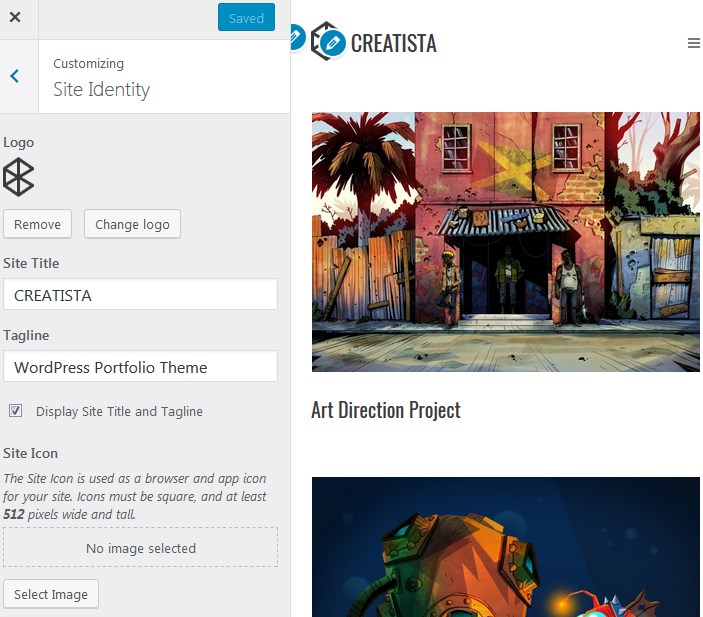
To customize other elements of the front page, you may go to the Visual WordPress Customizer via Appearance → Customize.
There you are free to edit the site identity like logo, site title, tagline, and favicon (site icon):
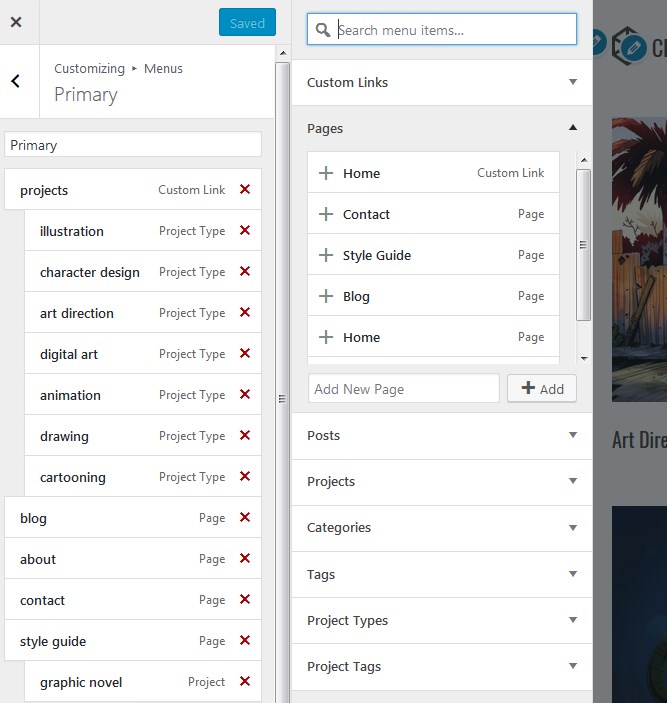
Menus
In the Menus, choose what menus to display and what info exactly to display in those menus: Primarily, Social and Footer. By clicking “Add item” in any of those menus, you may choose what item to add to the menu (you can also add chosen individual projects to the primarily menu):
Social icons
To add social icons to Footer or Header menu, navigate to WordPress Customizer → Menus → Add Menu → Add Custom links with the appropriate names (e.g. Twitter) and links to your social media accounts.
In the Display Location menu choose the Social menu.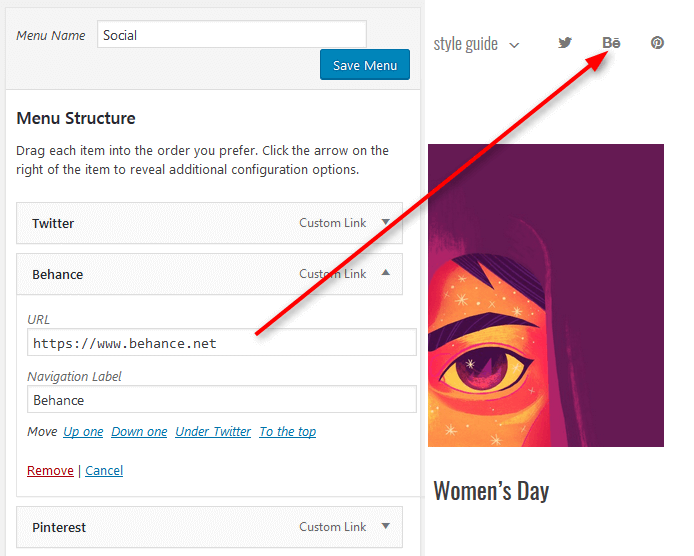
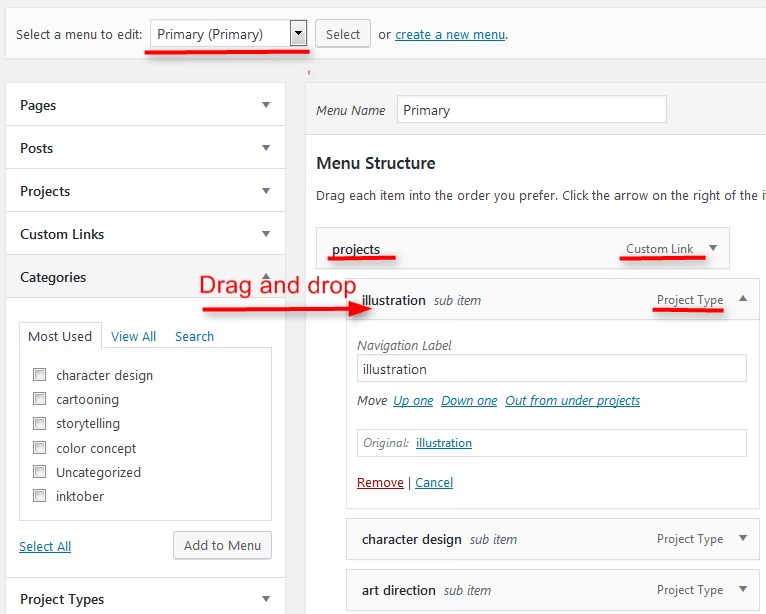
Showcase projects on individual site pages
If you want to create any inner page and showcase all projects s of just one Portfolio type (category) or projects under one tag, you may do that through the menu: go to Appearance → Menus. Choose the needed projects, drop them from the left menu to the right one, edit the menu labels, etc.
Page templates
There are several page layouts you can work with:
- Full width
- Fixed width
- Default template (with sidebar)
Blog
Follow the steps below to display blog posts on your website instead of a static front page (the one with your custom content blocks):
- Create new page and name it accordingly (blog, news, etc.).
- In Settings → Reading set “Posts page” to blog, news, etc. you just created.
- Scroll down and Save changes.
- If you want your front page to show latest posts instead of portfolios, Navigate to Appearance → Customize → Static Front page → set to show “Blog”.
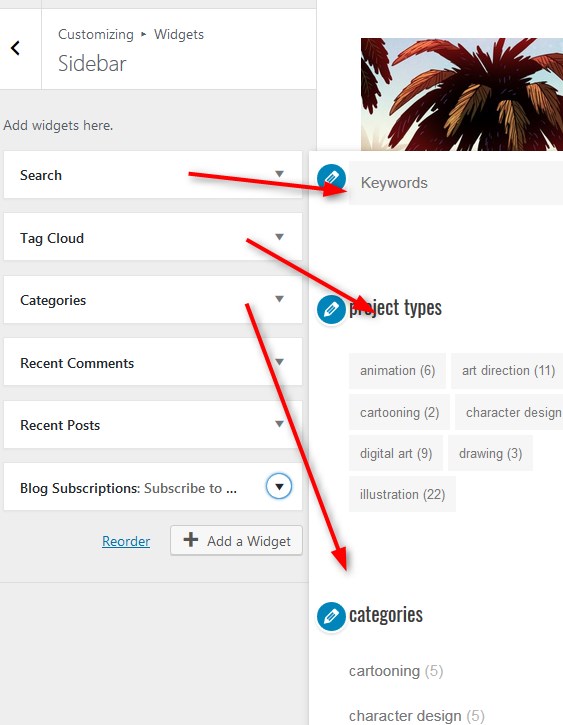
Note: you may customize the look of your sidebar widget: go to Blog page → click Customize on the upper admin bar to open the WordPress Customizer → go to Widgets → Sidebar → add, remove or customize sidebar elements or add another widget.