Table of Contents
Set up the front page
Here are the steps to set up your front page:
- Go to Pages → Add New and add a page (if you use sample data, Home – Front page, Elementor should already be there and you can customize it without creating a new page).
- Label it appropriately, e.g. home page, front page.
- In the Page Attributes, select Front Page template (no parent).
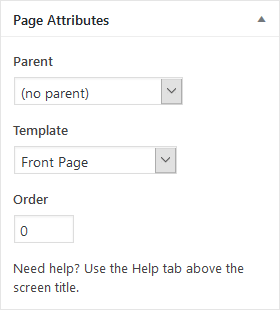
4. Publish your page.
5. Go to Settings → Reading: set “Front page displays” to Static Page.
6. In Settings → Reading set Front Page to the one you created during the step #2.
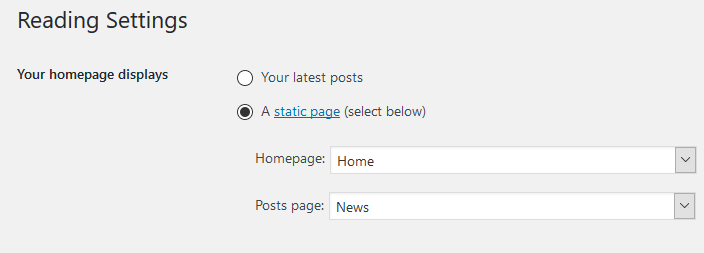
7. Save changes.
Front page customization
If you are using sample data, all pages, including the front page, should already be installed.
- The very upper part of the theme is a slider. It’s built using child and parent WordPress pages. To customize each slide, you should simply go to Pages → Home → child pages of the Home page.
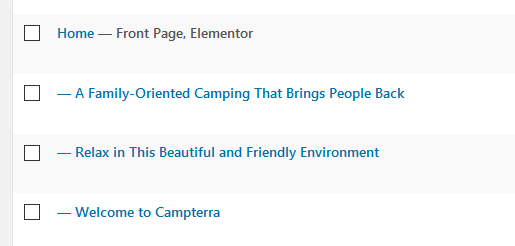
The featured image is the actual slider image, the page title is a slider title and subtitle is the page content.
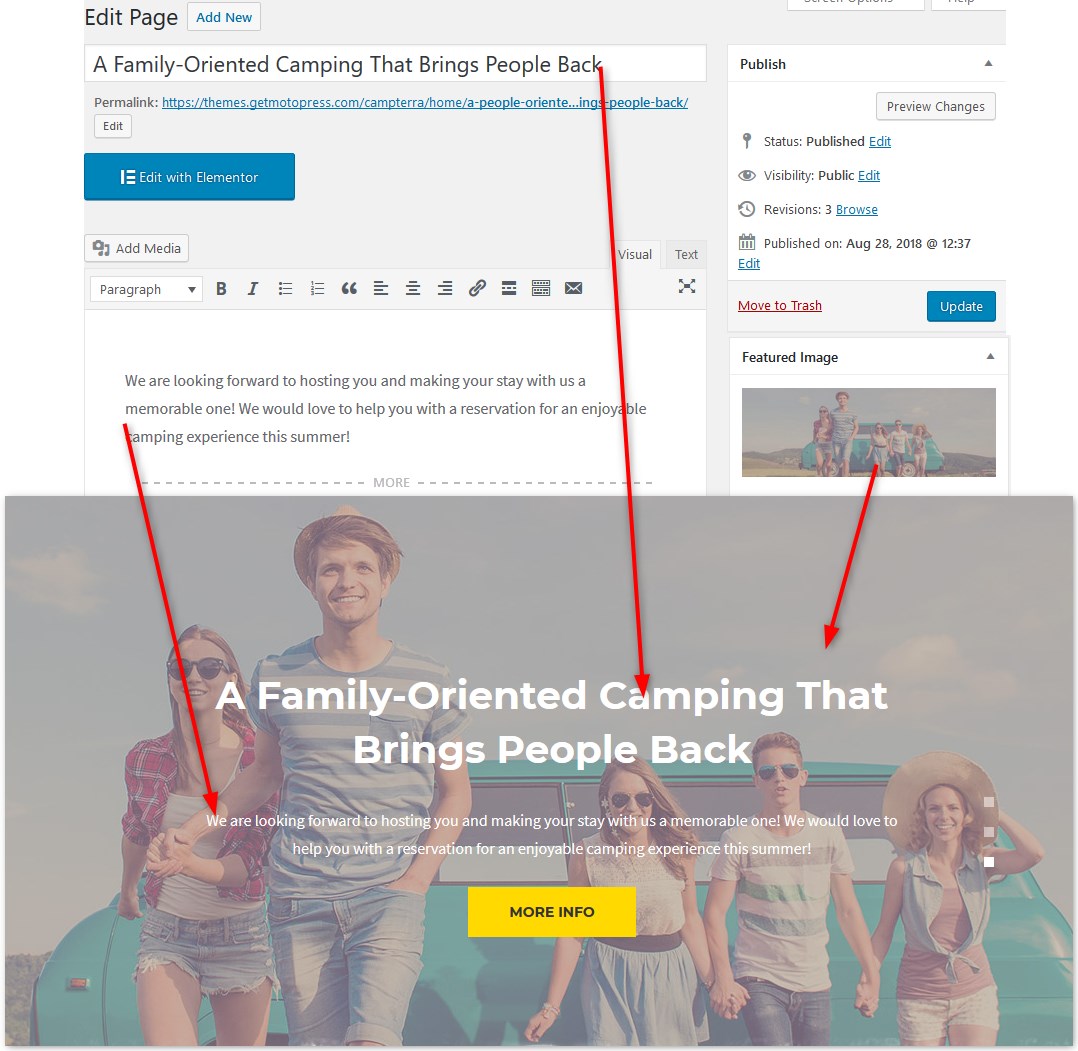
Make sure that the parent page of each slide is Home:
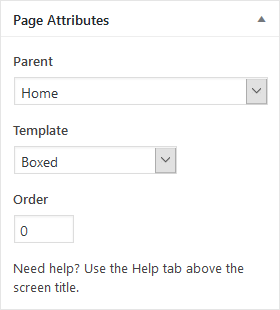
Add as many slides as needed and publish them.
- Go to Pages → choose Front Page, Elementor → Edit with Elementor.
- Under the slider, there is a search availability form. You can customize its appearance in Elementor builder.
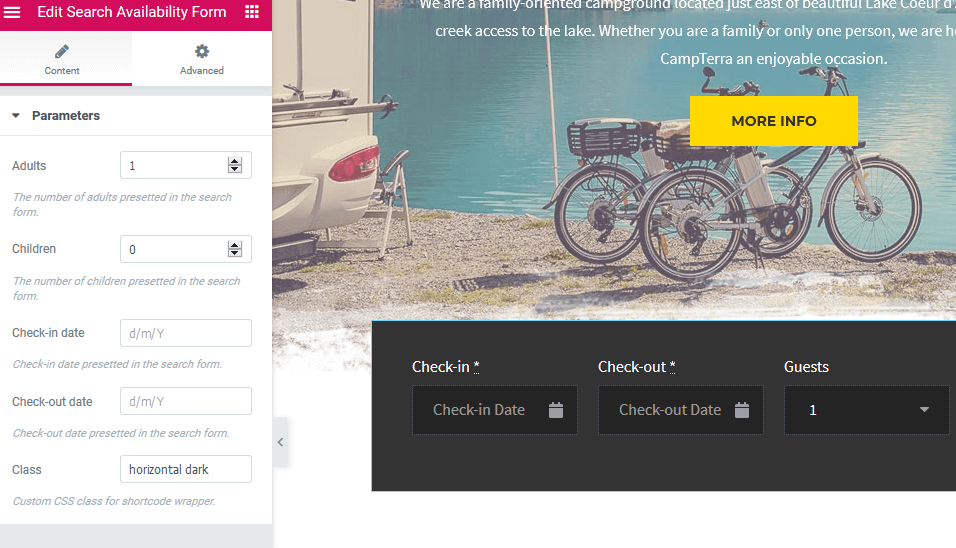
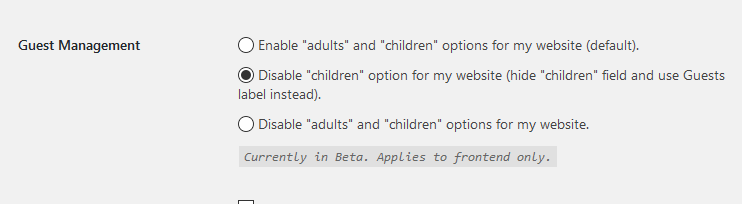
To edit/remove the fields of this search form (for example, enable ‘adults’ and ‘children’ parameters), you should navigate to the Hotel Booking plugin settings via Accommodation → Settings → Guest Management:
4. The intro section can be edited via Elementor: update welcoming message, upload your photo and video, change buttons, etc.

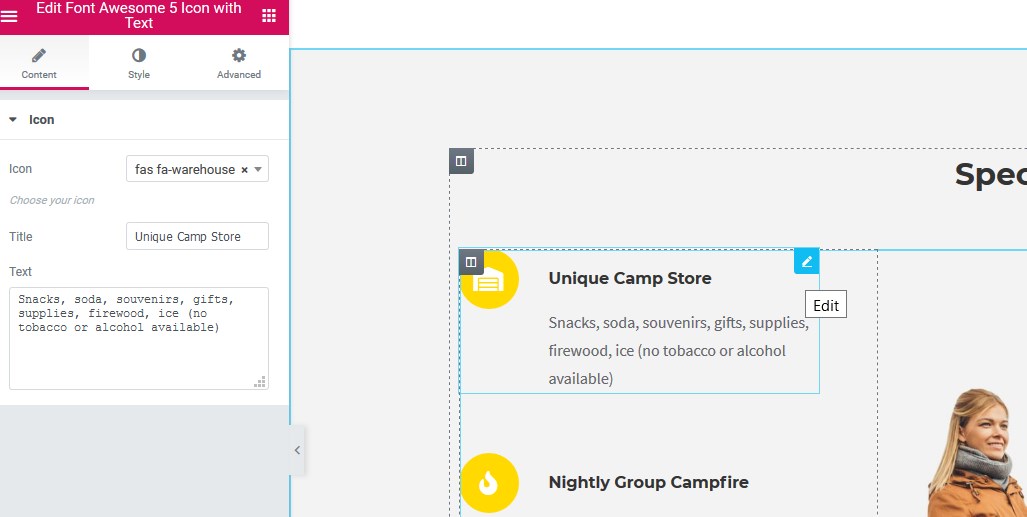
5. The special features block can be customized through the Elementor as well: update titles, icons, texts, images and all pieces of this block:
6. The list of rental units uses MotoPress Hotel booking generated content. To set the preferable listing appearance, tick on/off the needed settings in Elementor.
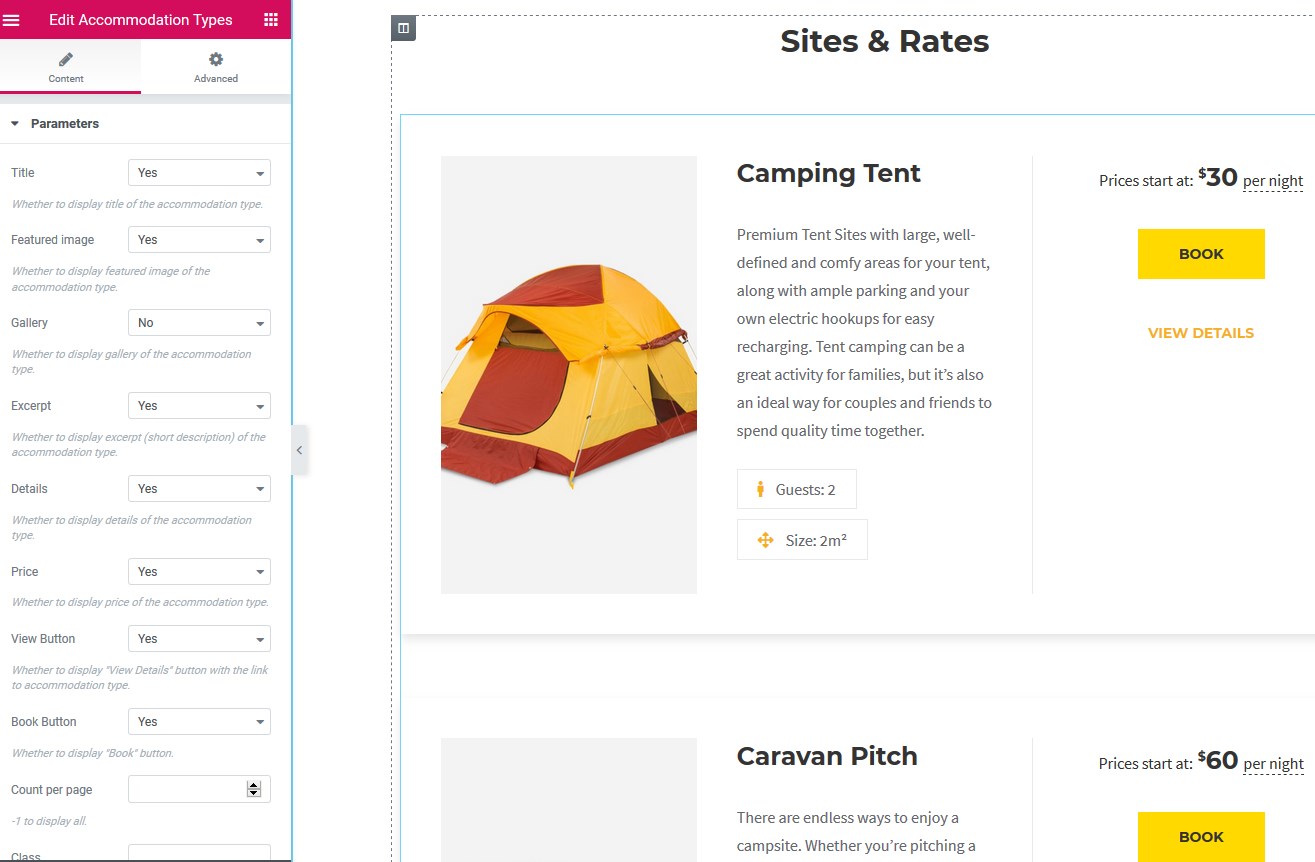
Make sure that all rental units are added with their amenities, sizes, sleeps, etc. (check out Accommodation types).
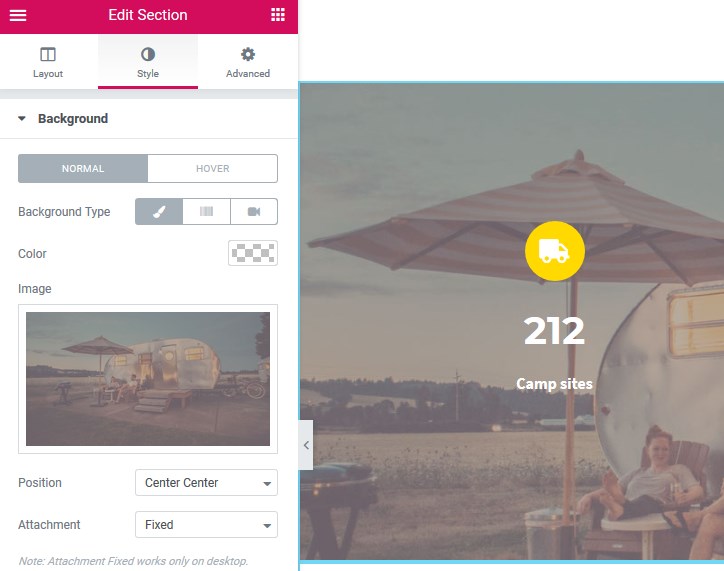
7. Update camp stats: customize texts, icons and numbers via Elementor layout tab:
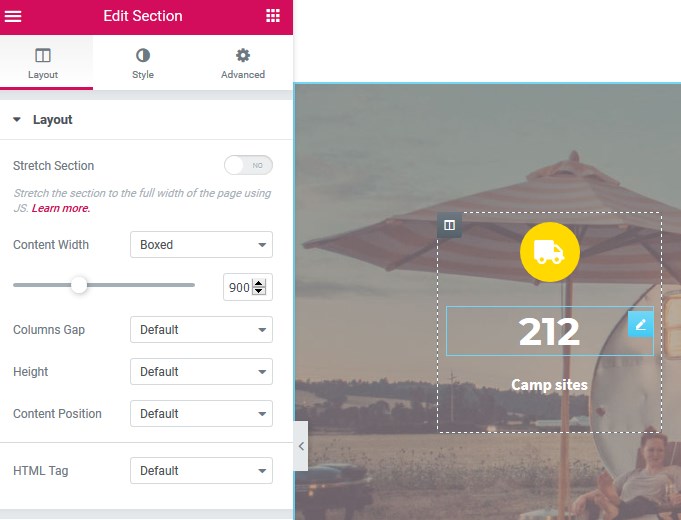
Switch to the Style Elementor tab to update the background image.
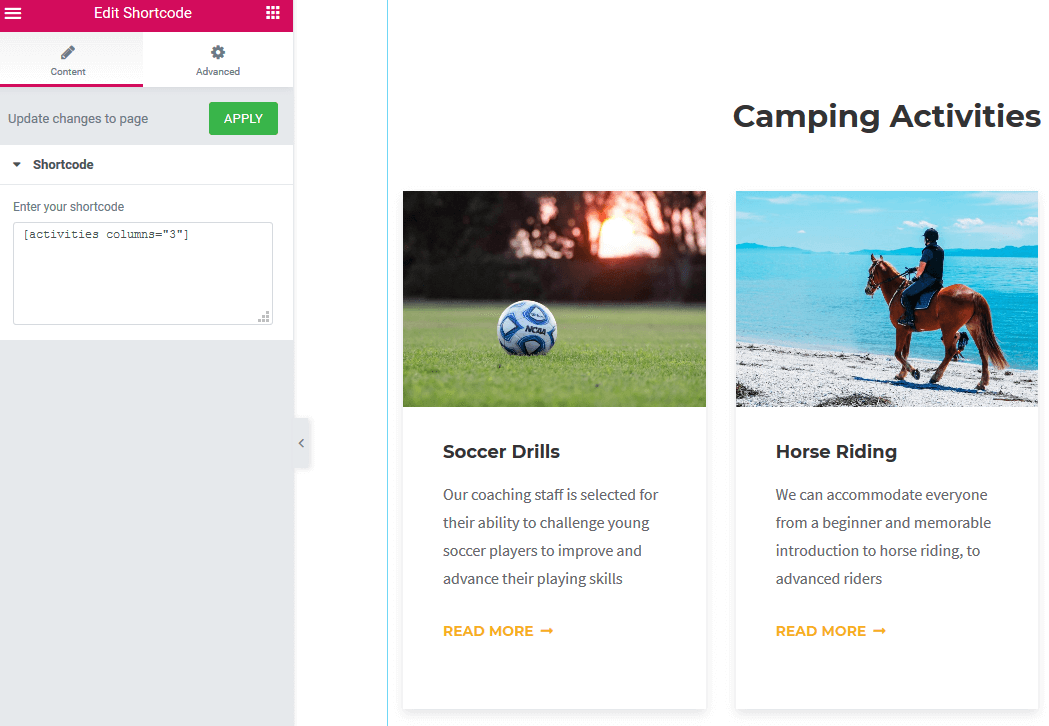
8. To customize Camping Activities section, make sure you added your custom items via WordPress dashboard → Activities custom post type. Add images and texts to each activity. Then optionally customize the appearance of the activities (edit the number of columns or section title).
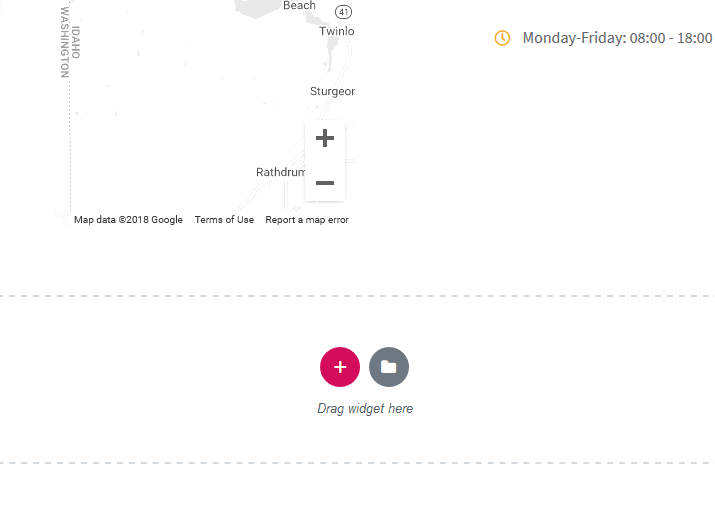
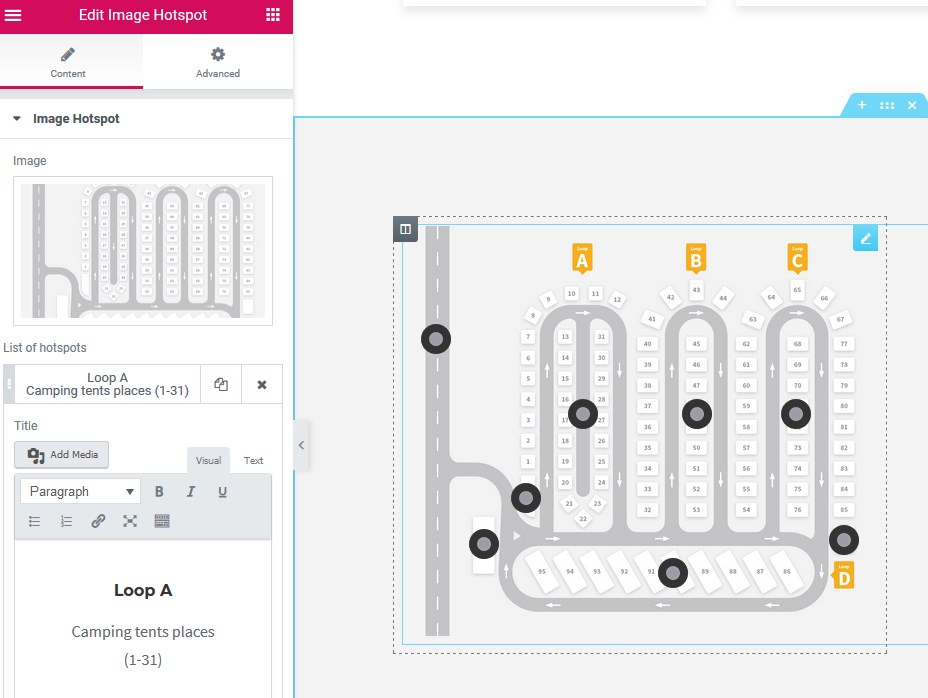
9. Camp map is built with a shortcode generated with a MotoPress Hotspot add-on and its widget created for Elementor. You can customize the markers, change map image and update an accompanied text block via Elementor:
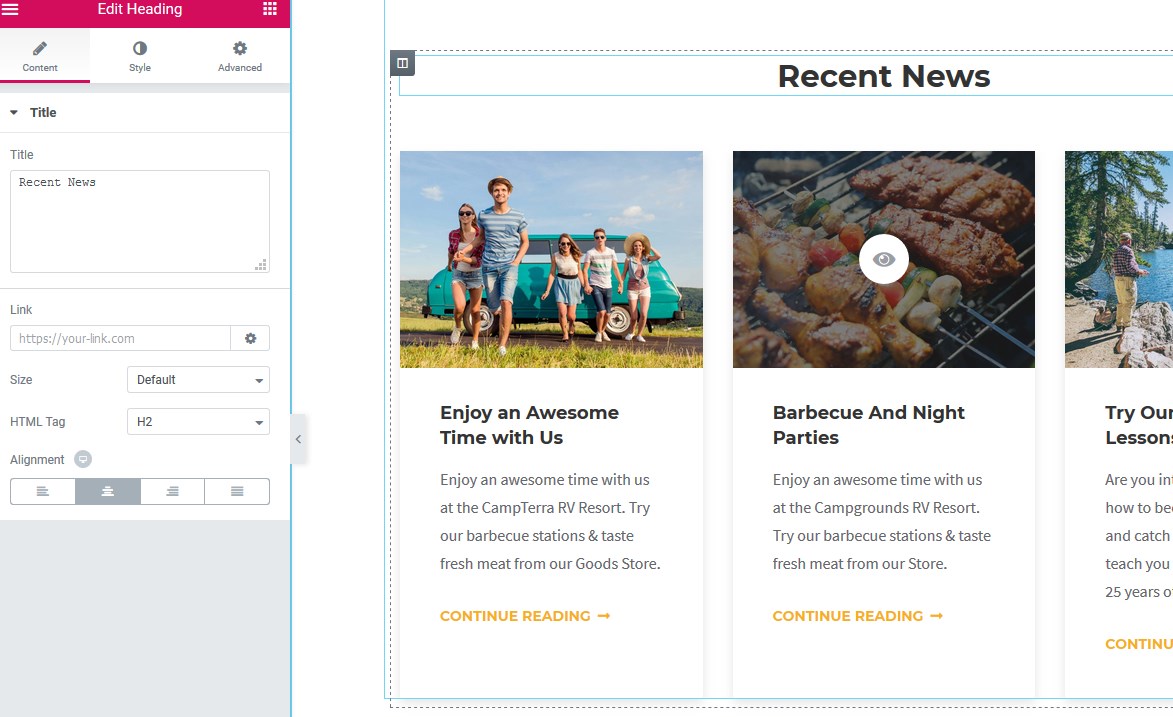
10. The recent news block generates a feed from your latest blog posts. Make sure your posts are added to achieve a beautiful block structure.
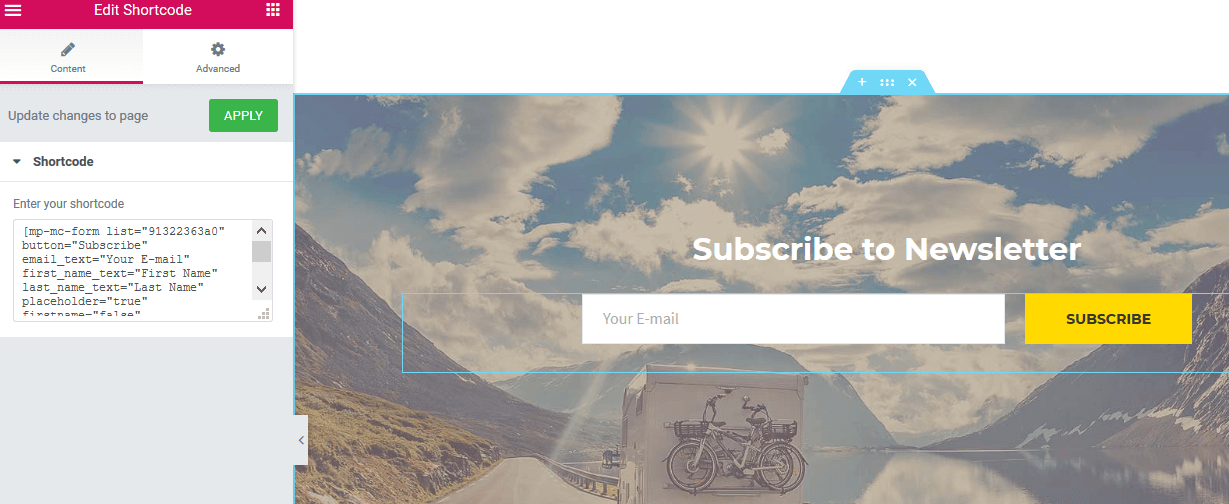
11. Subscribe to newsletter section is powered by Another Mailchimp widget plugin by MotoPress – it will help step up the email marketing with Mailchimp (you should have an account). Customize the shortcode parameters right in the Elementor. Make sure that you’ve added your Mailchimp API key via Settings → Another Mailchimp.
12. To customize map location, simply put your address in Elementor settings.
If you want to add any other section, simply click “Add template” or “Add section” in Elementor.