Table of Contents
Configure the MotoPress Appointment Booking plugin
The Touriny theme is powered by the MotoPress Appointment Booking plugin.
Its main function is to accept tour bookings online.
Since it ships with the dedicated WordPress blocks as well, it gives you options to easily showcase your team, services, and more with the automatically generated content you add via the plugin.
A step-by-step and detailed tutorial on this booking plugin is here: scheduling plugin documentation.
And here is a quick guide on how to set the tour booking system:
- Go to Appointments > Settings menu > General to select the booking confirmation mode (e.g. whether you want to confirm booking by payment or go through each one manually), currency, default time slot for bookings, enable multi booking (the option for a customer to add several tours/service to cart during one reservation procedure), etc.
- Add guides via the Employees menu.
- Add locations via the Locations menu (e.g. cities, countries, areas).
- Create availability schedules for guides via the Schedules menu (e.g. add working hours, lunchtimes, days off, locations, etc.).
- Add and customize tours and services via the Services menu.
- Categorize services by Tags and Categories via the respective menus.
- Set up email notifications for the admin and client via Appointments > Settings menu > Emails.
- If you want to receive online payments, go to Appointments > Settings > Payments and click Manage next to the needed payment gateways.
- Add a booking widget to your site with a dedicated Gutenberg block (the Appointment form block). More on this below.
If you use the demo content for Touriny, the booking widget must be already there in many places.
But if you are adding the widget from scratch, you can add it as a block to the widget areas or the regular pages/posts.
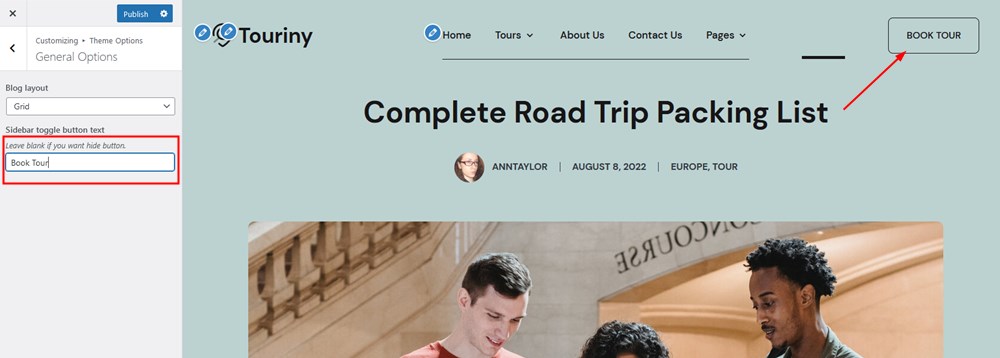
- Add the booking widget to header
- Go to the WordPress Customizer > General Options > Sidebar toggle button text > Add your text.
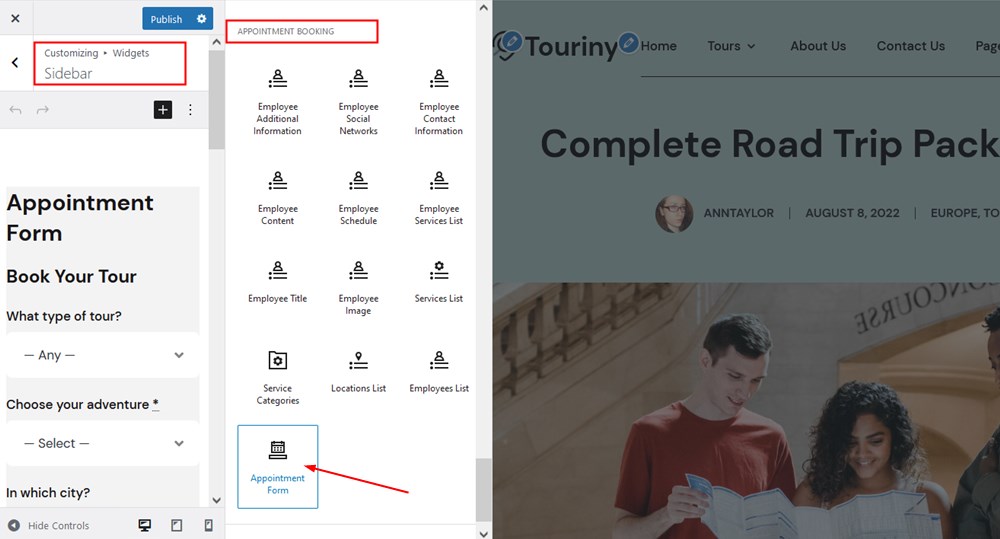
- Go to the WordPress Customizer > Widgets > Sidebar > Add block > Select the Appointment form block.
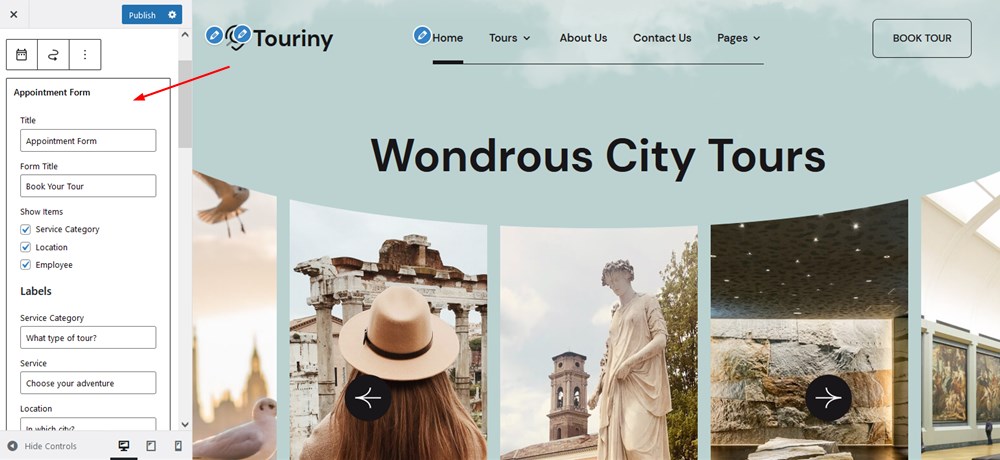
- Click on the added widget to customize field labels and other settings in a visual editor.
- Add the booking widget to any page.
There is a dedicated Sidebar widget area. All you need to do is to provide the text for the booking button and insert the Appointment form block into this area.
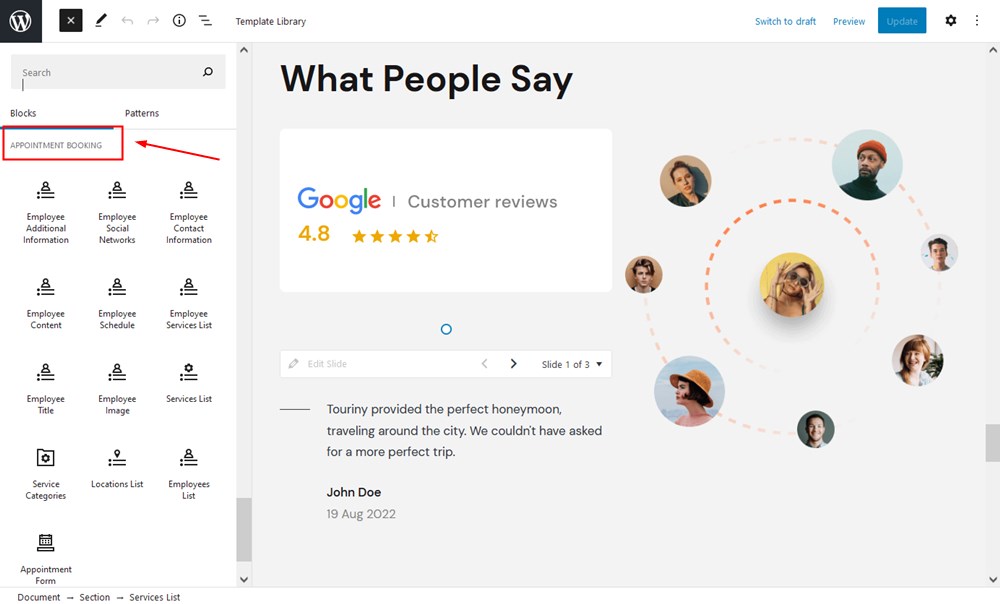
You’ll need to use just the same Appointment form block in the WordPress block editor. Go to the needed page > add the block to the blank page or inside any other block (e.g. Section).
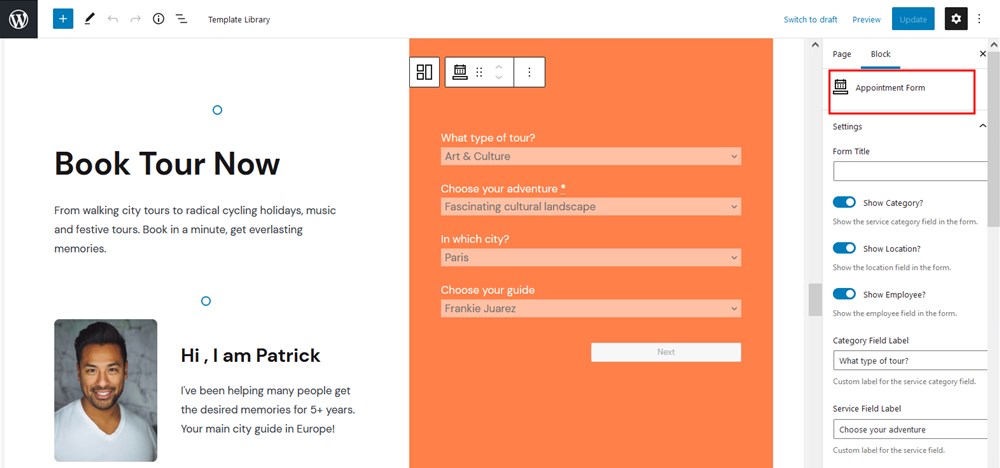
All other blocks from the Appointment Booking plugin category can also be added to the page. The generated content will use data you added via the respective plugin menus.
For example, you can feature all tours (‘services’) using the Services list block. To show only chosen tours, include their IDs.
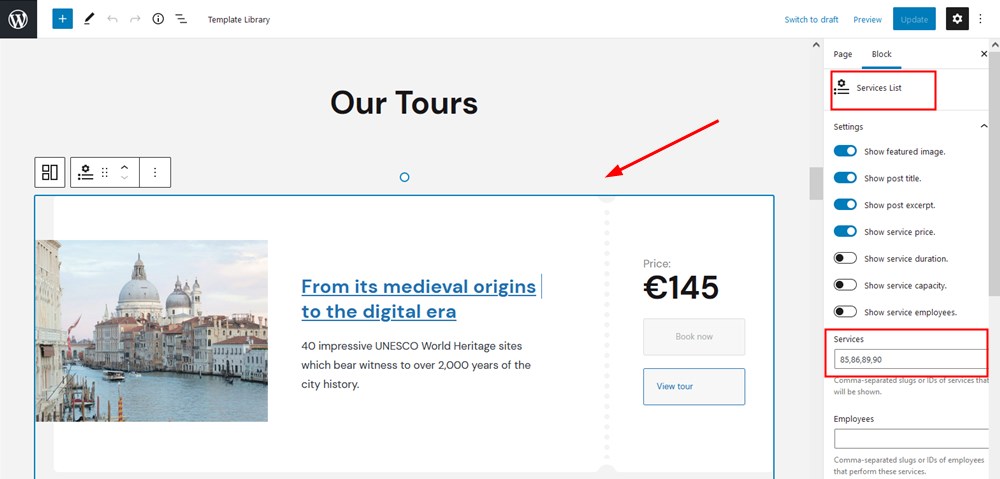
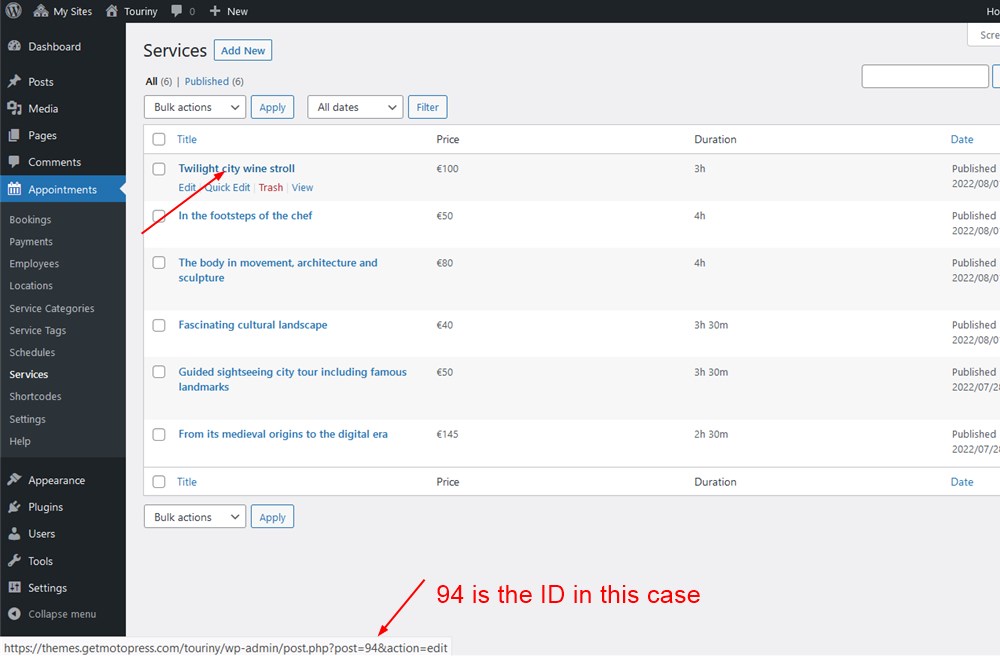
To find out a service ID, go to Appointments > Services > hover your mouse over the name of the service to see the ID in the link:
You can add all other blocks related to the Appointment booking plugin in just the same way.
How to make any button or link open your sidebar
To open a sidebar by the button or link on your website, you need to add the CSS class open-sidebar to any link, button, or menu item of your website.