Table of Contents
Quick start guide
- Install and activate the Coachzee WordPress theme.
- Install and activate the plugins that the theme offers to install. You may optionally disable unneeded plugins later.
- Import sample data (if you install a theme on a fresh website).
- Configure the settings for the Appointment Booking plugin.
- Set up and customize the front page.
- Edit the website identity, menus and header in the WordPress Customizer.
- Customize other website pages.
Installation
- In your WordPress admin panel, go to Appearance → Themes and click the Add New button.
- Click Upload Theme, Browse and Choose File; then select the theme’s ZIP file. Click Install Now.
- Click Activate to use your new theme.
- Immediately after the activation, you’ll be prompted to install several plugins which ensure that your website looks and functions as the Coachzee demo – you can install all of them at this stage and later deactivate/uninstall plugins you won’t need. You simply need to click the “Begin installing plugins” link.
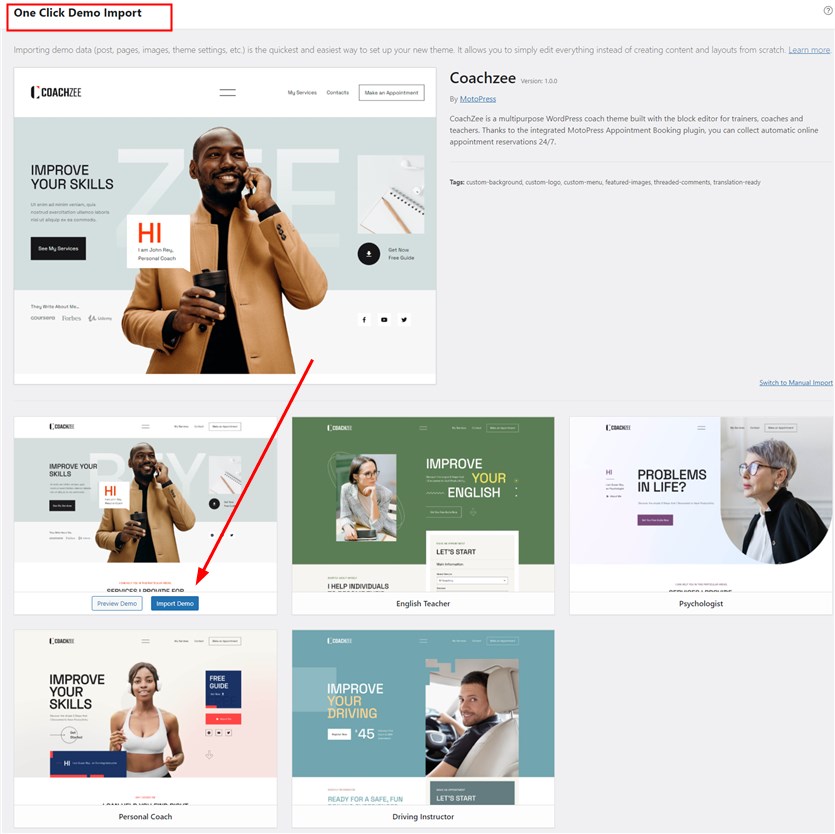
- Once all plugins are installed and activated, you may want to import sample data to the theme to edit all pages easier. For this, go to Appearance > Import Demo data > choose which demo content to upload to your site by clicking on the Import Demo button.
Now you can customize your coach theme!
There are 2 ways you can proceed with the theme customization:
- General website settings and design customization.
- Add your instructors, schedules, locations and more with the MotoPress Appointment Booking plugin.
We recommend starting with the second way. This will help you firstly add major content and only after that customize the theme appearance, including for the content you added via the plugin.