Table of Contents
Set up the front page
Here are the steps to set up your front page:
- Go to Pages → Add New and add a page (if you use sample data, Home – Front page, Elementor should already be there and you can customize it without creating a new page).
- Label it appropriately, e.g. home page, front page.
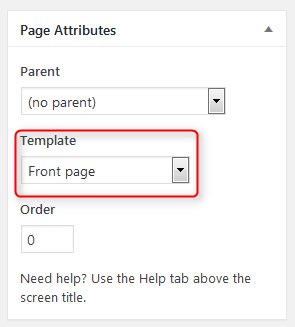
- In the Page Attributes, select Front Page template.
Publish your page.
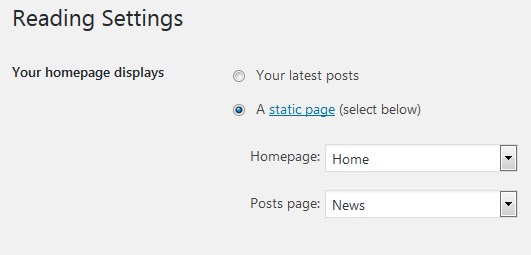
5. Go to Settings → Reading: set “Front page displays” to Static Page.
6. In Settings → Reading set Front Page to the one you created during the step #2.
7. Save changes.
Front page customization
If you are using sample data, all pages, including the front page, should already be installed.
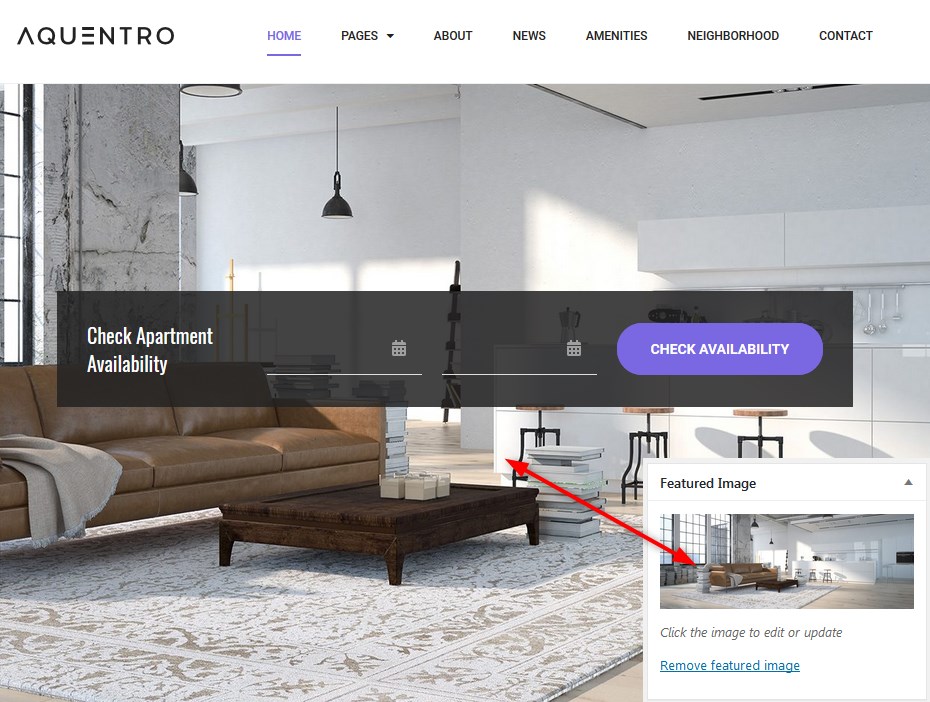
- Go to Pages → choose Front Page, Elementor → Edit.
- Upload a header image → replace a default Featured image of the page.
- To customize “Check Apartment Availability” text in the Search availability widget on the front page, go to Appearance → Widgets → Front page top → edit title.
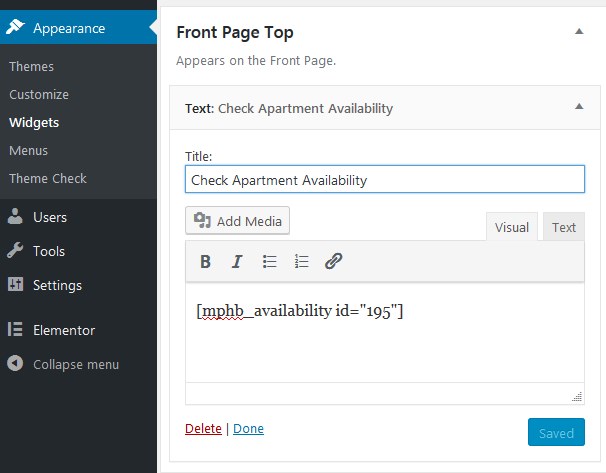
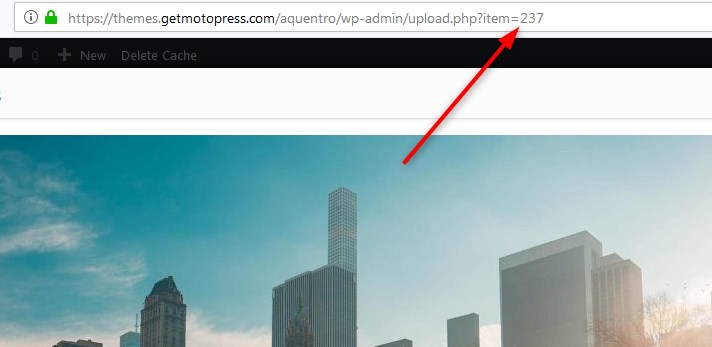
If you use the theme for just one rental unit so it can be booked directly without extra search, make sure to insert the ID of the accommodation into the shortcode. This will allow the system to check the availability only of this particular accommodation:
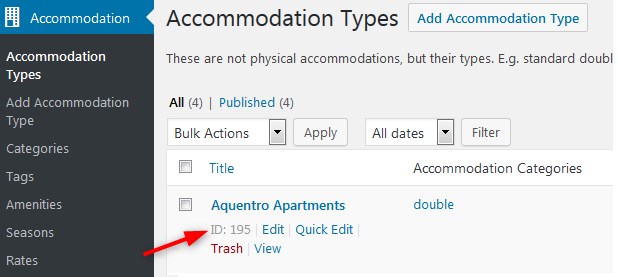
So your shortcode will look just like on the previous screenshot.
If you list several accommodations with different capacity and want the search availability form to look through all rentals, don’t include an accommodation ID and simply use [mphb_availability_search] shortcode instead – it will display a standard Search Availability form with extra fields for number of adults and children.
This is a default look of the list of multiple rentals. However, you can customize the appearance of the properties directory using Elementor page builder.
- Click on “Edit with Elementor” button to customize the front page. You’ll be presented to the front page with all content elements that you can customize, move or delete.
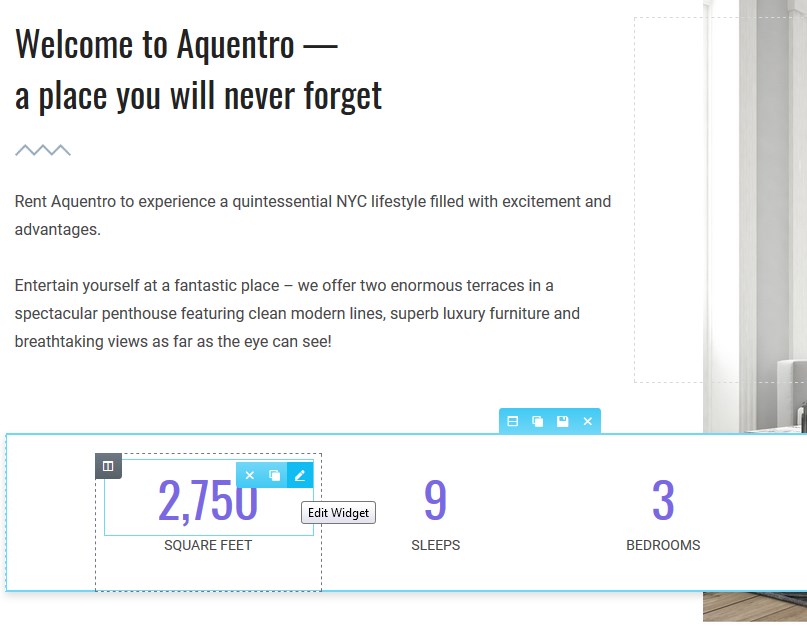
By default, the front page displays the following content modules:
- Intro section – customizable Elementor widgets you can edit on the frontend: titles, icons, layouts, etc.
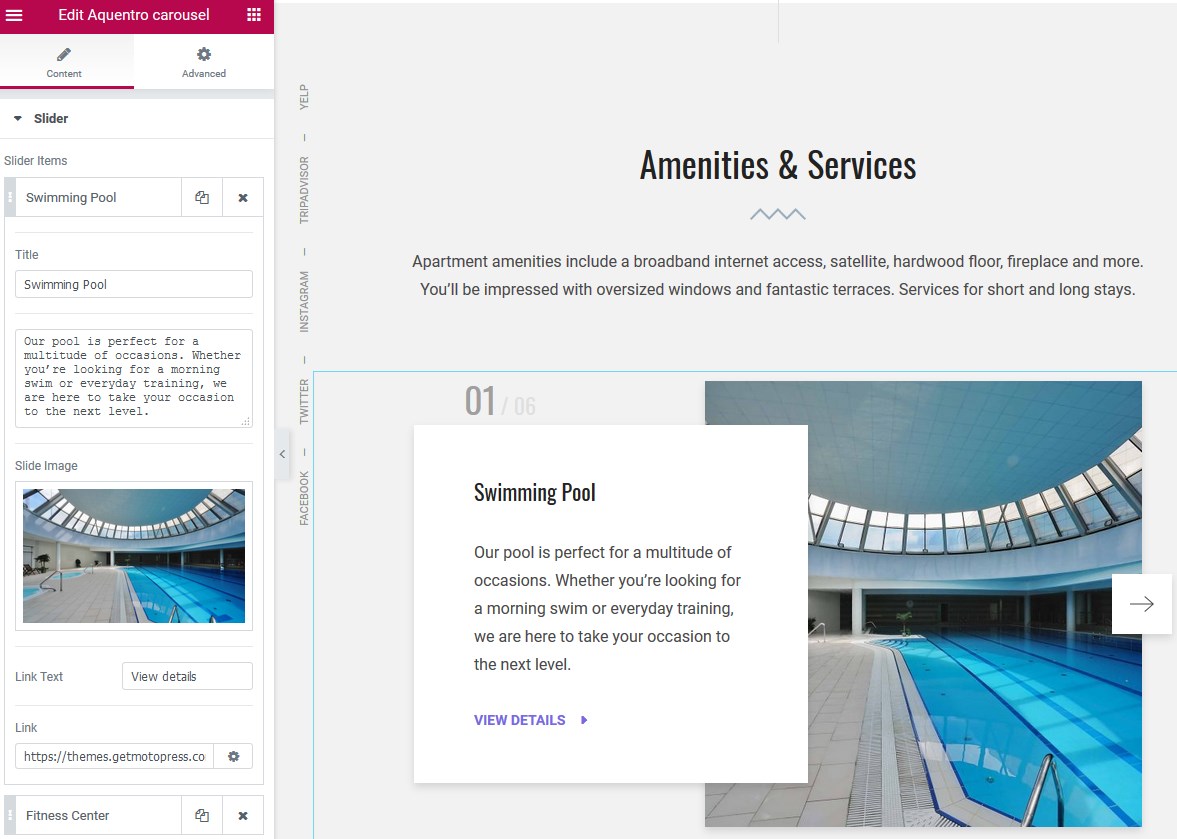
- Aquentro carousel – our custom widget for Elementor for Amenities & services slider.
- Image gallery powered by Jetpack Tiled galleries.
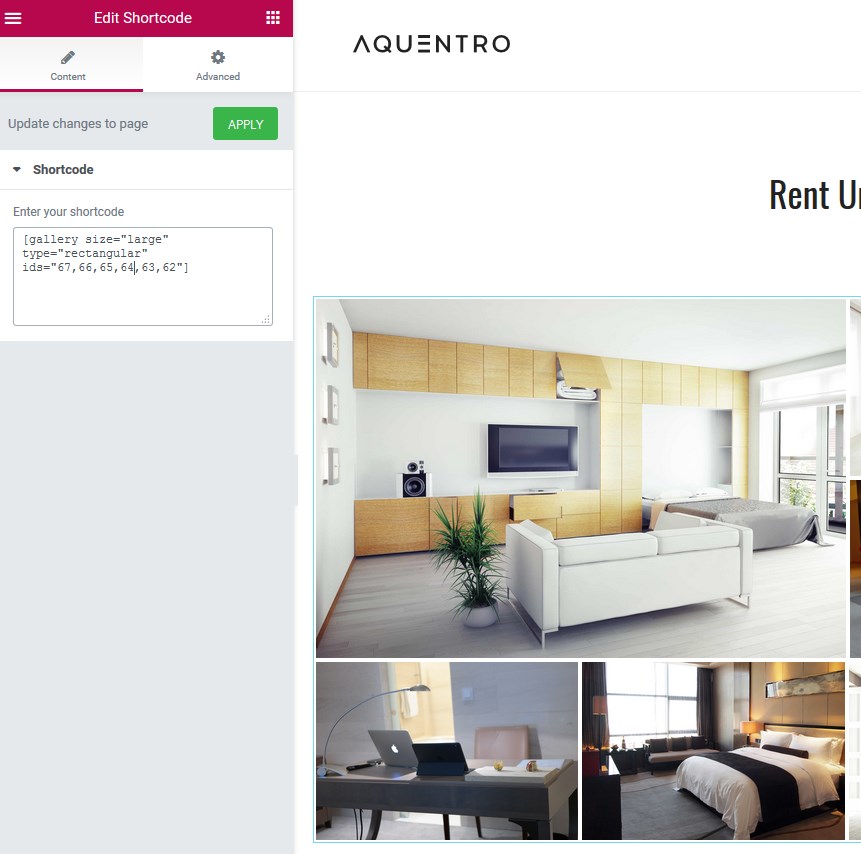
To recreate the style of the gallery like in the theme demo, you can use shortcode where ids are real Ids of your images added to the Media Library:
If you want to completely change the look of your gallery, check out Jetpack guide on how to do it – customize your shortcode and paste it into the Elementor widget.
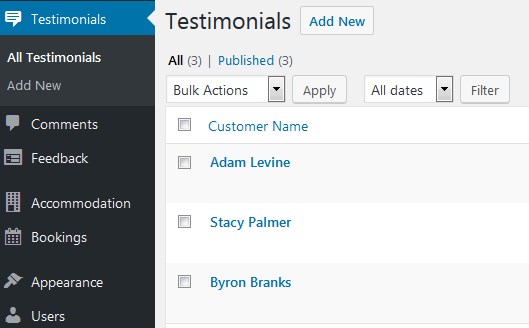
- Jetpack Testimonials widget for guest reviews. Go to Testimonials → add new. You can add a name of the guest (with optional subtitle), their photo, review and rating.
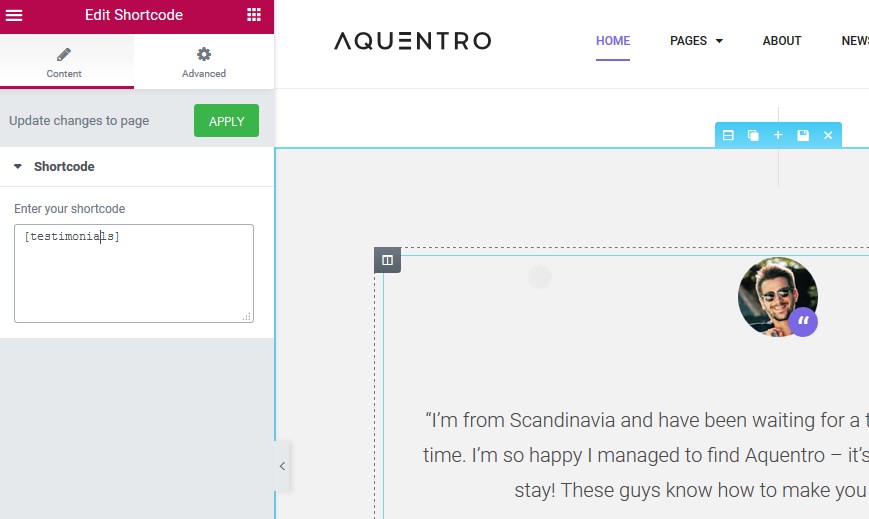
Use [testimonials] shortcode to display all added testimonials in a slider:
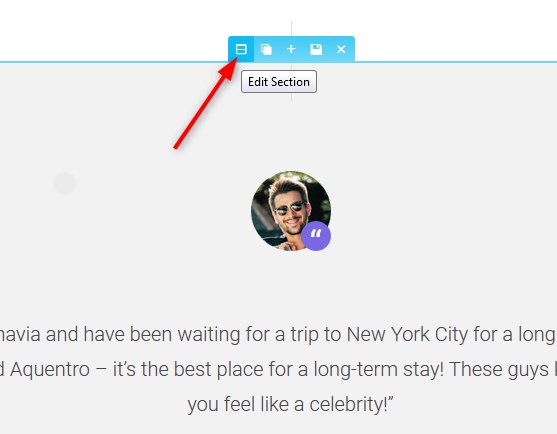
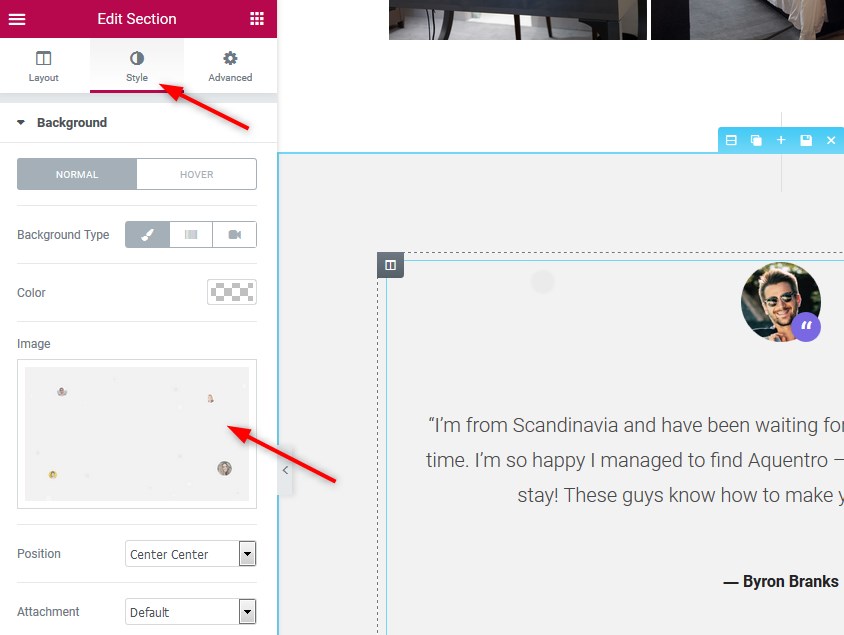
You can also change a background image of this section in Elementor: firstly click “Edit section”
Then switch to Style tab in Elementor and change the background image:
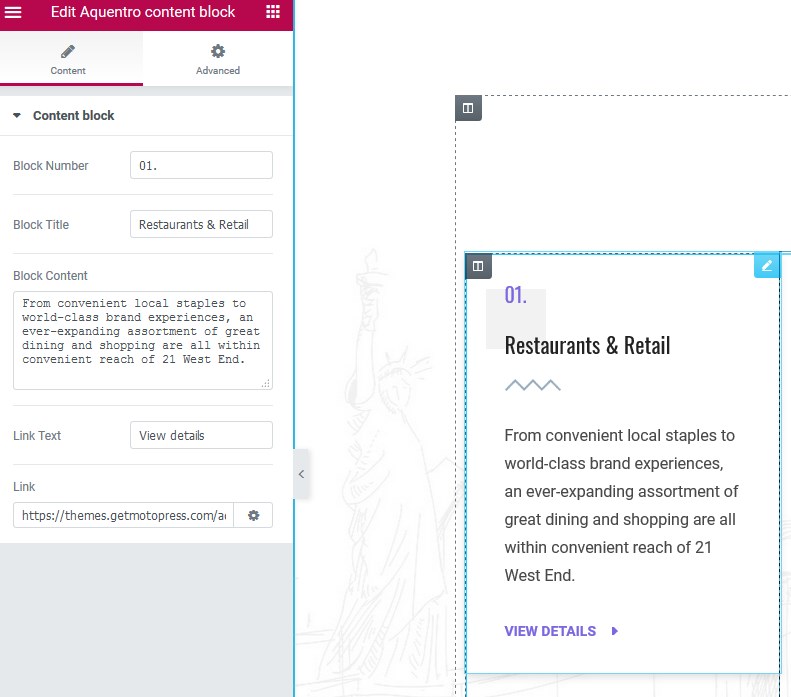
- Neighborhood section is Aquentro content block designed specifically for Elementor: here you can add any extra info about your rentals or attractions nearby:
You can change a background image of this section in the same way: go to Style tab in Elementor and update the image.
If you want to add any other section, simply click “Add template” or “Add section” in Elementor.
If you want to add any of these custom crafted sections to this or other website page in Elementor, simply save the section template in Elementor:
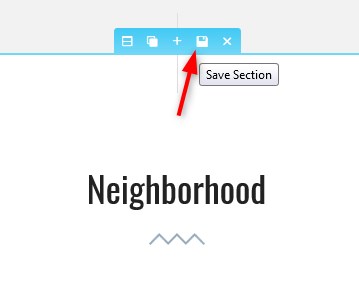
Then reuse it: go to the needed page → hit “Edit with Elementor” → click “Add Template” in the builder → My templates and choose from the list of available saved templates → hit Insert.