Table of Contents
Site title and logo
While the WordPress Customizer is opened, go to Site Identity to edit site title and logo. Here you can also update the tagline.
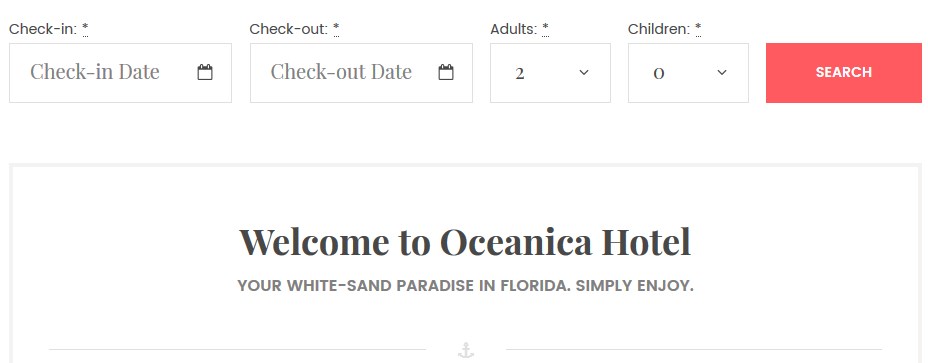
Header image
The main header image is a featured image of the page. To set it, you should go directly to your Front page from the main WordPress Dashboard and change the featured image.
Colors
You can change the color scheme yourself easily with a color picker. To change colors, go to Colors in the WordPress Customizer.
You can change the background color, main text color, brand color, and brand color hover for buttons.
Background image
If you want to set your custom image on the background, navigate to Background image in the WordPress Customizer and upload it.
Menus
There are 3 menu locations in the site header and 1 in the footer. You can customize or delete any of them.
To edit any of the menus, go to WordPress Customizer → Menus.
The alternative way to customize your menus from the WordPress dashboard is via Appearance → Menus.
Generally, menus come with the primary one (your site pages), social media buttons and contact info. By default, the theme contains all of them, but you should remember that menus are very flexible, so you can change the content of each (for example, switch the default location of social media icons and contact info, add items to menus, etc.) or entirely delete any.
Here is how you can customize menus visually via WordPress Customizer:
Primary menu – is the one with your site pages. If you already added some pages, simply drag and drop them in the WordPress Customizer to set the needed order in the primary menu. You can also rename, add or delete menu buttons.
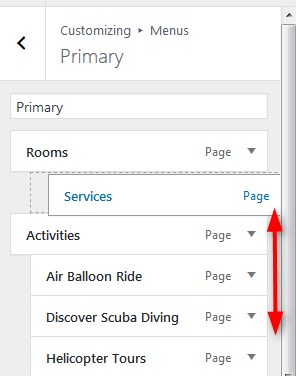
However, you can move the entire menu to any other available menu location like Header Left, Header Right, or Footer menu – simply tick the needed location in Display Location menu.
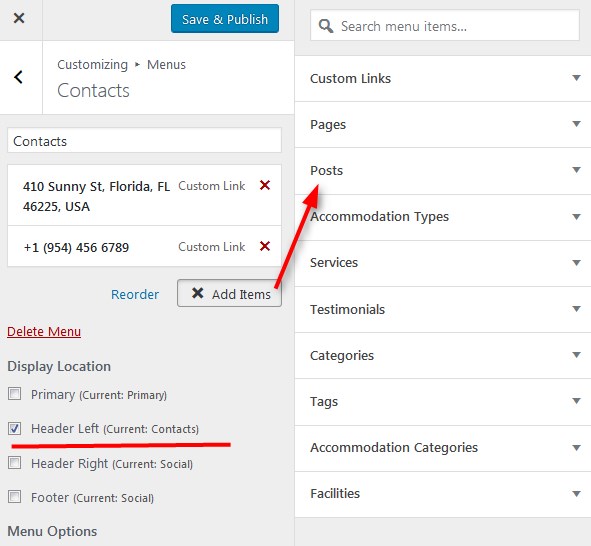
Header Left menu – there is Contacts info in the default theme now, but you can add any other item to this area (like a link, button, text, etc.) by clicking Add Items.
For example, if you want to put your address and contact info into this menu, click on Contacts → edit URL or put a navigation label (e.g. your full address which will redirect visitors to Google maps). You can also customize the appearance of this menu by adding your own CSS classes, description or anything else.
Remember – if you added you contact info to this Header Left menu and want to move it to any other menu later, simply tick the needed location in Display Location menu.
Header Right menu – one more header menu that comes with social media icons by default, but you are free to add any other item to this menu or entirely delete it.
Footer menu – add any piece of content to your footer menu – social media icons, contact info or website page links via WordPress customizer in the same way we described for other menus. You can add up to 3 items (columns) into Footer menu.
Theme options
Here you can customize the following theme parts:
- Change the separator icon (the current one is an anchor)
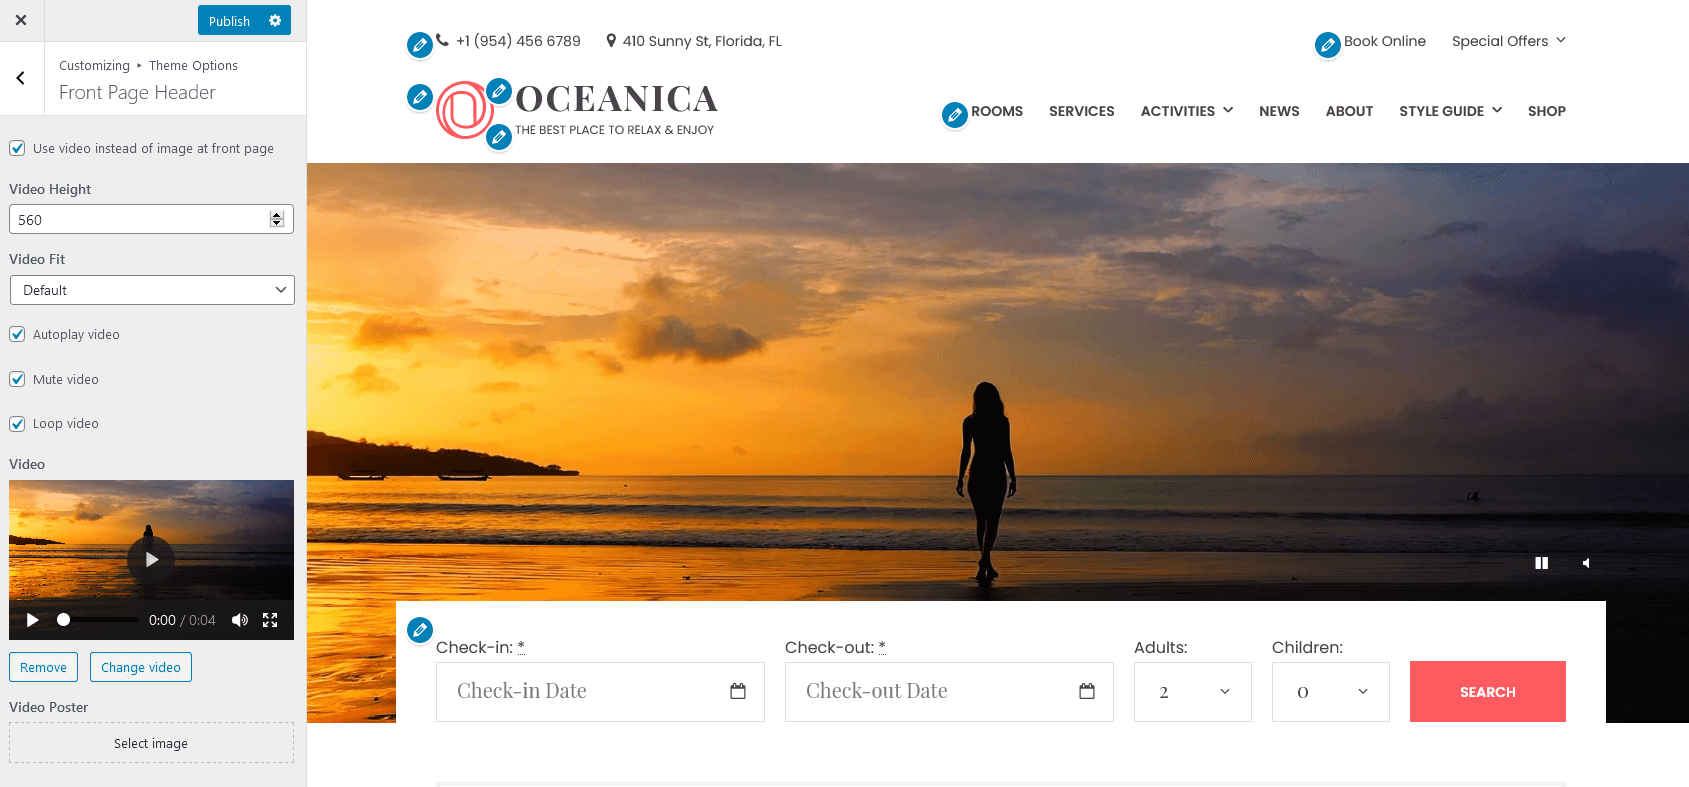
- Customize media in the header – you can opt for an image or video. If you want to use a video, you firstly upload it to your WordPress Media Library, then choose it here in the Customizer and optionally configure the needed settings (mute, loop, autoplay, etc.). Don’t forget to tick the “Use video instead of image at front page” box.
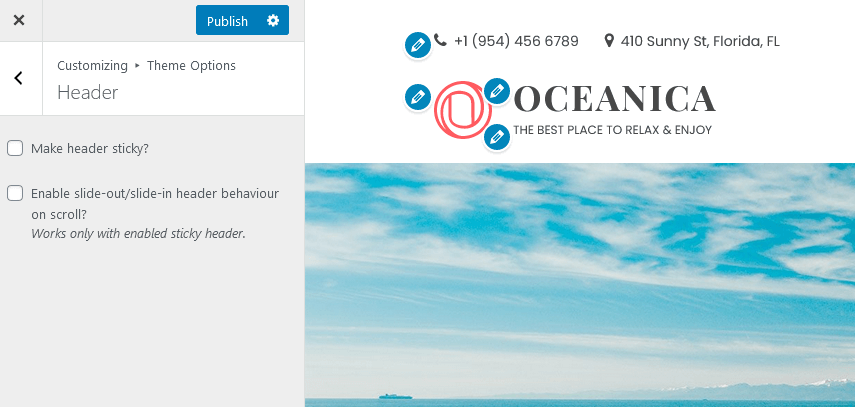
- In the header settings, choose whether to make a header navigation menu sticky (so it stays fixed when you scroll a page).
- Edit the copyright text in the footer.
Social icons
To add social icons to the Footer or Header menu, navigate to WordPress Customizer → Menus → Add Menu → Add Custom links with the appropriate names (e.g. Twitter, Tripadvisor) and links to your social media accounts.
In the Display Location menu choose the menu where the social icons should be displayed.
Widgets
Widgets are types of the content modules of your site. There are lots of ready-made widgets you can put on the front page, footer and sidebar. You can see all of them in the Appearance → Widgets. New widgets may appear when you enable new plugins.
To add widgets visually to your front page, go to the WordPress Customizer → Widgets → choose area (Footer Left, Footer Center, Footer Right, Sidebar) → Add widgets.
For example, you want to add a Testimonials section to the front page. Testimonials are powered by the Jetpack plugin in the Oceanica theme, so you’ll be offered to activate Jetpack plugin. To run Testimonials without connection to WordPress.com server (plugin creators), you may turn on Development mode: here is how you can turn on Development Mode for Jetpack.
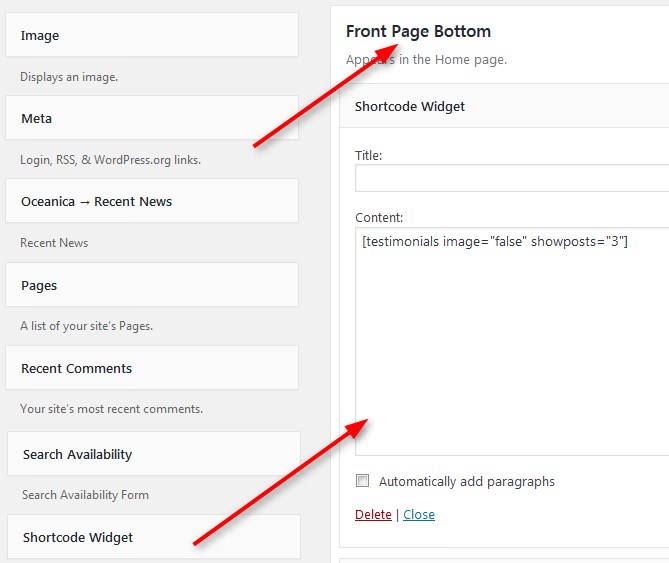
To display the Testimonials on the front page, you should add them via shortcode in a Shortcode widget (you should be offered to install the Shortcode Widget plugin that will help you add shortcodes to the pages). Here are the steps:
- Add the testimonials content via WordPress dashboard → Testimonials. To later showcase them on the website use the shortcode [testimonials]
- Go to WordPress dashboard to add a new widget → Appearance → Widgets → Add (drag and drop) Shortcode widget to the Front page bottom → put the shortcode [testimonials] into the content area. For example, we want to hide the images of people who left testimonials and limit the testimonials to 3, then our shortcode will look like this:
More shortcode attributes for modifying Testimonials layout can be foundhere.
Another example: if you want to feature several recent blog posts/news on the front page, go to WordPress Customizer → Widgets → choose area (Footer Left, Footer Center, Footer Right, Sidebar) → Add widget → Recent Posts.
Featured pages section
To create the sections with featured pages, you can use the child pages. We created them to make sure that all your content is added easily, looks great and remains even if you uninstall the theme.
For example, if you want to feature quick links to your hotel offers, deals or activities on the front page in an elegant gallery, simply go to those pages (e.g. hotel offers, deals or activities) and set the parent page of each to Front page: go to the needed page → Page Attributes menu:
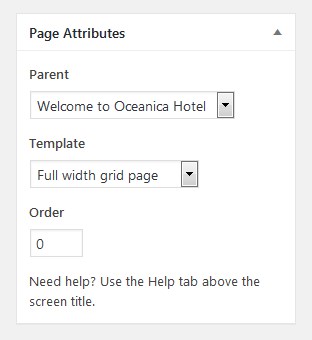
Make sure that your child pages have a featured image.
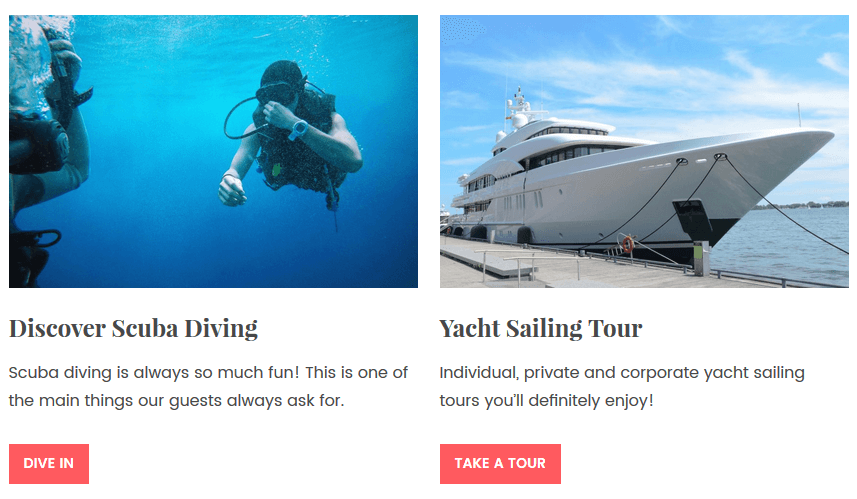
In result, one of the front page sections will look like this:
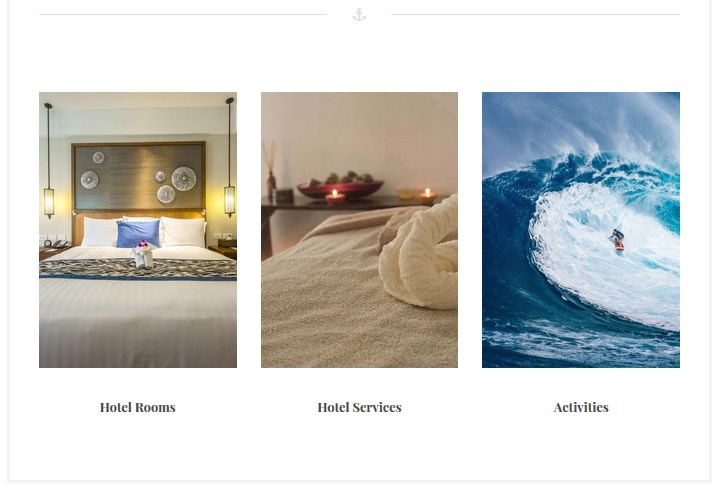
Featured pages section (3 pages are Child ones of the Parent Front page)
Page templates
There are several page layouts you can work with:
1. With sidebar – it will feature your sidebar menu:
2. Full width – a template without sidebar:
3. Full width grid – your posts will be featured in a grid in the page of its full width:
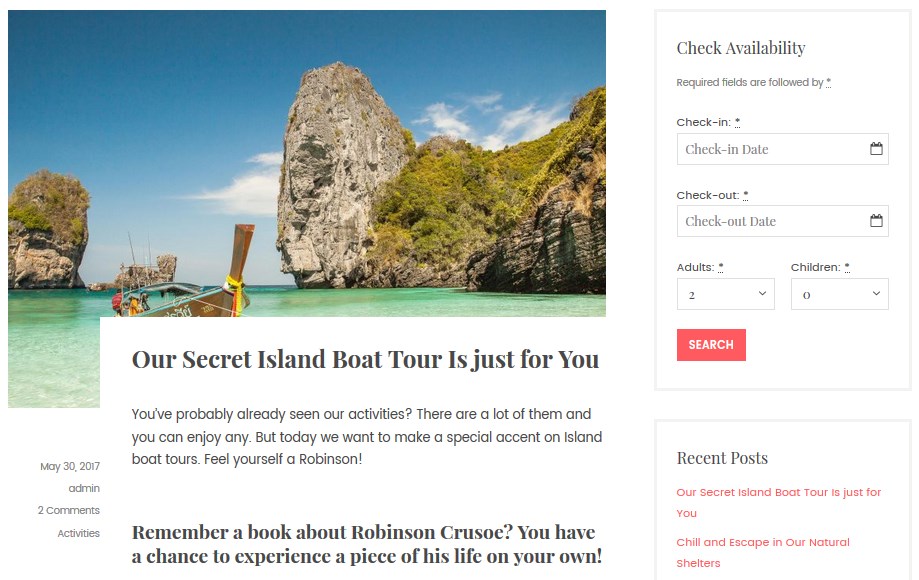
4. Grid with sidebar – the posts with be displayed in a grid, but the sidebar will be also featured.
Blog
Follow the steps below to display blog posts on your website instead of a static front page (the one with your custom content blocks):
- Create new page and name it accordingly (blog, news, etc.).
- In Settings → Reading set “Posts page” to blog, news, etc. you just created.
- Scroll down and Save changes.
- If you want your front page to show latest posts, Navigate to Appearance → Customize → Static Front page → set to show “Your latest posts”.