Table of Contents
Set up WooCommerce Store
If you’ve imported the theme demo data, sample WooCommerce products are already there. But to start selling properly, you also need to firstly set up basic configuration.
We strongly recommend following the ‘Setup Wizard’ that will be promoted right after the WooCommerce plugin is activated; it’ll help you go through numerous of available settings in the right order. Otherwise, if you skip the step, you’ll need to set up everything manually.
Configure settings via Setup Wizard
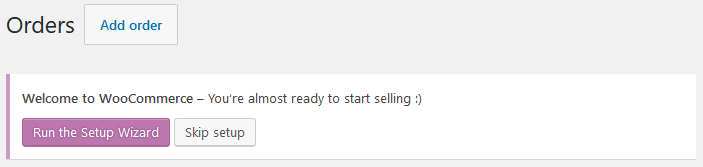
Click on the ‘Run the setup wizard’ and proceed further to the step-by-step guide.
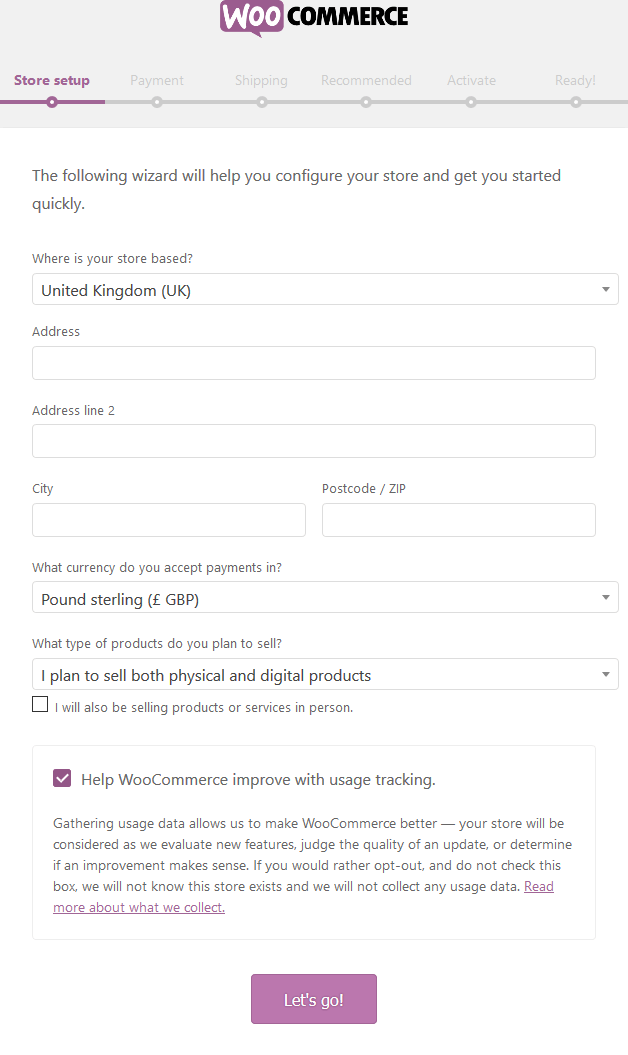
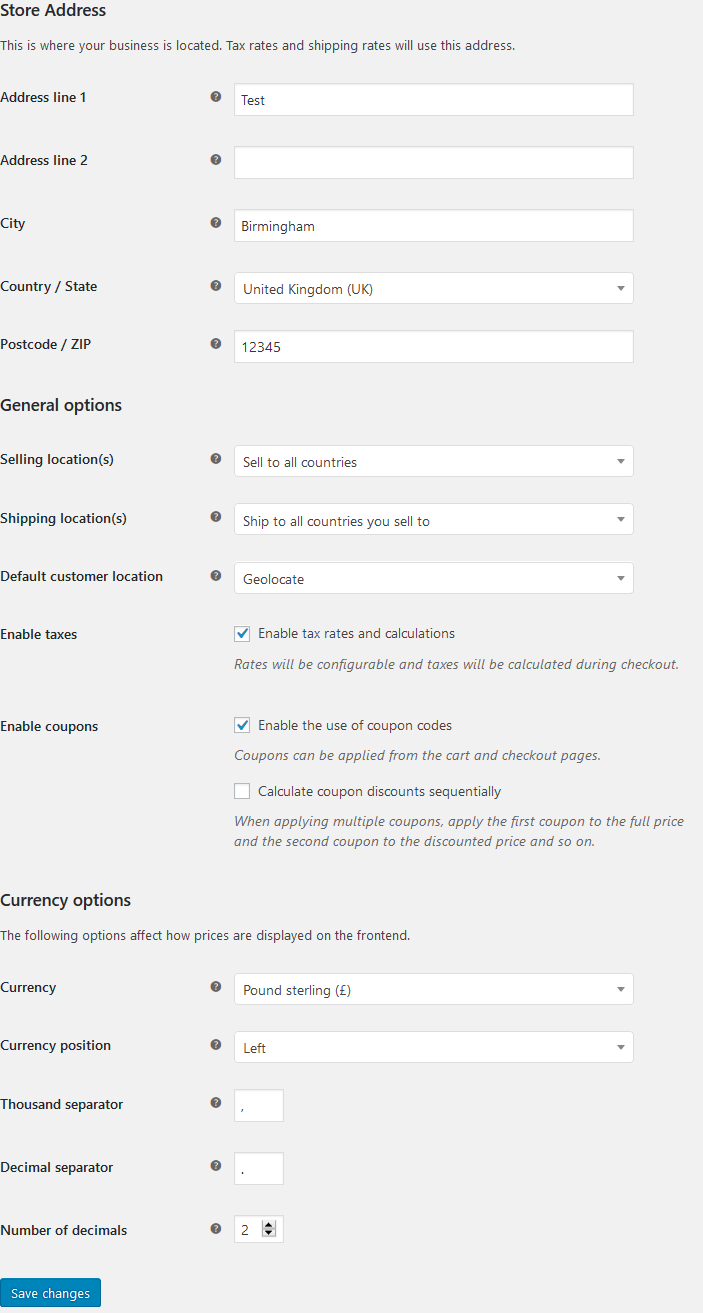
Store Details
During the first step, you’ll need to state some major store details:
- Location and currency of your store
- Type of goods you plan to sell
- Whether you sell goods and services in person.
Payment Options
Define payment options – there are multiple free and paid gateways you can enable on your store via WooCommerce (payment gateways may also be deactivated and uninstalled later).
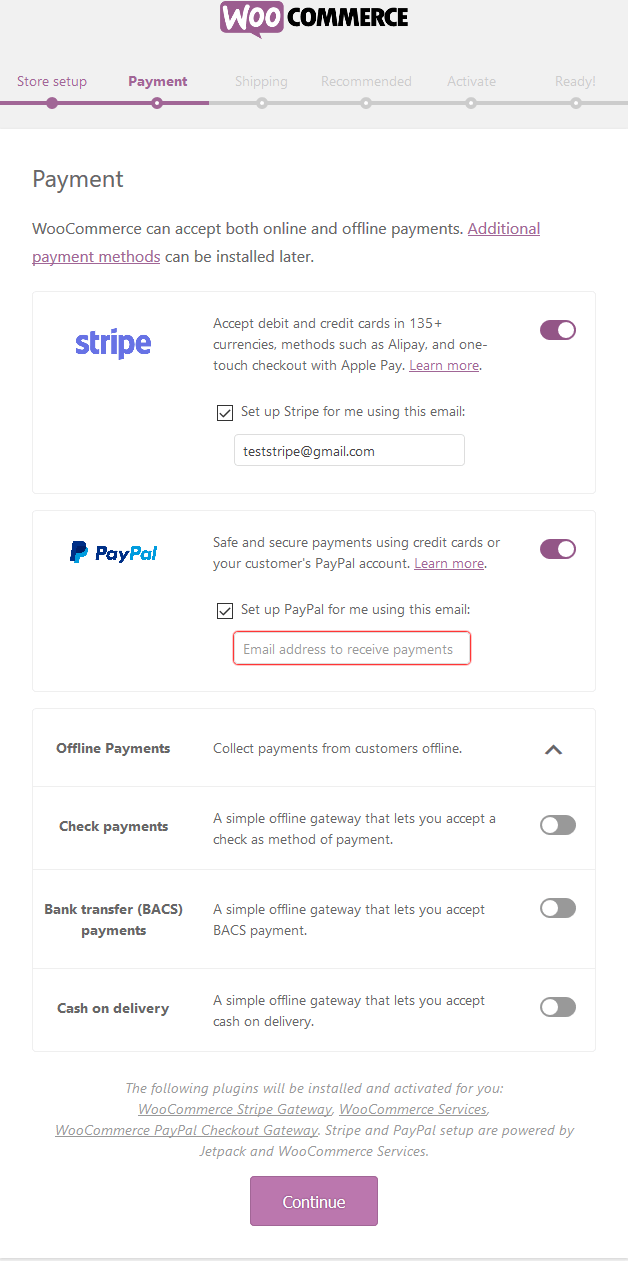
If you ticked the ‘Sell good in person’ box during the previous step, you’ll be shown different payment gateways available depending on your country (e.g. the U.S., Canada, Australia, Japan or the UK will be shown Square in addition to Stripe and PayPal).
As you can see, you can also collect payments offline, just switch the needed toggles under “Offline payments”.
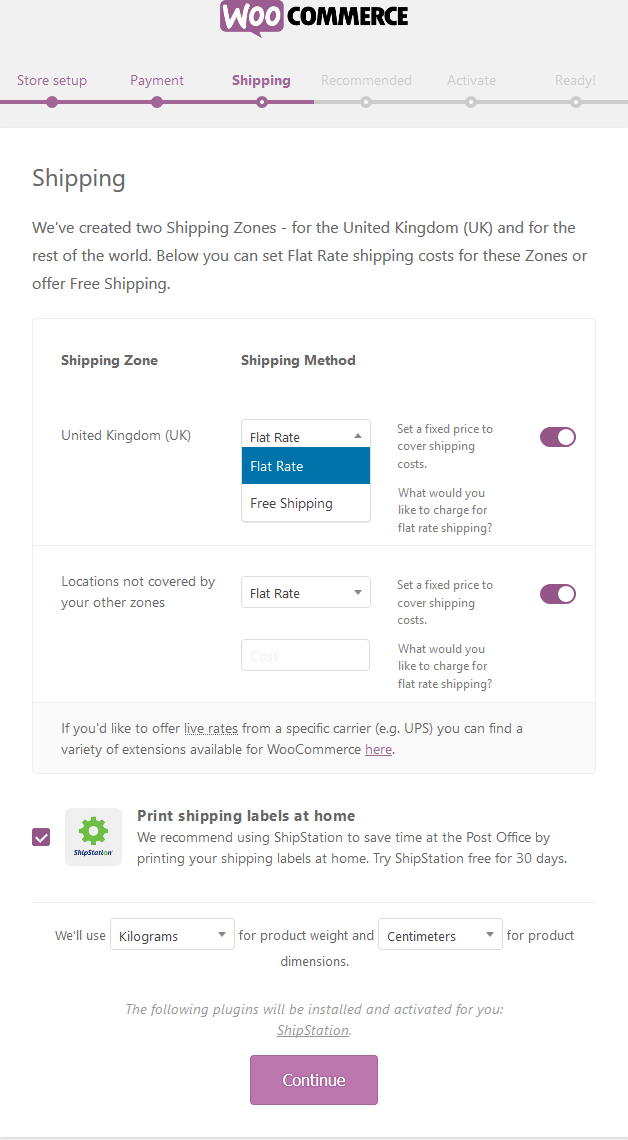
Shipping
Under the Shipping settings you can decide:
- Shipping methods for your shipping zone
- Optionally print shipping labels at home (only available to US and Canada)
- Select a unit of measurement for weight and product dimensions.
Also, you can see different options depending on your location.
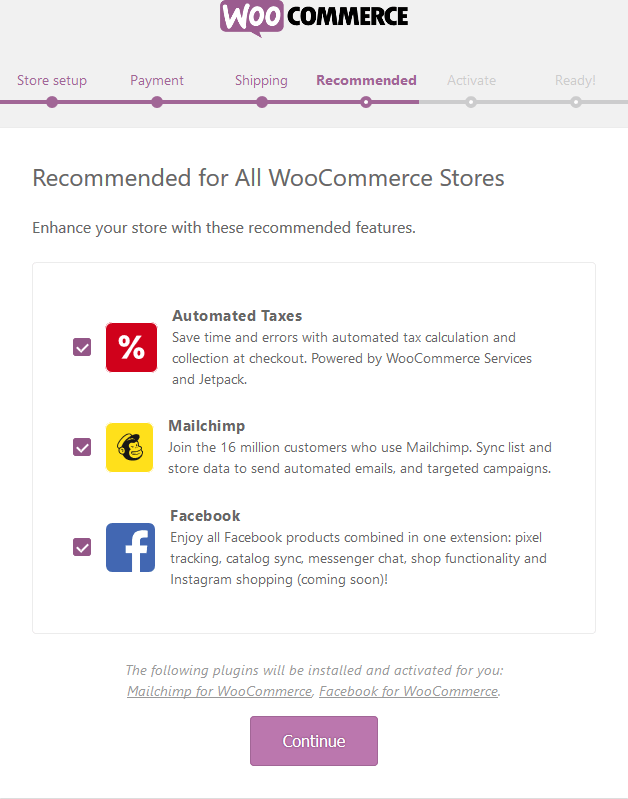
Recommended Plugins
Opt in or out of the recommended plugins.
Jetpack
Optionally connect your store to Jetpack.
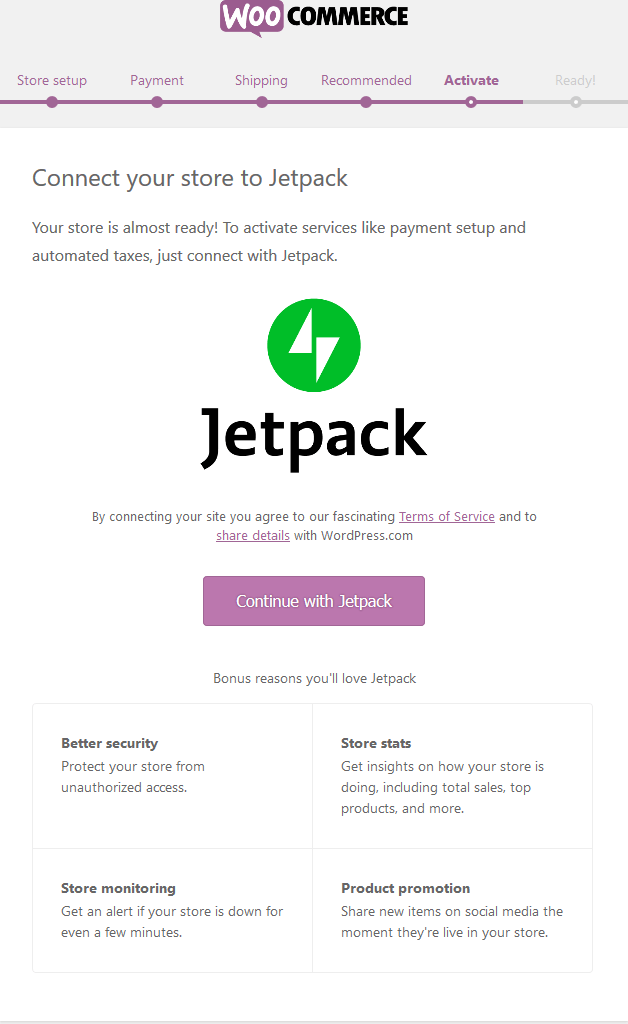
We’d recommend you connecting Jetpack since it’s one of the most suitable, powerful and trustworthy plugin not just for WooCommerce stores, but all sorts of WordPress websites in general (we use it in many WordPress themes for different purposes).
On the final steps, you are ready to proceed with creating or importing (if you had a different WooCommerce website) your products. You can start adding products immediately from this screen.
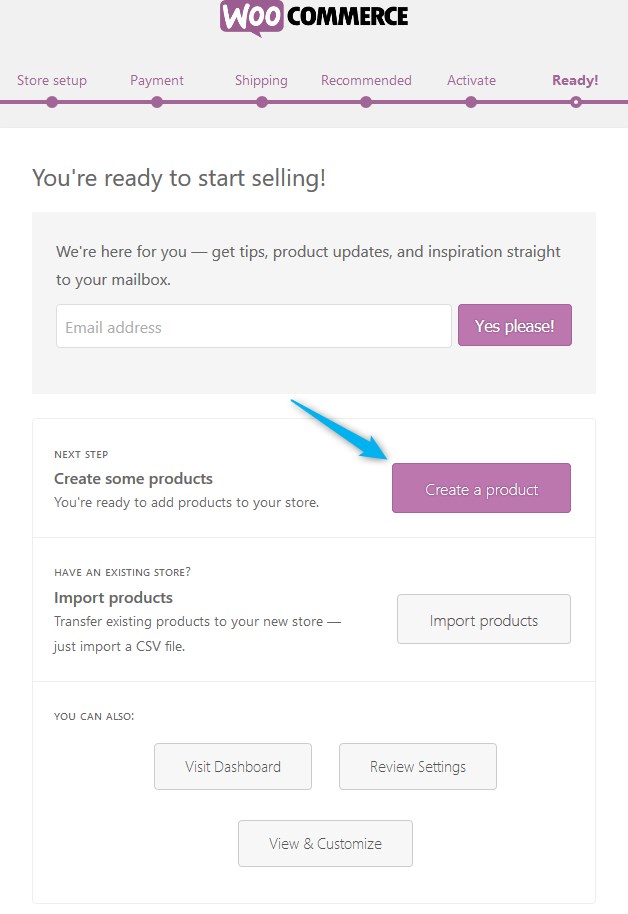
Add products
Go to WordPress dashboard → Products → Add New to add new products. If you use Bimba demo data, you can either customize already added products or delete them and add new ones.
Fill in the product with the needed details and select whether it’s a downloadable (digital) or virtual (service). To set up a proper hierarchy for your store, include:
- Product categories, tags and attributes (can be edited at any time). Read details.
- Choose a product type.
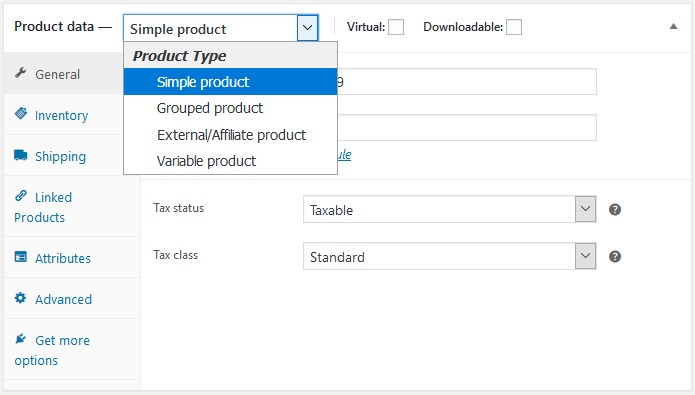
- Add a featured image and an image gallery
- Add product data (price, taxes, inventory, shipping, etc.).
To set up currency options, taxes, emails, shipping, inventories and other general settings, go to WooCommerce → Settings.
Useful WooCommerce guides
Shortcodes included with WooCommerce