Table of Contents
Using WordPress Customizer, you can apply changes that will affect your website globally, across the entire theme. It’s very handy in use since you can see the applied changes instantly in real time, but they won’t be applied to the site until you click ‘Publish’.
Navigate to Appearance > Customize to make the changes.
In Customizer, you can click on the pen icon to jump to the needed site section.
![]()
![]()
Site identity
Here you can optionally add text as your site title and tagline, as well as add a logo.
Colors
So far you can only change the background color of the theme.

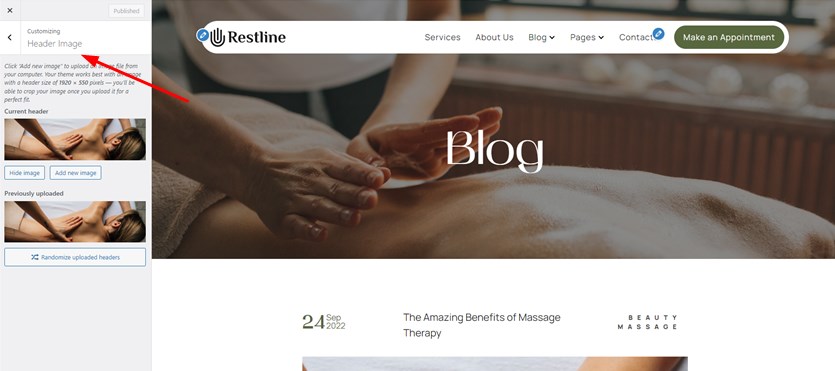
Header image
You can change a default header image that appears on some inner pages, for example, blog.
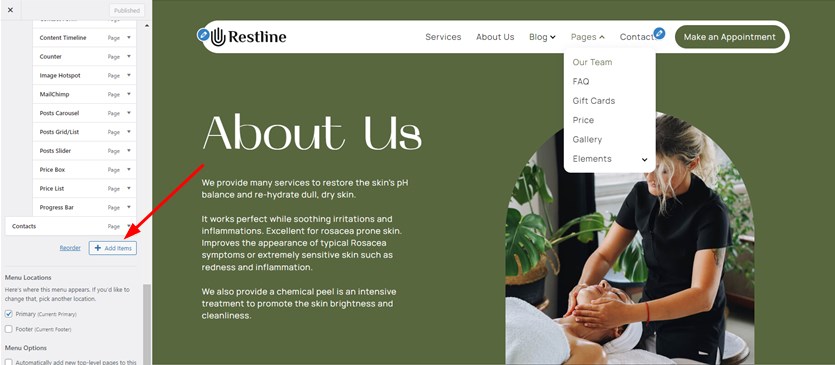
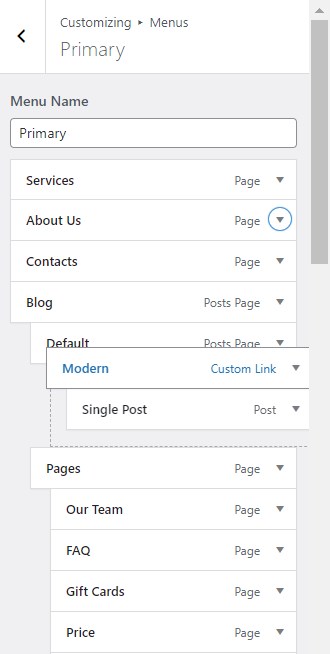
Menus
Here you can add or delete menu items from the main navigation menus.
To add a new menu item, choose the menu location, and click “Add Items”.
To rename menu items, click on the arrow icon of the needed one.
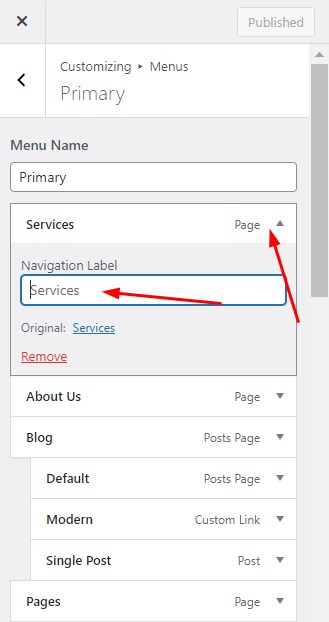
If you need to create a submenu/put a page into the submenu, drag and drop the menu item slightly to the right. Drag and drop the items to the needed position if you want to change the order of the items.
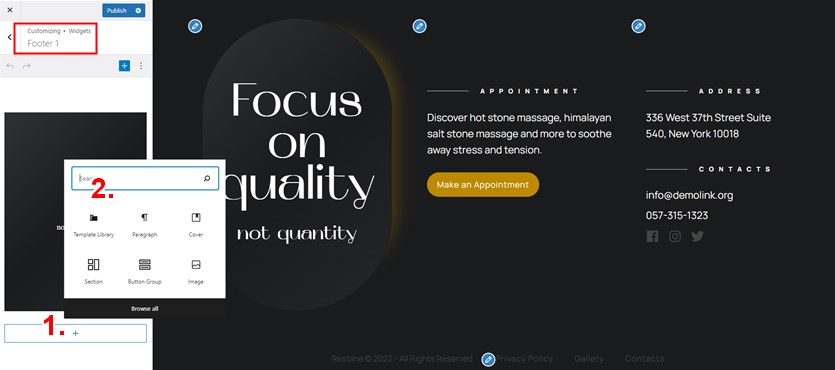
Widgets
There are five widget areas in Restline: Sidebar, Right Sidebar, Footer 1, Footer 2 and Footer 3.
Every widget area is capable of nesting various content.
To add any other widget to any widget area, click on the plus icon and then select a WordPress block you want to add.
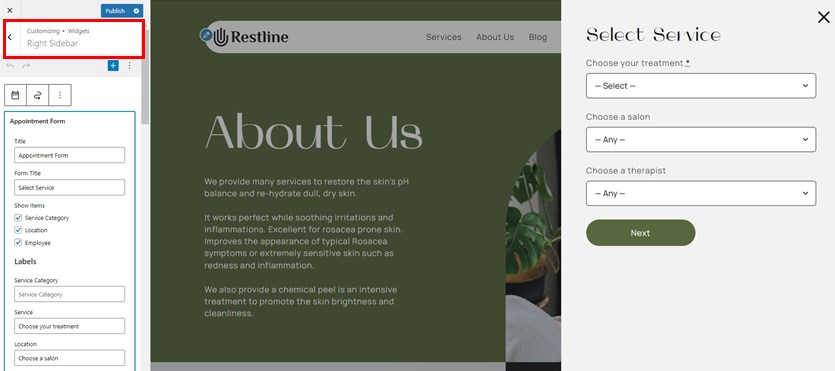
The sidebar menu by default contains the appointment booking widget. The demo data will help you easily customize it.
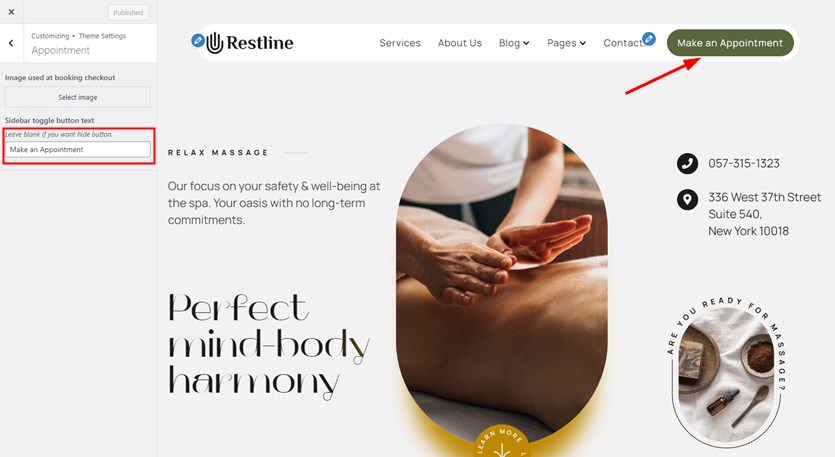
Theme options
In the theme options menu, you can choose a preferable blog layout, choose to optionally hide a header image, edit text in footer, and optionally edit the appointment booking button label.