Table of Contents
Quick Start Guide
- Install and activate Emmet Next WordPress Theme.
- Install and activate required plugins.
- Import sample data (if you install a theme on a fresh website).
- Activate API keys for the services that require authorization.
- If needed, add content to custom post types (e.g. Team), WooCommerce shop, generate Contact form 7 shortcode, etc.
- Set up and customize the front page.
- Edit website identity, menus and header in the WordPress Customizer.
- Customize other website pages.
Installation
- In your WordPress admin panel, go to Appearance → Themes and click the Add New button.
- Click Upload Theme, Browse and Choose File; then select the theme’s ZIP file. Click Install Now.
- Click Activate to use your new theme.
- You’ll be offered to install a number of different plugins that ensure the theme will look like the demo – you can install all of them and later deactivate / uninstall plugins you won’t need.
- Once all plugins are installed and activated, you may want to import sample data to the theme to edit all pages easier.
Warning! Proceed to importing sample data only in case it’s a fresh website and it doesn’t contain any custom content!
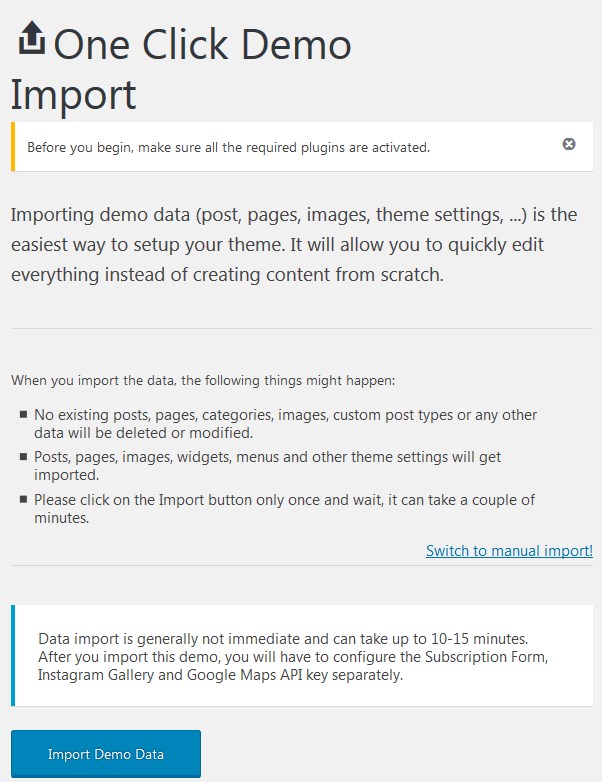
Import sample data
When all required plugins are installed, Import Sample Data menu should appear under Appearance menu on your WordPress website. Head over to this menu and run the importer by hitting on the “Import Demo Data” button. Be patient, the process can take up to 15 minutes.
When the process is finished, you’ll also need to activate the widgets that require API keys.
Insert API keys
- If you plan to use a Newsletter subscription widget, you’ll need to activate your MailChimp account via Settings → Another Mailchimp. Insert your MailChimp API key.
- If you plan to integrate a Google map, go to Google Maps → Settings and insert your Google maps API key.
- If you plan to use your Instagram feed gallery, go to Settings → Instagram Gallery → Create new gallery and insert your Instagram username. To make your gallery look just like on the demo, the following settings are preferable: 8-column grid, 8 images is a picture limit, no spacing between images.
If any of these widgets are used, but the API keys/usernames are not specified, the widgets will be displayed with errors.
The installation is done! Now you can customize the theme appearance and replace demo data with custom content.