Table of Contents
Front Page Setup
If you are using sample data, all pages, including the front page, should already be installed.
- Go to Pages → choose any of Home 1, 2 or 3. All of them are pre-built a bit differently, but you can customize any with the same set of tools, so it doesn’t matter which one you choose.
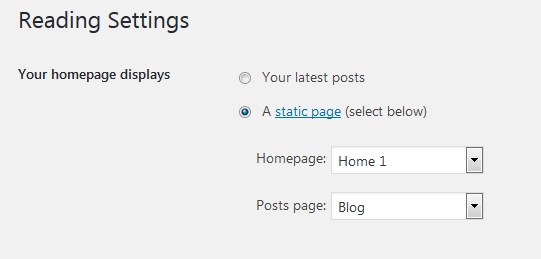
For example, you chose Home 1. Now make sure to go to Settings → Reading → choose a Static home page → select Home 1 from the drop-down menu.
The rest of the home page example pages can be simply deleted.
2. Go back to the Pages → Home 1 → edit page.
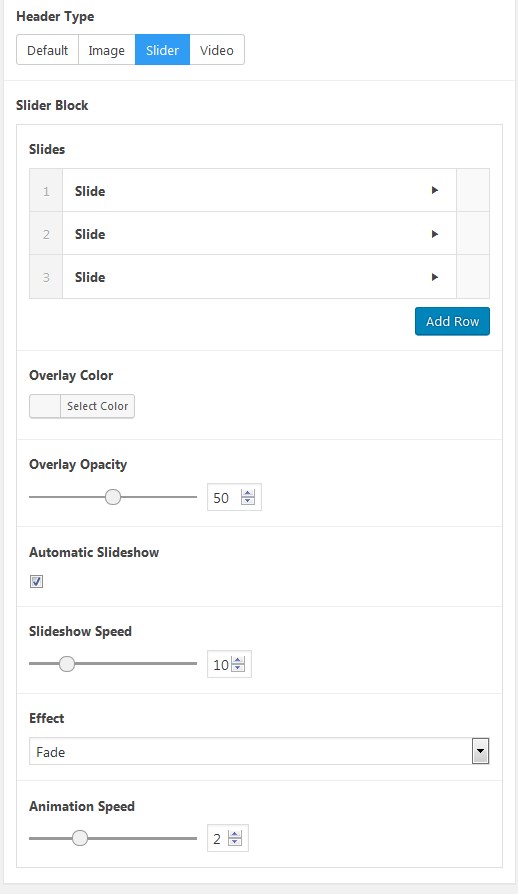
3. Before heading over to Elementor and front page customization, you can select a type of the header of this theme: default, image, slider or video.
Depending on the header type you choose, you’ll need to apply different settings. It means you can customize your header differently for different pages.
4. Navigate to page Attributes → Templates → set Page Full width.
5. Go to the page content area and click on the Edit with Elementor button. You’ll be presented to the front page with all content elements that you can customize, move or delete.
Front Page Customization
By default, the front page displays the following content modules:
- Customizable header (we’ve described how to edit it in a page settings a while back)
- Simple image, heading and text widgets
- Icon list elements
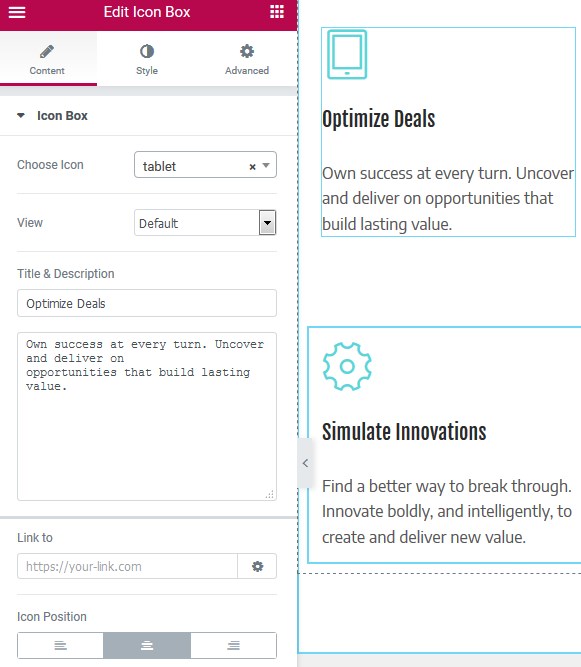
- Counter and icon widgets
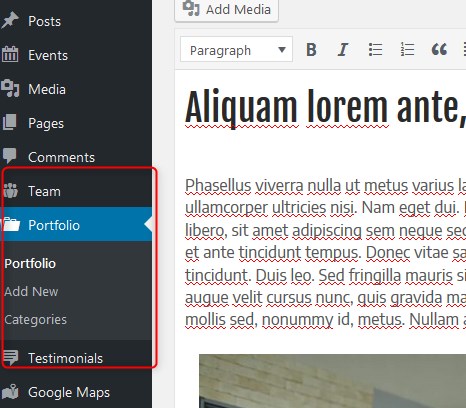
- Three custom post types powered by our Emmet Next theme engine plugin and integrated into Elementor builder: Portfolio, Testimonials, and Team. All these post types should be firstly filled with your content via the respective dashboard menus:
After your content is added, you can customize layout of these widgets with Elementor:

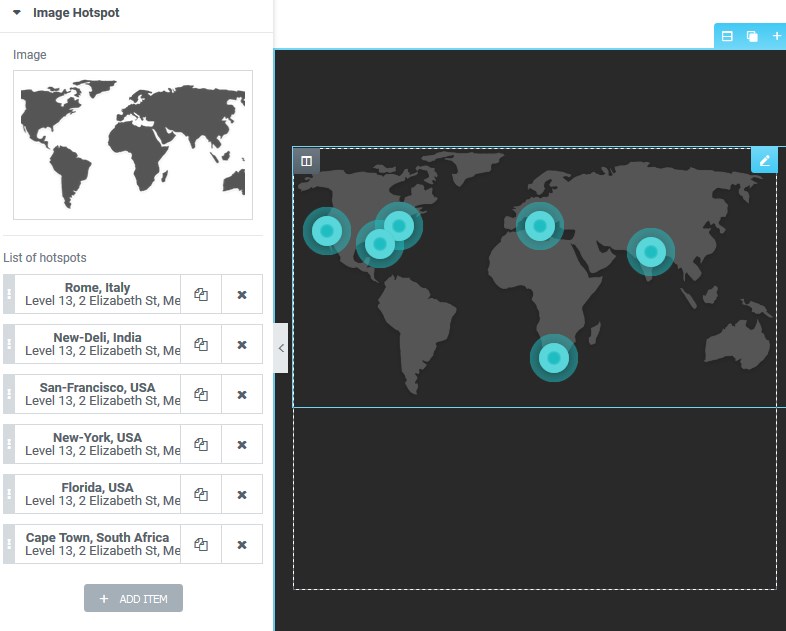
- Image Hotspot widget – our custom plugin integrated into Elementor. It allows you to add an image and place interactive hotspots over it to make the image more informative. You can customize it with Elementor.
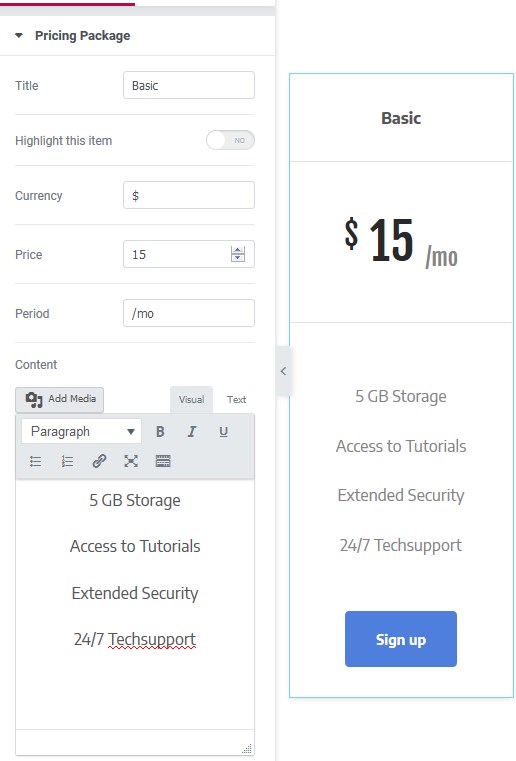
- Pricing table – this is our custom widget integrated into Elementor. You can add and edit different comparison tables like pricing and services. Edit it with Elementor right on the frontend.
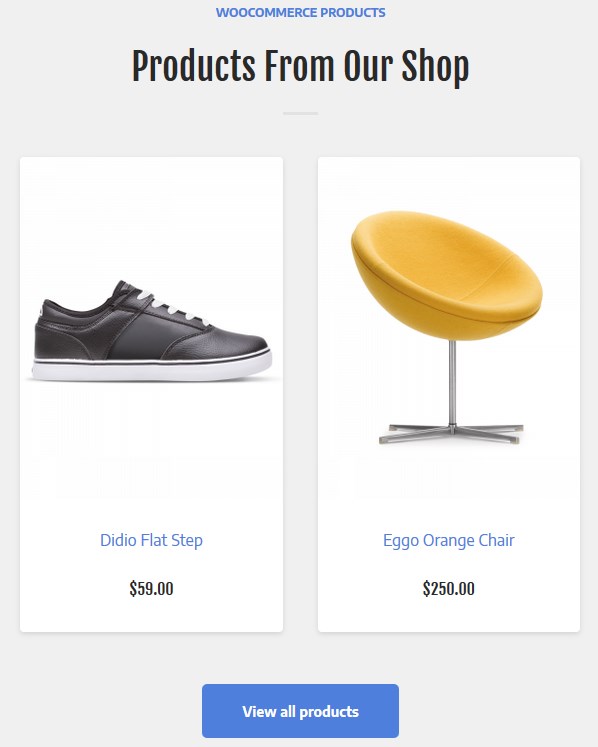
- WooCommerce shop – if you are going to sell items, firstly add them via WooCommerce menu in the WordPress dashboard and then customize the shop layout with Elementor:
- Newsletter signup widget, which is powered by Another MailChimp widget plugin. You firstly need to connect your MailChimp account with API key as we described in the Installation section.
- Latest blog posts – a feed of standard WordPress posts.
- Google map widget powered by Maps Builder plugin. To display the map, you should firstly add your Google maps API key as we described in the Installation section.
Contact form powered by Contact form 7 plugin that comes with a customizable shortcode. To generate a contact form shortcode, you should firstly go to your WordPress dashboard → Contact → Contact forms → Add new. Then copy a shortcode and paste it into the respective widget in Elementor:

- Instagram Gallery is powered by Instagram Gallery plugin. You should firstly add your Instagram username to be able to display your Instagram images on the website (see Installation section for details).
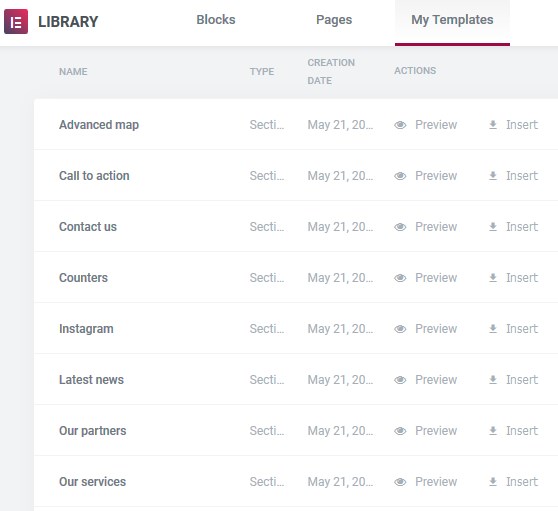
If you want to add any of these sections to this or other website page in Elementor, simply go to the needed page → hit “Edit with Elementor” → click “Add Template” in the builder → My templates and choose from the list of available ones → hit Insert.