Table of Contents
To accept appointments online, you need to set up the MotoPress Appointment Booking plugin that comes packaged with the Restline theme.
In addition to automating appointment booking needs, this plugin will let you show your team members (optionally), services, and more using the content you add via the plugin.
More details on how to work with the plugin: scheduling plugin documentation.
A quick set-up tutorial might be enough to get you started:
- Go to Appointments > Settings > General
- Add team members via the Employees menu (it’s okay if you have just one).
- Add salons/shops via the Locations menu (optional).
- Create availability schedules for your team via the Schedules menu with regular working hours and breaks.
- Add services via the Services menu.
- Optionally add tags and categories to your services (to speed up the search for clients).
- Set up email notifications for the admin and client via Appointments > Settings menu > Emails.
- To add payment options, go Appointments > Settings > Payments and click Manage (optional).
- Add the Appointment form block in the block editor or via widgets. If you use demo content, the widget should already be added.
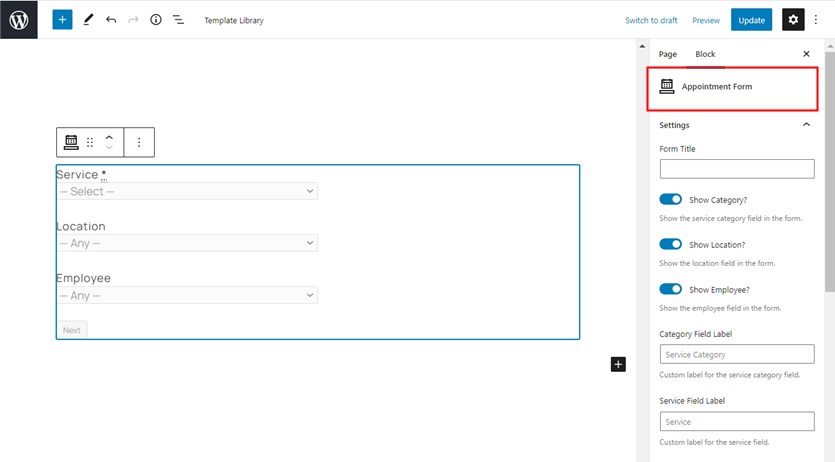
Here you can customize such important details as the booking confirmation mode (for instance, by payment or manual confirmation), currency, and whether multiple services can be booked at a time.
Here are a few alternatives of how you can add a booking widget to any preferable page on the site.
Add the booking widget to the header
In Restline, you can add a widget to the Right Sidebar widget area.
- Go to WordPress Customizer > Theme Settings > Appointment > Add button text.
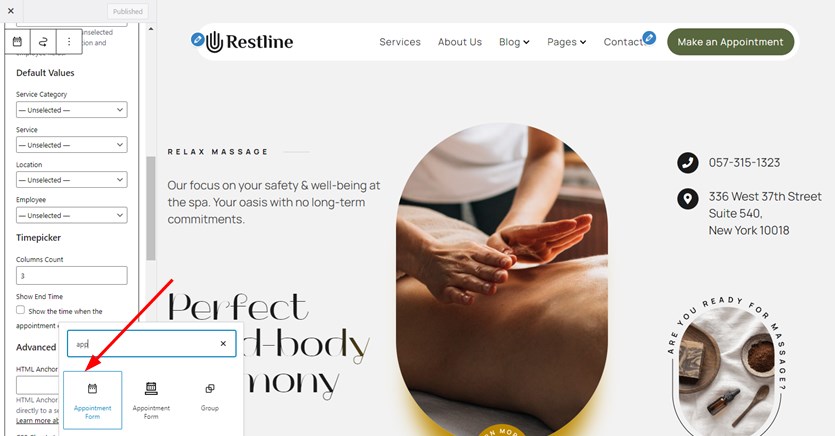
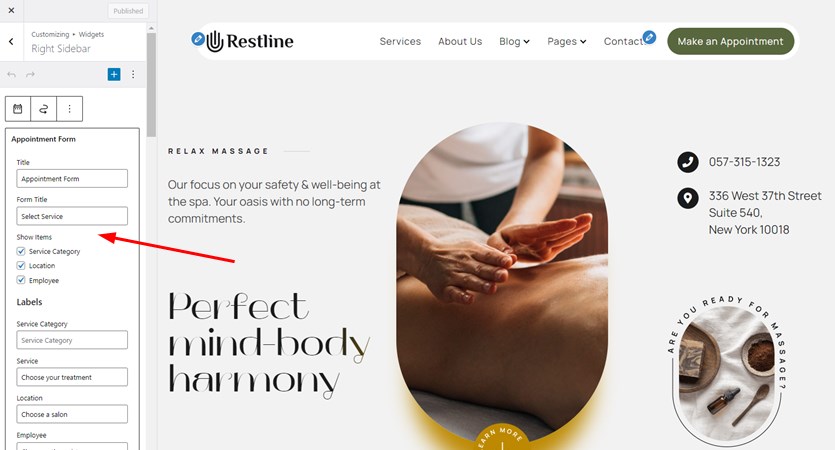
- Go to the WordPress Customizer > Widgets > Right Sidebar > Add block > Select the Appointment form block.
- Click on field labels to edit them in the visual editor.
Add the booking widget to any page
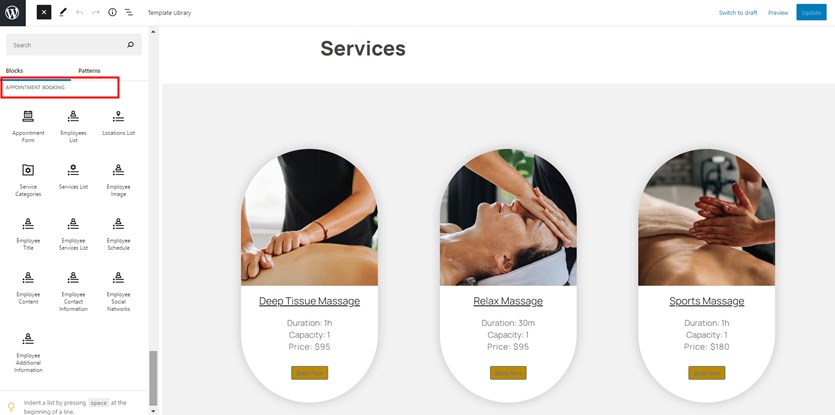
Use the Appointment form block in the WordPress block editor.
Go to the the page you want to add a block to > add the Appointment form block to the blank page or inside any other block (e.g. Section).
You can also add other related blocks by the Appointment Booking plugin.
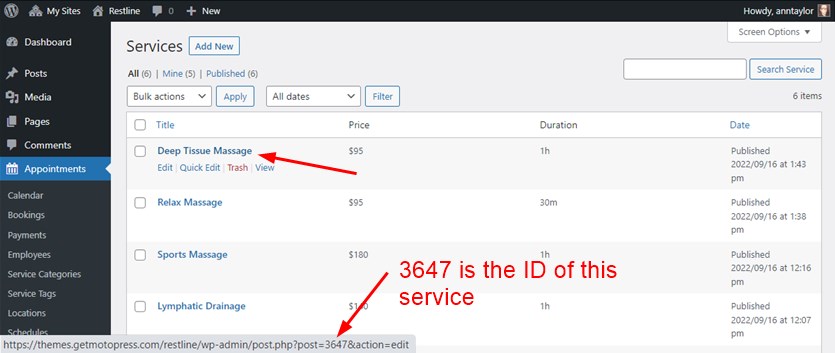
For instance, you can feature all tours (‘services’) using the Services list block. To show desired selected services, include their IDs.
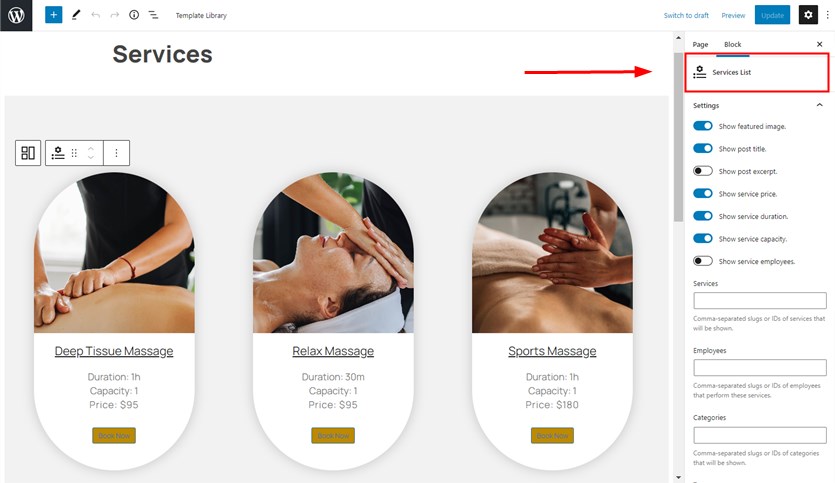
To learn a service ID, go to Appointments > Services > hover your mouse over the service title and find ID in the link.
It’s easy to add any other block of the Appointment booking plugin in just the same way.
How to make any button or link open your sidebar
To open a sidebar by the button or link on your website, you need to add the CSS class right-sidebar-toggle to any link, button, or menu item of your website.