Table of Contents
You can customize the theme via the WordPress block editor or via the WordPress Customizer.
The former allows you to edit individual blocks and content elements while the latter will help you apply changes for the entire site globally (e.g. change the default site accent colors, upload a logo, etc.).
Navigate to Appearance > Customize to edit global site settings.
Site identity
Feel free to change the site title and tagline, and upload your logo.
Change the site color scheme
In the Colors menu, you can customize the global site color scheme by picking the needed palette of complementary colors.

Navigation menus
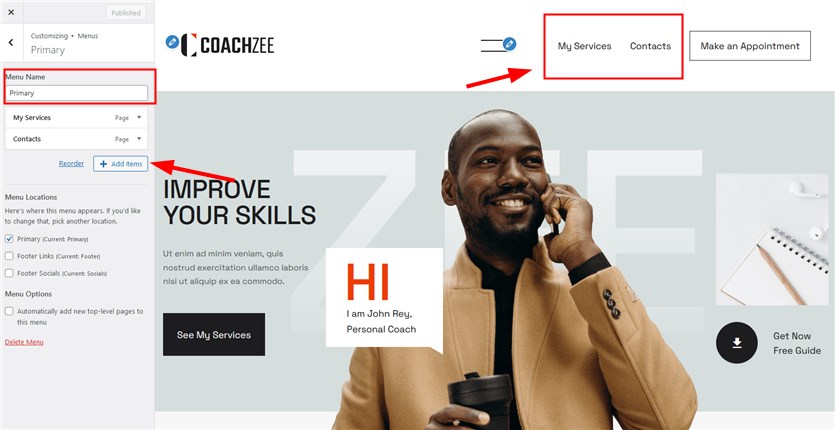
You can edit menus in different locations. The Primary one is visible in the header. You can add pages to this menu by choosing Primary and clicking ‘Edit menu’.
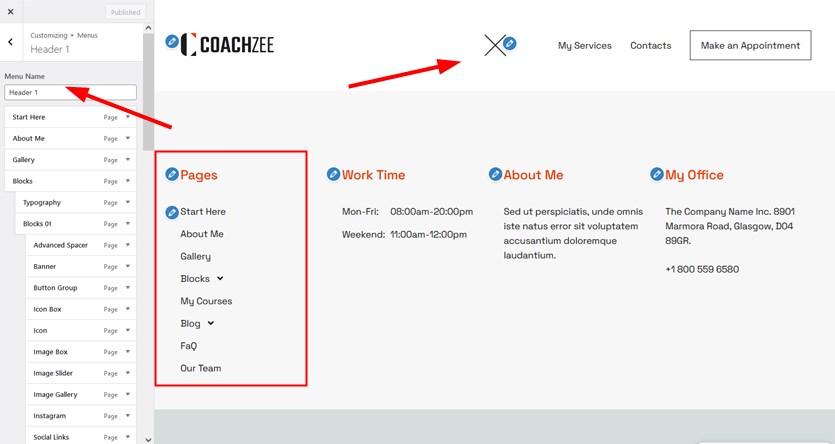
The ‘hamburger’ menu is folded by default – you can edit it via the Header 1 menu:
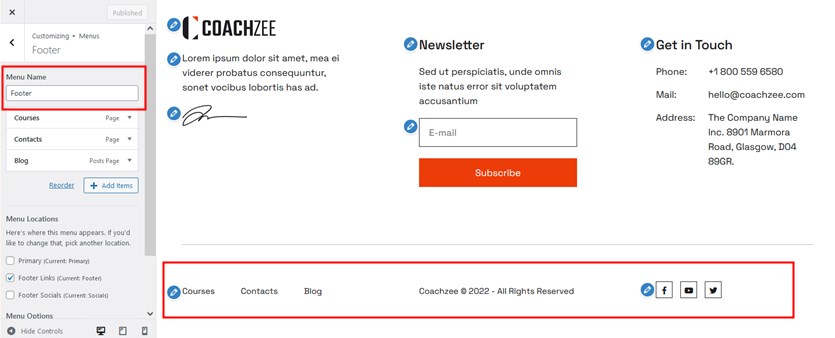
You can also change links and social media buttons in the Footer menu.
Widgets
Some other blocks you see in the footer, header and other always visible site pages are customized via Widgets.
The widgets in footer include the subscription block for Mailchimp (you can connect your account via WP Dashboard > Settings > Getwid > General > Mailchimp API key), site identity and the Get in touch widget with contact details. These are Footer, Footer 2 and Footer 2 widgets. You can replace these default blocks with your content.
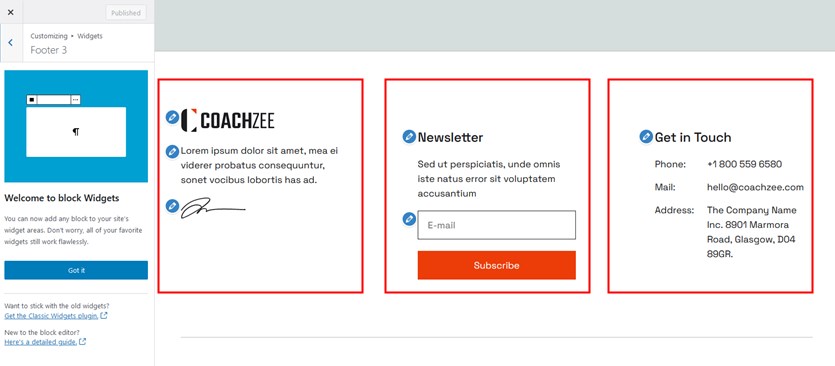
Although you can see them in WordPress Customizer, edit them via WP Dashboard > Appearance > Widgets.
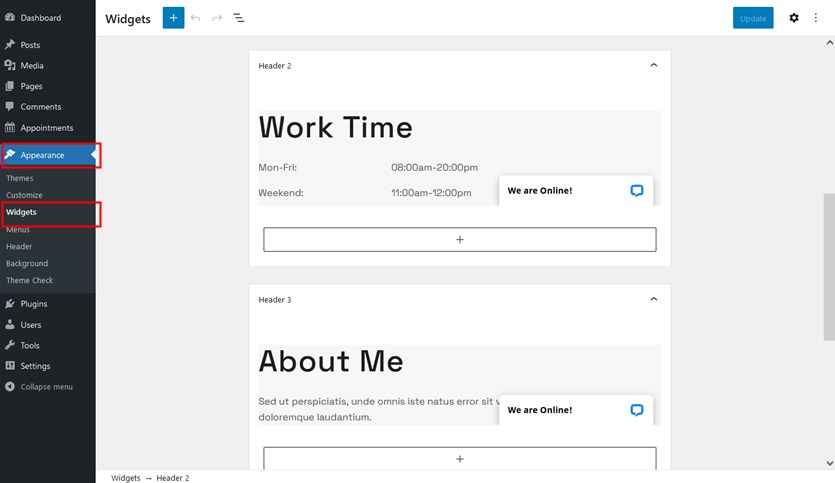
The appointment booking wizard you see in the menu can be customized via the Right Sidebar widget:
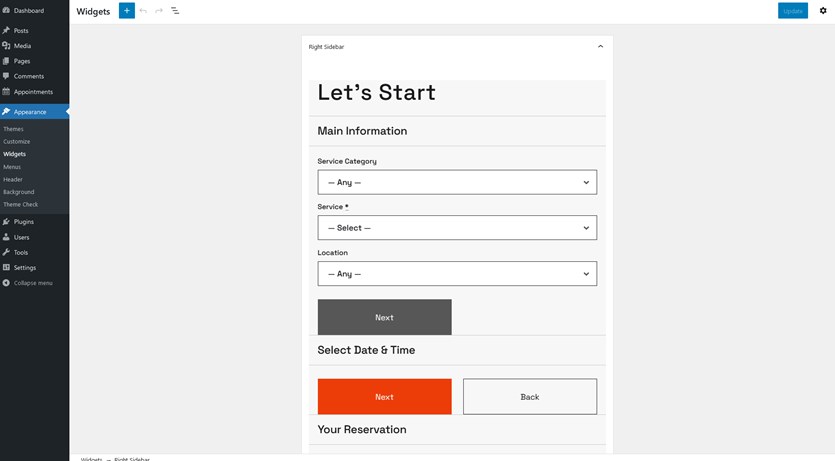
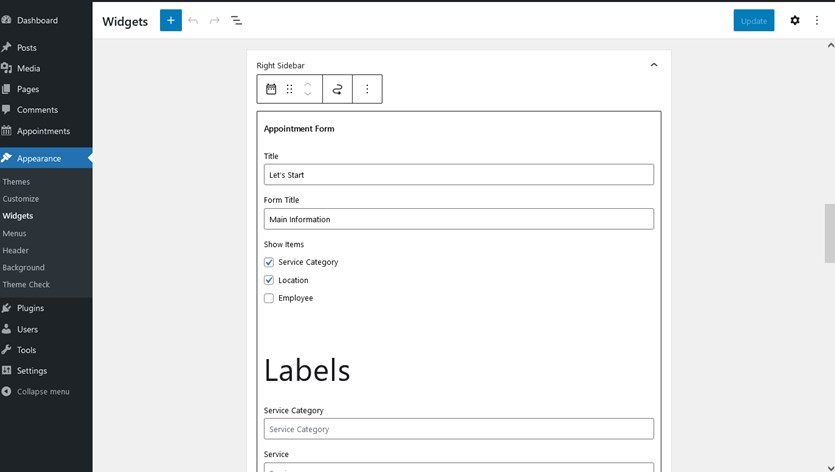
You can change the field labels or hide fields.
Theme options
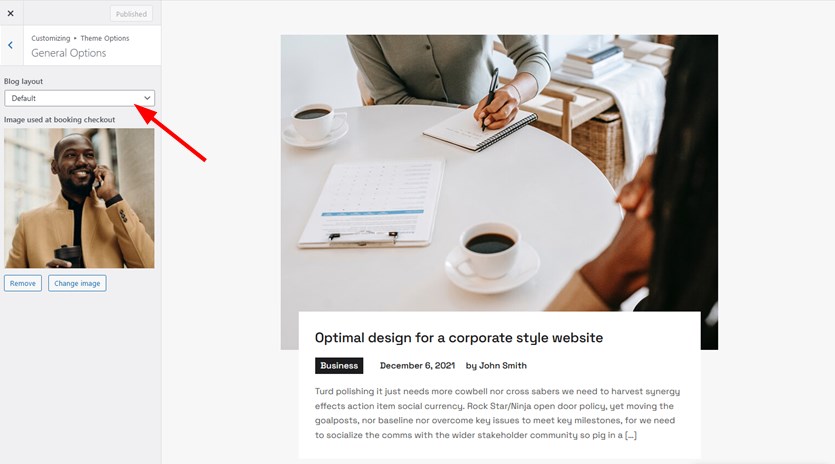
Here you can set your preferences for the blog (default or modern layout), add a copyright text to the footer, and apply some header and front page options.
