Table of Contents
Set up the front page
Here are the steps to set up your front page:
- Go to Pages → Add New and add a page (if you use sample data, Home – Front page, Elementor should already be there and you can customize it without creating a new page).
- Label it appropriately, e.g. home page, front page.
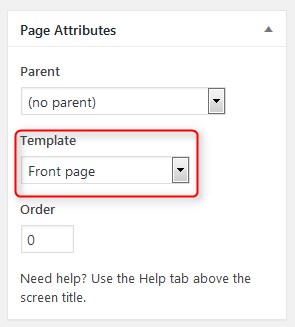
- In the Page Attributes, select Front Page template.

- Publish your page.
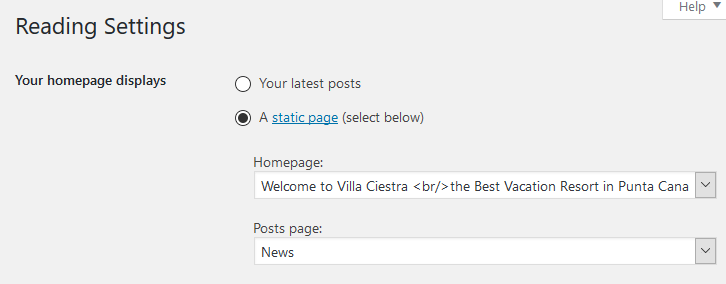
- Go to Settings → Reading: set “Front page displays” to Static Page.
- In Settings → Reading set Front Page to the one you created during the step #2.

- Save changes.
Front page customization
If you are using sample data, all pages, including the front page, should already be installed.
1. Go to Pages → choose Front Page, Elementor → Edit.
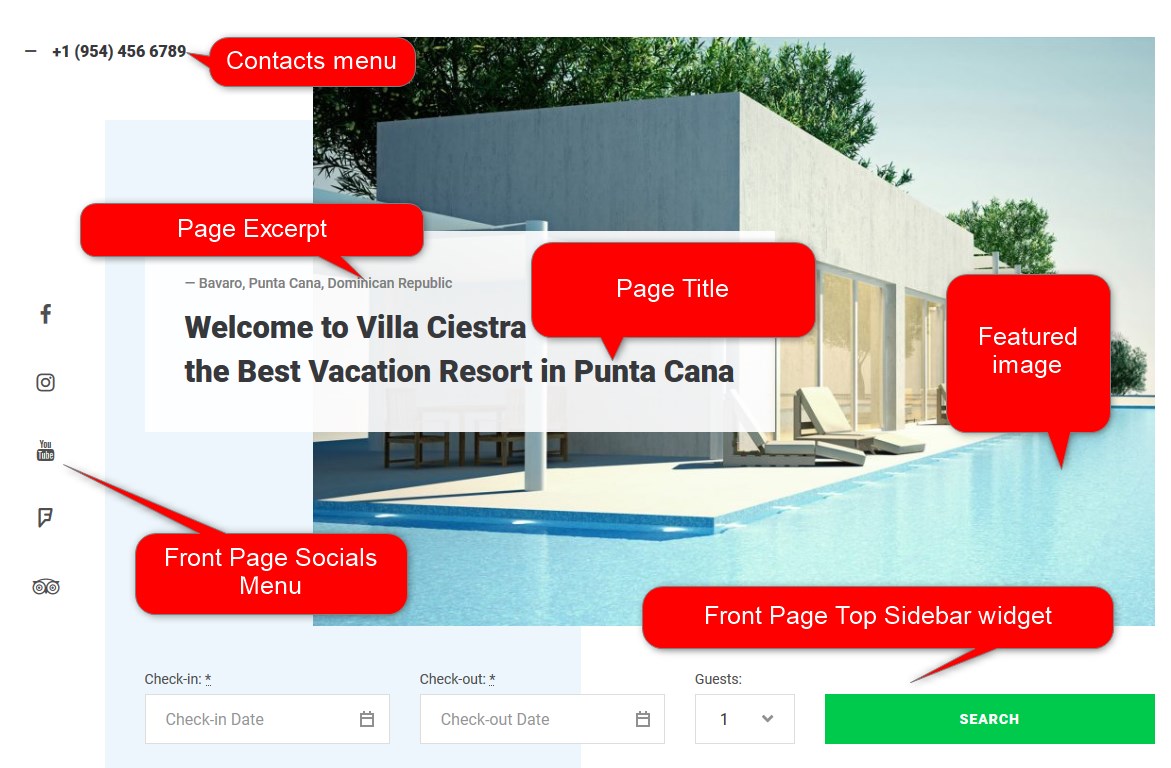
2. Upload a header image → replace a default Featured image of the page with yours.
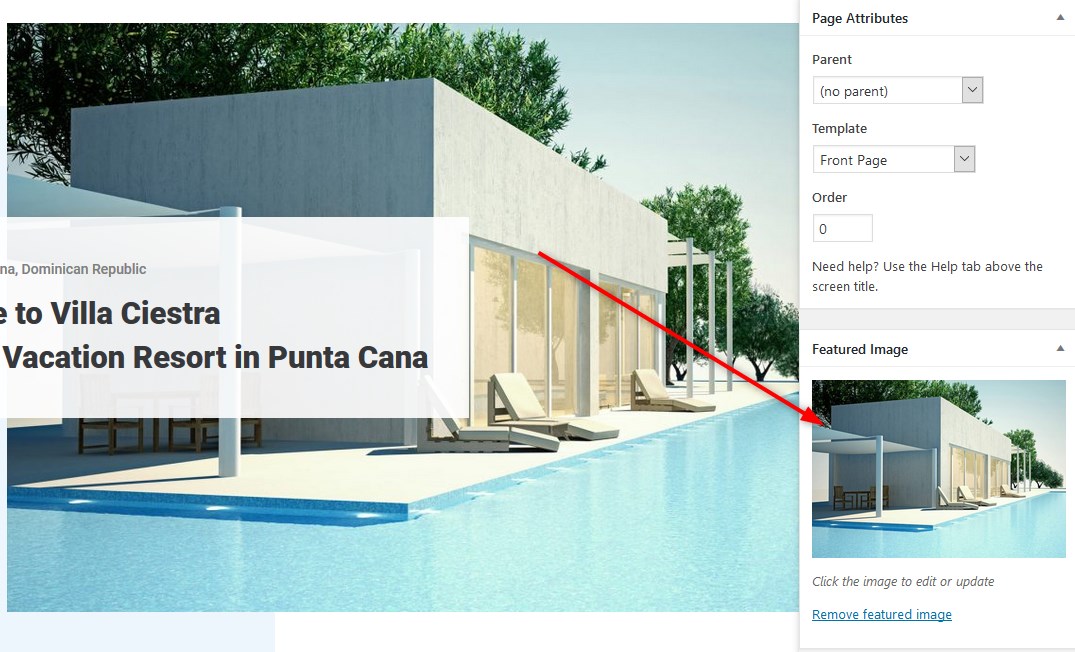
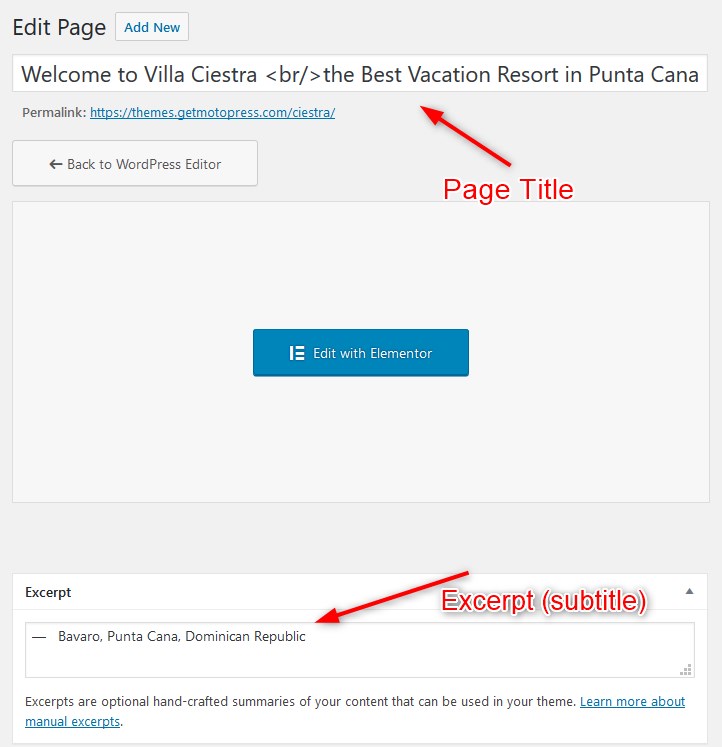
3. To customize “Welcome to Villa Ciestra the Best Vacation Resort in Punta Cana” text in header, you need to edit the title of the front page. To customize “Bavaro, Punta Cana, Dominican Republic” subtext, you need to edit the page “Excerpt”.
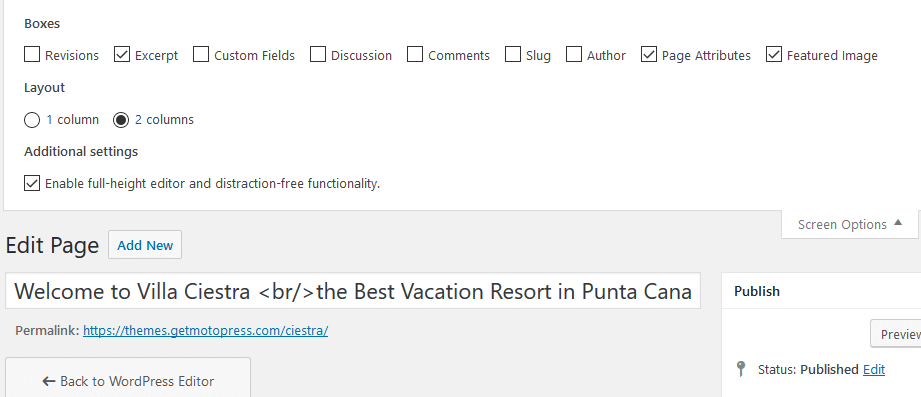
If you can’t see the Page Excerpt, find “Screen Options” in the upper right WordPress panel and tick the “Excerpt” box.
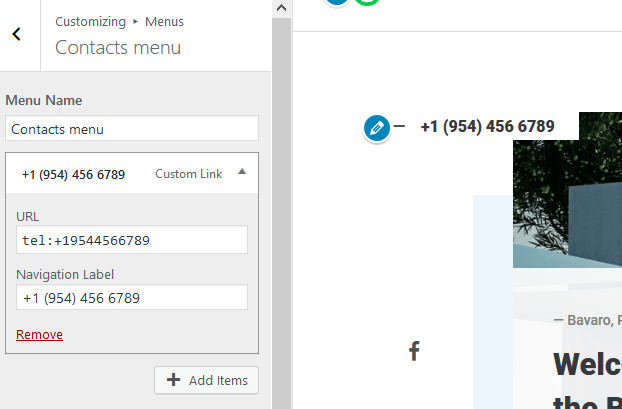
4. To edit the phone number and social menu icons, go to the WordPress Customizer via Appearance → Customize → Menus → View All locations. The phone number can be edited via the Front page Contacts menu (click “Edit menu”→ click on “Custom link”):
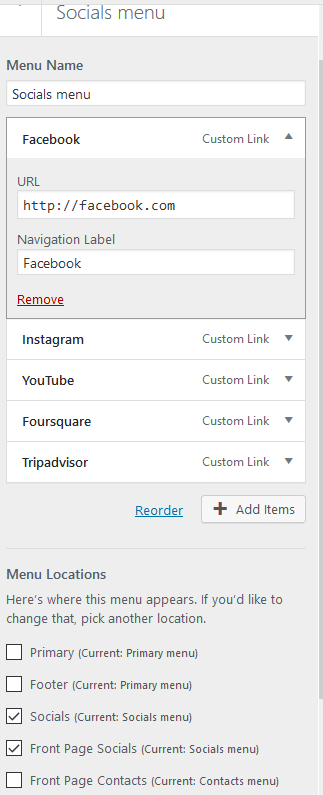
To update social menu links and icons, go back to Menus → Front Page Socials Menu → update the links and add the appropriate names of the social media platforms.
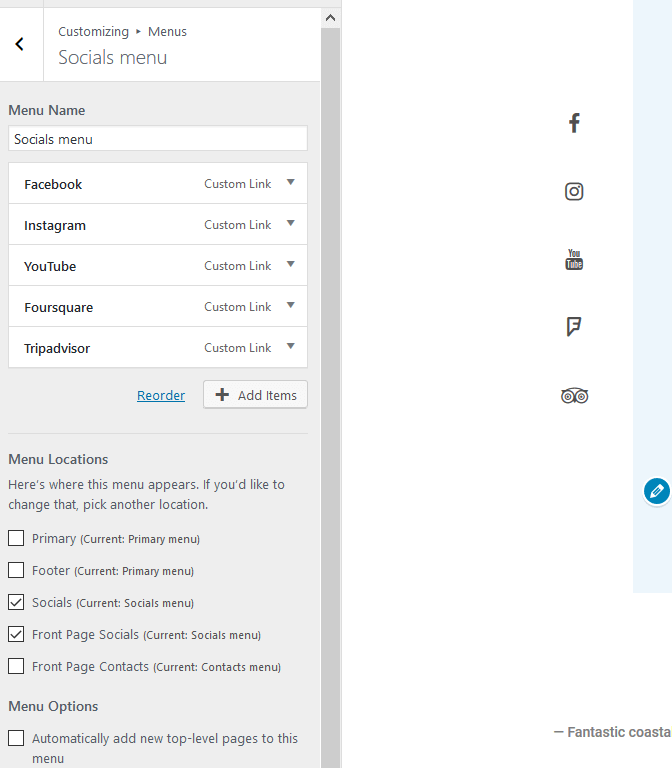
Moreover, it’s not a fixed position for the menu, so you can display these social icons in any of the available menus:
5. To add and /or edit the Search availability form widget on the front page (automatic search for the property according to guest’s search parameters), go to Appearance → Widgets → Front Page Top Sidebar.
 Here you can customize the widget or totally delete it.
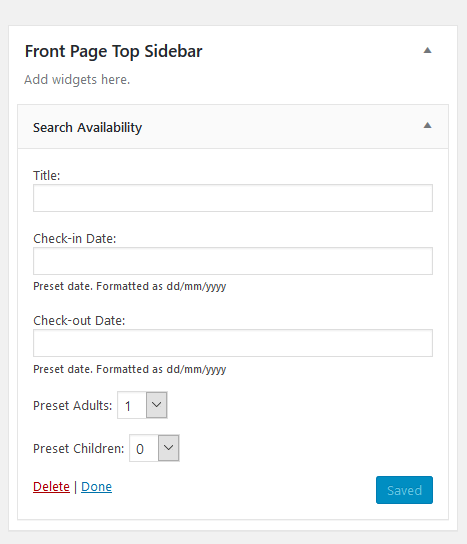
To edit/remove the fields of this widget, go to Accommodation → Settings → Guest Management:

You can optionally use any other available widget in this section if you don’t need the search availability form.
6. The rest of the blocks can be edited via Elementor page builder. You need to go back to the front page → click Edit with Elementor.
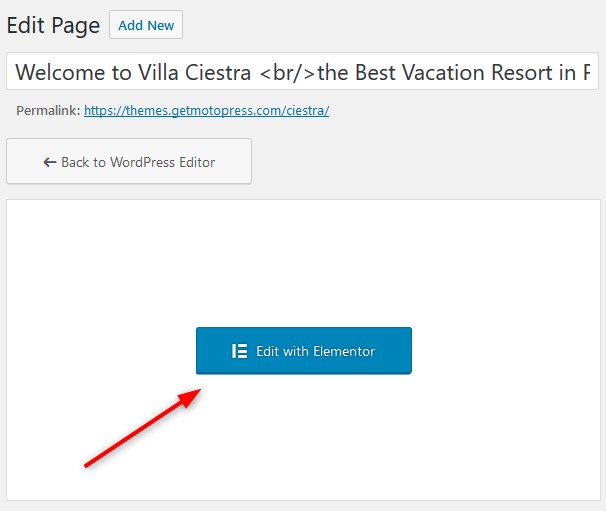
You can visually update content in blocks and change their layouts:
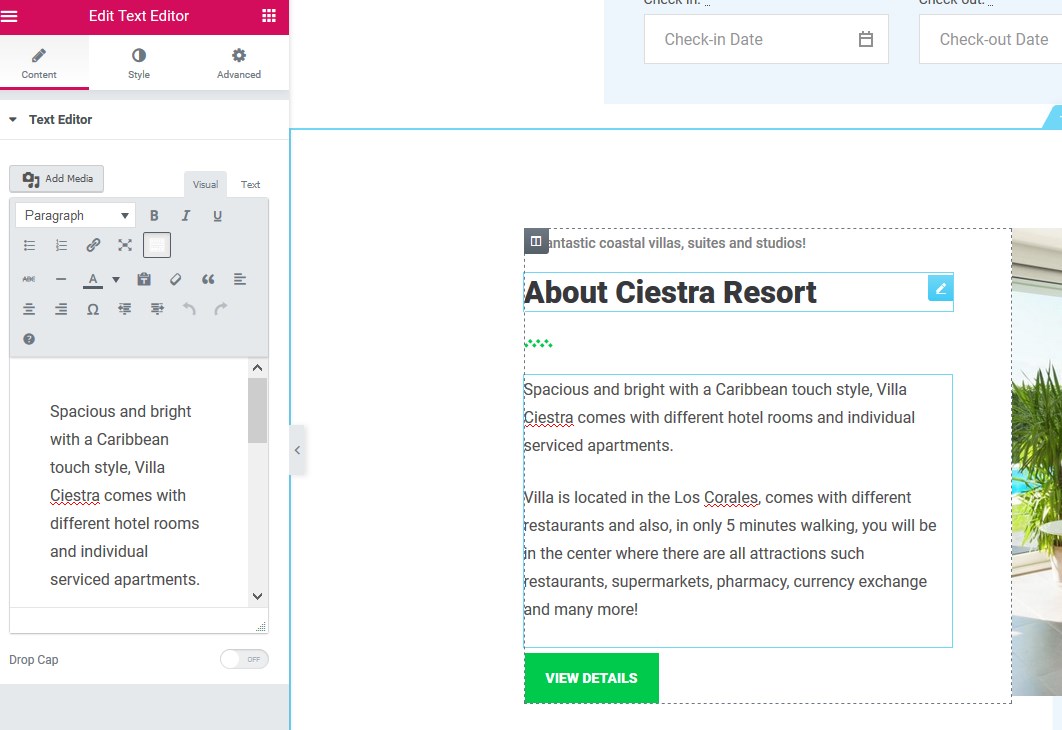
- Intro section is designed with Elementor – edit titles, images, shape divider and the rest of the elements.
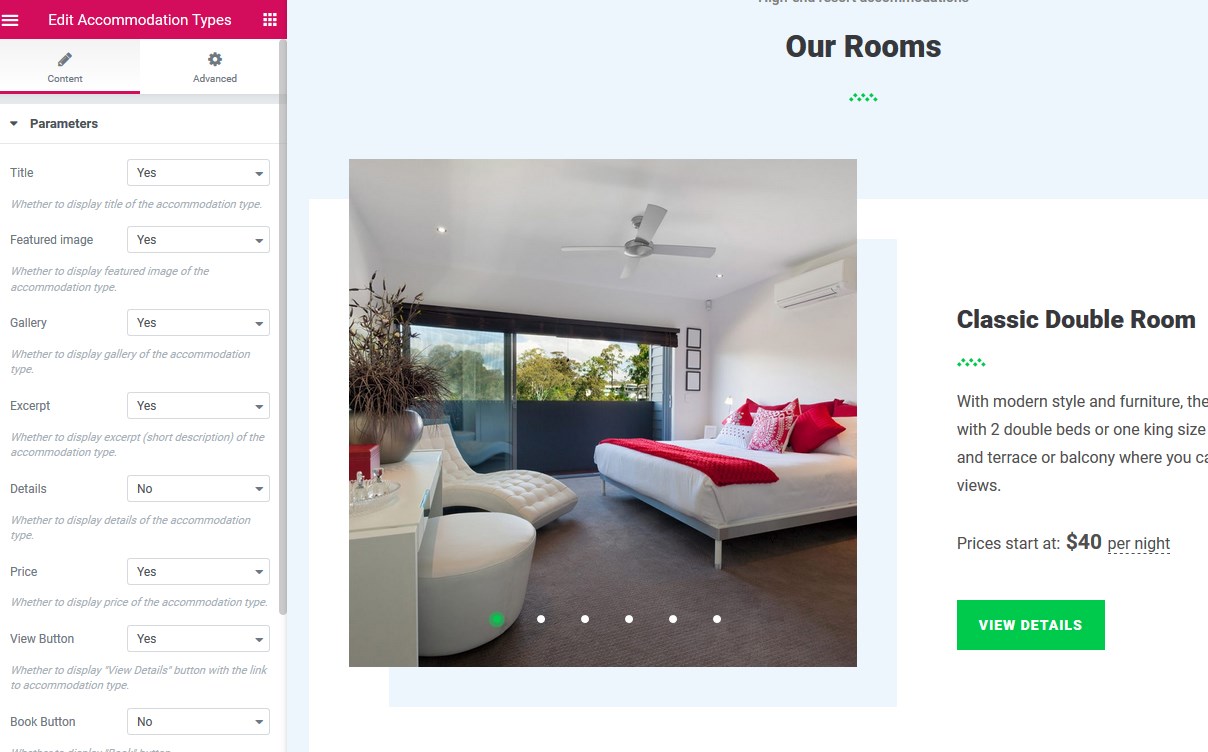
- The properties directory added via MotoPress Hotel Booking shortcode [mphb_rooms] and specifically designed Elementor widget to help you display the needed info in clicks: you can feature a gallery in a slider, amenities, price, etc. Simply click on the Edit element button and configure the settings.
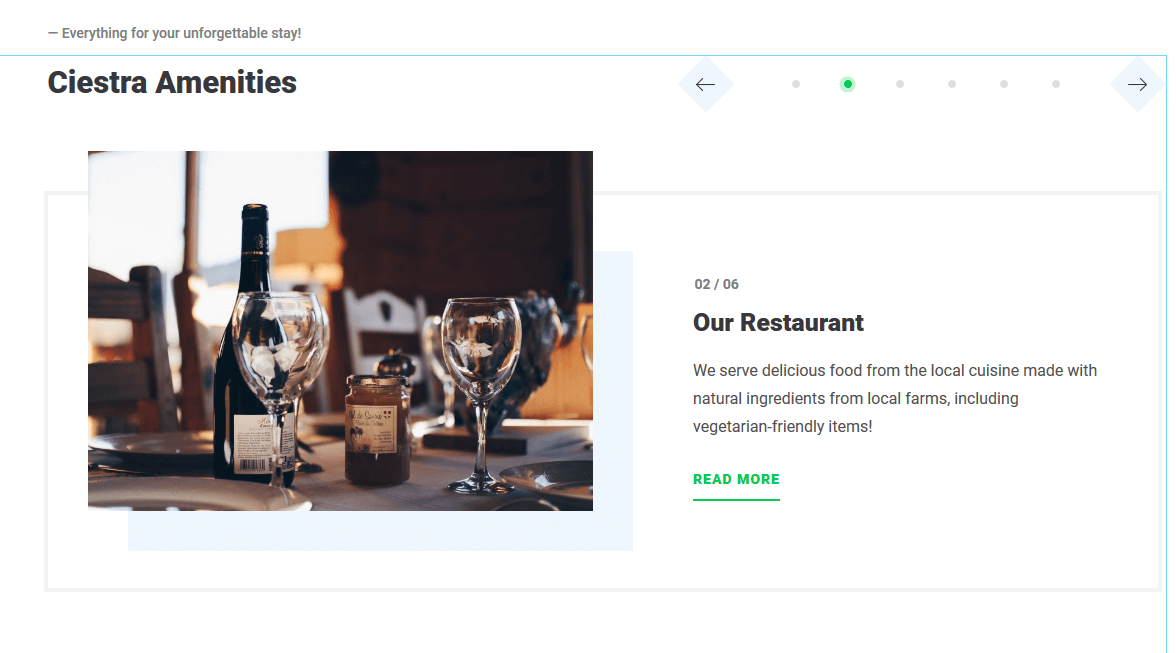
- Amenities slider is a custom post type for Ciestra theme that you can add via Amenities → Add new in your WordPress dashboard and then customize its appearance in Elementor. You can feature any services or advantages of your properties in this slider.
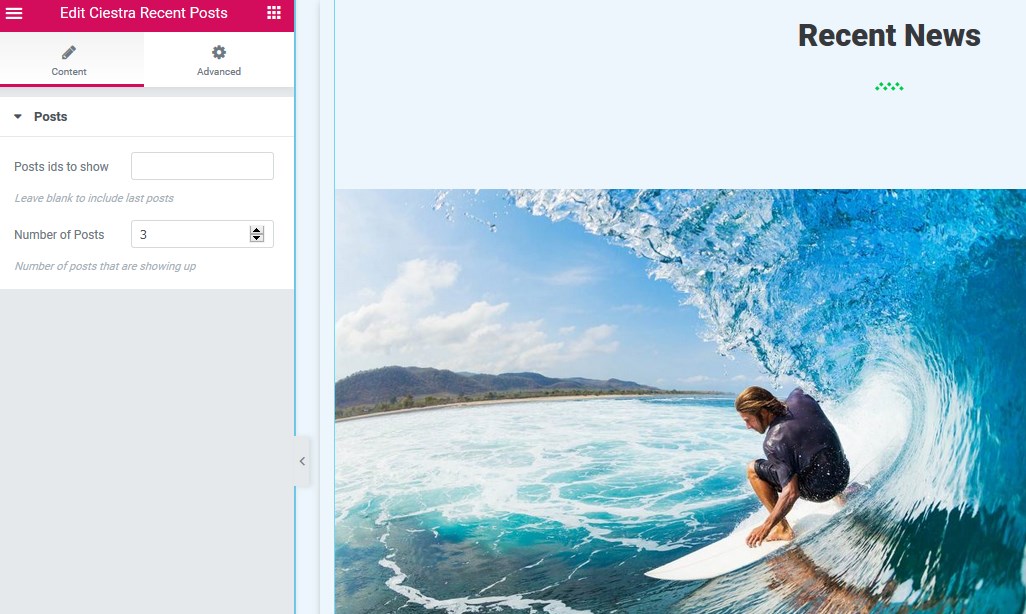
- Recent news – if you want to feature recent news, in Elementor you can specify the number of posts you want to display.
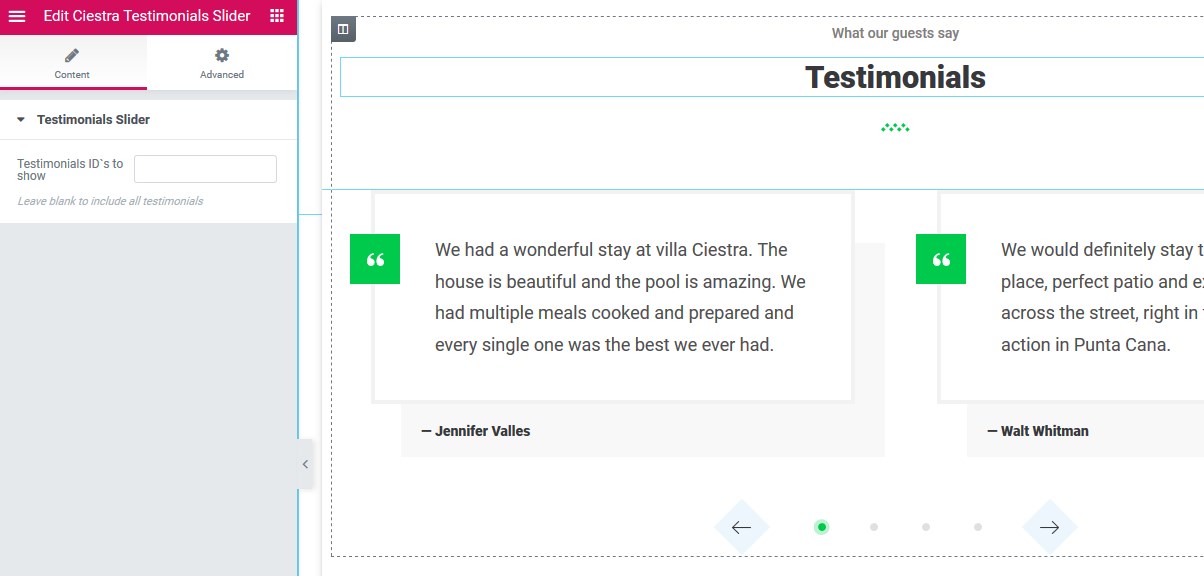
- Testimonials is a custom post type for Ciestra. To properly display the Testimonials slider, you should make sure that you’ve added the actual reviews under Testimonials → Add new. This custom post type is editable via Elementor.
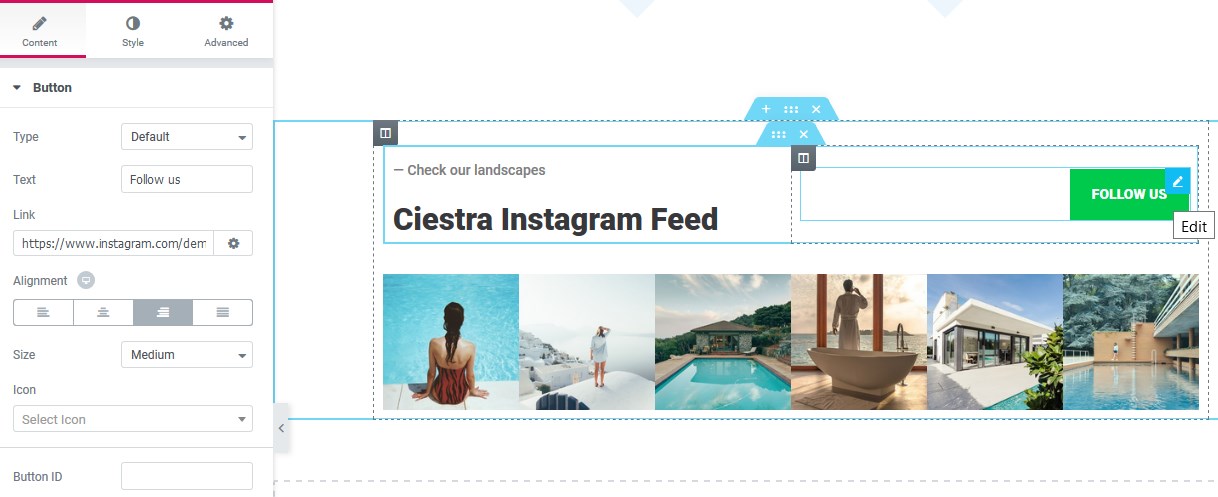
- Customize the block with the Instagram Gallery powered by the Instagram Gallery plugin (see Installation section for details). The title, subtitle and button of this block are customizable.
If you want to change the look and parameters of the gallery itself, go back to WordPress Settings → Instagram Gallery → Edit and change the initial gallery settings.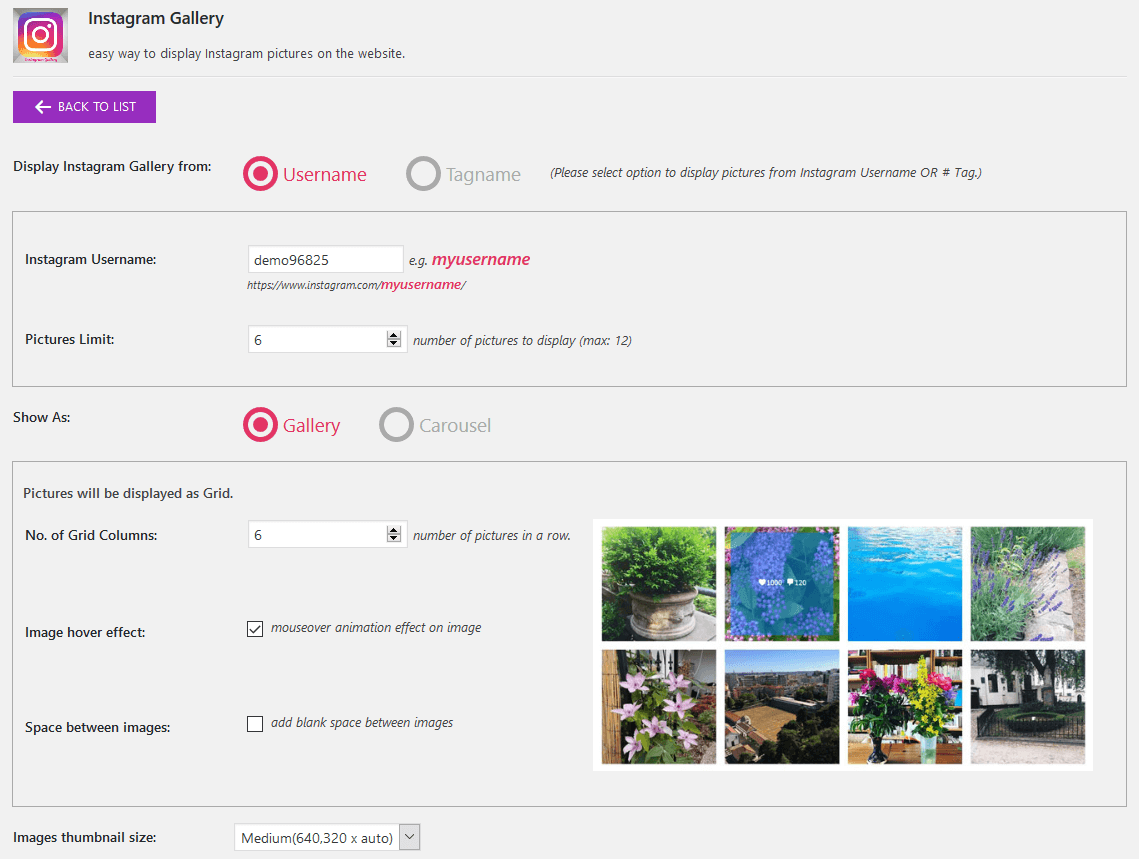
You can create different galleries and use them on different pages by copying / pasting a gallery shortcode.
If you want to add any other section, simply click “Add template” or “Add section” in Elementor.
