How to Use the Astra Theme for Appointment Scheduling WordPress Site
Table of Contents
Here at MotoPress, we love Astra. So do 1M+ other WordPress users, whose websites are built with one of the most popular multipurpose themes by Brainstorm Force.
If you are also looking to use the Astra theme for creating a booking website on WordPress, our case study today is for you.
We’ll show everyone how to build a booking page for accepting reservations online, which is going to be most suited for appointment scheduling needs.
So, if you are a beauty salon, clinic, rental company, or another service business, just follow our tutorial step by step and you will surely add a functional booking page to your WordPress – like, today!
To enable online bookings, we’ll use the MotoPress Appointment Booking plugin, the popular software for WordPress available in FREE (Download) and PRO (Details) versions. Either works with the WordPress Astra theme version of your choice, needless to say.
No matter which page builder your chosen Astra design is based on (and the theme supports different ones!), MotoPress Appointment Booking has dedicated blocks developed specifically for the most popular ones, such as the default block editor and Elementor.
Using these builders makes creating a booking form and adding it to any page of your website a plain task.
For example, to add a step-by-step booking form to your website, you just need to insert a block to the page in the visual WordPress builder:
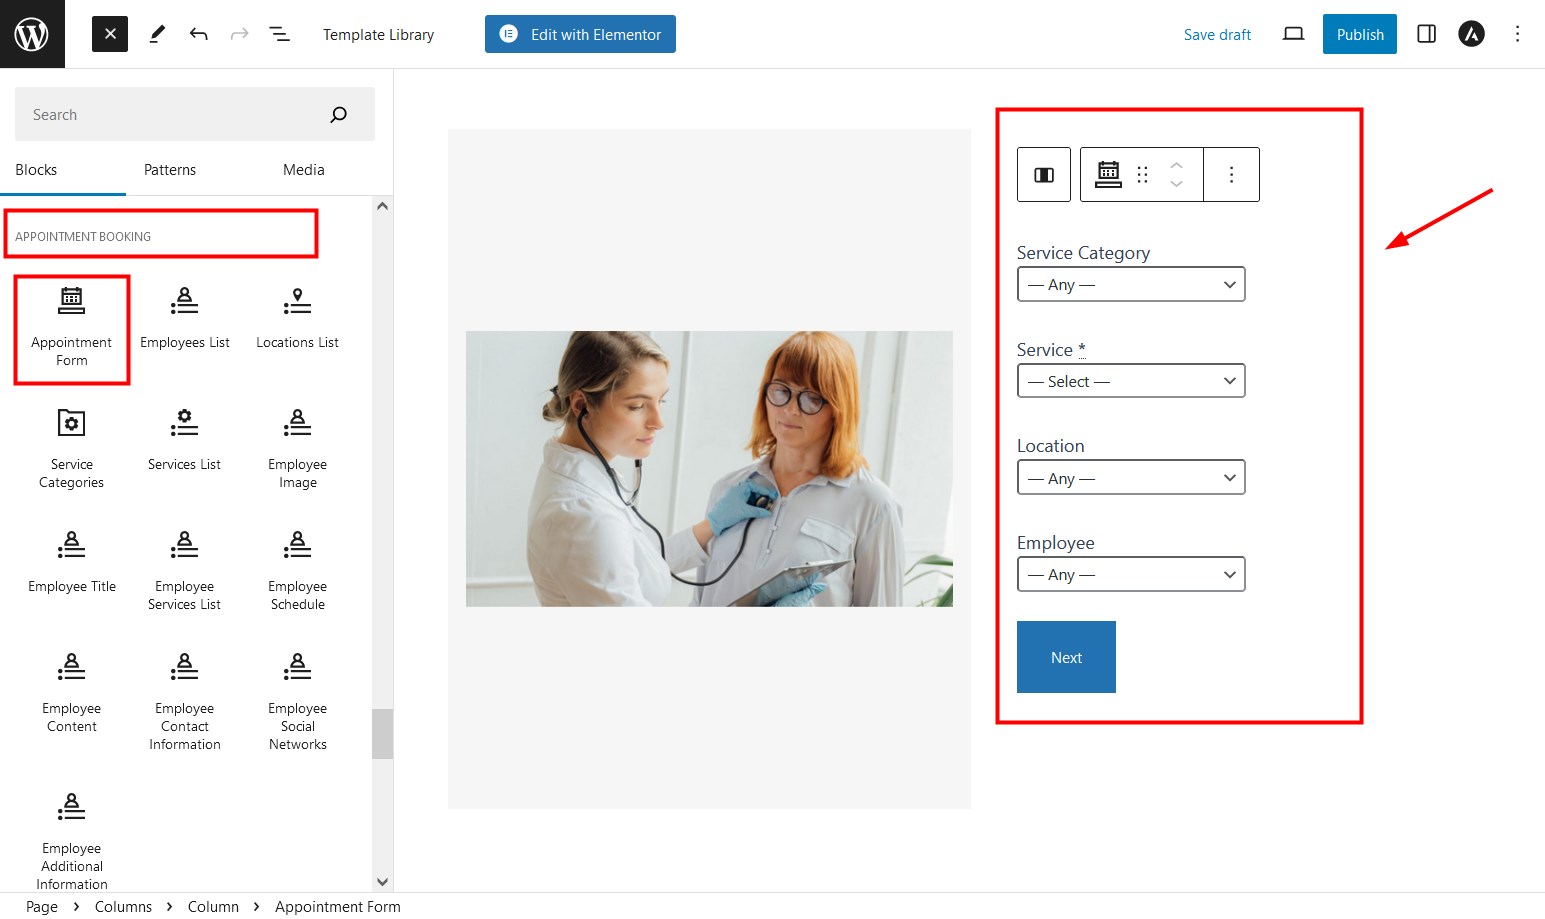
You can notice many more blocks for other related tasks – creating a team page, listing your services and more – automatically, by using data from the booking plugin!
Before we describe the steps of setting up the booking plugin in Astra, what are some great features of the WordPress booking system? Let’s highlight the most asked ones:
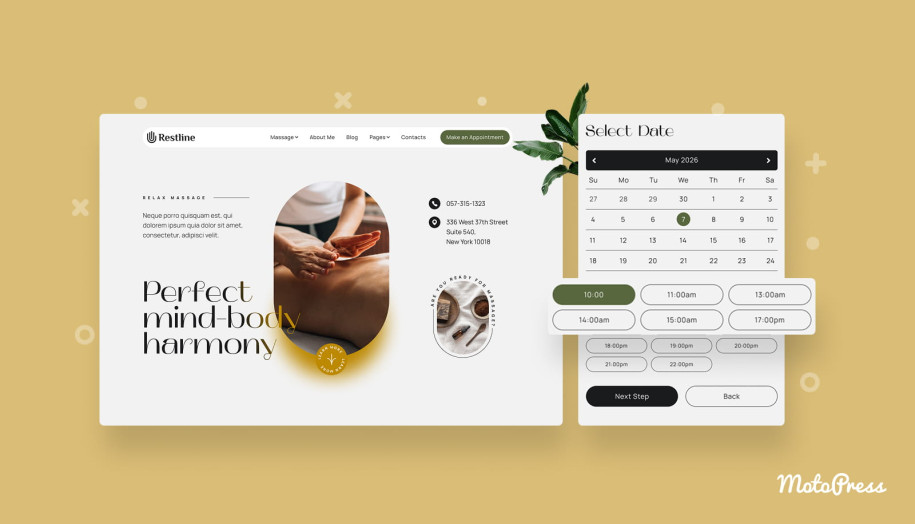
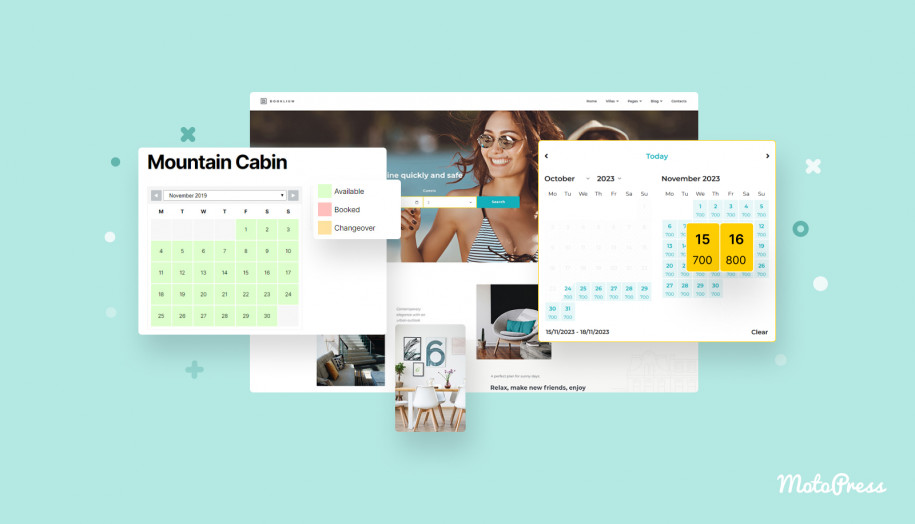
- Showcase your availability, even for individual services, in real time.
- Add unlimited staff members and locations.
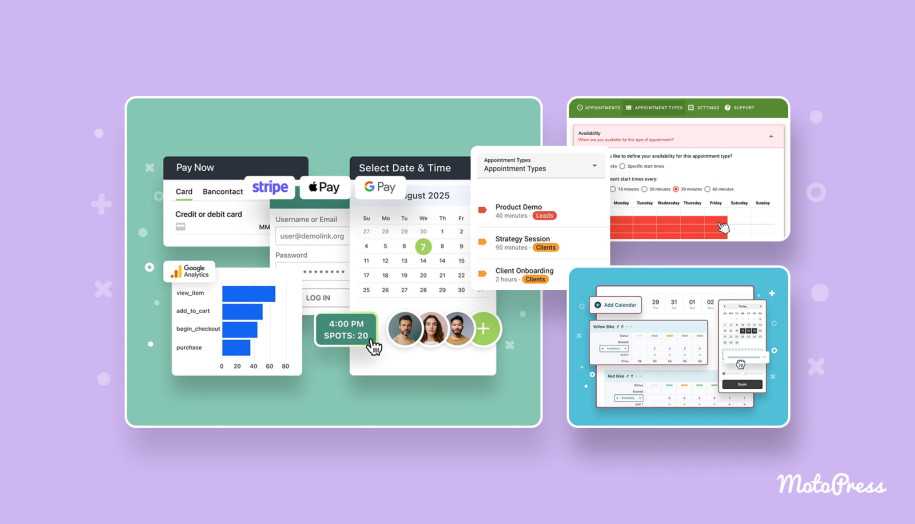
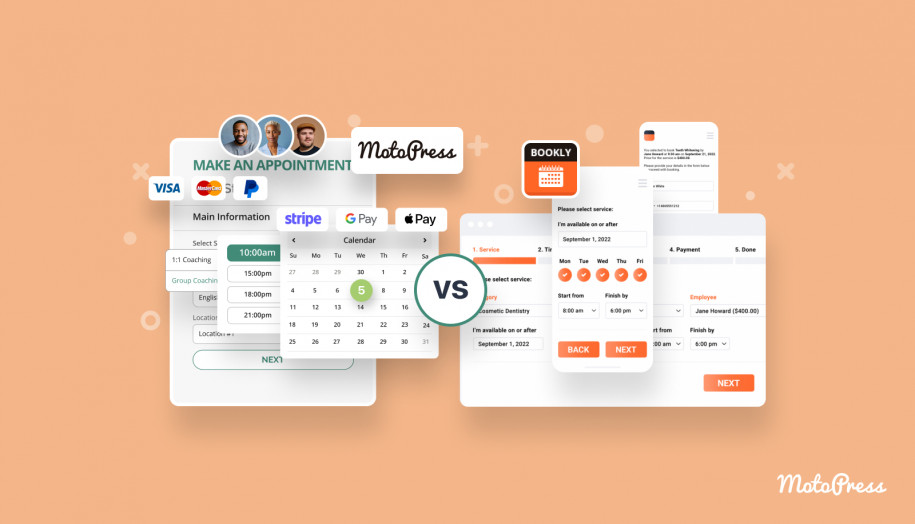
- Empower clients to pay online with digital wallets or traditional payment gateways, such as Stripe appointments or PayPal. Or simply accept bookings without payments.
- Manage your reservations, staff members, and clients under one roof.
- Opt for providing staff and clients with log-in accounts.
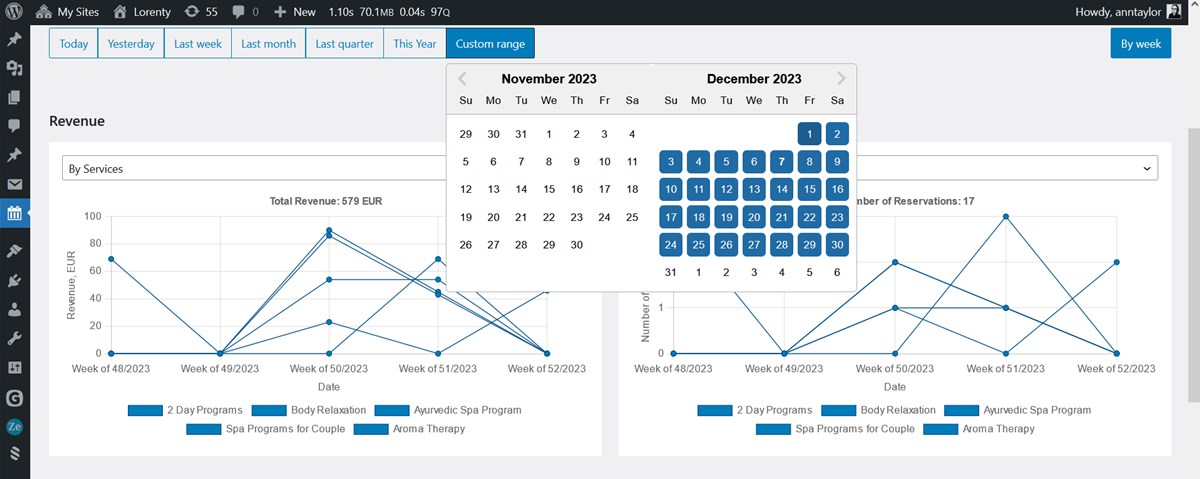
- Measure the performance of your site bookings with Google Analytics 4 or built-in booking plugin analytics dashboard.
- Send automated email and SMS reminders about future appointments.
- Enable reservation of multiple appointments and services at once.
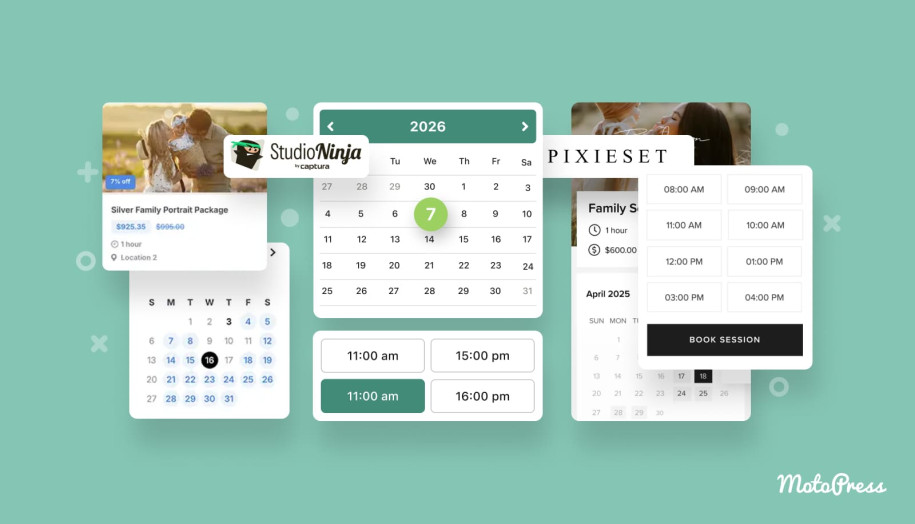
- Successfully used by multiple business areas: Tourism, Coaching, Beauty, Rental and more.
As we’ve already mentioned, you can have a free or paid version of the WordPress booking plugin to take reservations. But if you are curious what the difference is, a full list of things unavailable in a free version is below:
- Instant online payments via international gateways. In a free version, clients can pay on-site, though.
- Automatically sending appointment info to your Google Calendar.
- Registration of new customers by hand via the backoffice of the plugin.
- Adding custom recipients for email notifications.
If you do need all the features above and also ALL paid extensions, I can’t recommend a better option than the membership plan or the all-in-one bundle. The next cool option is using a simple yet powerful booking calendar WordPress plugin.
So if it feels like what you urgently need to implement on your website, jump straight to the guide below.
First of all, you will need to configure the plugin settings, and after that work with the design in the WordPress Astra theme.
Step 1. Install & activate MotoPress Appointment Booking
If you are rather new to WP, here is what you are expected to do:
- Log into your WordPress, find ‘Plugins’ on the left panel > ‘Add New’.
- Search for MotoPress Appointment Booking or download it here. For manual upload, for example, of a premium plugin version, click ‘Upload plugin’.
- Click ‘Install Now’, then ‘Activate’.
Step 2. Start with the general settings
 By setting up your preferences for the main plugin settings, you will be able to optimize the plugin to your business needs, such as appointment duration settings, how to confirm incoming bookings, etc.
You can browse the MotoPress Appointment Booking plugin docs for details, meanwhile, here are the key settings.
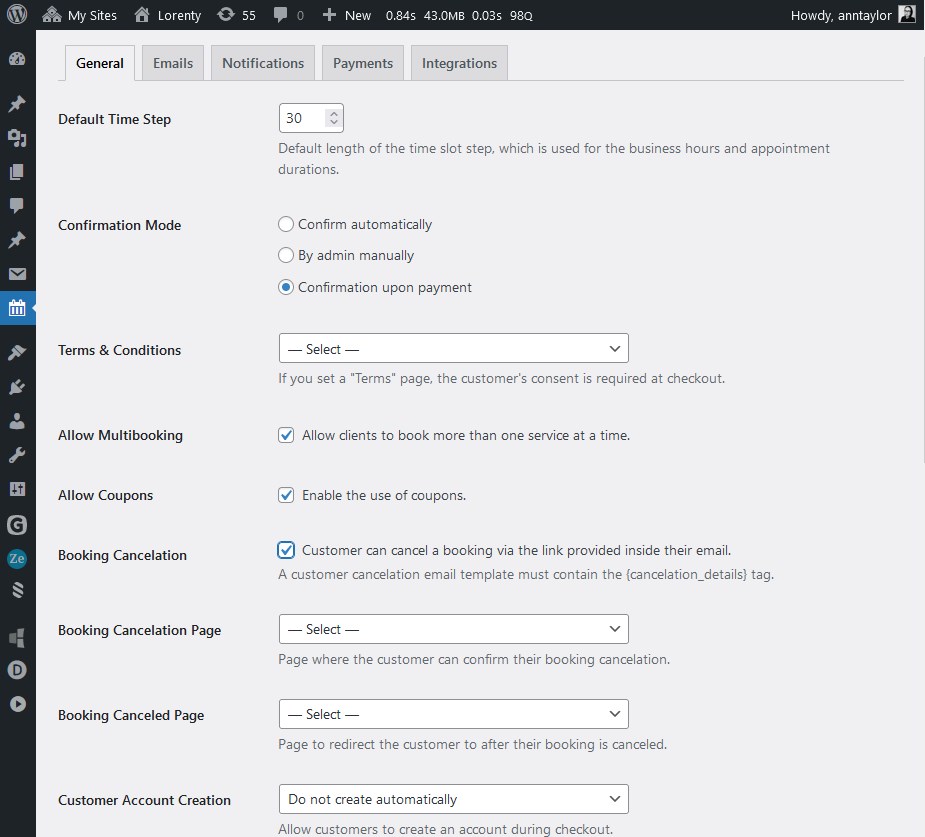
Currency
It will be displayed on the dedicated service pages as well as visible at the checkout step before clients can pay.
Booking confirmation modes
Depending on how you want to manage bookings, there are several ways to deal with fresh bookings:
- Confirm appointments manually as a website admin after reviewing them.
- Enable a client to click on the link in the email, thus confirming a booking.
- Automatic confirmation by payment: Direct Bank Transfer, Stripe, Bancontact, iDEAL, Giropay, SEPA Direct Debit, and SOFORT, Apple Pay, Google Pay, and PayPal.
Time slot length
Default time slots for bookings. The day will be segmented into time intervals of a specific duration, and all appointments will be arranged according to these designated time slots.
Coupons
Turn on coupon usage in the booking form, available of a fixed or percentage value.
Multiservice booking
This makes it possible for a client to schedule multiple services during one go.
Customer accounts
Encourage clients to manage their bookings and payments in their own accounts.
Email notifications
Whether you need to approve or reschedule an appointment, there are automated emails for these actions, and you can customize their content and banding.
Step 3. Set up the schedule and add services
Add your content to the plugin, including a list of your services, staff members who provide them, optional locations, and more. We will just briefly list your options below.
Staff members
Create professional pages for your staff members with their individual schedules. Using WordPress user roles, you can empower every staff member with a personal account for managing their bookings.
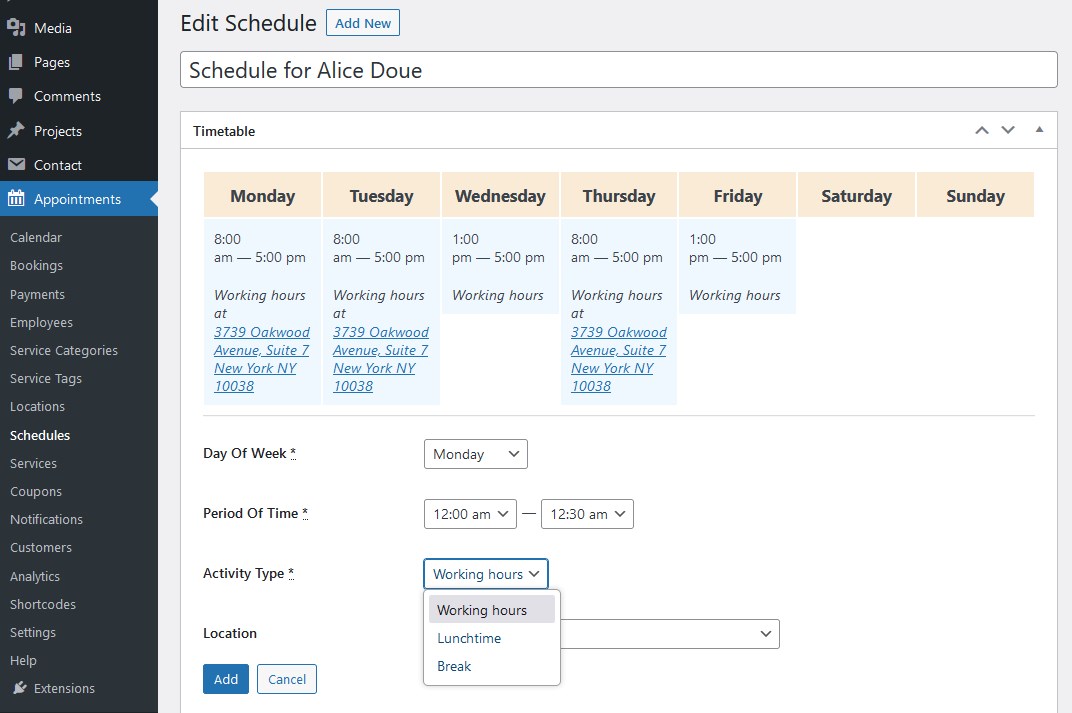
Schedule
Every staff member has their own working schedule, with variables in locations, working hours and days off, including vacations.
Locations
If you want to enable clients to choose a location, which can be anything from an office to a city, add unlimited locations and assign employees to them.
Services
Add customizable services and designate the following settings:
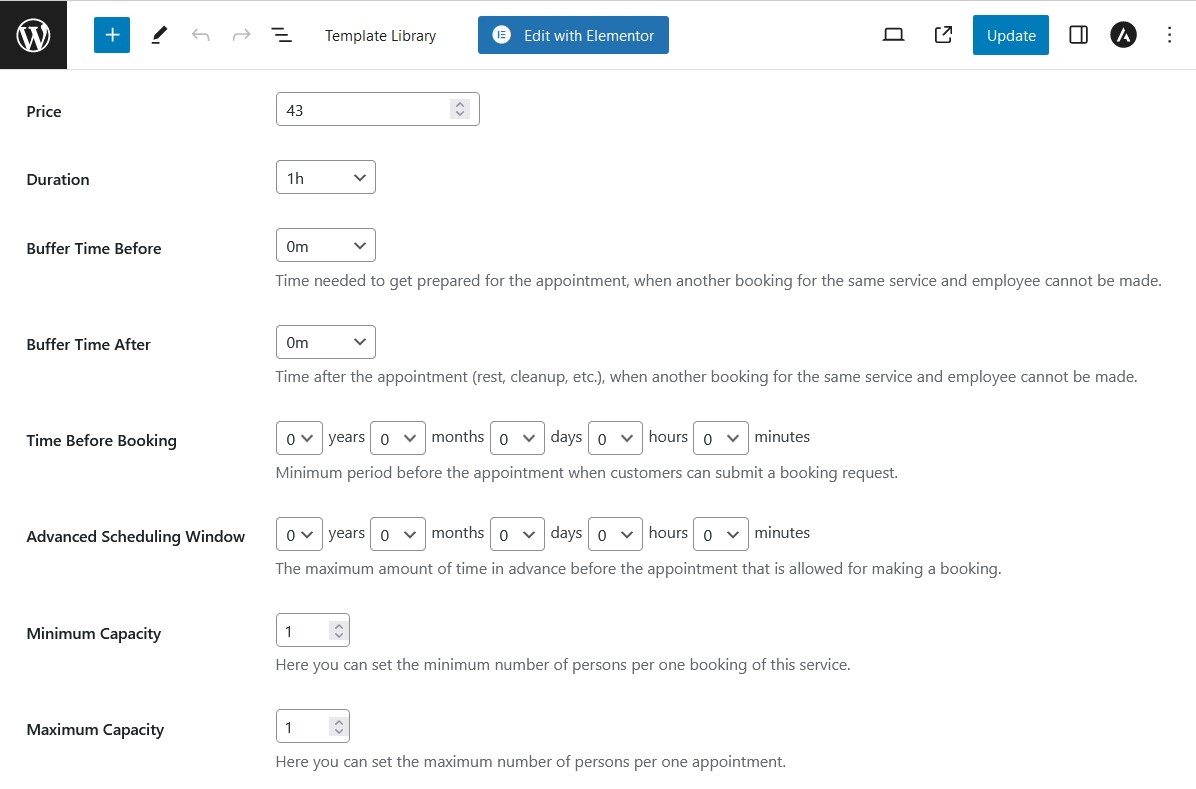
- cost.
- image and description.
- buffer times.
- for one-to-one or group meeting.
- advanced booking settings.
- assigned employees.
Step 4. Add and customize booking forms in the Astra theme
You can add a booking form (or multiple booking forms!) to the page the classic way with shortcodes, which works no matter what, or use visual builders. Depending on the Astra design you use, there may be a different page builder. The MotoPress Booking plugin works the best with the default block editor (the screenshot below) and Elementor.
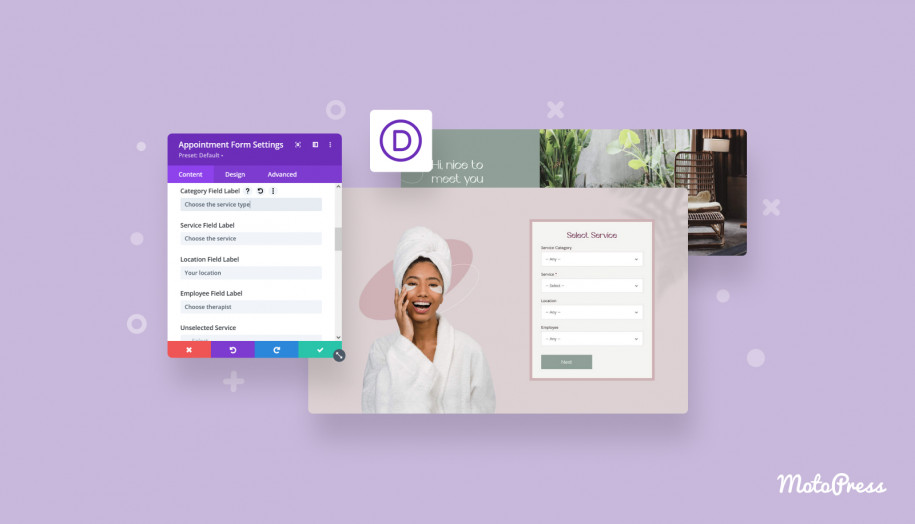
 If you are on the Astra Elementor theme, there the same dedicated widgets you can customize visually.
In our Astra theme booking form example below, we’re using a default theme with unchanged settings for the design typography, colors, and layouts, which are normally edited in the WordPress Customizer.
Additionally, we’re using a default pattern by the block editor to create a two-column layout, where one of the columns contains the booking form.
By the way, one of the great benefits of the editor is that you can play with layouts, backgrounds, and other design elements to achieve the needed appearance for the booking page.
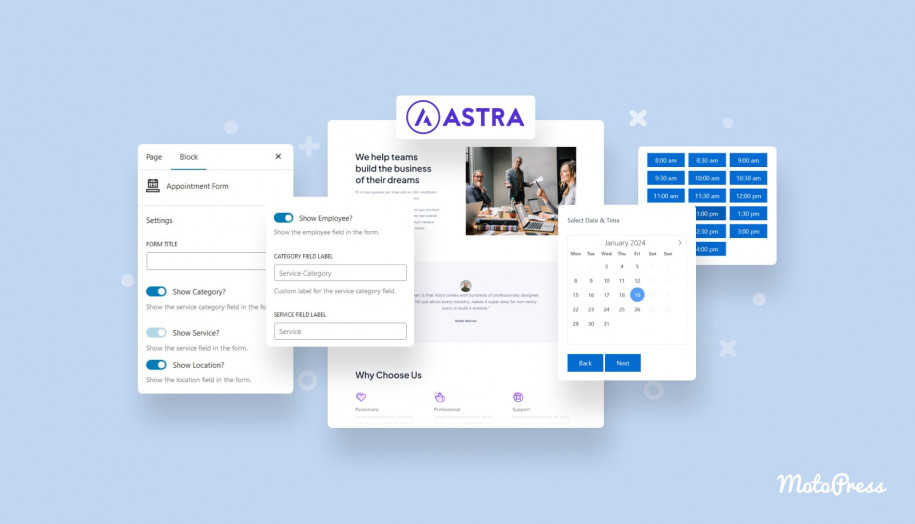
Here is what you can edit in the appointment scheduling form created with MotoPress:
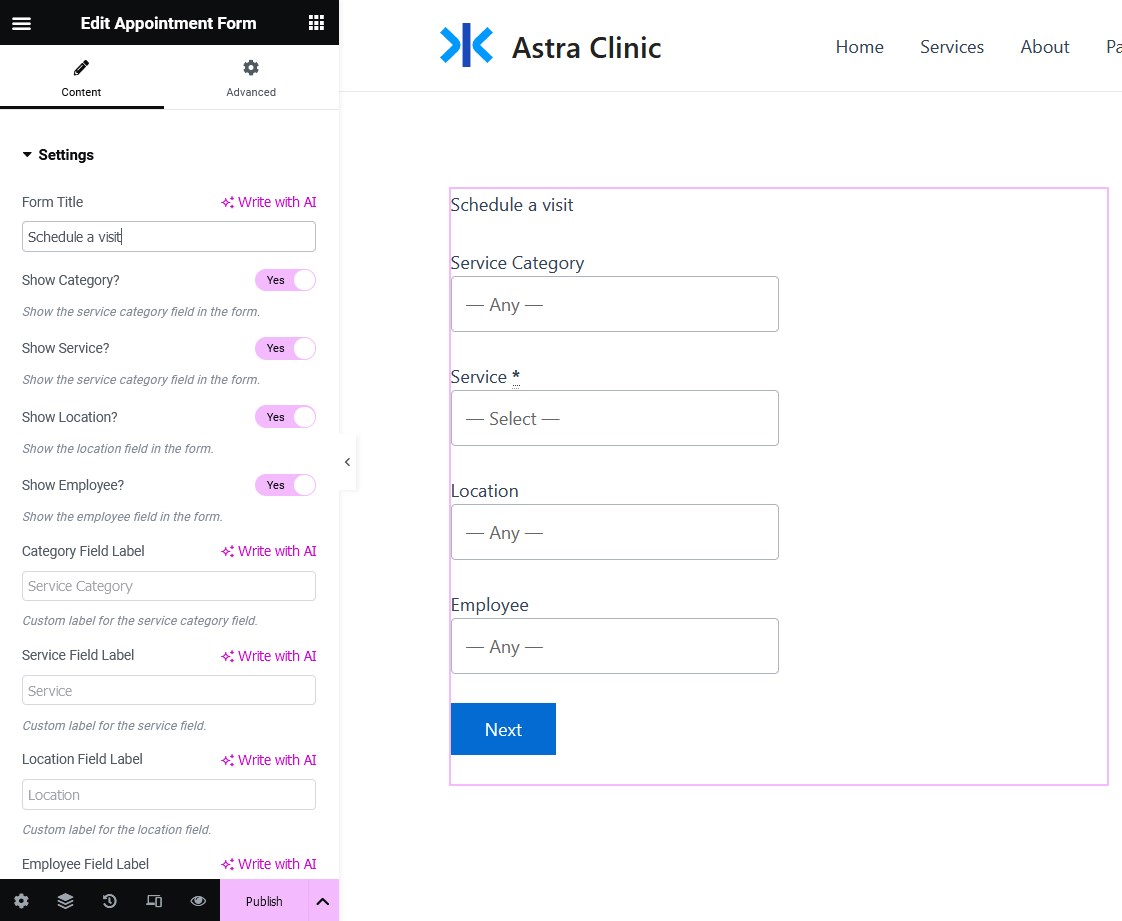
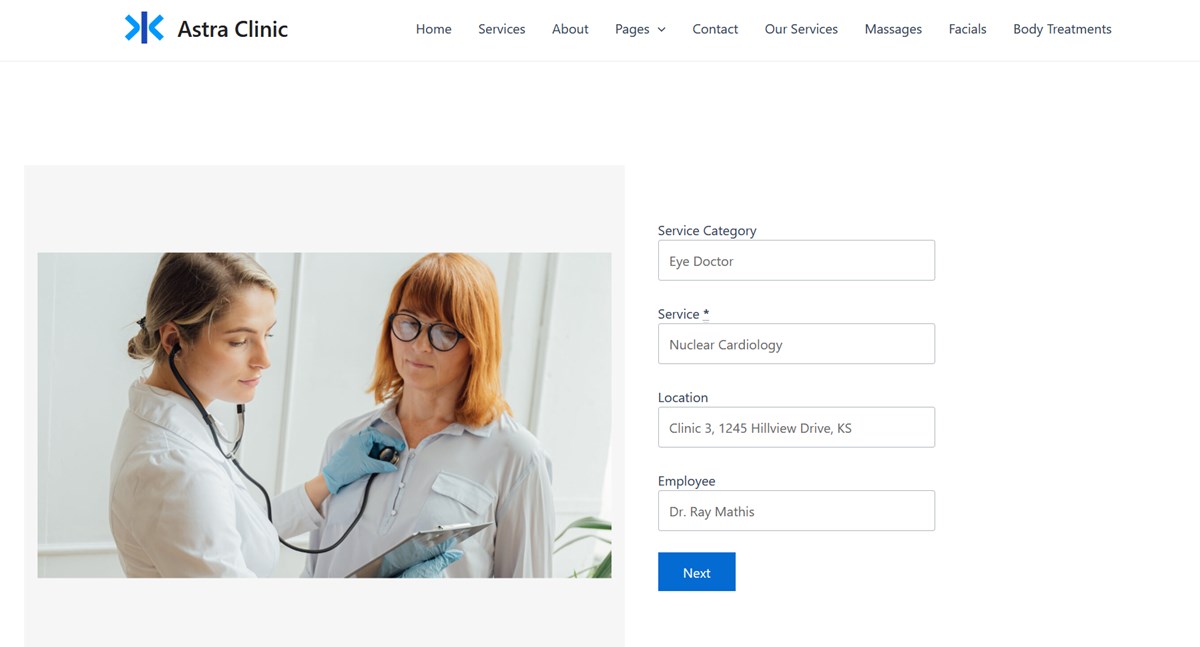
- Change search field labels in the search form, e.g. instead of just ‘Employee’, you can type ‘Choose a doctor’ if you are a clinic business or ‘Tutor’ if you are an education center, etc.
- Show or remove fields. For example, you can have just one ‘filter’ like ‘Service’ selection. Even more so, you can hide ALL the fields if you are creating a booking page for an individual service. In this case, the search form is hidden and the booking page shows the availability calendar as the first step.
- Decide if you want to show just the beginning or the end time as well of the appointment.
- Enable clients to leave booking notes.
In result, you’ll create a step-by-step responsive appointment scheduling form that you can place on any page created with your Astra WordPress theme!
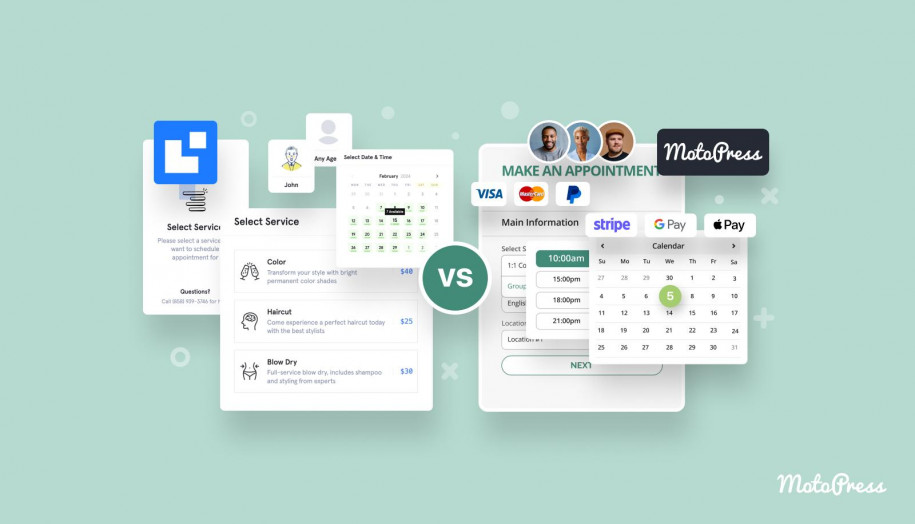
Here is what the process looks like for your client:
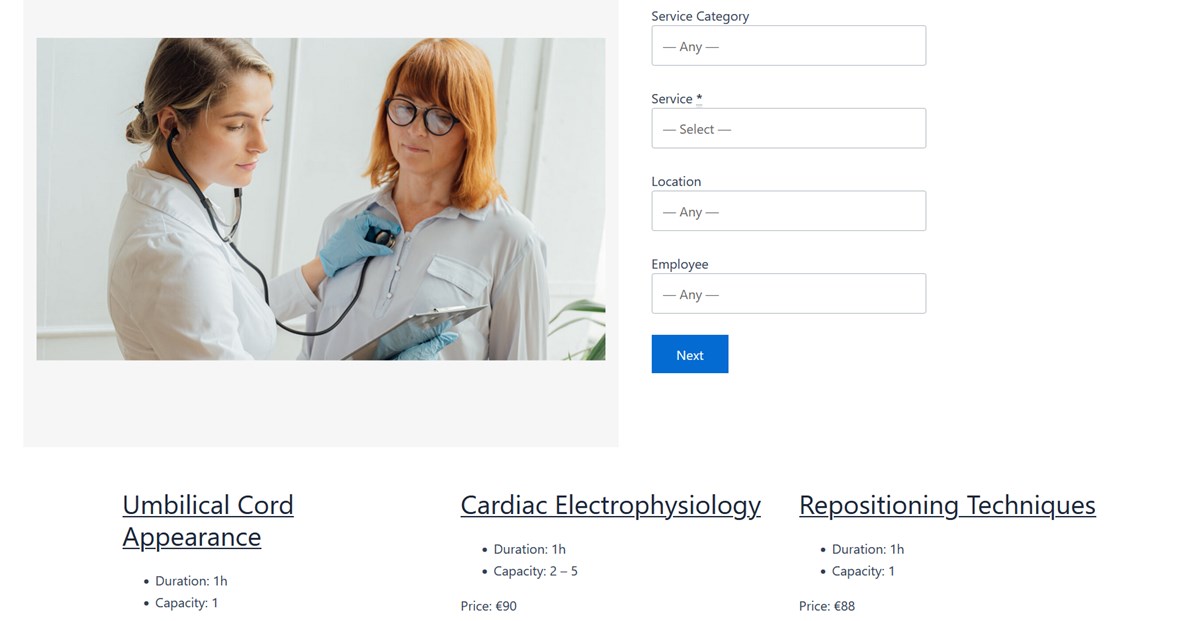
1. Selecting their preferences in the search form.
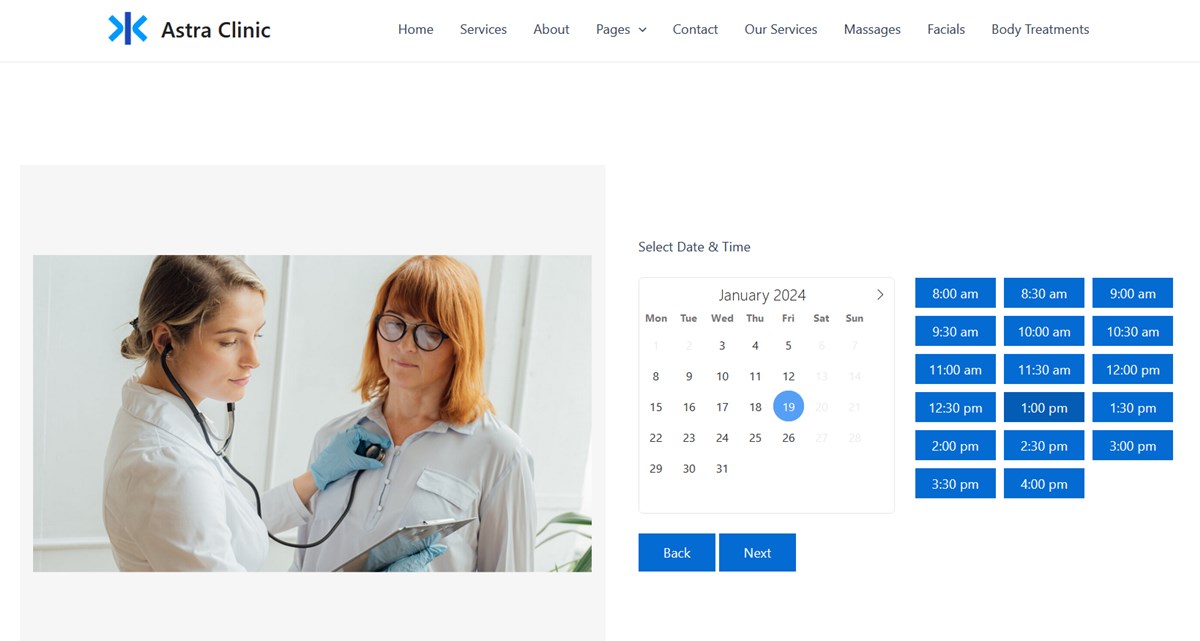
2. Choosing available time slots.
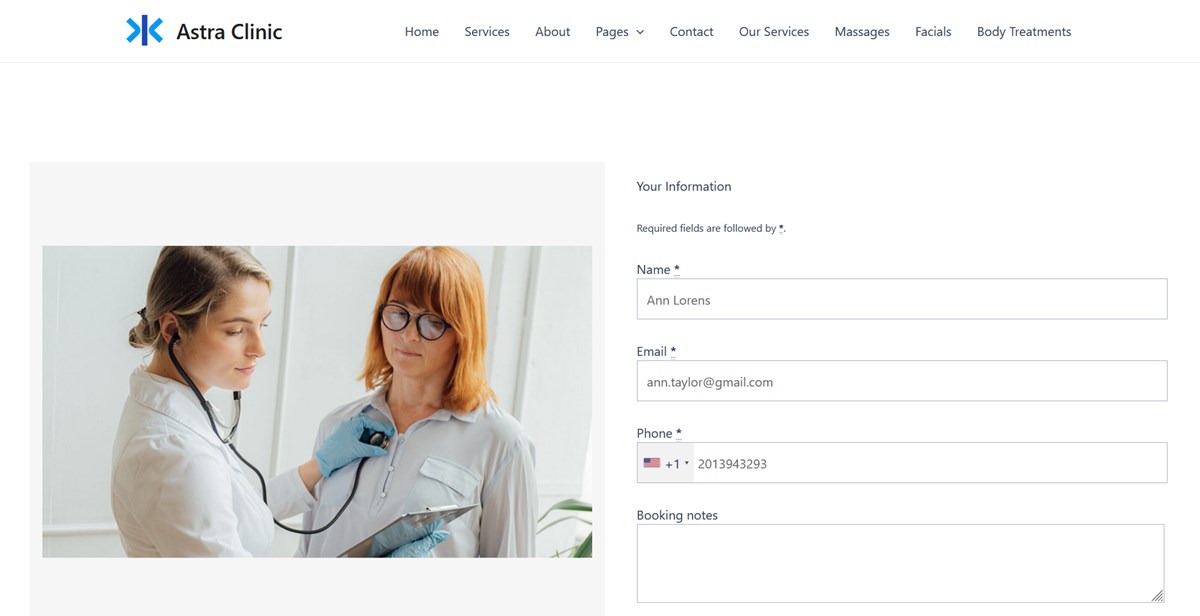
3. Filling out required details.
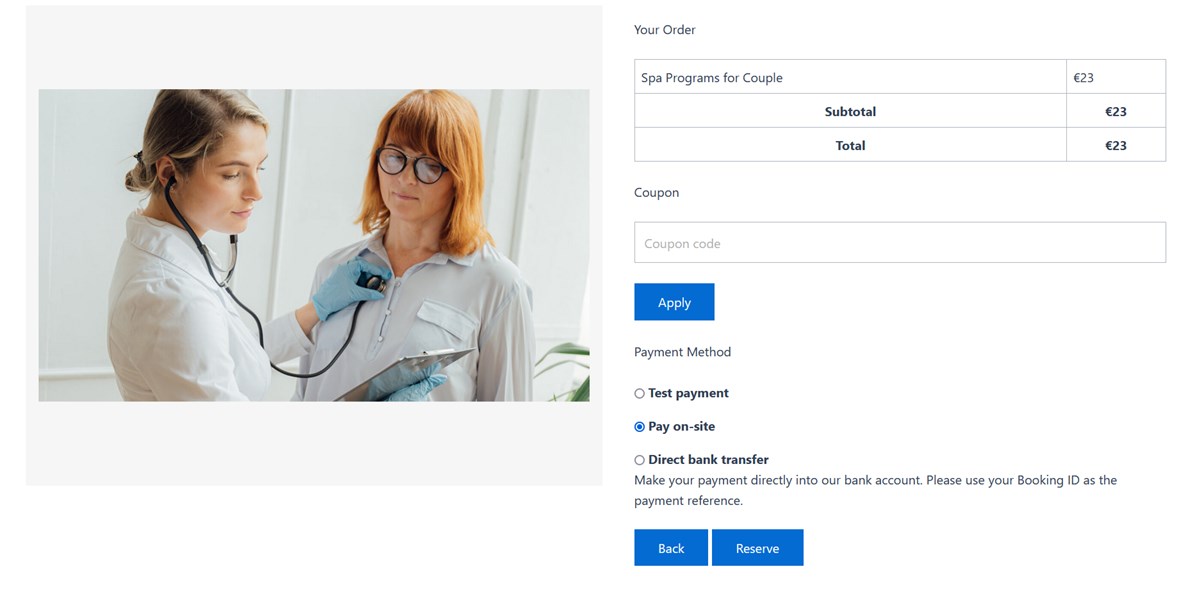
 4. Choosing a payment method, including the ability to pay locally or make a wire transfer.
 5. Done!
 Remember that you can enable an option to allow clients to make multiple reservations within a single transaction, they will add appointments to cart just like on any other online shop.
You can optionally use other WordPress blocks to add a list of your services or staff members to the page, such as create a list of services, staff members, or even showcase a schedule of particular staff members.
Step 5. Manage incoming bookings
 The MotoPress Appointment scheduler gives you full control over your bookings on the backend, for instance, you’ll be able to:
- See what’s up in the schedule for a week or month using color-coded admin calendars.
- Edit and reschedule existing appointments.
- View client and booking info.
- Export bookings to CSV for smooth viewing and editing.
- View payment history.
- Create accounts for staff and clients.
- Analyze business performance with the built-in analytics dashboard.
- Add bookings by hand.
- Sync individual employee Google Calendars to your WordPress to get instant messages about new bookings.

Final word on creating a WordPress appointment scheduling page with Astra & MotoPress
So why would we definitely recommend using a powerful combo of the Astra WordPress theme and the MotoPress Appointment Booking plugin? Here are top 3 reasons we’d like to highlight:
- Astra is one of the most renowned multipurpose WordPress themes, which offers dozens of pre-made starter sites for service niche businesses. Just grab the template you like and start playing with Astra.
- You can create a booking page in Astra using the MotoPress Appointment Booking plugin even without shortcodes or coding, using WP blocks or Elementor widgets.
- You can even use the free Astra theme together with the free version of the MotoPress appointment booking plugin, the latter supports unlimited locations, employees, services, and appointments.