Creating a Responsive Bike Rental Software Website in 10 Steps
Table of Contents
Looking for a way to build an attractive website with feature-rich WordPress bike rental software? Look no further as in today’s post we’ll describe how you can use the Lorenty theme and its built-in Appointment Booking plugin to power up your business.
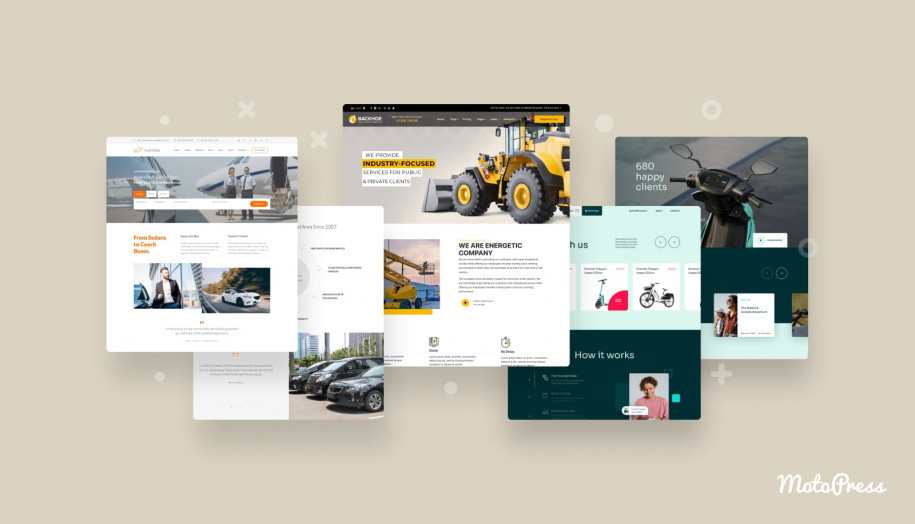
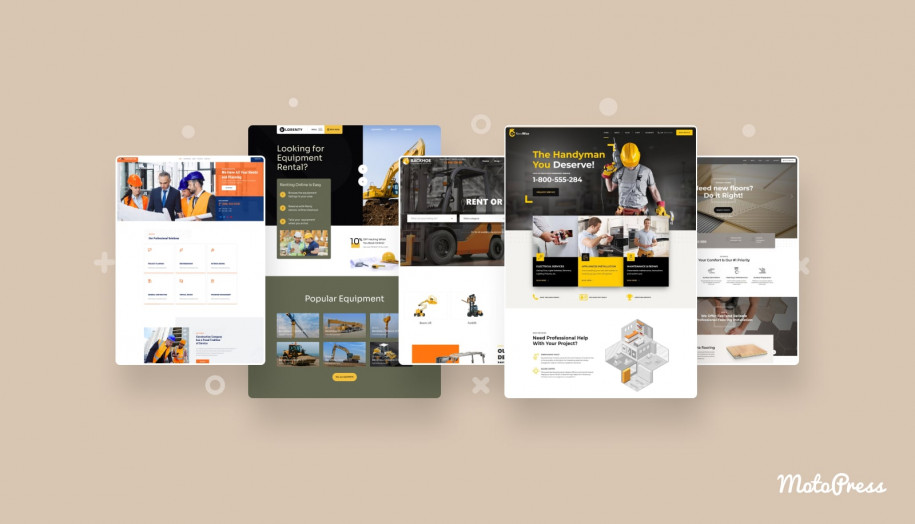
This theme is developed specifically for startups and companies that provide rental services for bikes, scooters, and motorbikes. Actually, the theme is part of the Loreny multipurpose rental theme, which comes with 5 starter sites in total, allowing you to pick a different design if you wish. Or, you can simply use one theme for many projects if you get the ‘Unlimited’ license for Lorenty.
Moreover, if you want to use any other theme with appointment functionality, all the steps of this tutorial are still valid. However, the main emphasis of today’s guide is connected with the bike rental website booking engine that can be recreated by using a WordPress plugin. With this plugin, it’s easy to rent out equipment to individuals and groups.
Before we dive deeper into the functional advantages of this solution, let’s learn more about the Lorenty Bike WordPress theme. Particularly, let’s learn how it can help you with starting your bike rental business online.
What is the Lorenty bike rental WordPress theme?
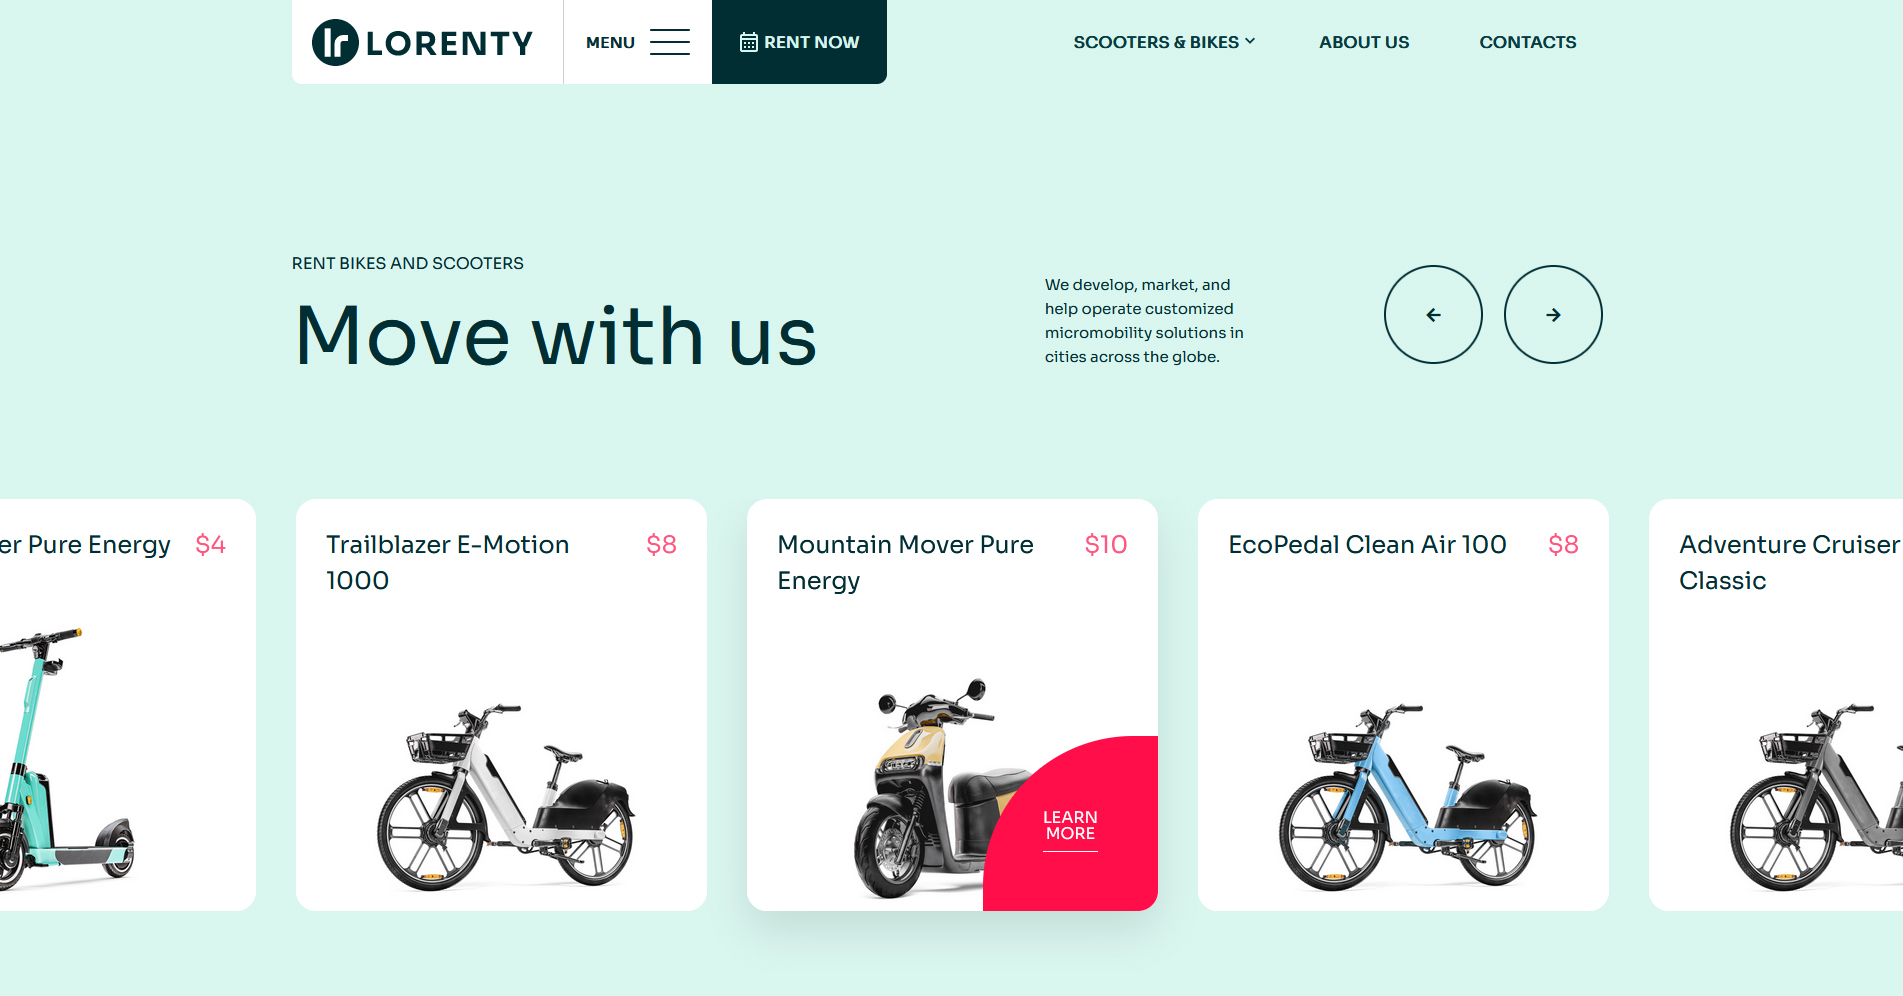
As mentioned above, the Lorenty website template is one of the best bike themes for both new & well-established rental service providers. It comes with 5 pre-designed layouts for your website, one of which offers top-notch bike rental functionality.
It is a professionally designed theme that showcases your bike fleet and the advantages of different bike models. Lastly, this theme comes with bike rental software and a bunch of pre-developed pages, such as Scooter & Bike Rent, Rental Hubs, and many others.
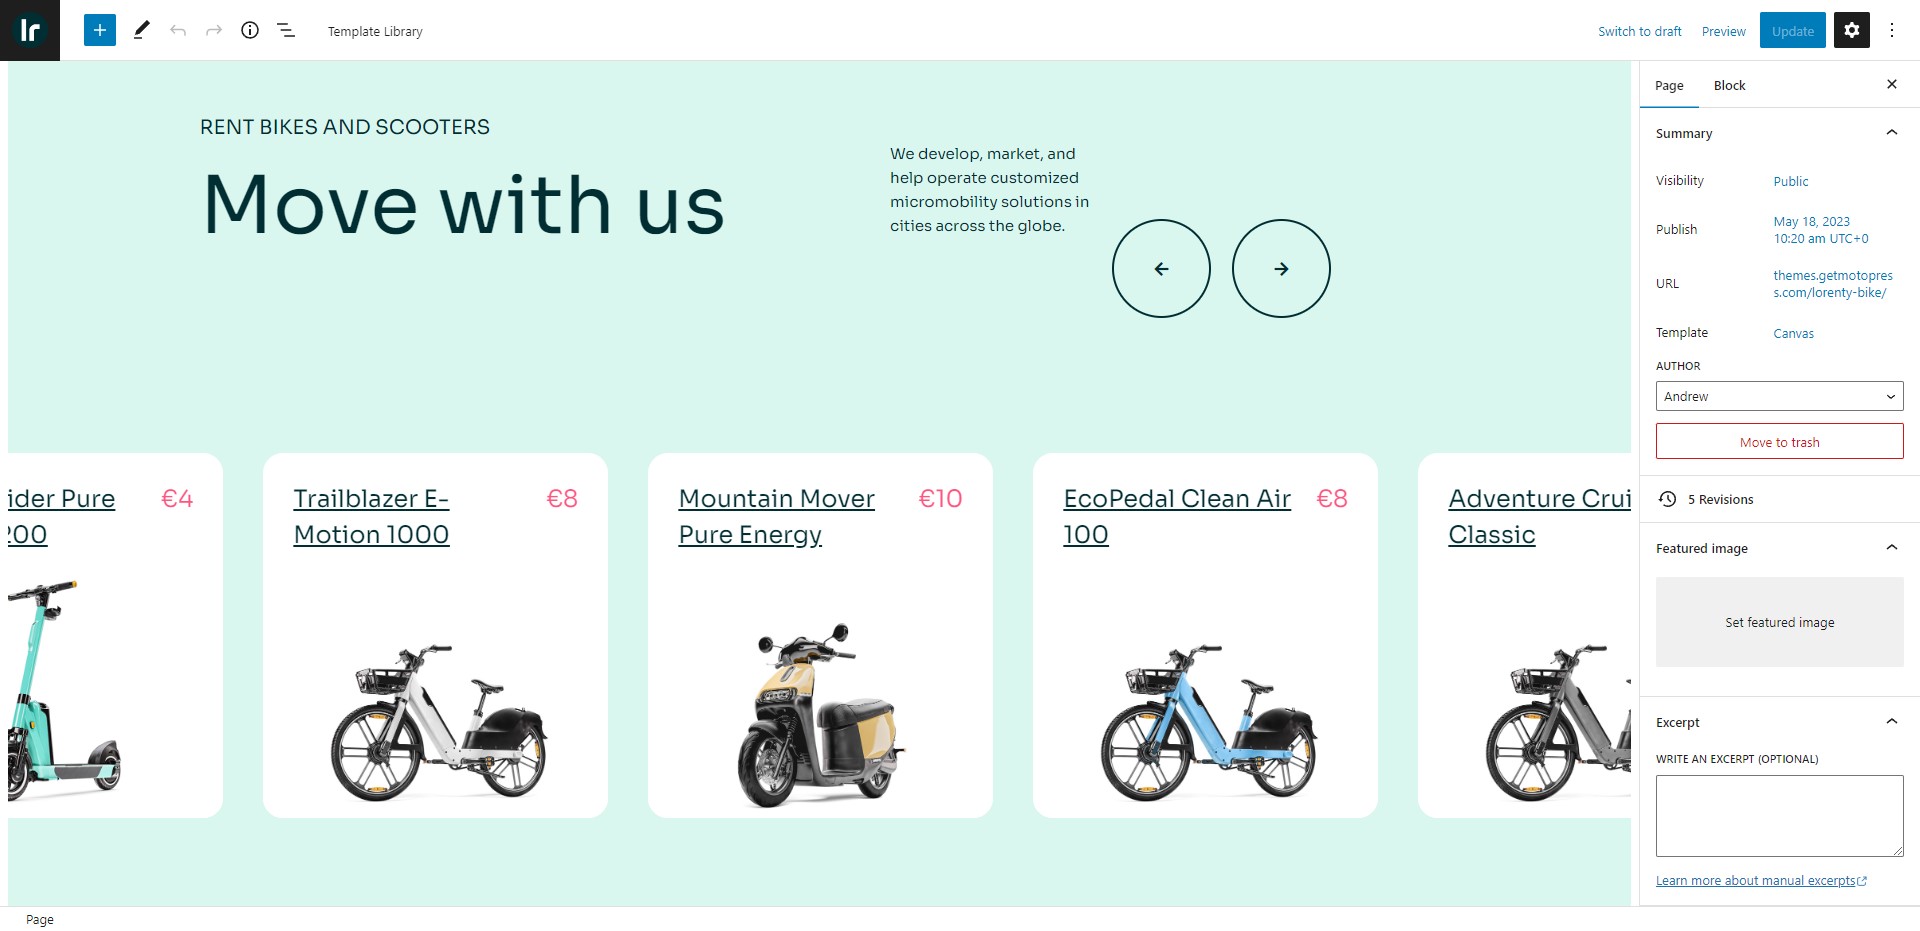
Below, we have prepared an overview of these and other features and functionality included with the Lorenty Bike theme for WordPress. You can fully customize the theme and its various sections in the WordPress block editor, while also replacing or editing the provided content:
- Bike directory available for rental;

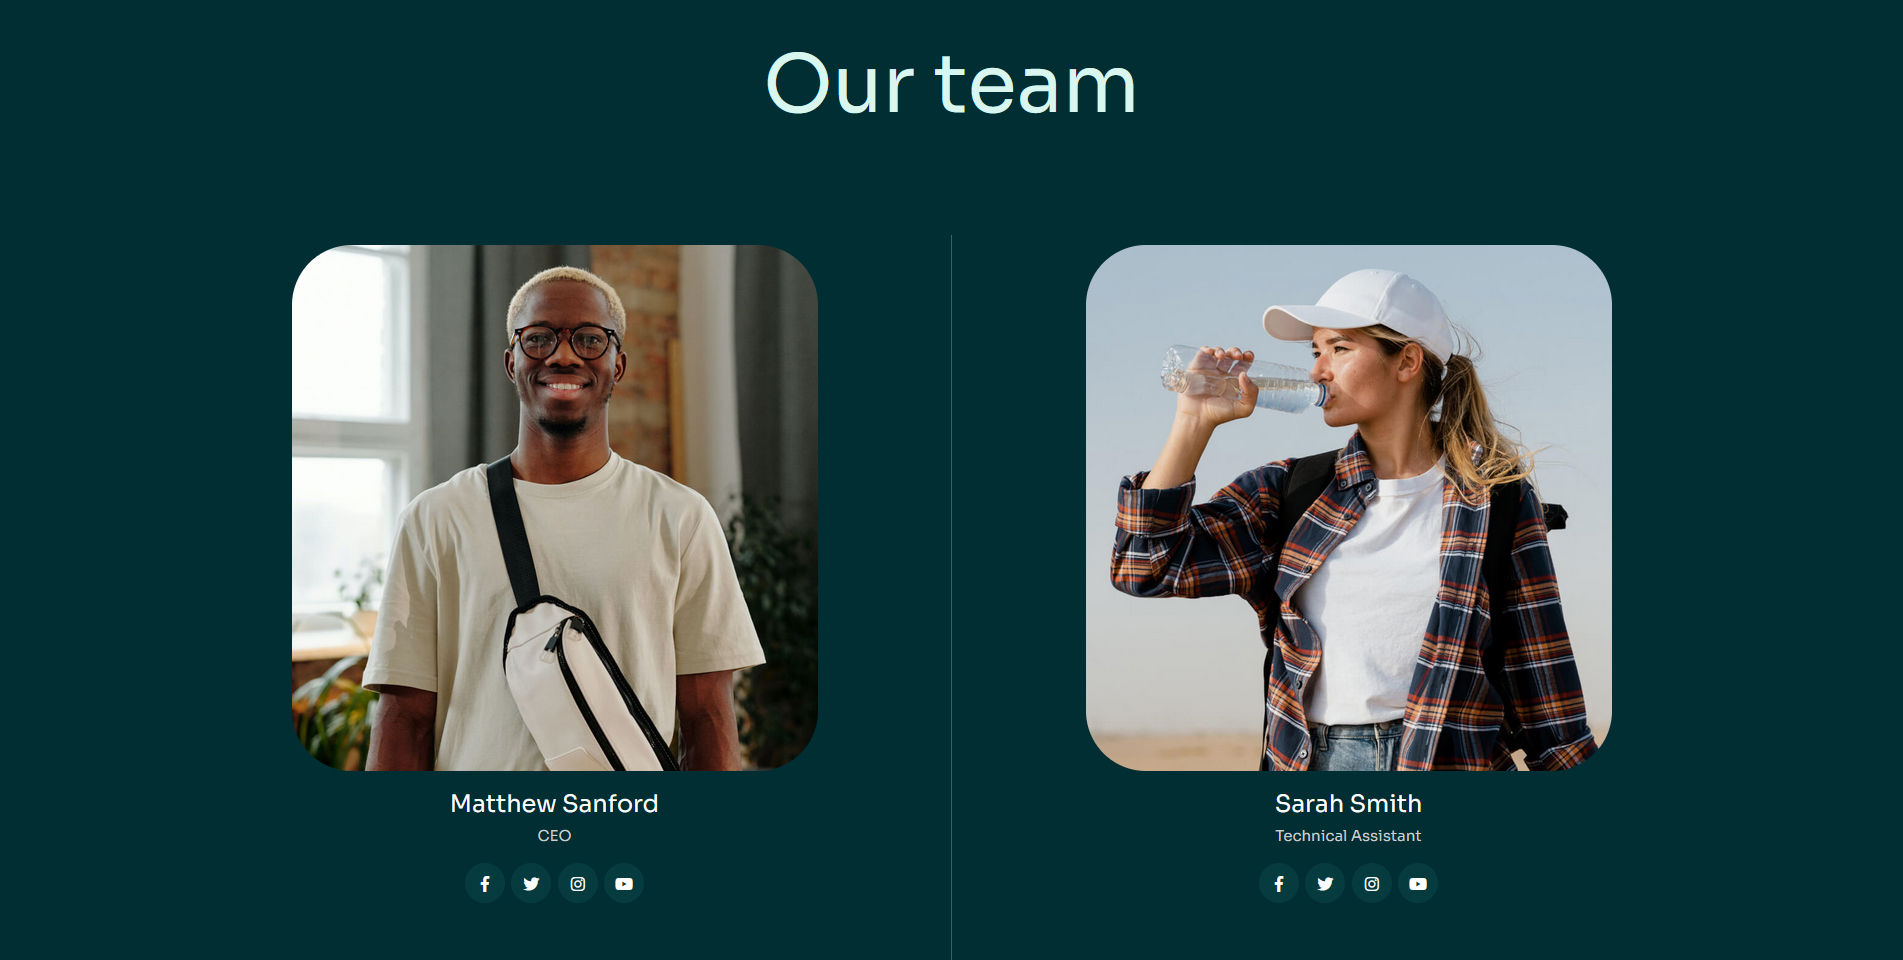
- Presentation of your bike rental team;

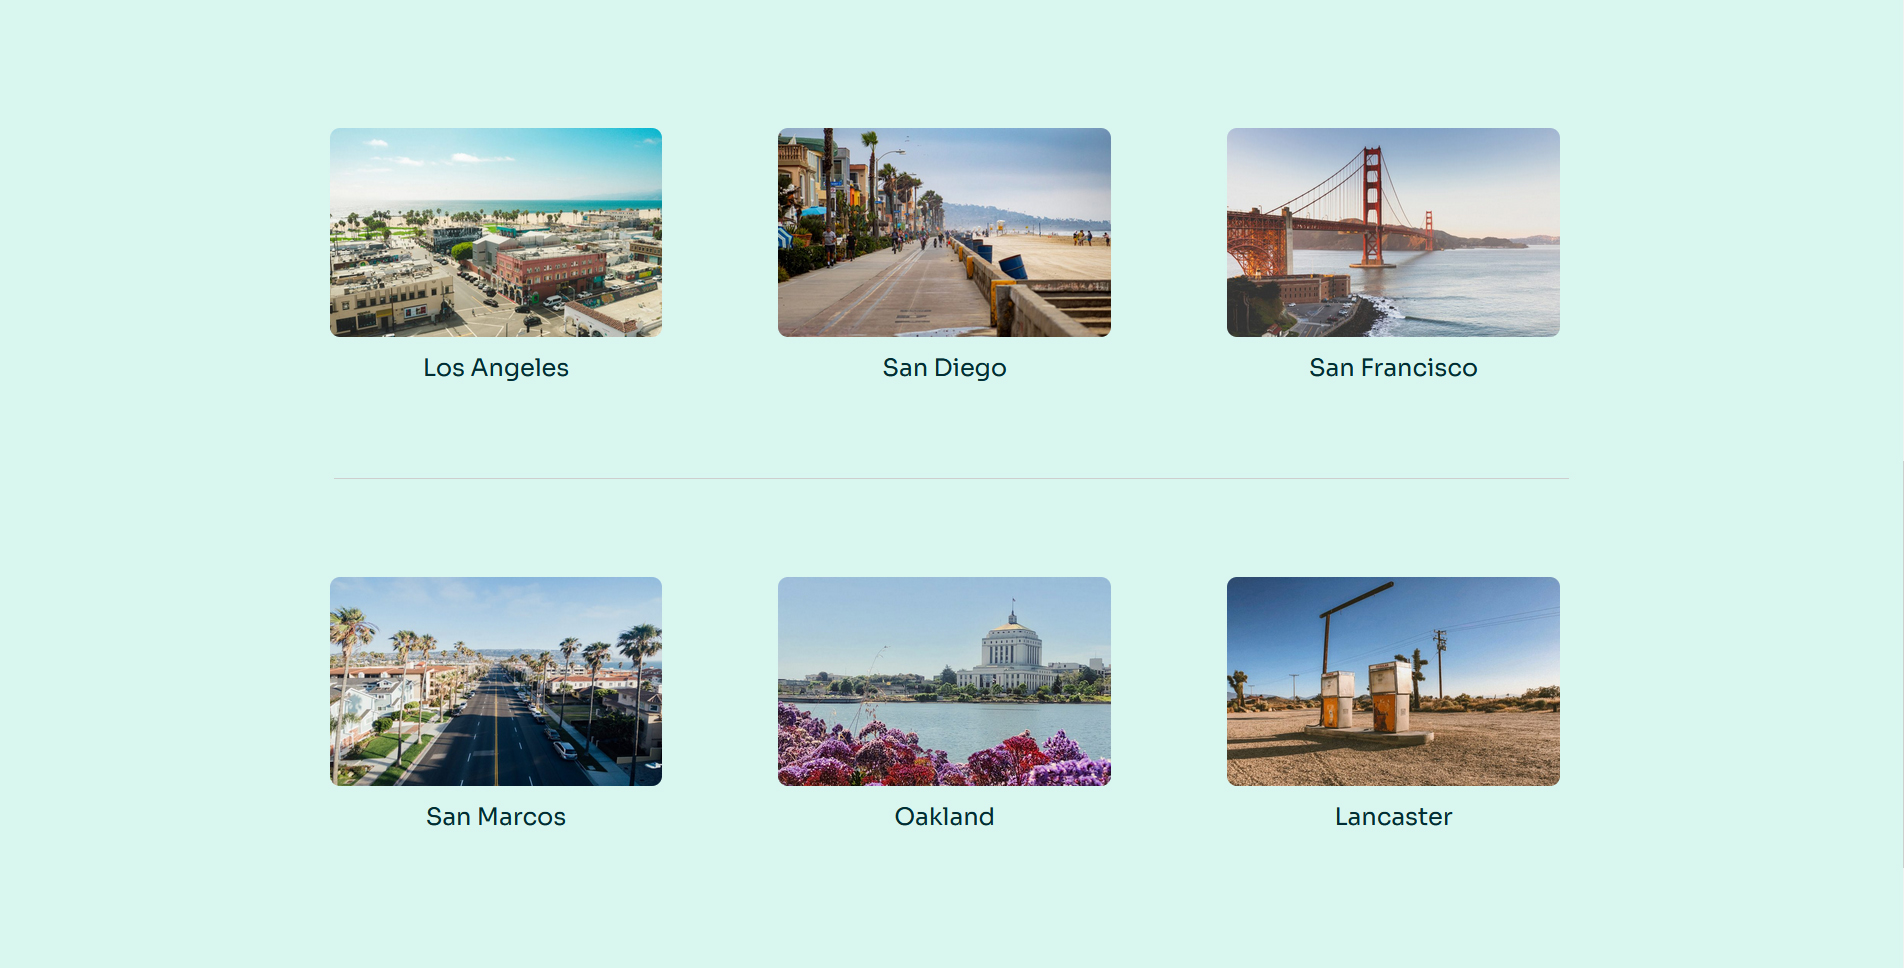
- Rental hub with diverse included destinations;

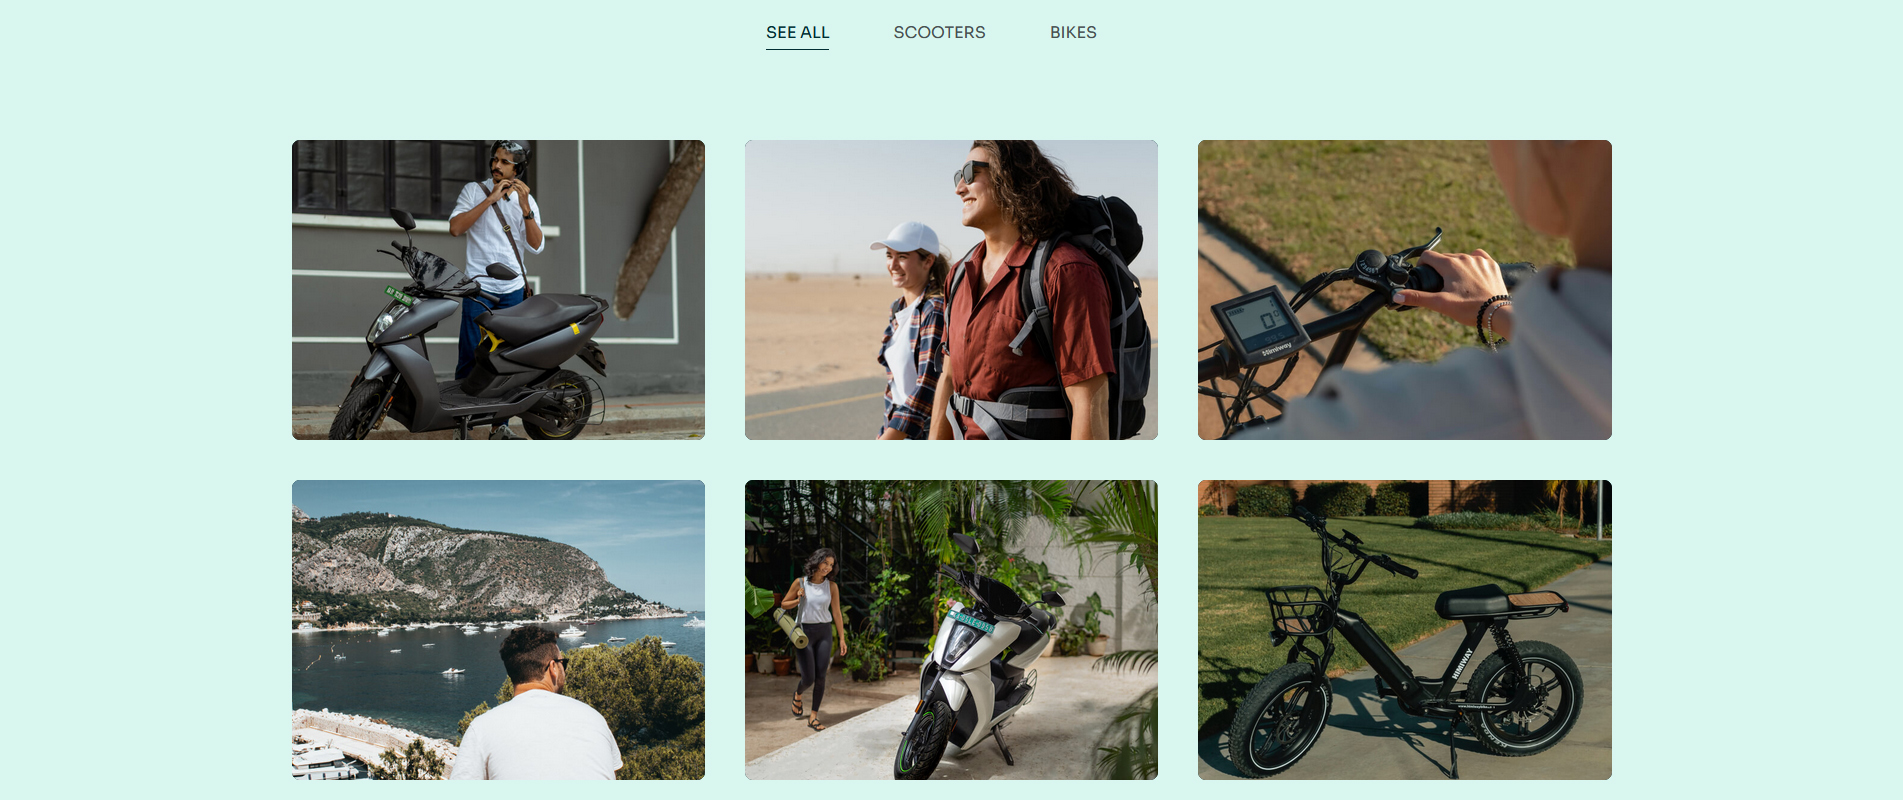
- Colorful and content-rich gallery layout with hover animations.
 This theme also comes with built-in blogging functionality as well as full support of Gutenberg (the WordPress block editor), one of the widely used tools for the platform. Thanks to its modular approach, you can create a stunning website just by using various pre-designed blocks. Moreover, with the built-in Getwid plugin developed by MotoPress, you get access to dozens of sections to enhance your website. From banners to sliders and contact forms, you can use the Gutenberg editor to easily customize every page just by using ready-made blocks supplied with the Lorenty bike theme.
 Besides, there are additional advantages that allow you to use diverse typography elements, tell your customers about your company’s mission, and use customizable contact forms for better interaction. The theme’s benefits include the booking features as they can be accessed by using a dedicated rental button.
Additionally, the Lorenty theme offers 5 varied color scheme styles for your site to stand out and attract more customers with its unique design. Aside from customizing your website’s look and improving its booking functionality, the theme allows for easy & quick demo data import. Thus, you’ll have a ready-to-use website design with diverse content in just a few clicks.
If you need to apply any other design or layout to your WordPress website, you can always do that while also keeping all the rental features. This is possible due to the Appointment Booking plugin, a piece of bike rental software, which has extensive compatibility with Elementor-based bike WordPress themes as well as the latest versions of the world’s #1 CMS.
Moreover, for those business owners who are looking to establish a daily rental, we also offer a Hotel Booking plugin that includes even more great features for companies providing rental services.
Creating a WordPress Bike Rental System with the MotoPress Appointment Booking Functionality
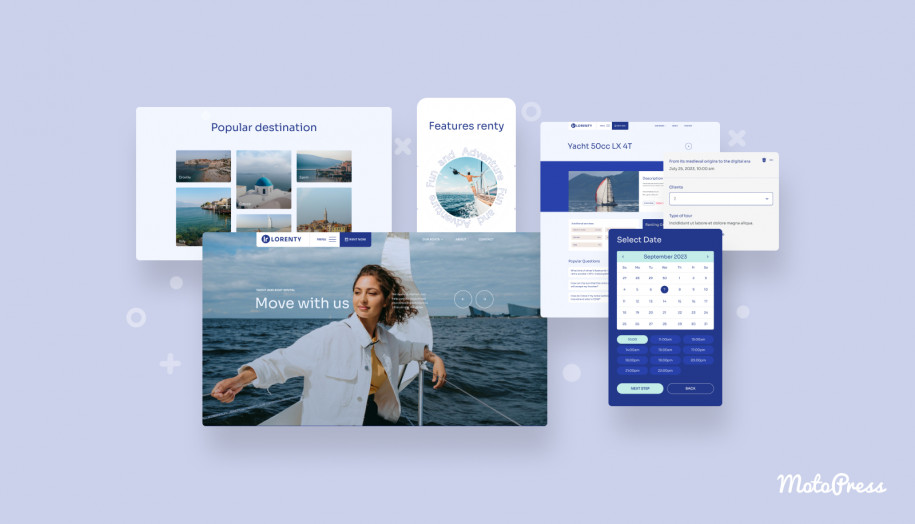
The MotoPress appointment booking plugin included with the Lorenty bike rental theme (for free!) allows you to set up an easy-to-use form with a mobile-friendly widget. After configuring the bike rental software, you can add the widget anywhere to make access to your rental services easier.
For your customers, the booking process will be divided into several simple steps ranging from choosing a bike to completing personal details and payment.
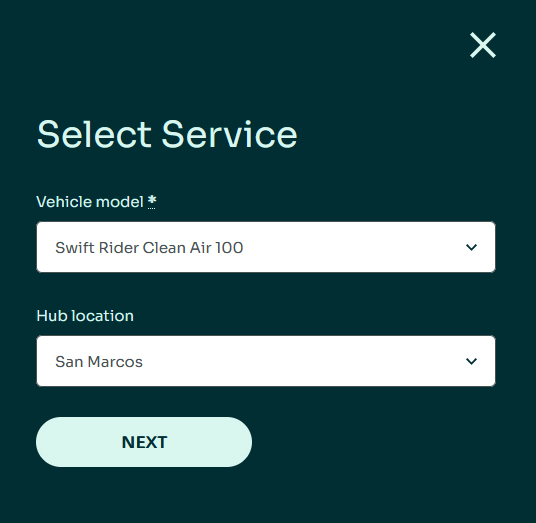
After pressing the sitewide “Rent Now” button, your client will spot a sidebar where they will need to select a desired service. The fields include diverse vehicle types and other details, such as hub location or instructor. It’s worth mentioning that you can rename these form fields as well as hide any.
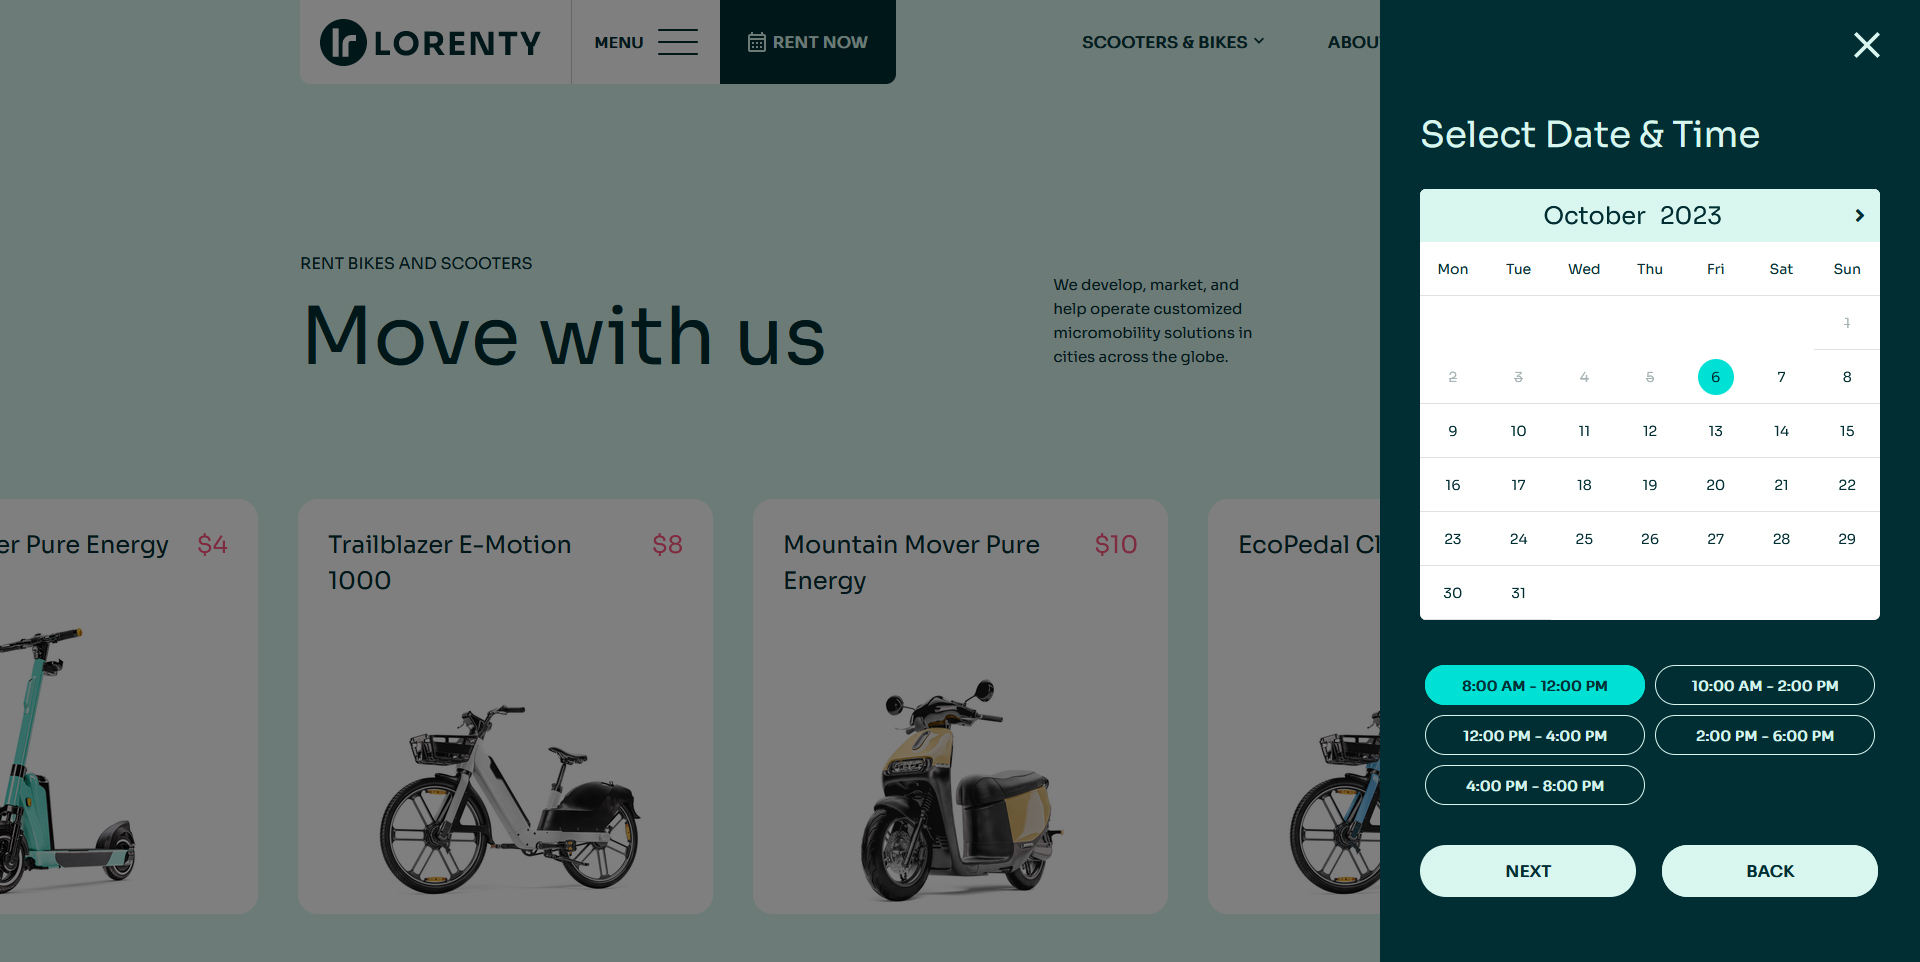
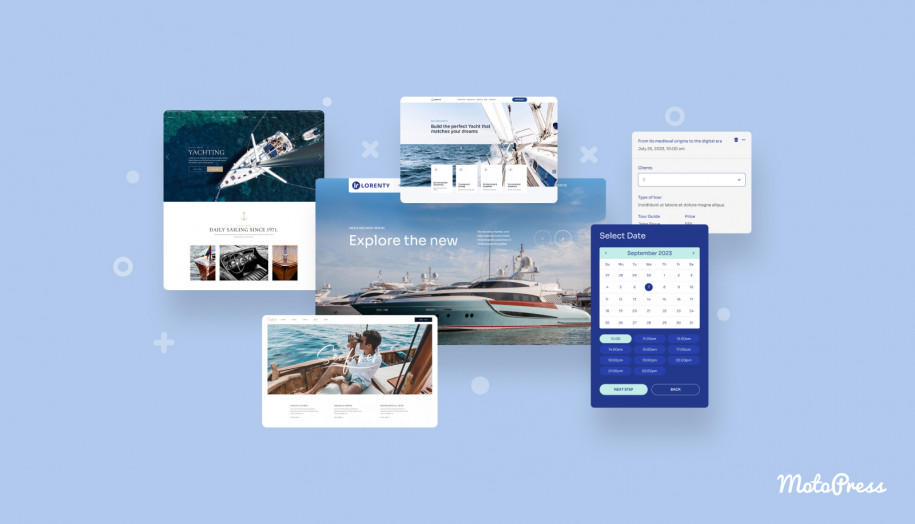
 Then, the bike rental system allows your client to choose the preferred date and time slot with the help of a built-in calendar.
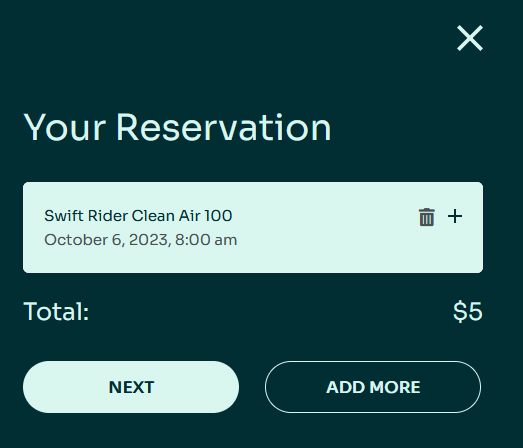
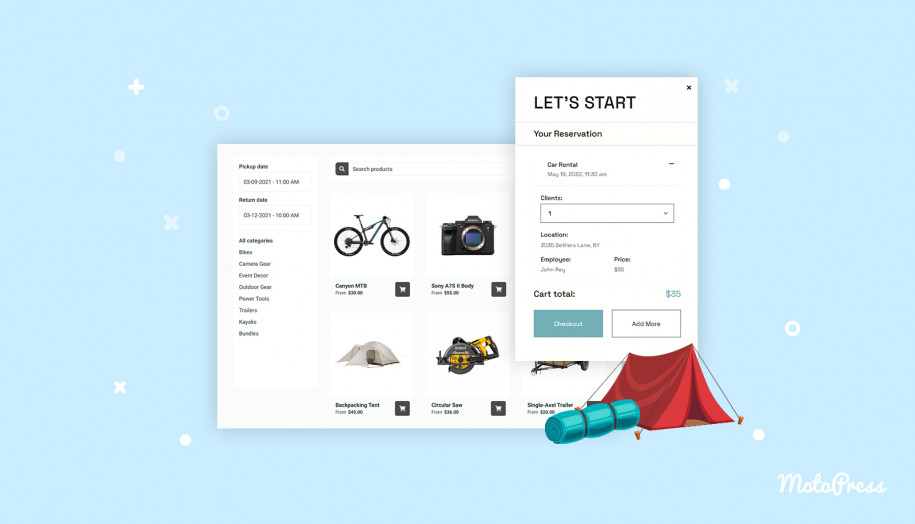
 During the third step, the user can review the previously chosen date and time of their reservation and find out the price for the selected service.
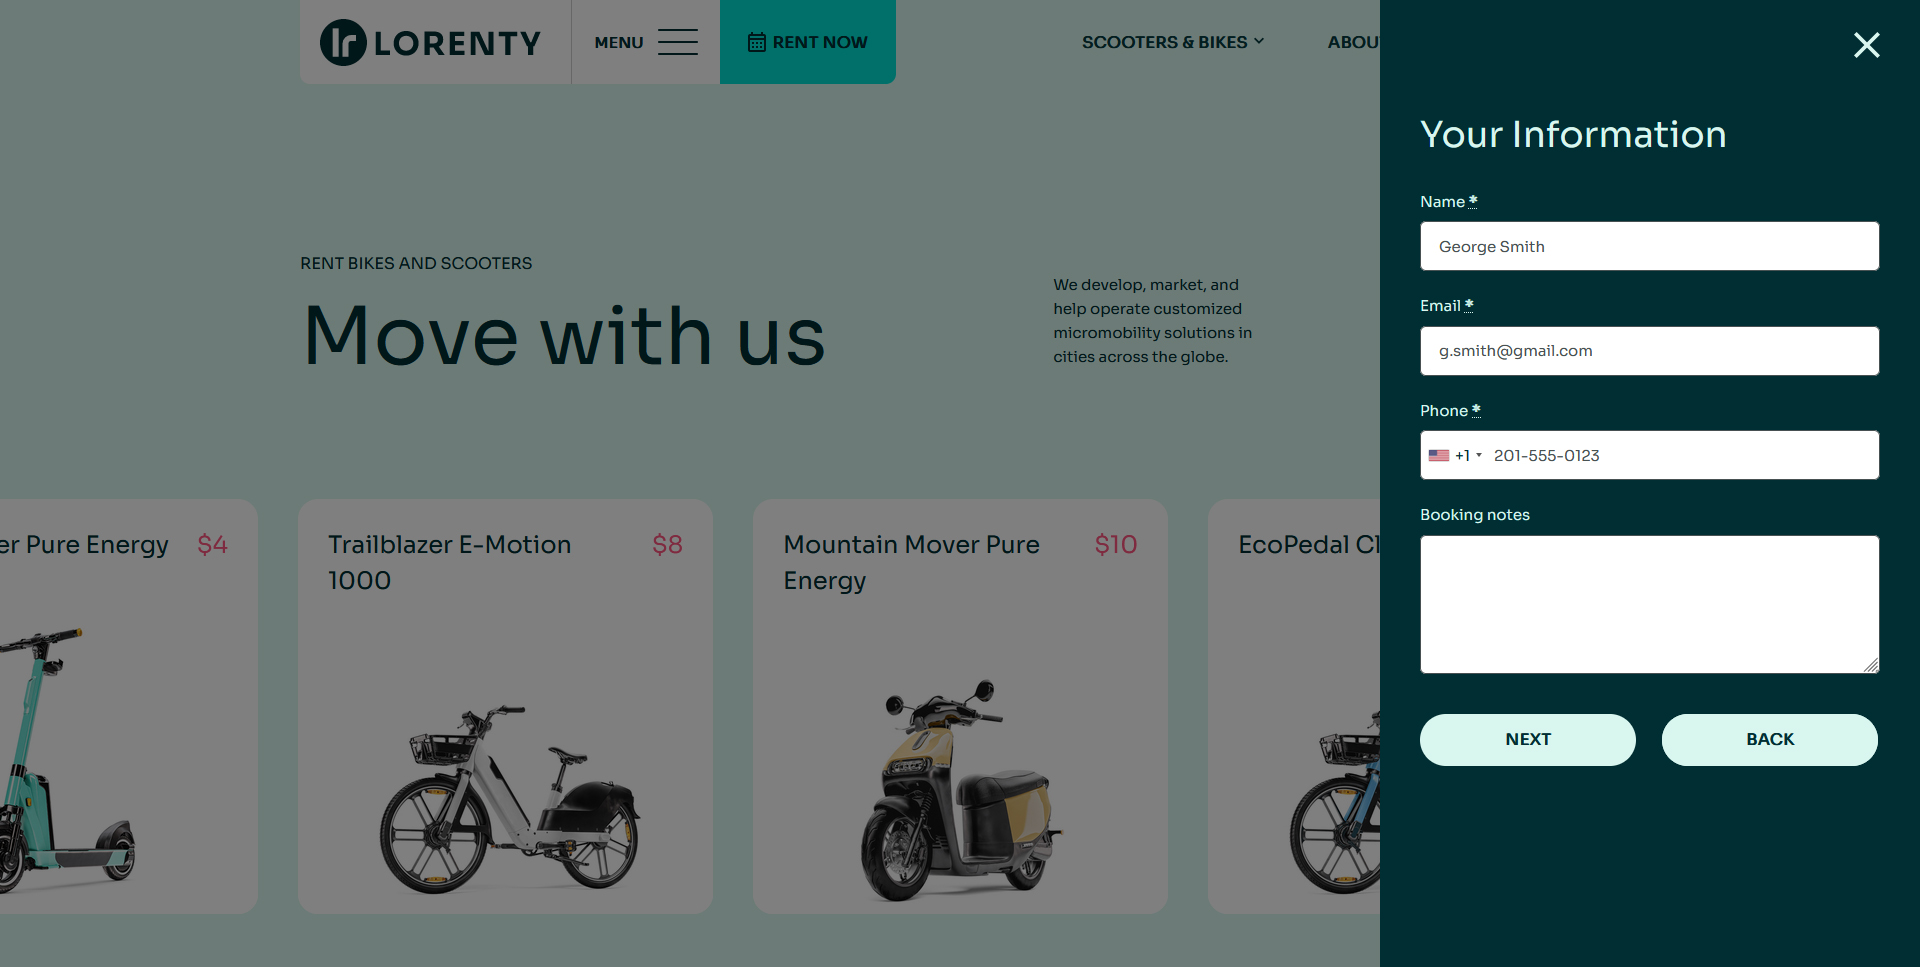
 Then, some contact details will be required. Here a client may also enter any extra notes for the service provider. Your customers can also check if they entered information correctly during this last step.
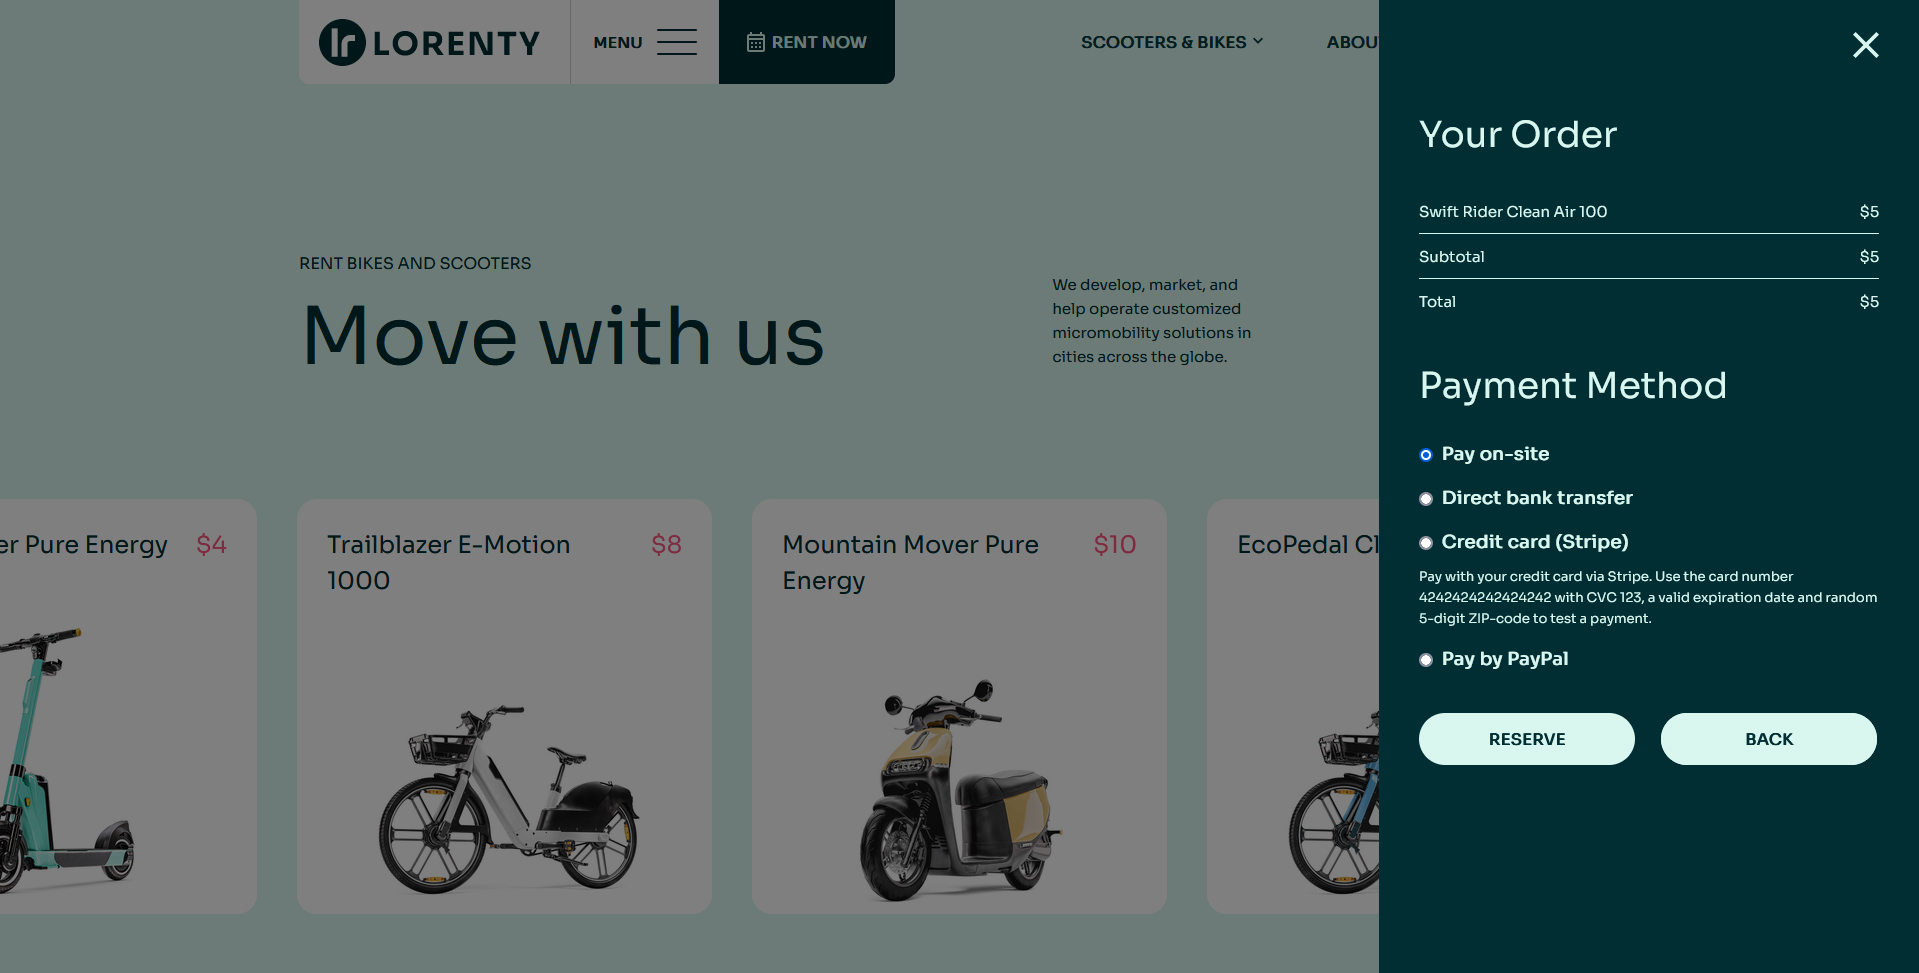
 Finally, a client will be able to choose the preferred payment method and complete the reservation with a single click.
If you want to collect payments online for your rental bikes – it’s also possible (we’ll explain more about this in the steps below).
 One customer can even book several bikes or other vehicles at a time!
Step 1. Configure general settings
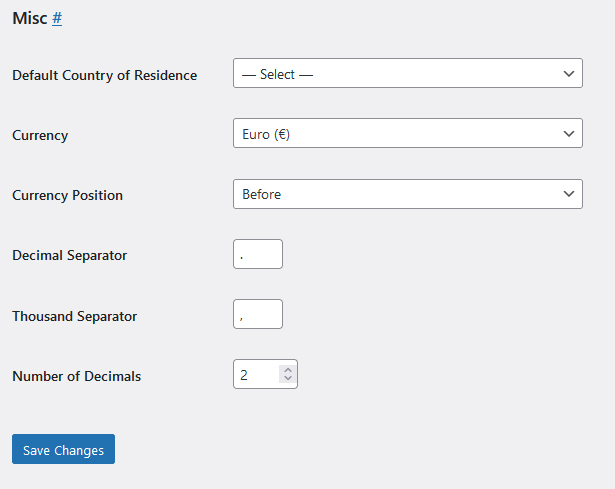
To add the appointment functionality to your bike rental website, you need to configure the general settings of the plugin. This includes such options as the minimum appointment duration in minutes and confirmation mode.
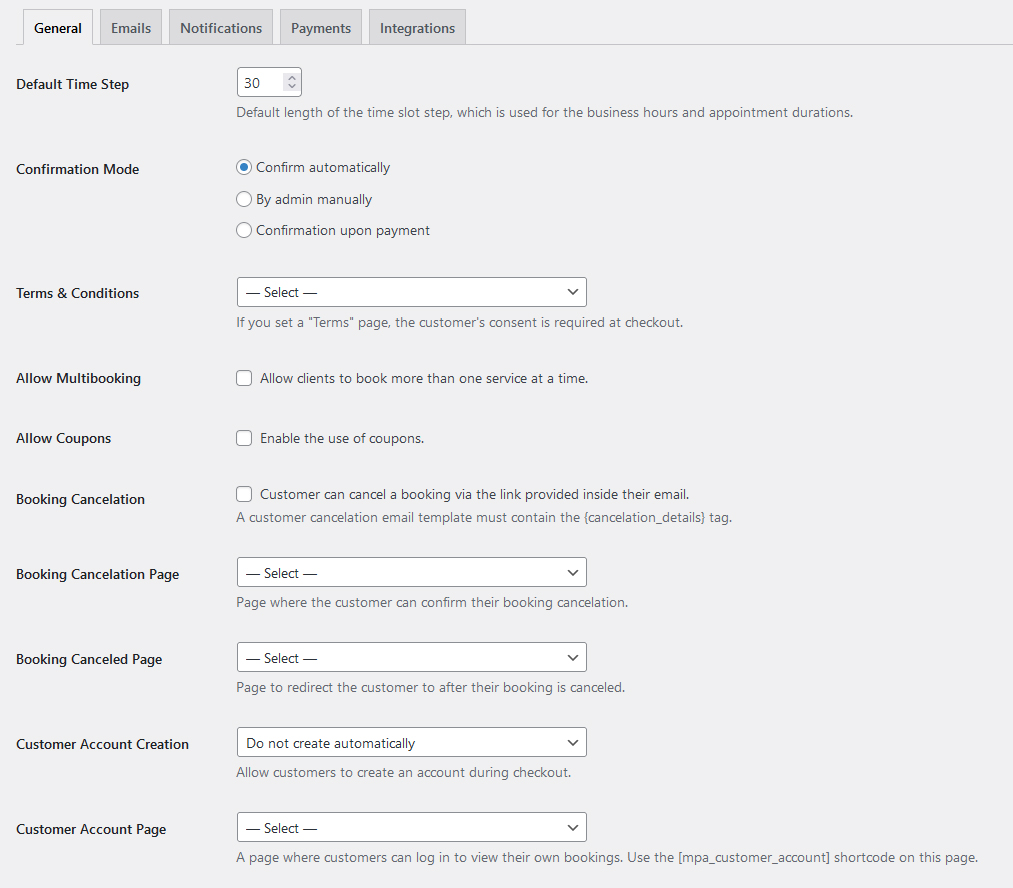 On the same page, you can find some miscellaneous settings that include the country of the client’s residence or the supported currency. This is suitable for rental service providers that operate locally.
 Step 2. Add service providers
Next, you may need to add some team members who are responsible for providing rental services. The Lorenty theme allows adding consultants and bike instructors in just a few steps.
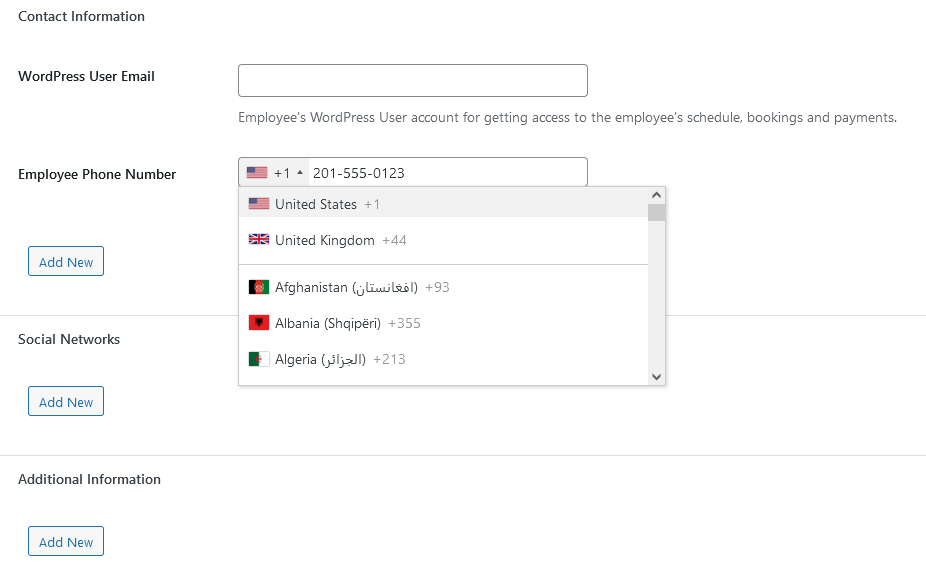
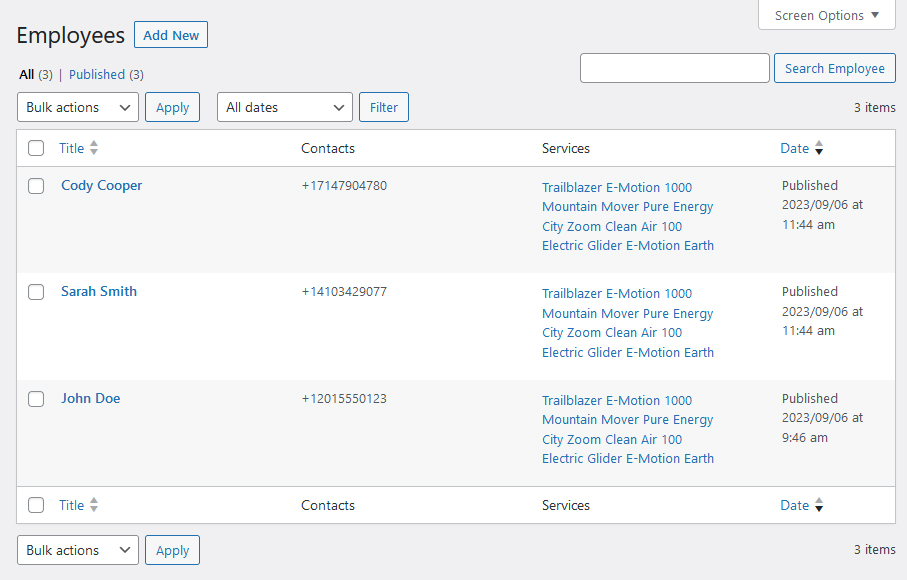 After pressing the “Add New” button of the bike rental software UI, a new page will open where you can add the team member description that includes a bio, photo, and some contact details. You can specify the employee’s email address, and phone number, and add social profiles. This can be especially helpful if you provide guided tours or bike courses, for example.
Additionally, staff members can have independent accounts with user roles for more efficient booking management. It is also possible to synchronize their profiles with personal Google Calendar accounts.
As a result, your employees and managers will be instantly notified about new bookings and rental requests. This will allow them to respond to your clients’ needs faster while also providing a better rental experience.
Step 3. Customize vehicle categories
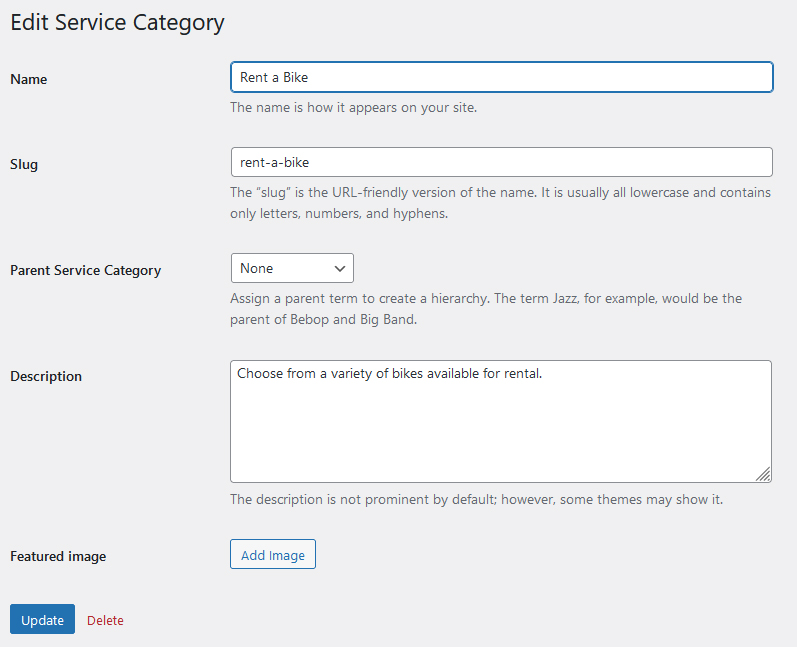
After specifying bike rental managers, you can easily add new or edit existing categories of vehicles that you provide. For example, if you want to separate bikes and scooters into different categories, you can do this on the Service Category page. There you can add a category name, slug, and description. When editing a category, don’t forget to add a featured image. Categories will help your customers find the needed solution much faster.
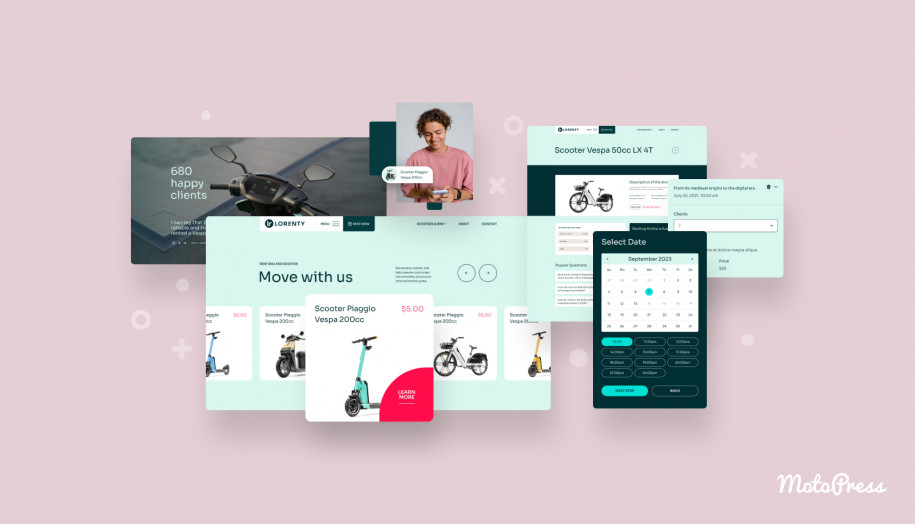
 Step 4. Add bikes and scooters
When categories are already created, you can move on to adding scooters and bikes to the catalog of your vehicles. Just like with adding employees, you can create a fully customizable page for each bike using the Gutenberg editor and built-in Lorenty theme features. It can also be edited with Elementor Builder. There are diverse settings that are unique for each product. They include pricing options, buffer time, and allowed capacity. With these settings, you can setup each bike or scooter page individually increasing the variety of the provided solutions.
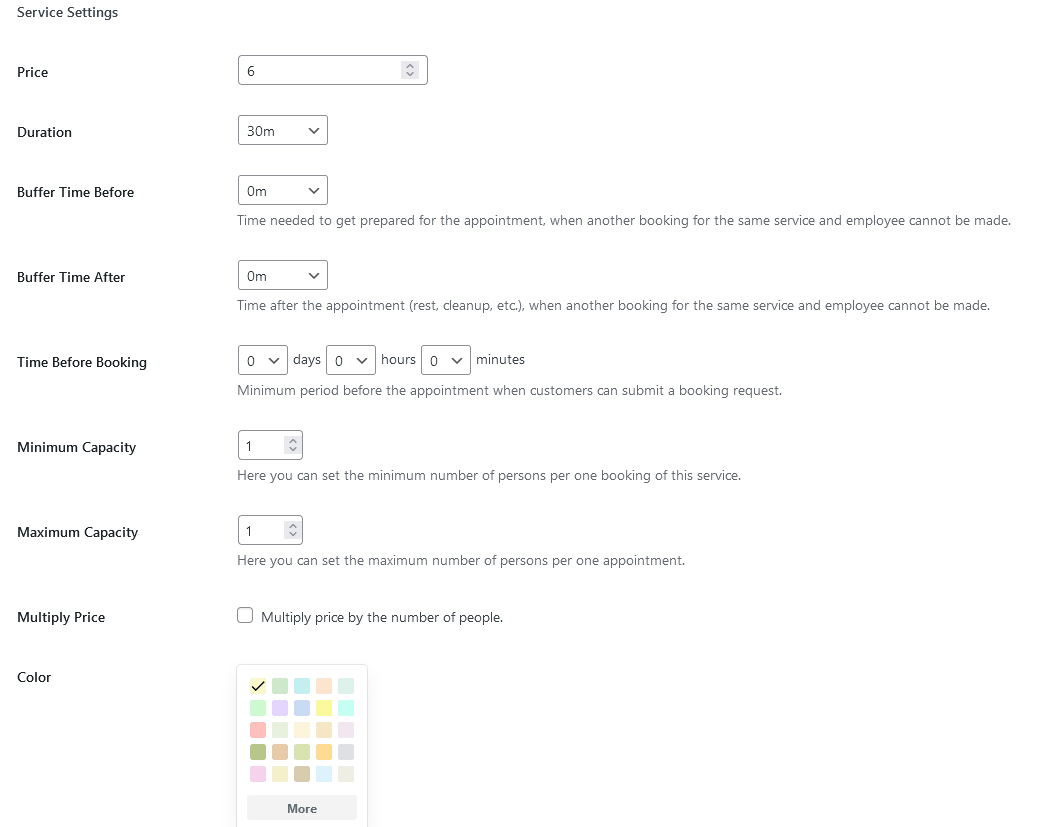 For options with instructors and team members, you can also diversify prices based on who provides them.
Step 5. Operate in diverse locations
The Appointment Booking plugin also supports different locations. You can add them manually or edit the existing ones. They are available as individual pages so you can further customize them at any time. This is especially useful if you have several bike hubs and need to show diverse locations or destinations on your website.
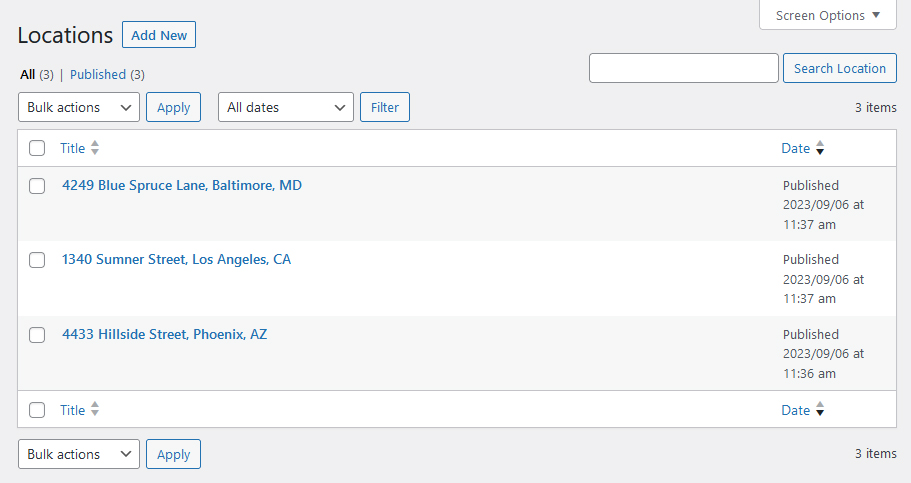 For every location and employee, it’s possible to set different working hours.
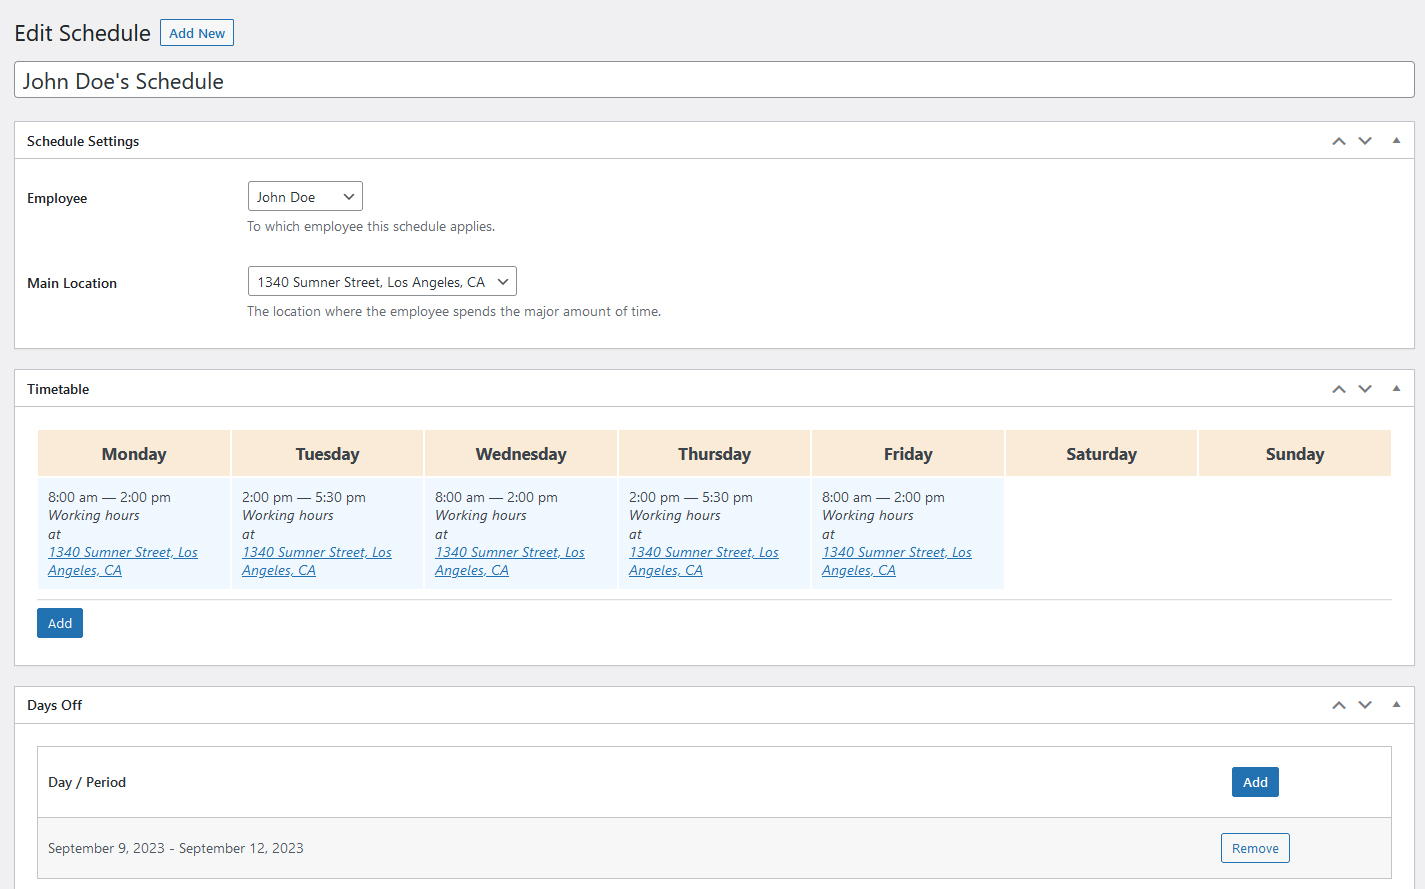
Step 6. Customize the schedule for your team members
When it comes to integrating booking functionality into your website, it is necessary to create a custom schedule for each of your employees. With the abovementioned bike rental software, it is easy. Thanks to its user-friendly interface, you can add not just working hours but also breaks, lunchtimes, and days off. All of these will impact the available day & time slots visible to your clients.
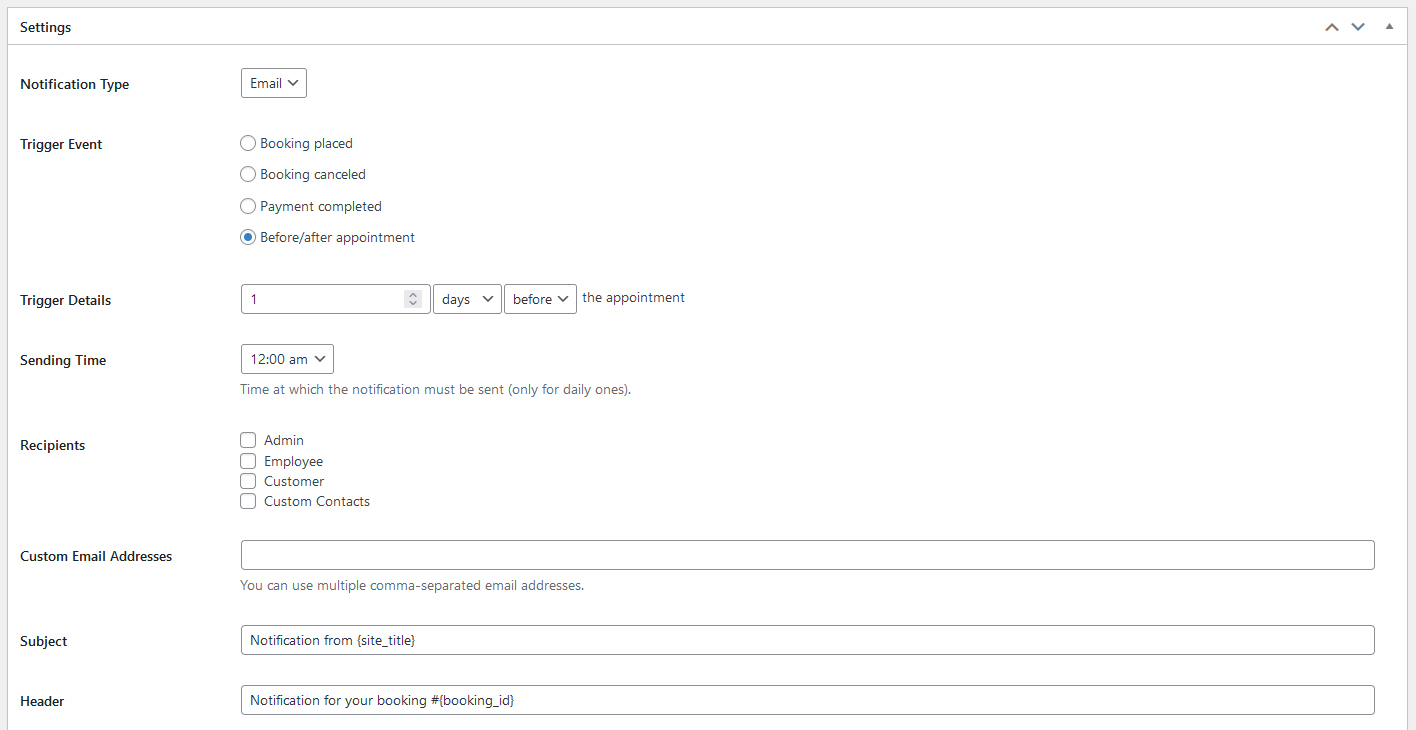
 Step 7. Enable notifications
Many customers prefer to be notified before the appointment. Thanks to the built-in notification system, it is easy to carry out.
You can add email notifications and enable custom triggers for them with a bunch of other useful options. This will help with automatic notification of your clients when using the Lorenty theme.
 If you want to send SMS notifications and reminders, you can do that with an extra Twilio SMS extension developed specifically for the MotoPress Appointment Booking plugin. You can also enable customer accounts with the help of Lorenty theme to help your clients track their booking requests more effectively. Thanks to the combination of our booking plugin and the mentioned theme, you can automatically create accounts for your clients just by enabling registration on your website.
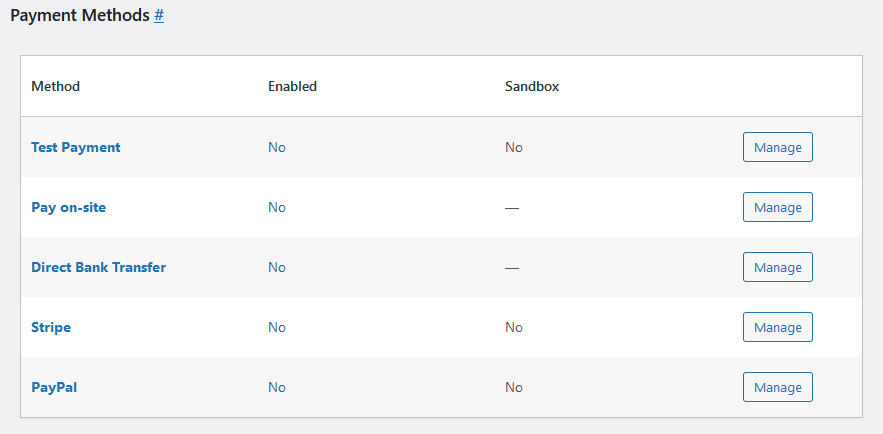
Step 8. Add payment methods
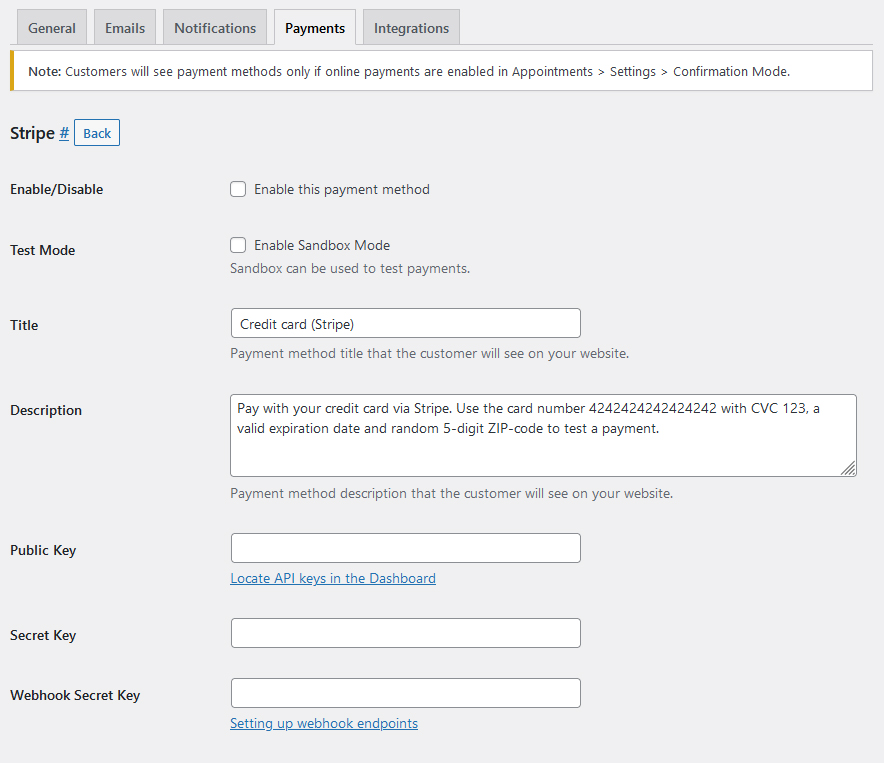
Lastly, we’ll need to add payment methods to your website. Lorenty Bike theme provides a wide variety of supported payment methods. Setting up and configuring each of them is simple. Navigate to the Settings section of the Appointment Booking plugin and look for the “Payments” tab. There you can configure some popular methods of accepting payments, such as PayPal and Stripe.
The plugin also supports paying on-site and direct bank transfers. If you want to test a certain method, feel free to enable the Sandbox mode in its settings. Don’t forget to disable this option before making any changes to your live website!
It is possible to configure each payment method separately using the bike rental software for WordPress. For example, Stripe will require several keys provided by the service to work on your WordPress website. Moreover, it offers several other built-in ways of payment, such as Google Pay, Apple Pay, and iDEAL.
 For even more payment options, there is a dedicated WooCommerce add-on that works seamlessly with WooCommerce.
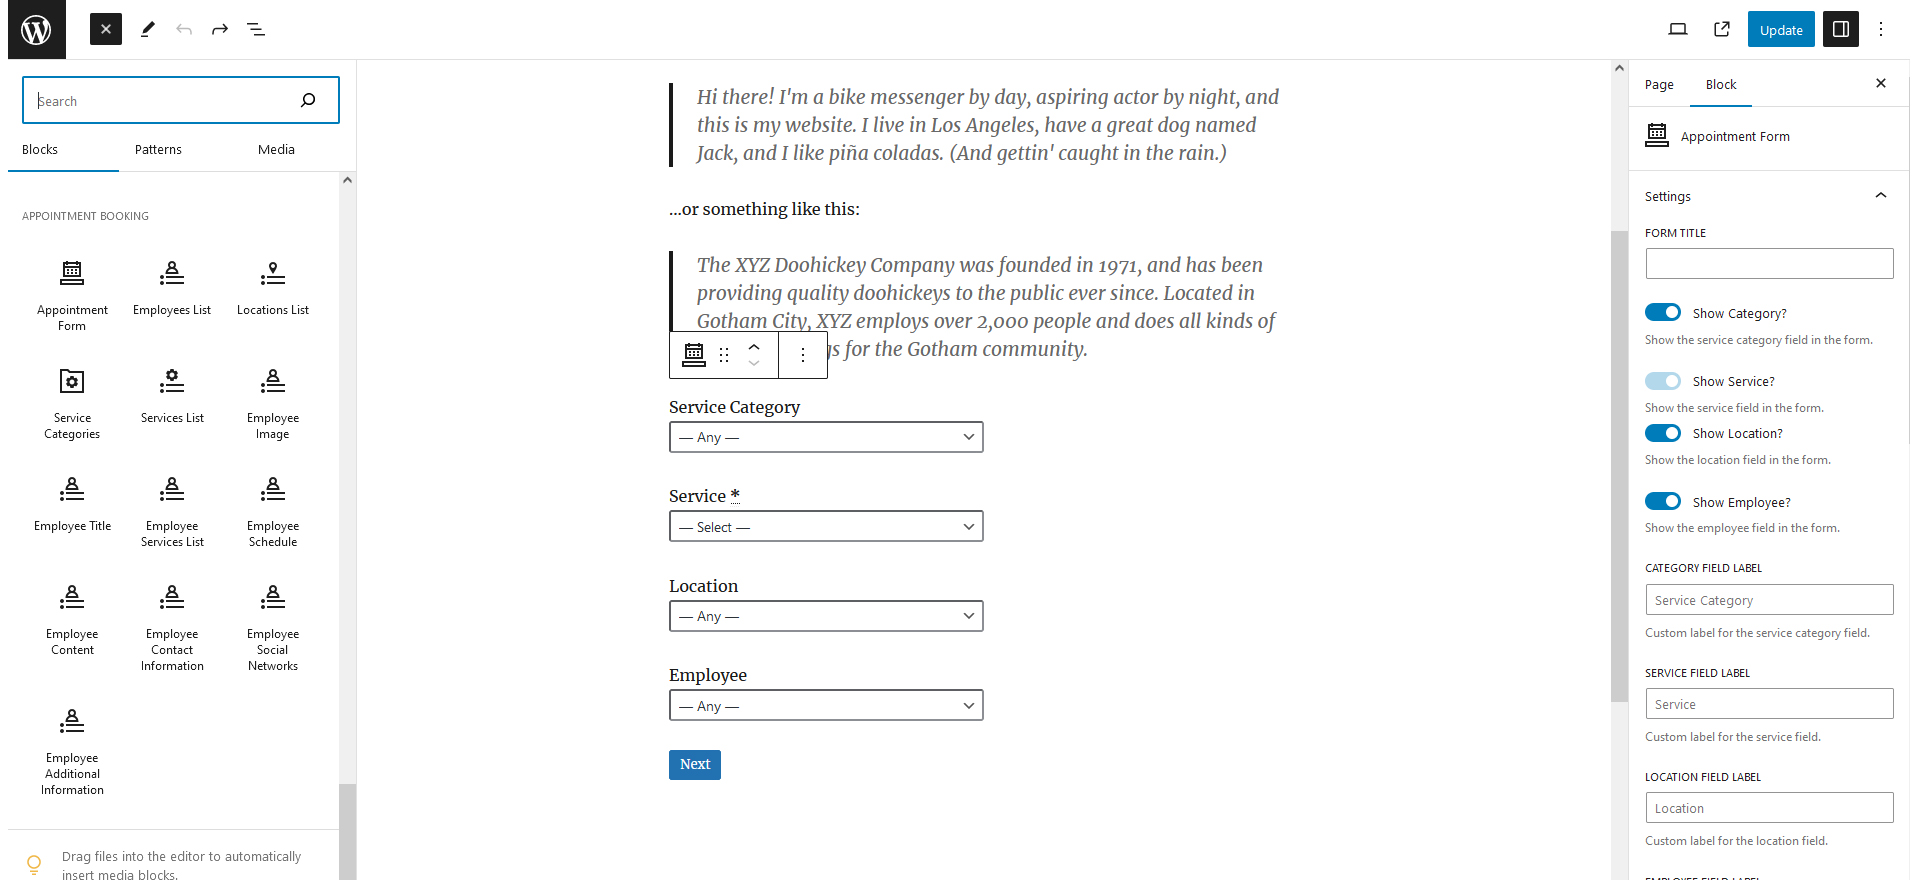
Step 9. Customize a booking widget
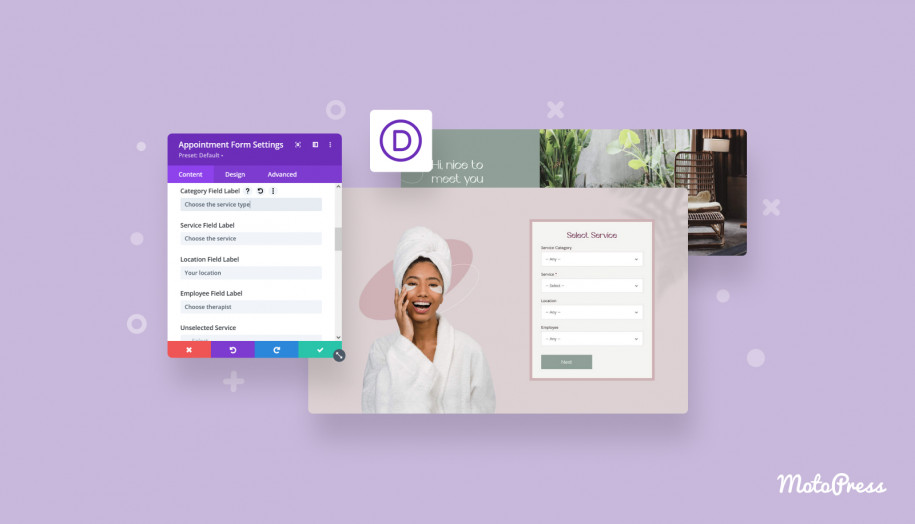
After everything is configured and prepared, you can move on to adding the Appointment Booking widget using your favorite page builder. For example, with Gutenberg, you can fully customize how the appointment form looks. This includes changing default values and labels. Besides, if you’re not a fan of widgets, feel free to use the shortcode functionality integrated into the mentioned plugin.
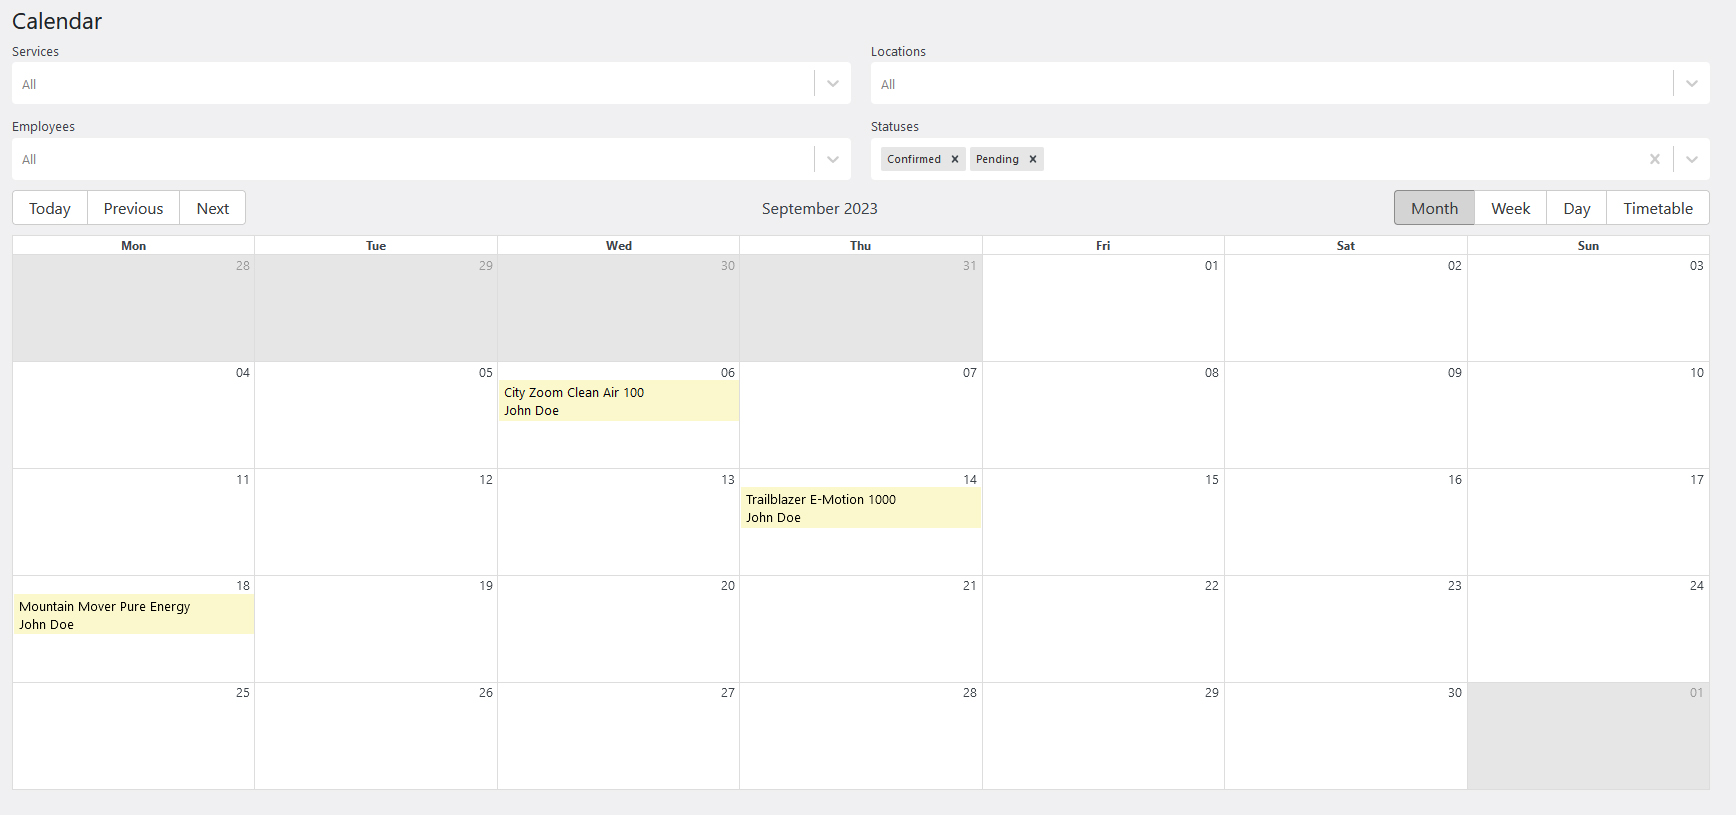
 Step 10. Manage reservations
As a result, you get a fully functional booking system for your bike rental website. To learn about new appointments, customers, and rental requests, keep an eye on the “Calendar” section of the plugin, located in the WordPress dashboard.
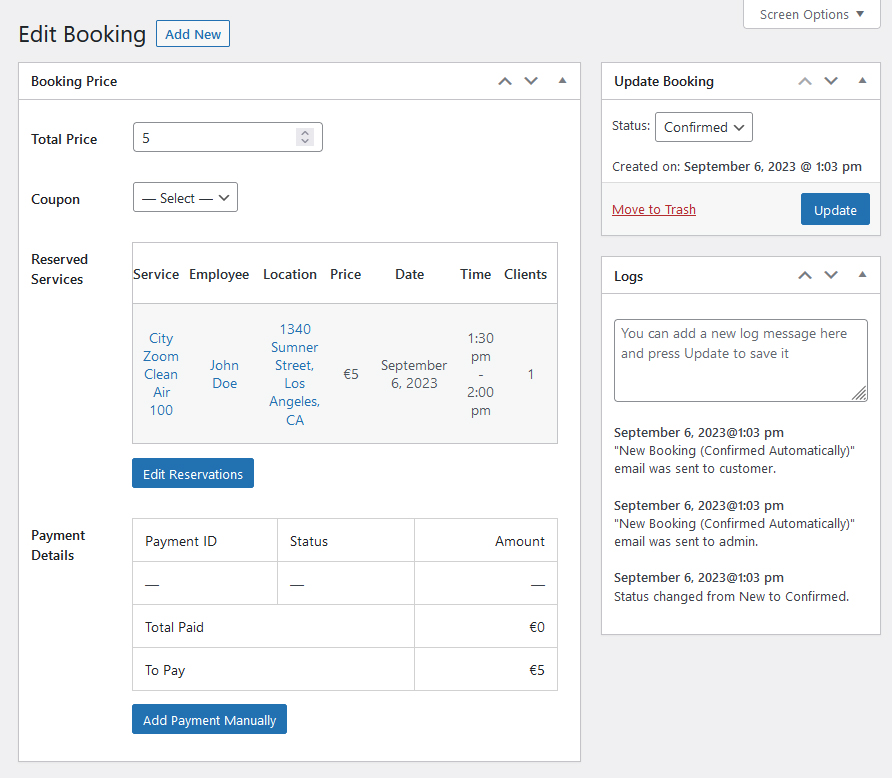
 Besides, the plugin allows you to manually edit and even create new rental reservations using the “Bookings” tab. There you can modify any option of the rental request if you, your employees, or customers find it necessary.
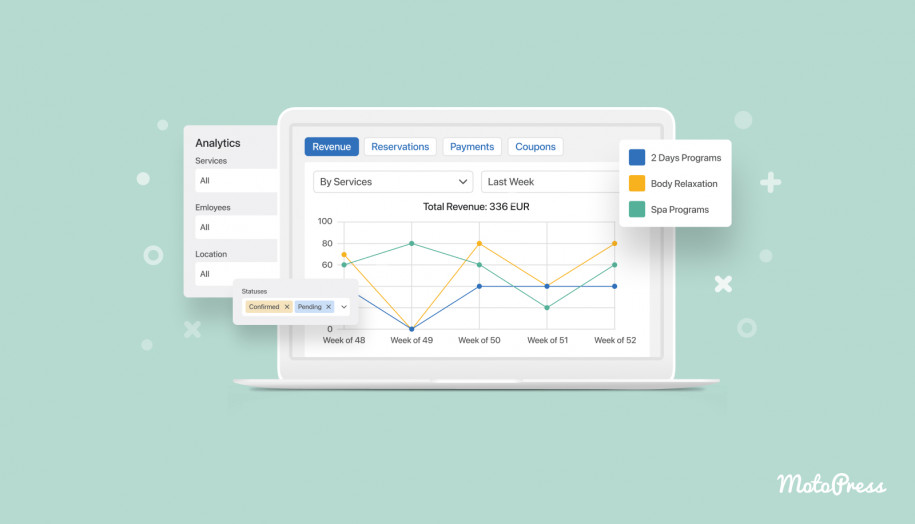
Moreover, with this plugin and Lorenty bike rental theme, you get access to improved analytics. Through implemented Google Analytics 4, you can simply track any type of data from your bike rental website. From preferred services and biking equipment to reasons for reservation abandonment, Lorenty provides extensive data for your business. Note that the mentioned functionality is only available with the premium Google Analytics extension.
 Pricing
With such a range of functional advantages, Lorenty Bike is a worthy choice for modern bike rental service providers. But what about its price? At MotoPress, we understand that every website owner is looking for an appropriate pricing option for their business. That’s why we have introduced several licenses for Lorenty:
- Single site license ($59);
- Unlimited license ($139);
- Membership (from $499).
With this range of pricing options, you can freely choose the most appropriate one depending on your current goals. For example, if you want to use Lorenty for several domains, purchasing an Unlimited license is recommended. The Membership option allows you to get all the solutions our team provides (including themes and plugins) at a balanced price.
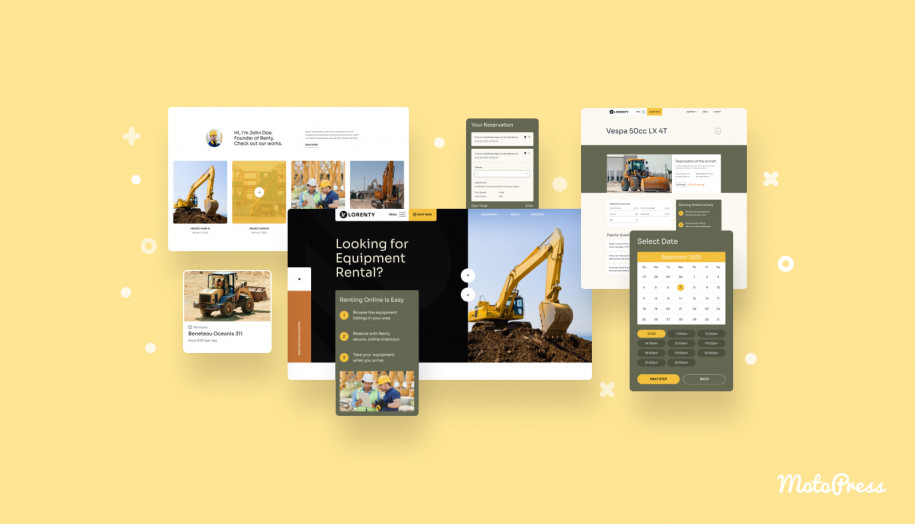
Lastly, the Single site license will be the right option if you aim to use the theme only for one website. Even with this option, you’ll get 5 starter website designs with the Lorenty theme. They cover diverse topics, including rental services for bikes, skis, construction tools, and other goods & equipment.
Wrapping Up
The Lorenty bike theme for WordPress and the Appointment Booking plugin developed by MotoPress are the best picks when it comes to building a trustworthy and functional rental business online. Here are 5 obvious benefits of using this theme to supercharge your bike rental website on WordPress:
- Dedicated design for bike directories and individual item presentations;
- Fully customizable booking form for bike rentals;
- Providing bikes and scooters for rental within any period;
- Centralized and easy-to-access financial & booking reports;
- Optimized blocks and interface elements for visual website editing.
Hopefully, with this guide, you’ll be able to establish a stunning and fully functional online presence that will help you stand out and make bike rental easy for you and your clientele.