How to Build an Equipment Rental WordPress Website
Table of Contents
With extensive experience in Appointment and Hotel Booking software, we have recently expanded our product line to include a WordPress template specifically designed for rentals of equipment, vehicles, boats, planes, and so on. The primary distinction is that, while previously we provided tools for renting out property or services, now we offer a technical solution for renting out tangible objects. As in our other products, the integration of the rental plugin WordPress plays a pivotal role.
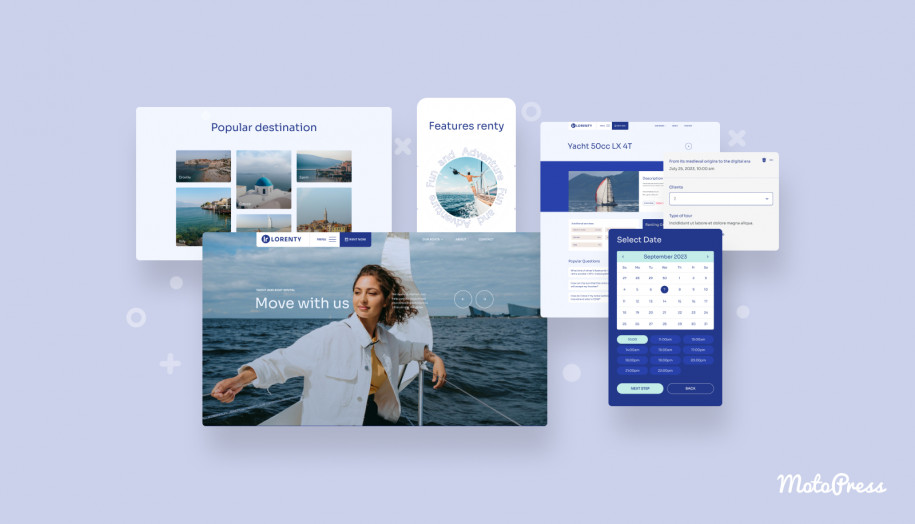
The following lines will introduce you to creating an equipment rental website, using our newly created theme, Lorenty.
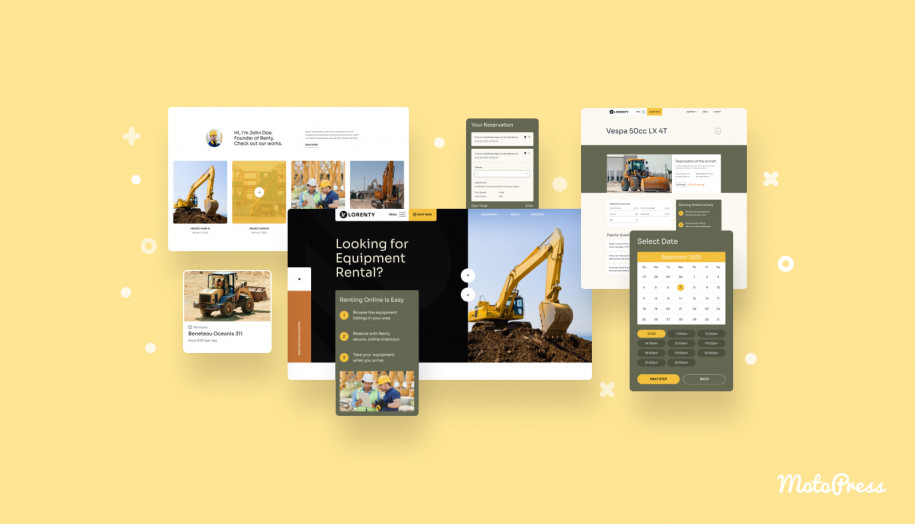
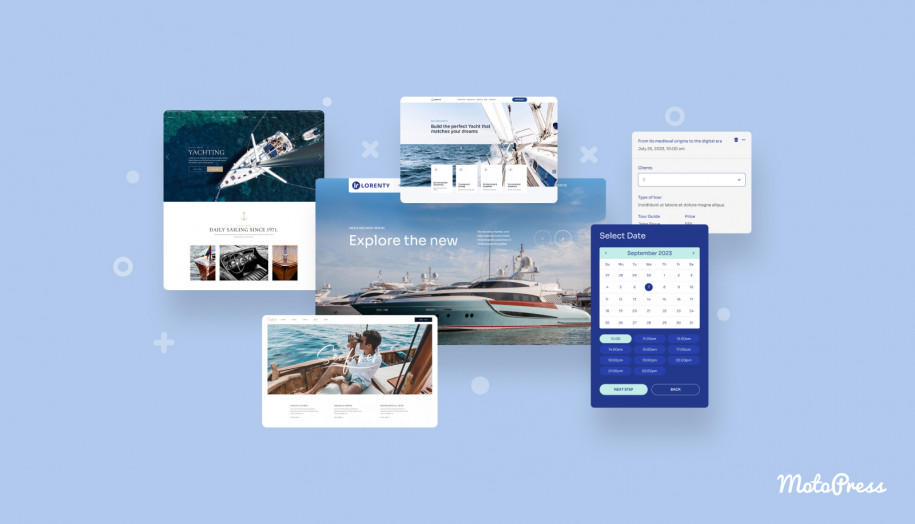
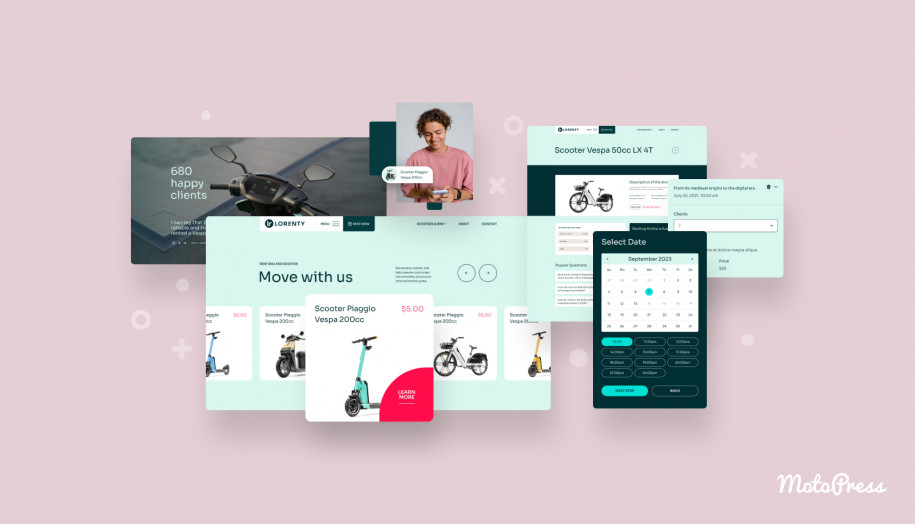
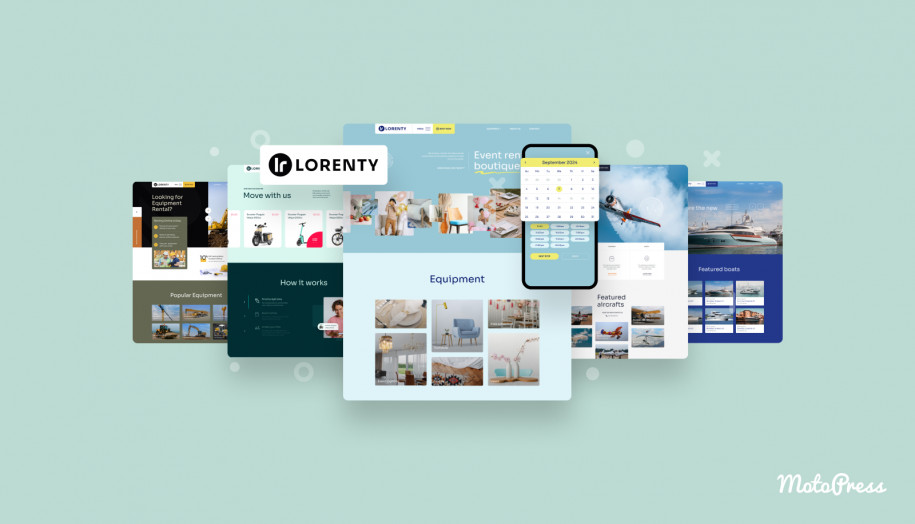
To start with, it’s worth mentioning that this template comes with five demo variations right out of the box: a starter kit for renting out bikes and motorcycles; another for aircraft rentals; one for boat and yacht rentals; a demo for party and celebration equipment rentals; and one for heavy construction equipment. The last of these will be used to illustrate the website-building process in this guide.
N. B. If you are familiar with the MotoPress Appointment Booking plugin, the setup process will be smooth and convenient. To explain in simple terms, Lorenty — a comprehensive equipment rental website builder — is a blend of specialized design and our Appointment Reservation extension. But in this case, tangible items take their place instead of services being the objects to rent out. In terms of other functional principles, the theme is similar to our other templates related to appointment booking.
Equipment Rental WordPress Website: Step-by-Step Guide
As soon as you acquire the Lorenty template, add the .zip file to the “themes” folder of your WordPress installation. Then, activate the template as you usually would.
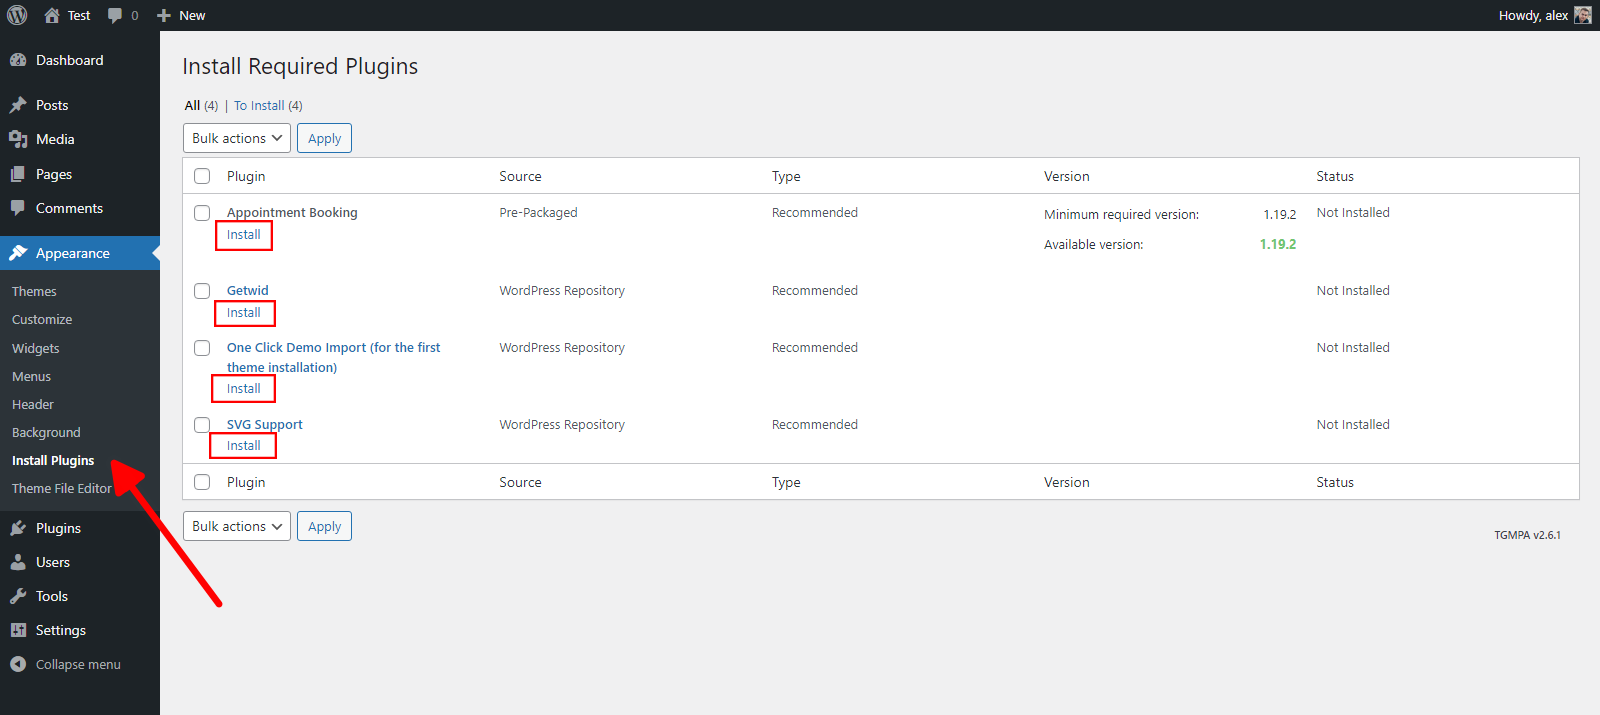
Now, there’s a crucial step to ensure the theme will work as expected: installing four essential plugins: Appointment Booking (our rental plugin for WordPress), Getwid, One Click Demo Import, and SVG Support. To install them properly, go to “Appearance” > “Install Plugins”. Then, click the corresponding “Install” and “Activate” links next to each of these extensions.
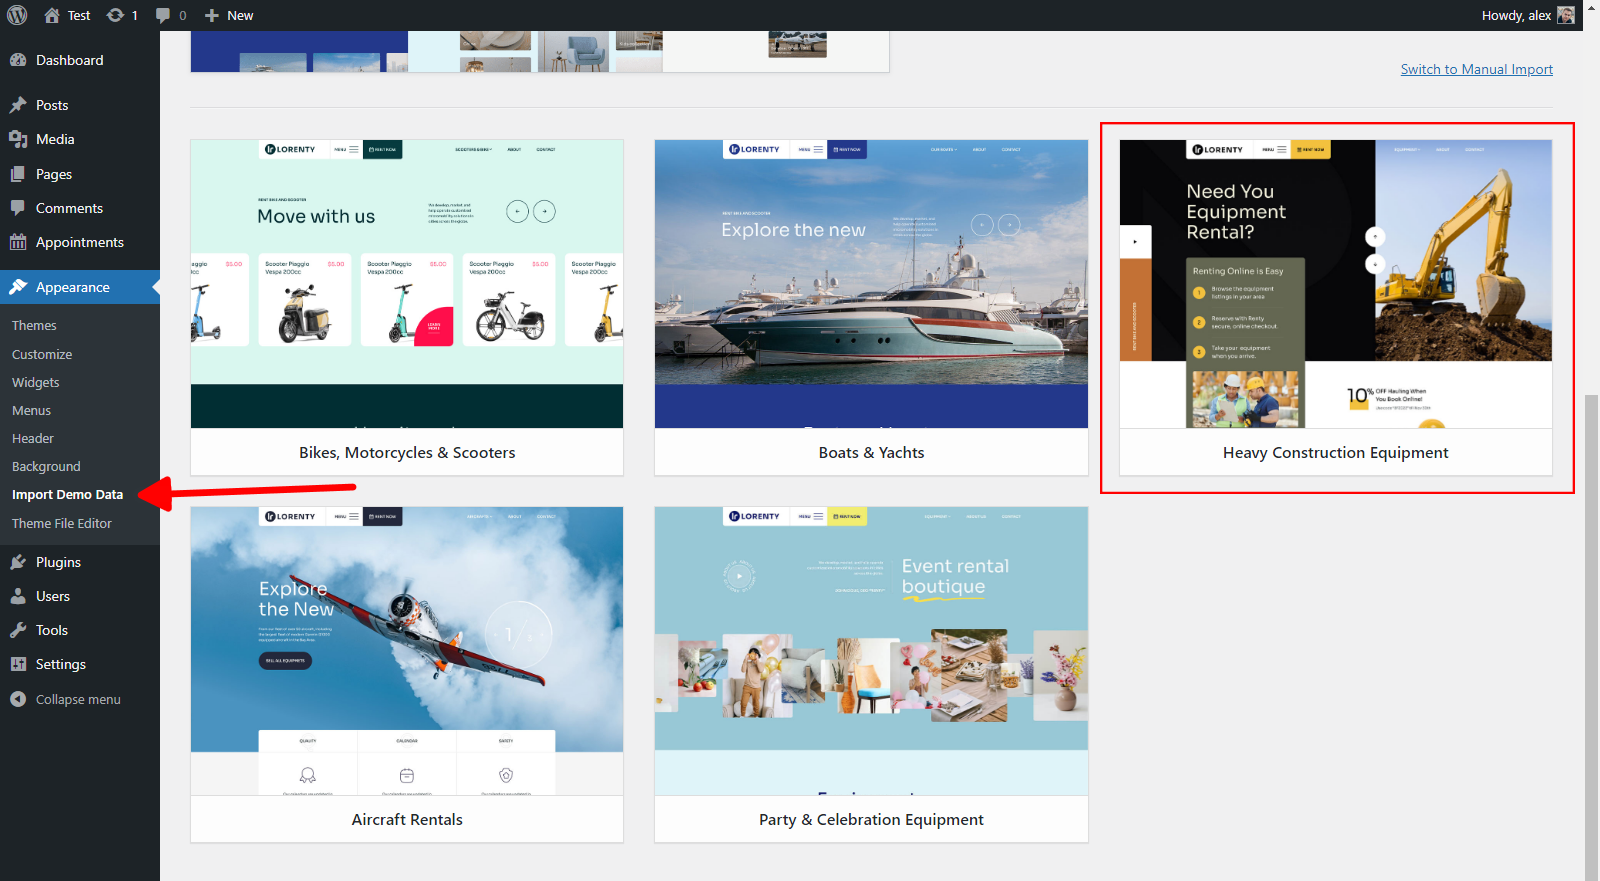
Once all the necessary plugins are installed, visit the “Appearance” > “Import Demo Data” and choose the demo variation of your preference. In our case, it will be “Heavy Construction Equipment”. Hover over this block, and click the button “Import Demo”.
There is no need to check any box on this page; those are just advertisements from “One Click Demo Import”. Just press “Continue & Import”.
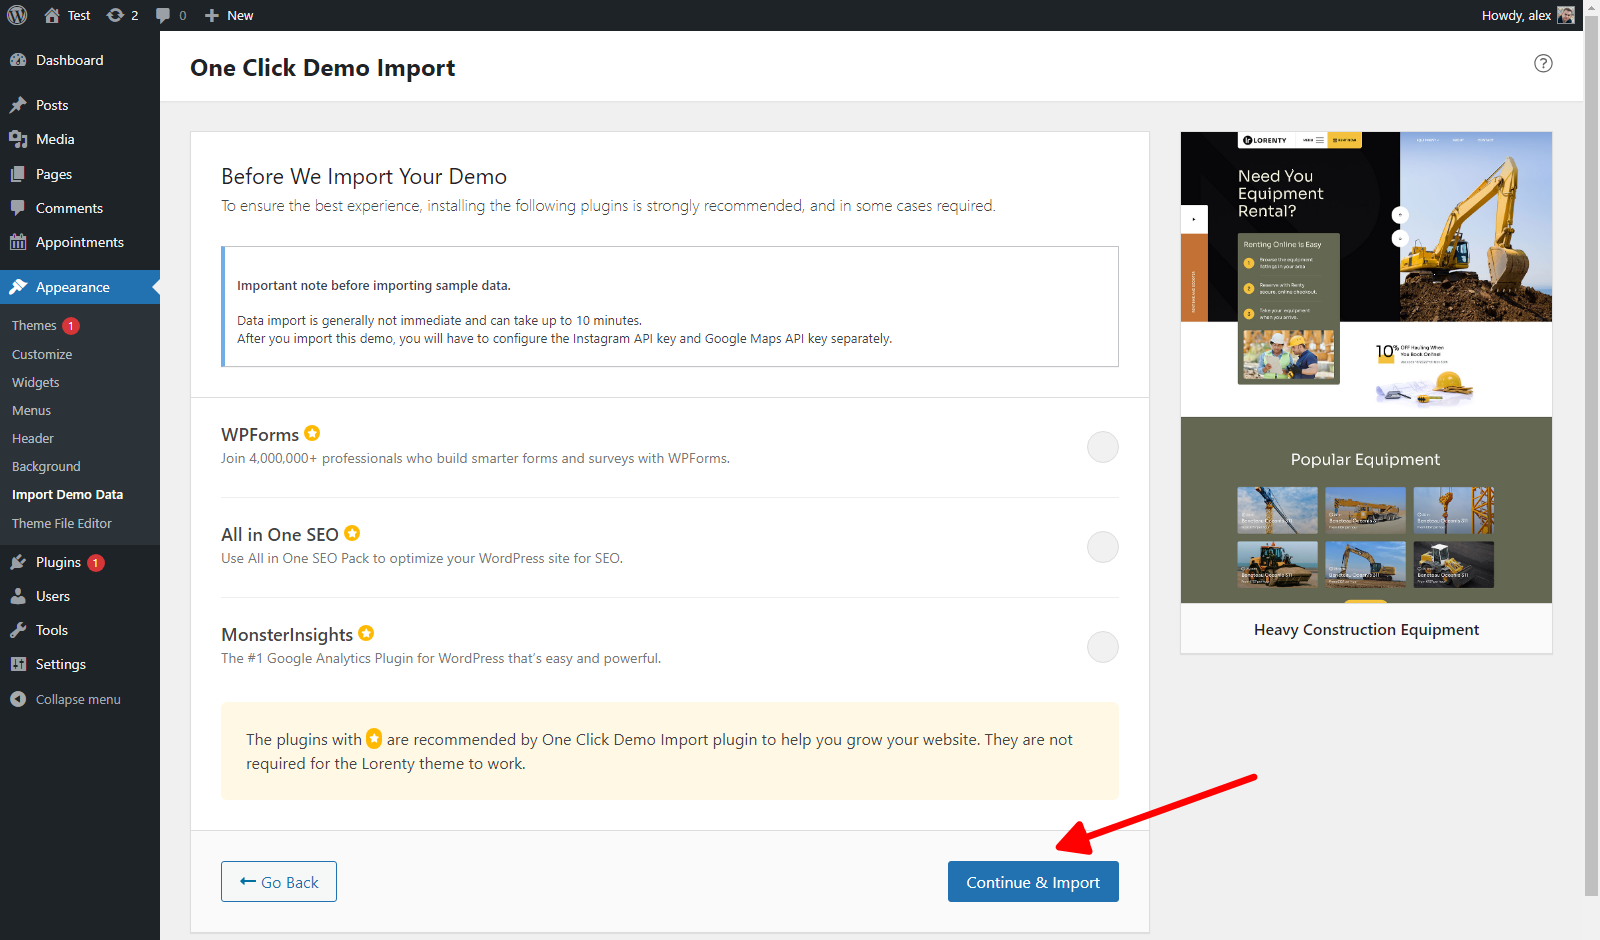
If everything was done properly, here is what you’ll see on the main page of your website:
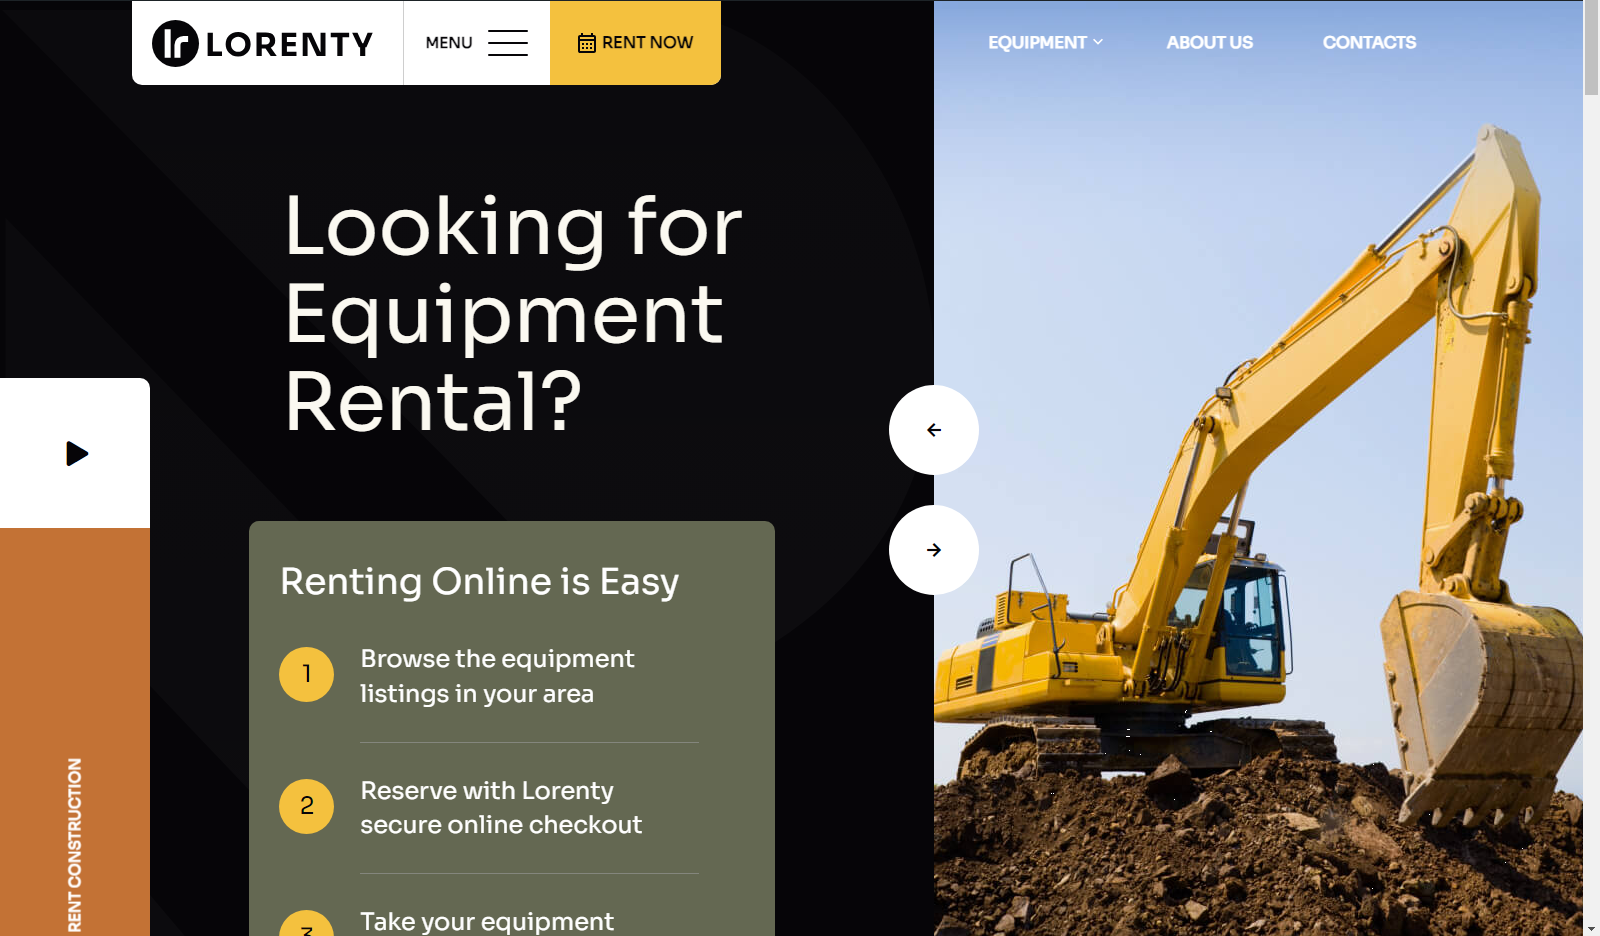
To make things simple, we have imported the default demo skin that comes out of the box with our equipment rental website builder. But what if you want to customize it? No problem. In the following sections, we will overview the adjustment process for this imported skin.
Even if you want to create a rental website for a different type of equipment and there are no demos in Lorenty that fit your needs, we recommend importing one of the existing starter kits and customizing it to meet your unique requirements. It’s much simpler than starting to fill the website from scratch.
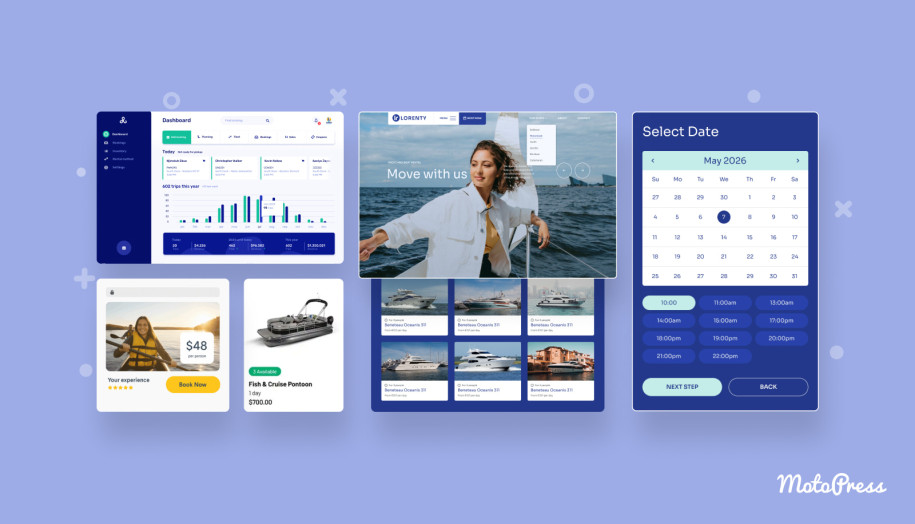
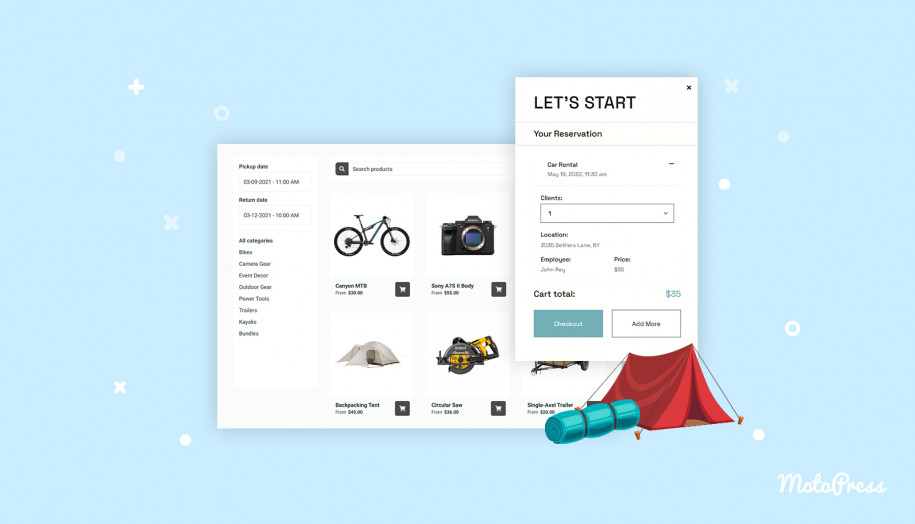
Here is an example of the default equipment rental form for clients that will be created with the help of our rental plugin WordPress embedded in Lorenty:
Lorenty Template: How to Customize Appointment Scheduling Features?
First things first, let’s assume that you are the owner of a heavy construction equipment rental business and you don’t want to modify the design. What should you adjust in this case? That’s right: the list of services, terms of rentals, and possible schedules. To do this, let’s visit the Appointment Booking plugin settings page.
How to Adjust Items for Rent?
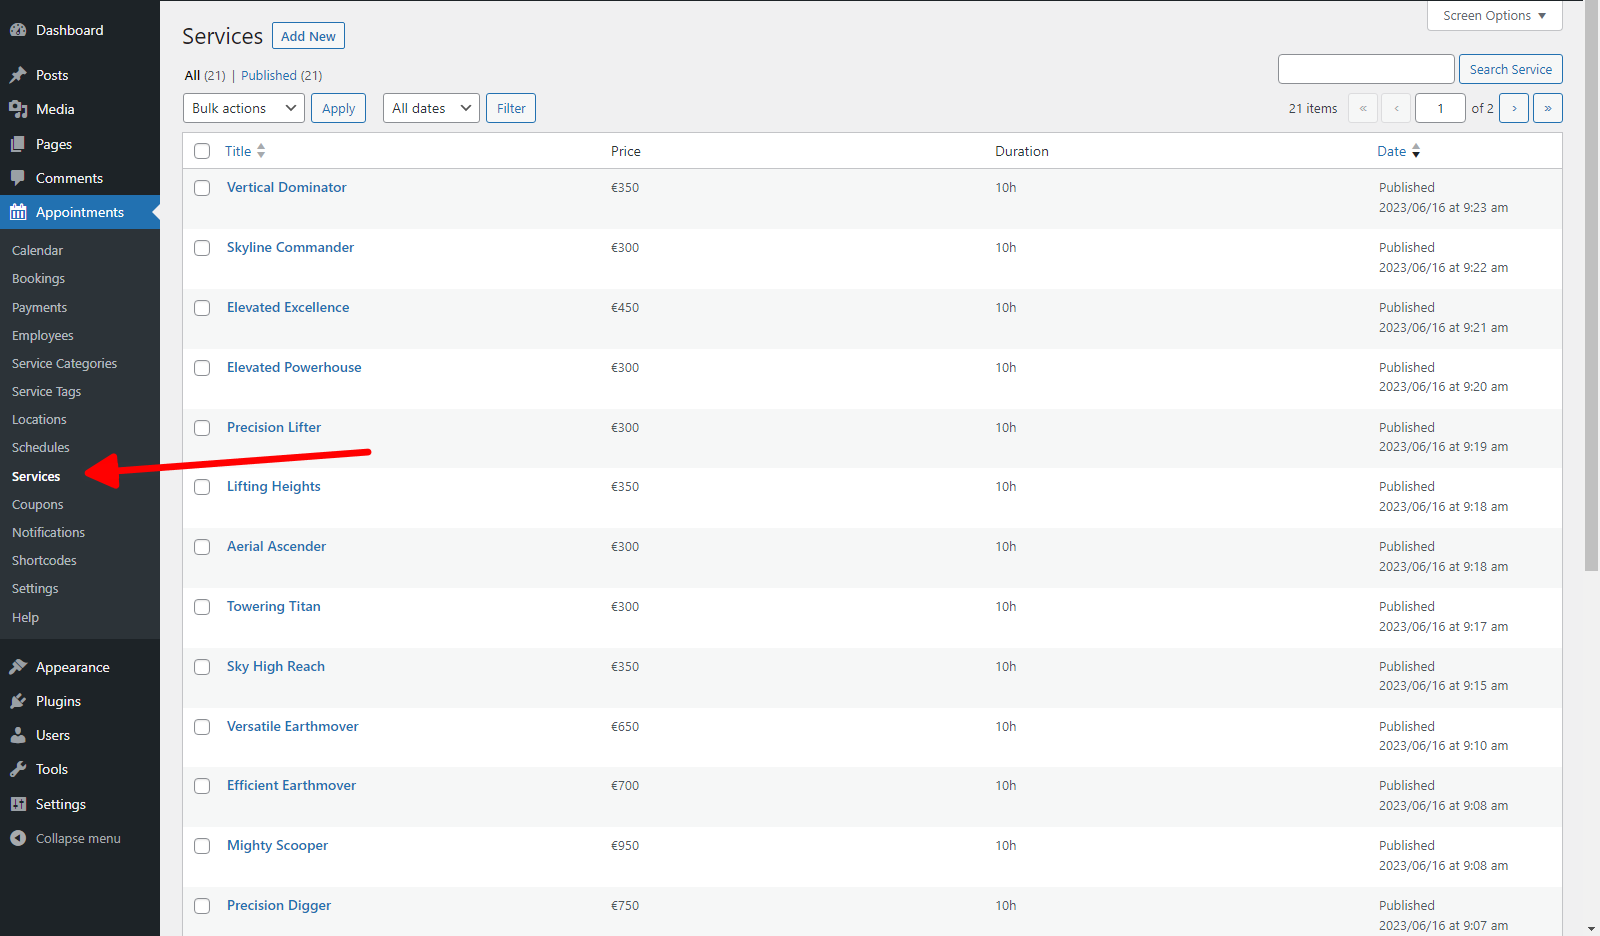
For starters, our attention should be directed to the “Appointments” > “Services” tab. This is where all your rental equipment will be listed. You can edit necessary elements from this list, delete them, or add new ones. In the case of Lorenty, “Services” refers to “providing a particular equipment item for rent over a specified duration”.
Items are edited using the familiar Gutenberg editor:
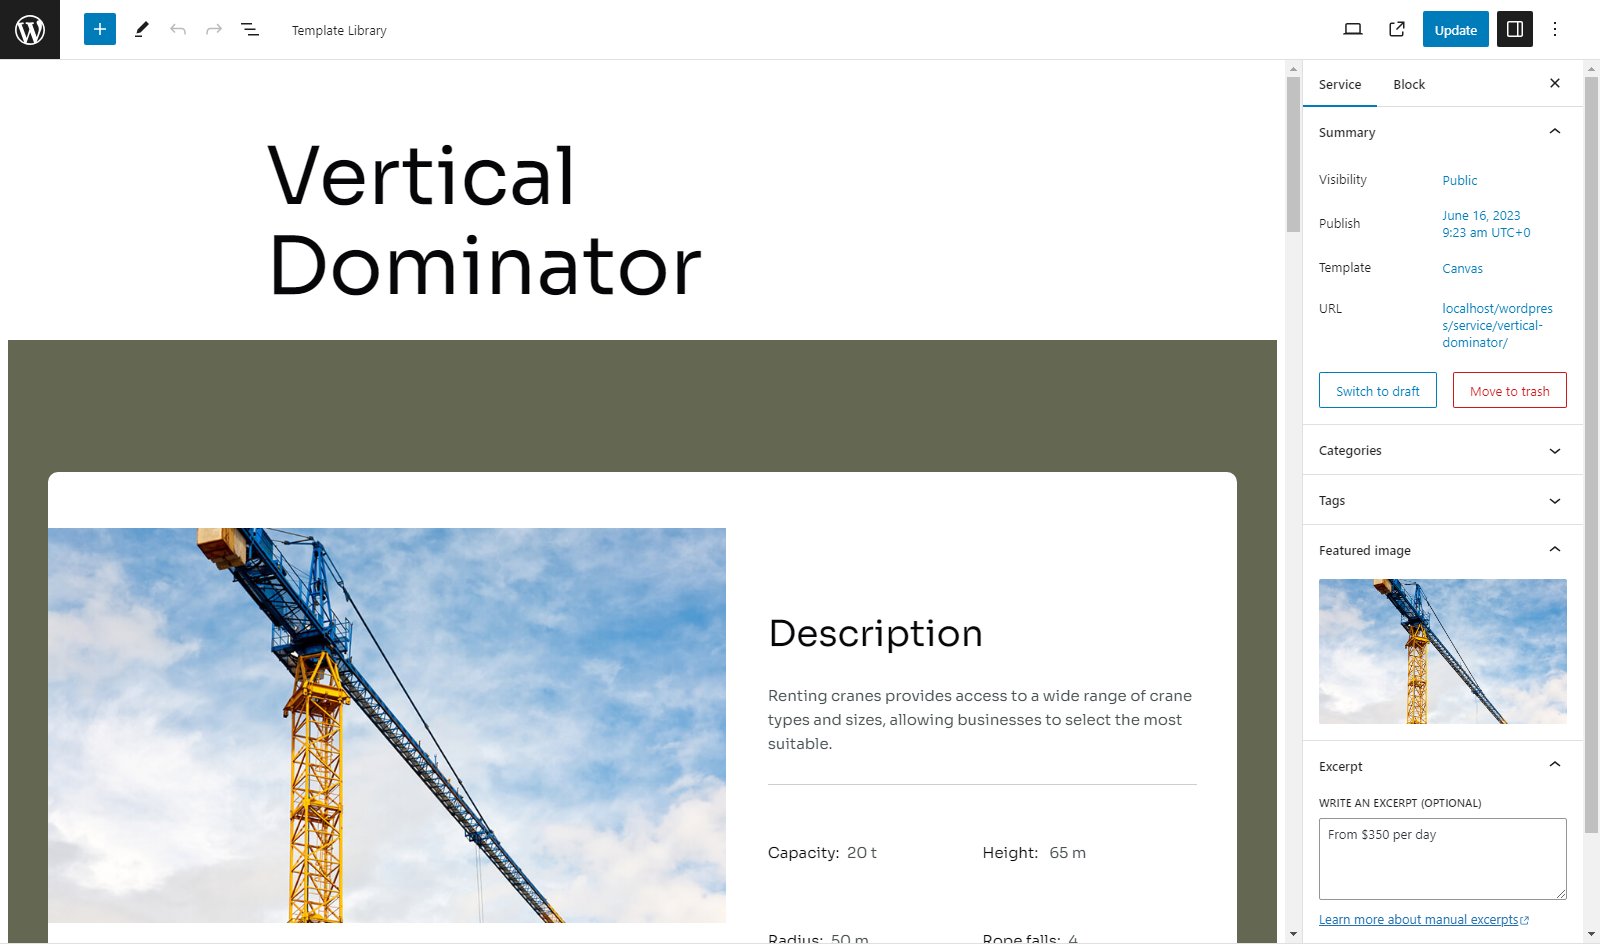
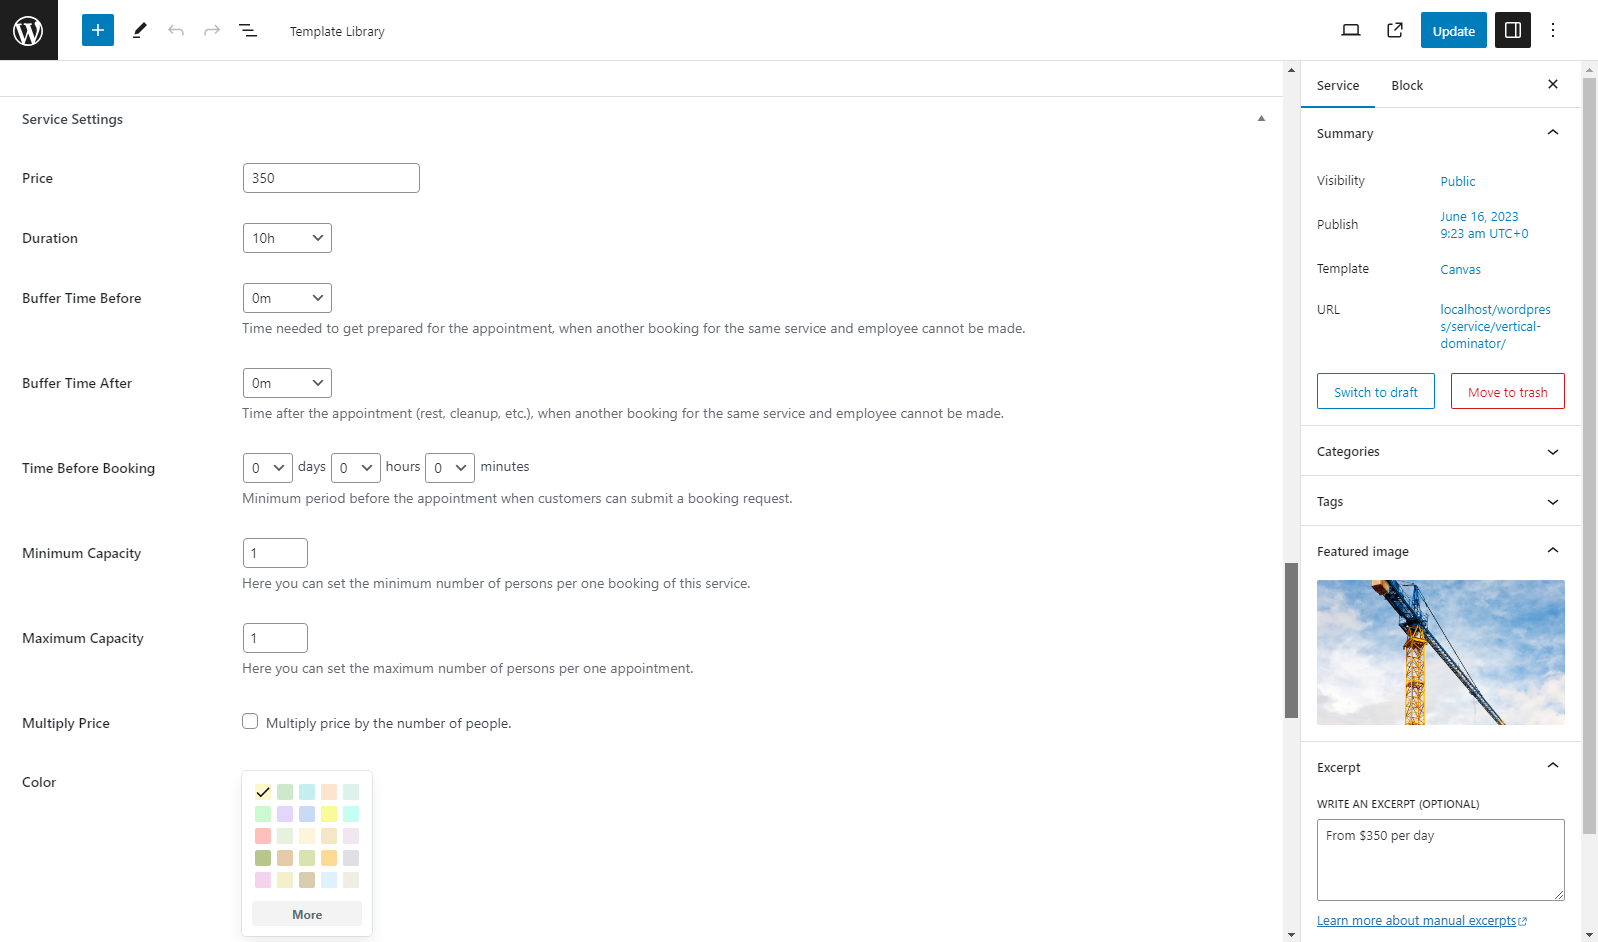
But each custom page type comes with special parameters, like Price, Rental Duration, and so on:
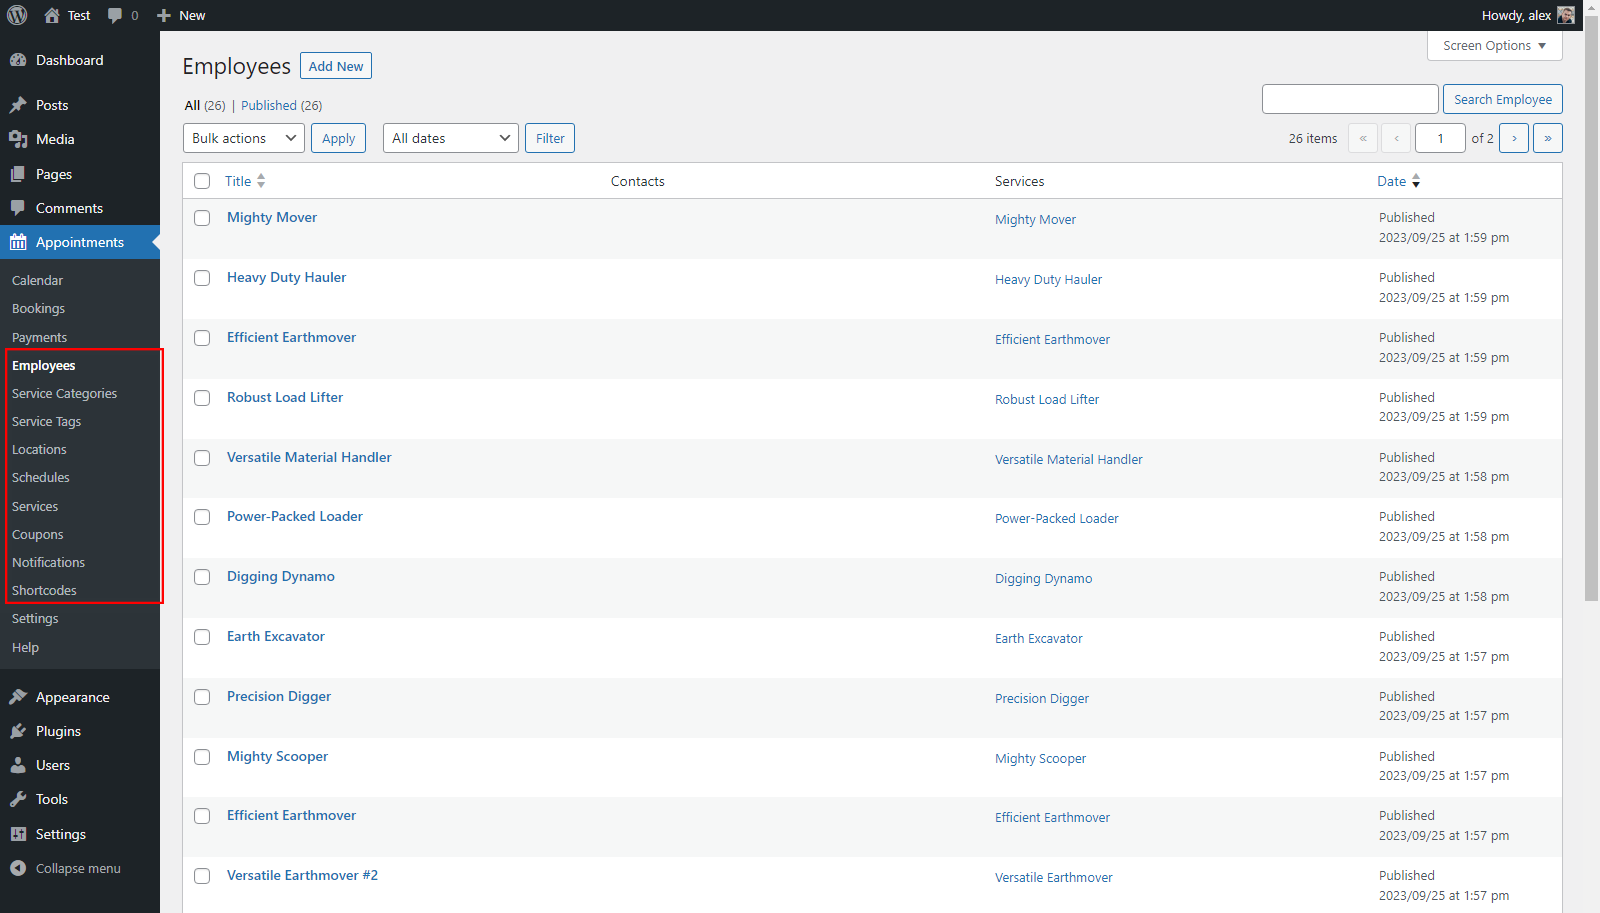
It’s important to note that each “Service”, or rental item in our specific case, should have some “Employees”. “Employees” in our case refers to “objects that will be rented out”: bulldozers, excavators, trenchers, cranes, forklifts, dump trucks, etc.
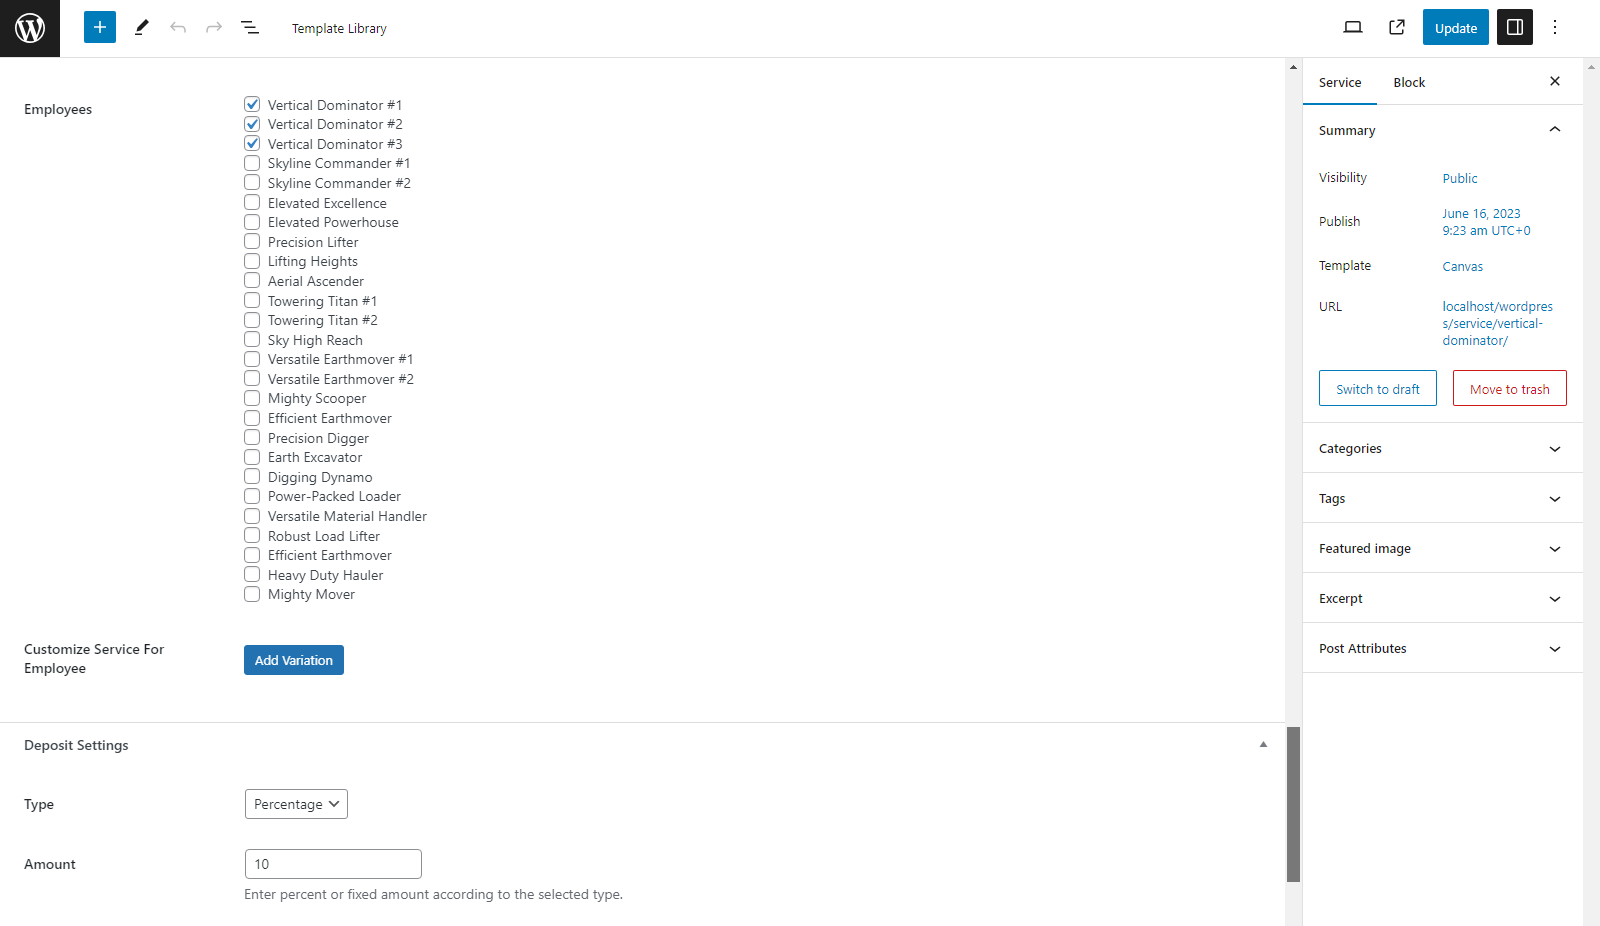
It means that you should either use the “Employees” that were already created during the importing process or create new ones by visiting “Appointments” > “Employees”:
These entities are essential for the correct functioning of the Appointment Booking plugin in conjunction with our equipment rental website builder. For clarity, it’s necessary to assign each specific item in the “Services” tab to a particular “Employee”.
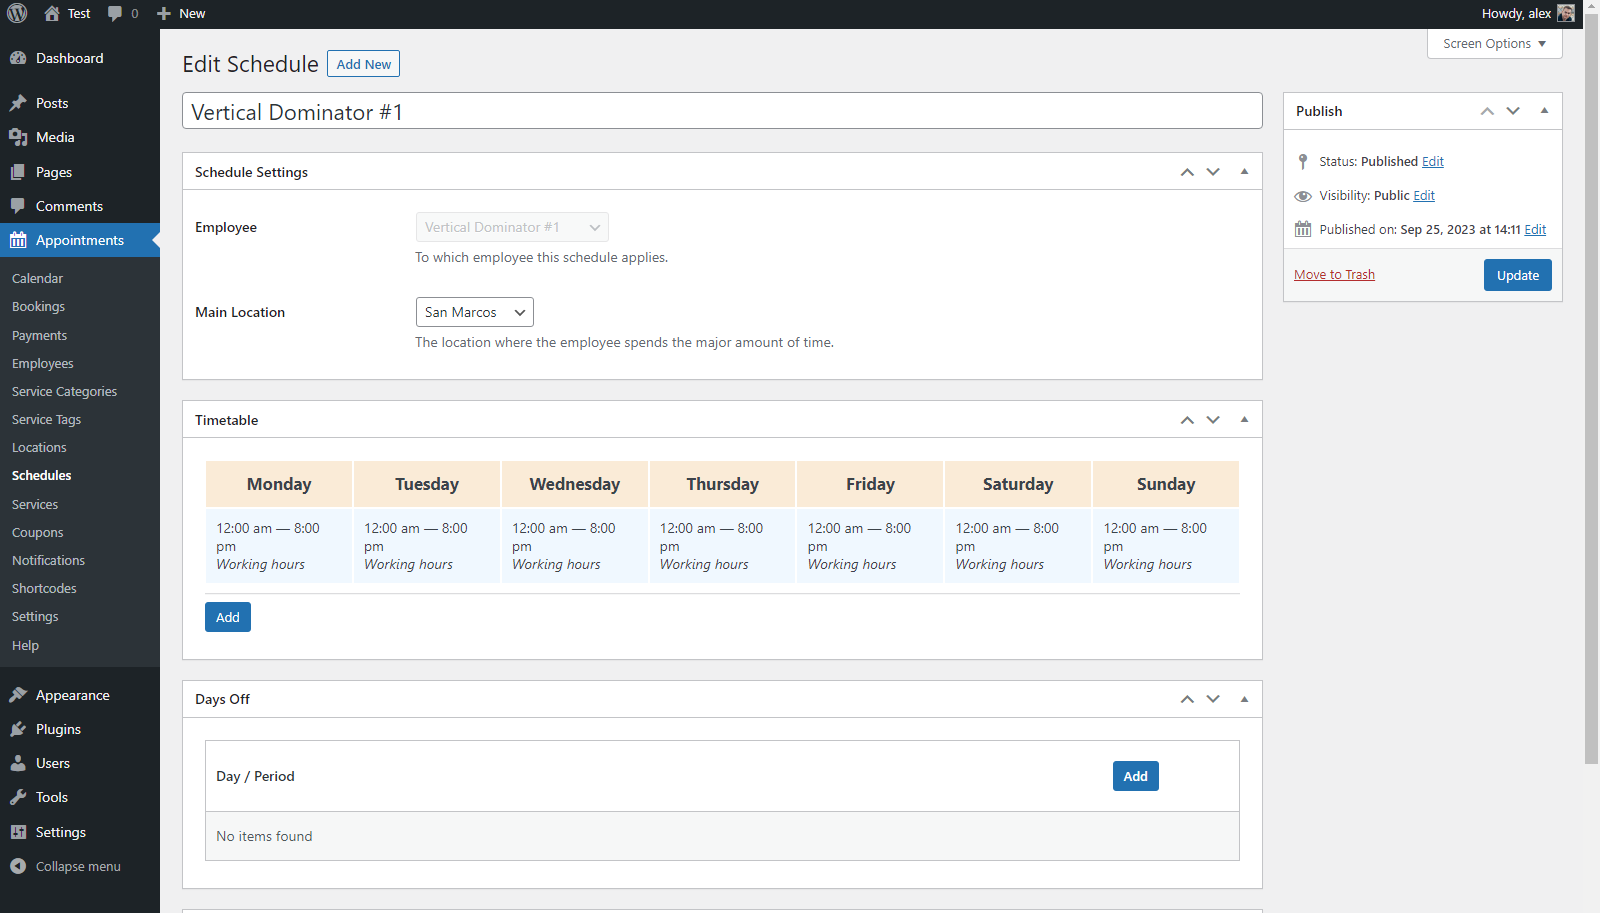
Fitting Up Schedules for Your Needs
Following up, this aspect also might need some adjustment based on your preferences: time slots when it will be possible to rent your equipment. Each item for rent requires its specific timeline. This parameter can be modified by visiting “Appointments” > “Schedules” (in the section of the menu dedicated to our rental plugin):

During the modification of a particular schedule, or when adding a new one, you’ll need to assign it to a virtual employee (as we mentioned, these entities are essential for the WordPress equipment rental plugin to function correctly). Additionally, you’ll have to select one of the locations and create or adjust the timetable itself.
How to Customize Locations?
Your website visitor can select a geographical point where they want to pick up the item you’re renting out to them. If you provide rental services in multiple locations or have partnered with other similar enterprises, you must be familiar with and utilize this feature. The parameter can be adjusted in the “Appointments” > “Locations” tab.
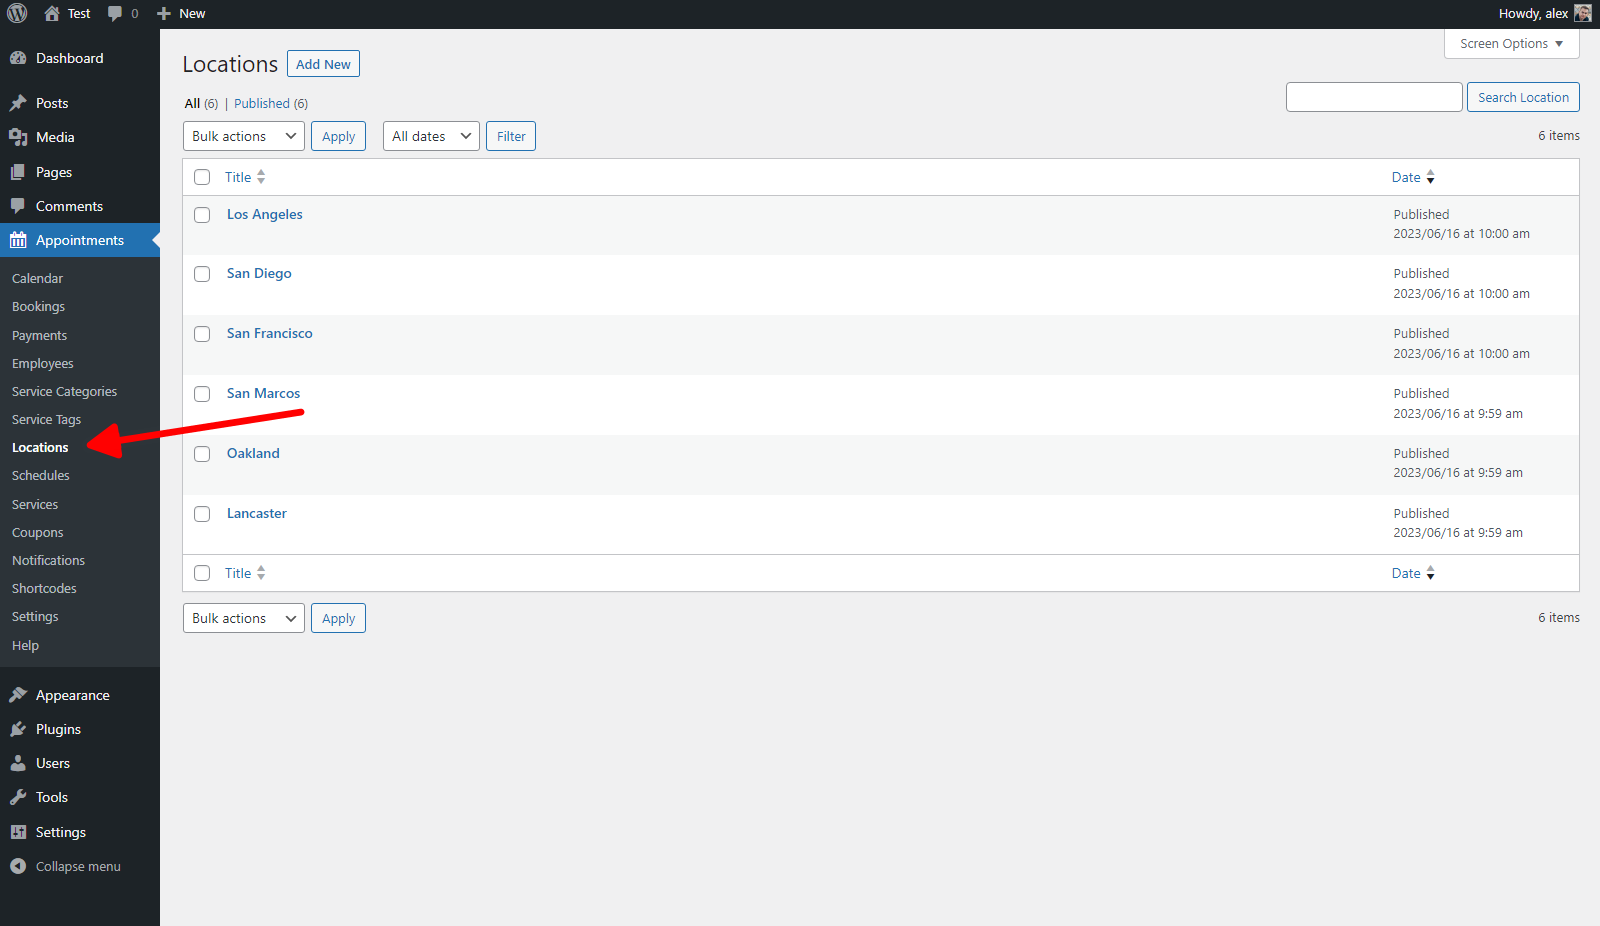
The total number of possible locations is unlimited, so your business growth prospects have no limits either.
How to Adjust Item Categories?
Another crucial section that merits our attention, as website owners, is “Service Categories” (also available in our rental plugin WordPress menu). You can either modify the existing ones or add new entries.
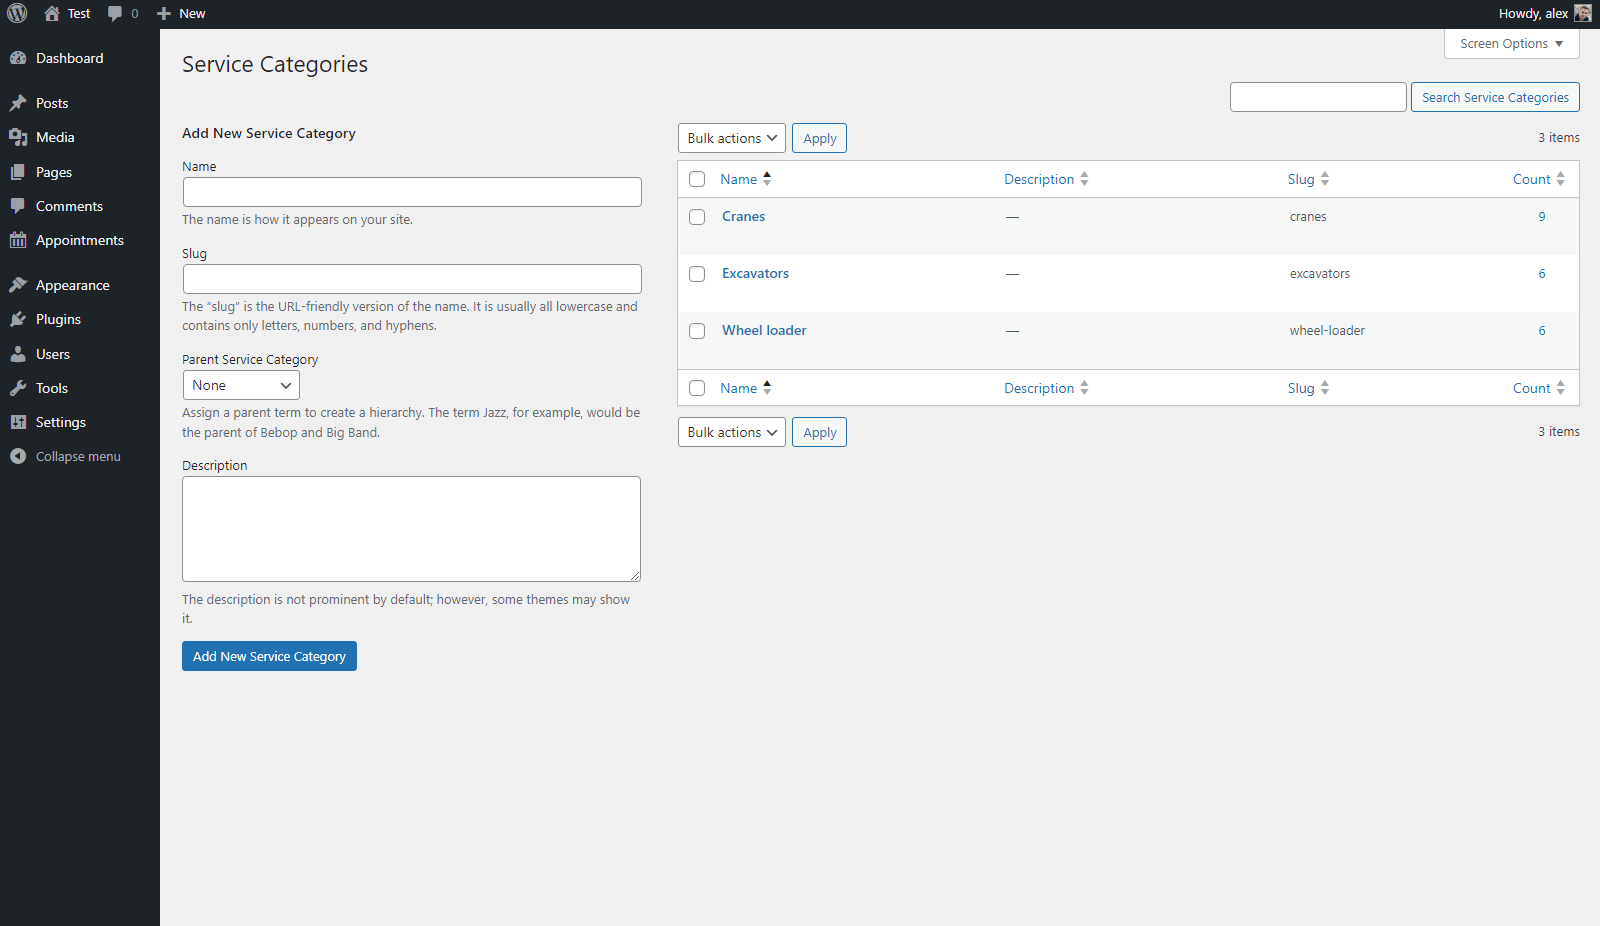
Assigning existing categories to “Services” is done in the same manner as for ordinary posts, using the Gutenberg editor for each item intended for rent.
By the way, you can even test the waters with the free version of our WordPress appointment scheduling plugin.
Supplementary Advice Regarding Equipment Booking Functionality
Although we have reviewed the capabilities of the WordPress equipment rental plugin in conjunction with the Lorenty template — specifically related to the adjustment of “Services” (or rental items in this case), “Employees”, “Schedules”, “Locations”, and “Categories” — there are also some other sections of this extension that you might want to modify.
For instance, you can manage “Tags” that can be assigned to “Services”. Additionally, you can create discount coupons in the corresponding section. It’s also possible to manage email notifications to send messages for events such as “Booking placed”, “Booking canceled”, “Payment completed”, or “Before/after appointment” messages addressed to the website admin, customer, or even custom contacts.
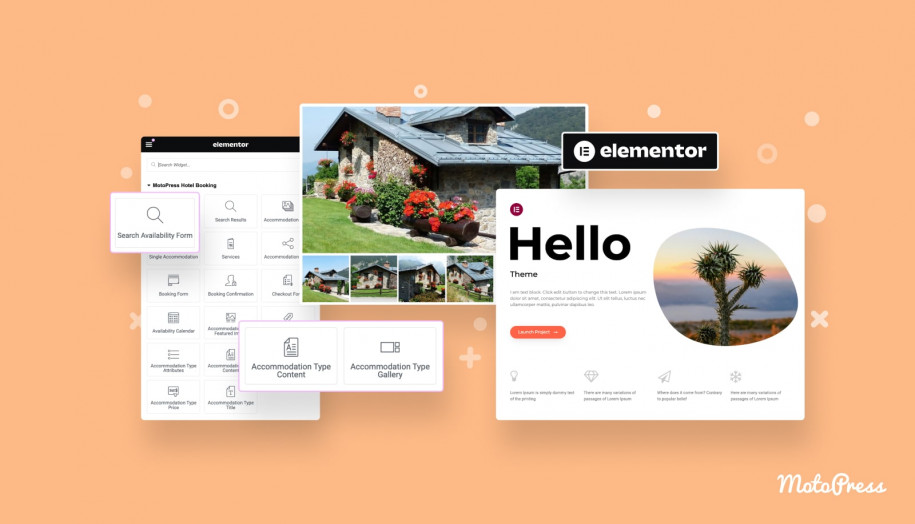
And last but not least, it is possible to create shortcodes to embed the appointment booking form, locations list, services list, and so on, wherever you want on your website, whether it’s a specific page, post, sidebar, header, or footer. Otherwise, if you don’t need shortcodes, you can use only blocks and widgets of your favorite builders, such as Elementor or Divi.
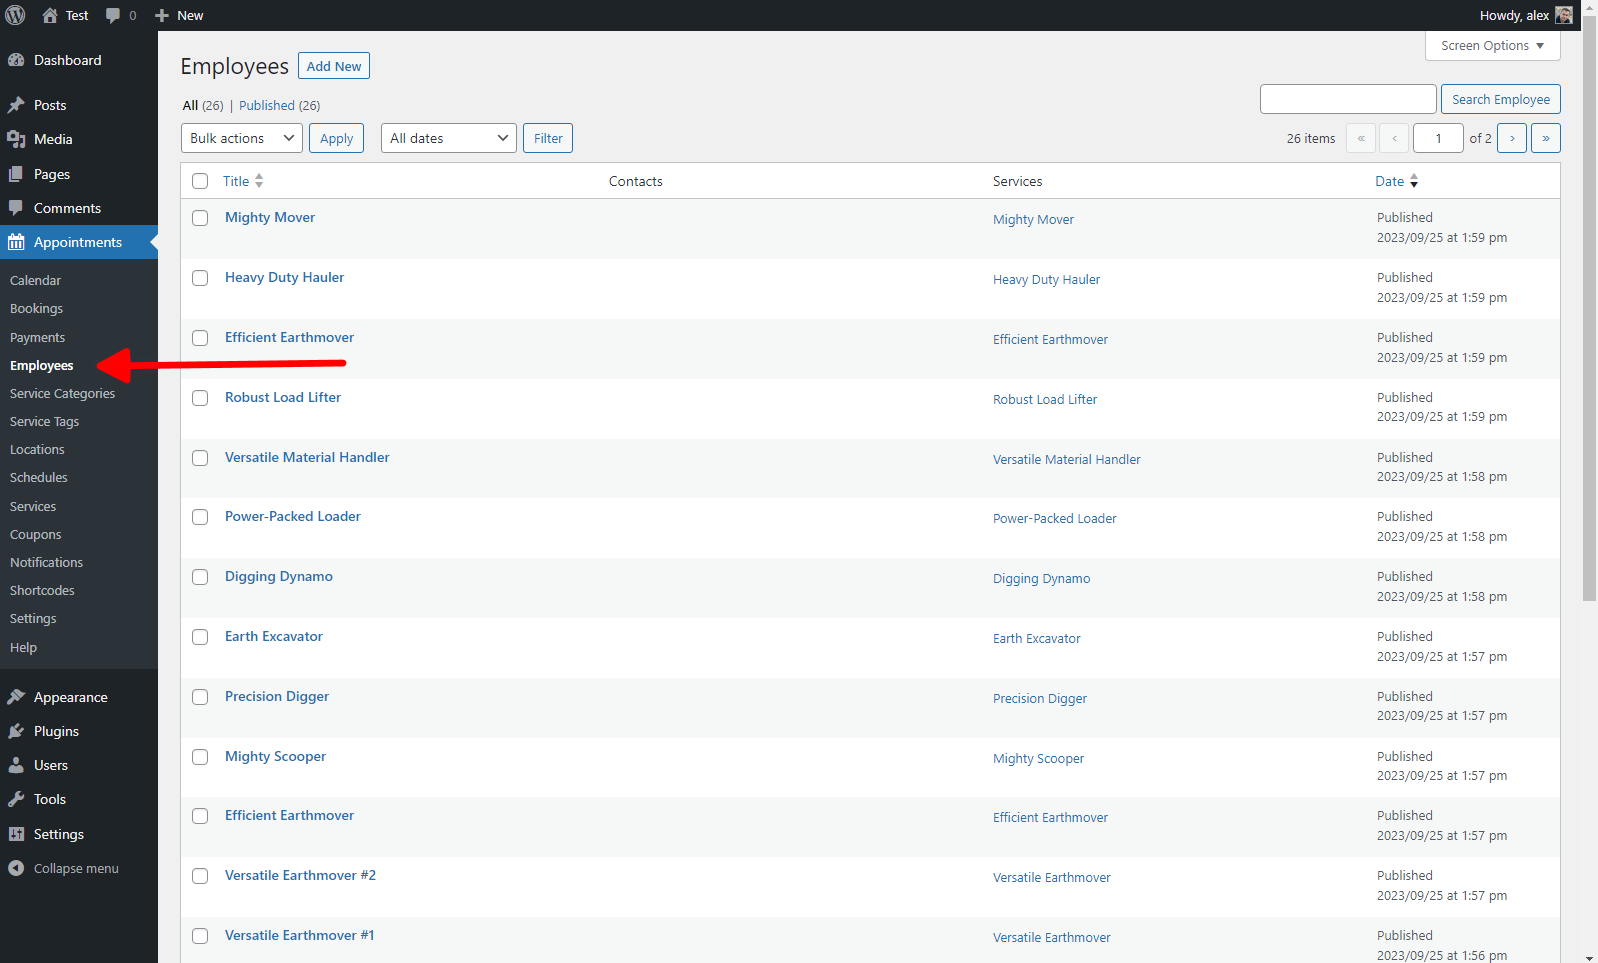
Another important aspect to mention is that the order in which you should modify appointment settings might differ from what is reflected in our overview. We organized our sections by importance, but under real-life conditions, it’s advisable to follow the order depicted in the plugin’s menu, starting with “Employees”:
The reason is that to manage and create “Services”, you must first create some constituent elements. This ensures that you can construct these “Services” using constituents like “Employees”, “Categories”, “Locations”, and so on. Until the basic elements are created, it will not be possible to create “Services”.
But if you are looking for more inventory-focused solution, consider the WordPress equipment rental plugin from MotoPress.
Equipment Rental Website: How to Customize the Design?
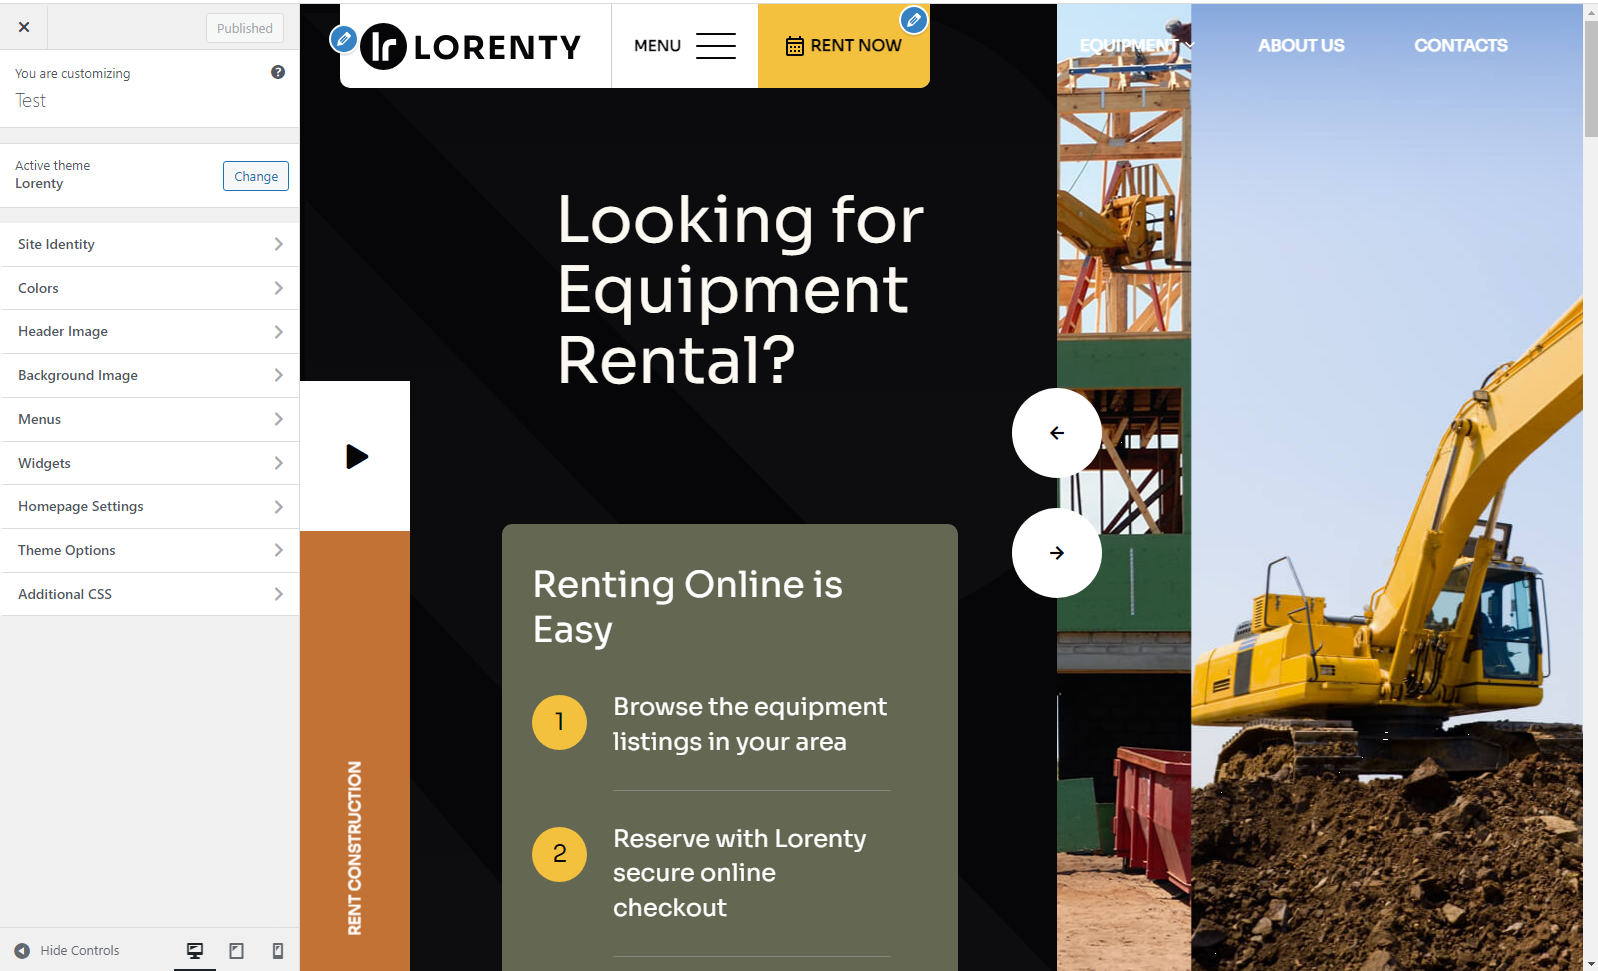
The general appearance adjustment can be performed via the familiar default WordPress customizer. As with any other template, here you can adjust the color scheme, change the default logo, manage widget areas, adjust custom theme settings, and so on. We advise you to check all the possible options by yourself:
Apart from general customization, it is possible to modify each page and blog post. By default, their design can be controlled via the Gutenberg editor, which is further enhanced by the Getwid plugin. This specialized extension comes pre-installed with Lorenty and provides over 35 additional Gutenberg blocks. These encompass, for example, unique photo and video displays, fluid motion graphics, promotional timers, and other useful components.
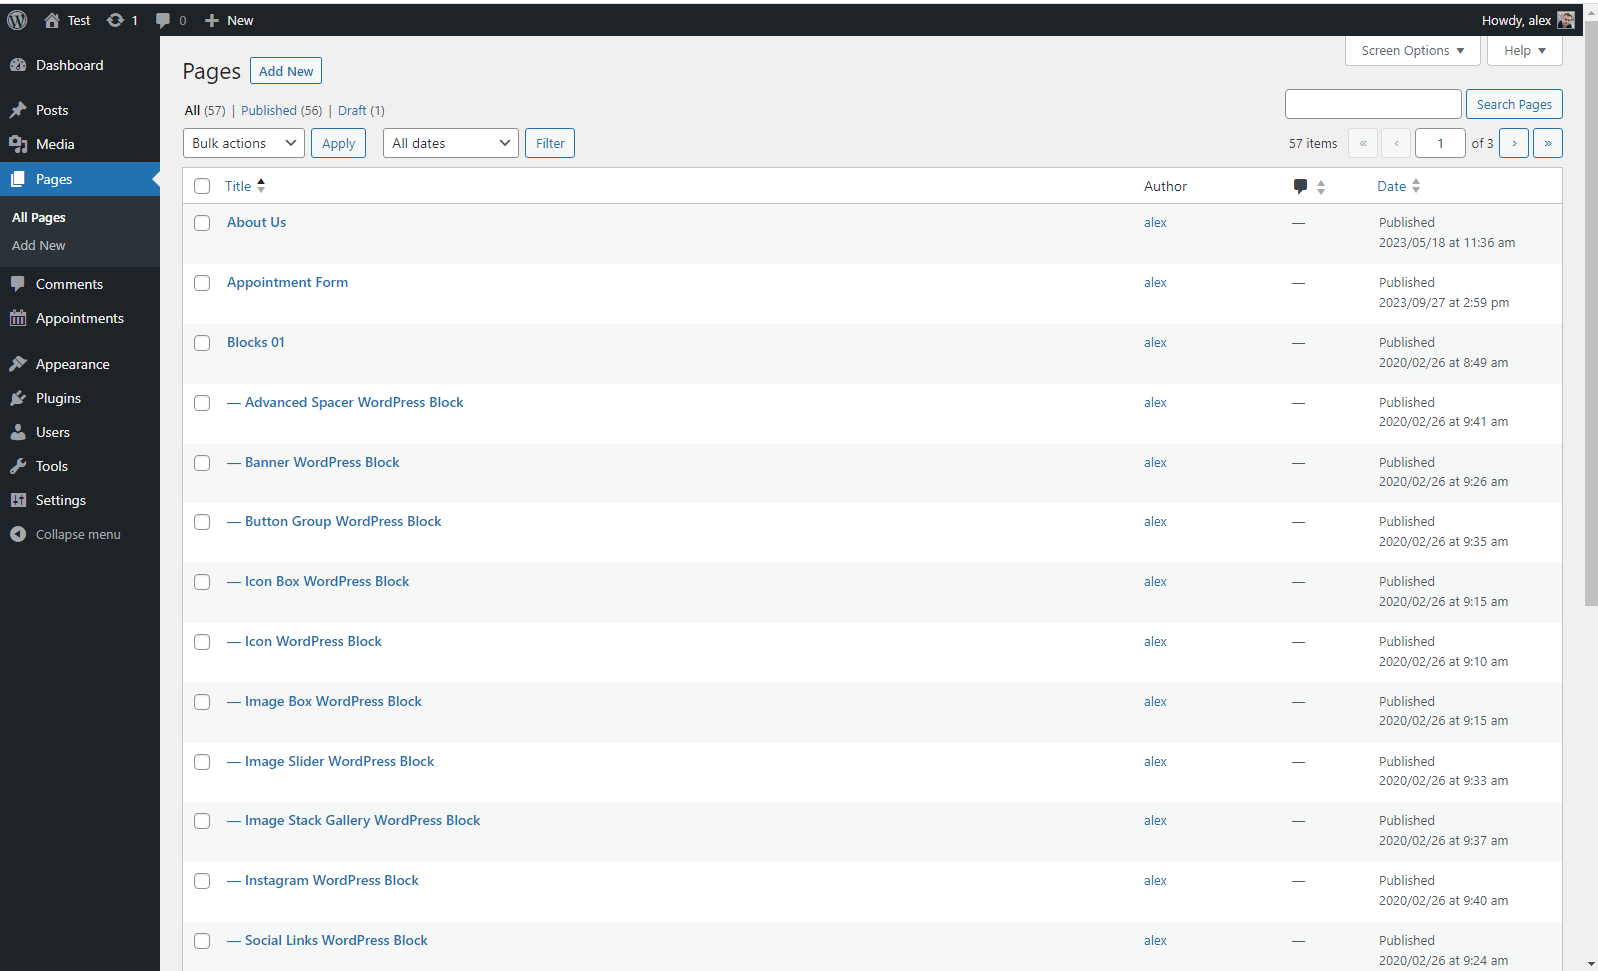
When you visit the “Pages” tab in the main WordPress dashboard, you can review all imported pages and adjust any of them:
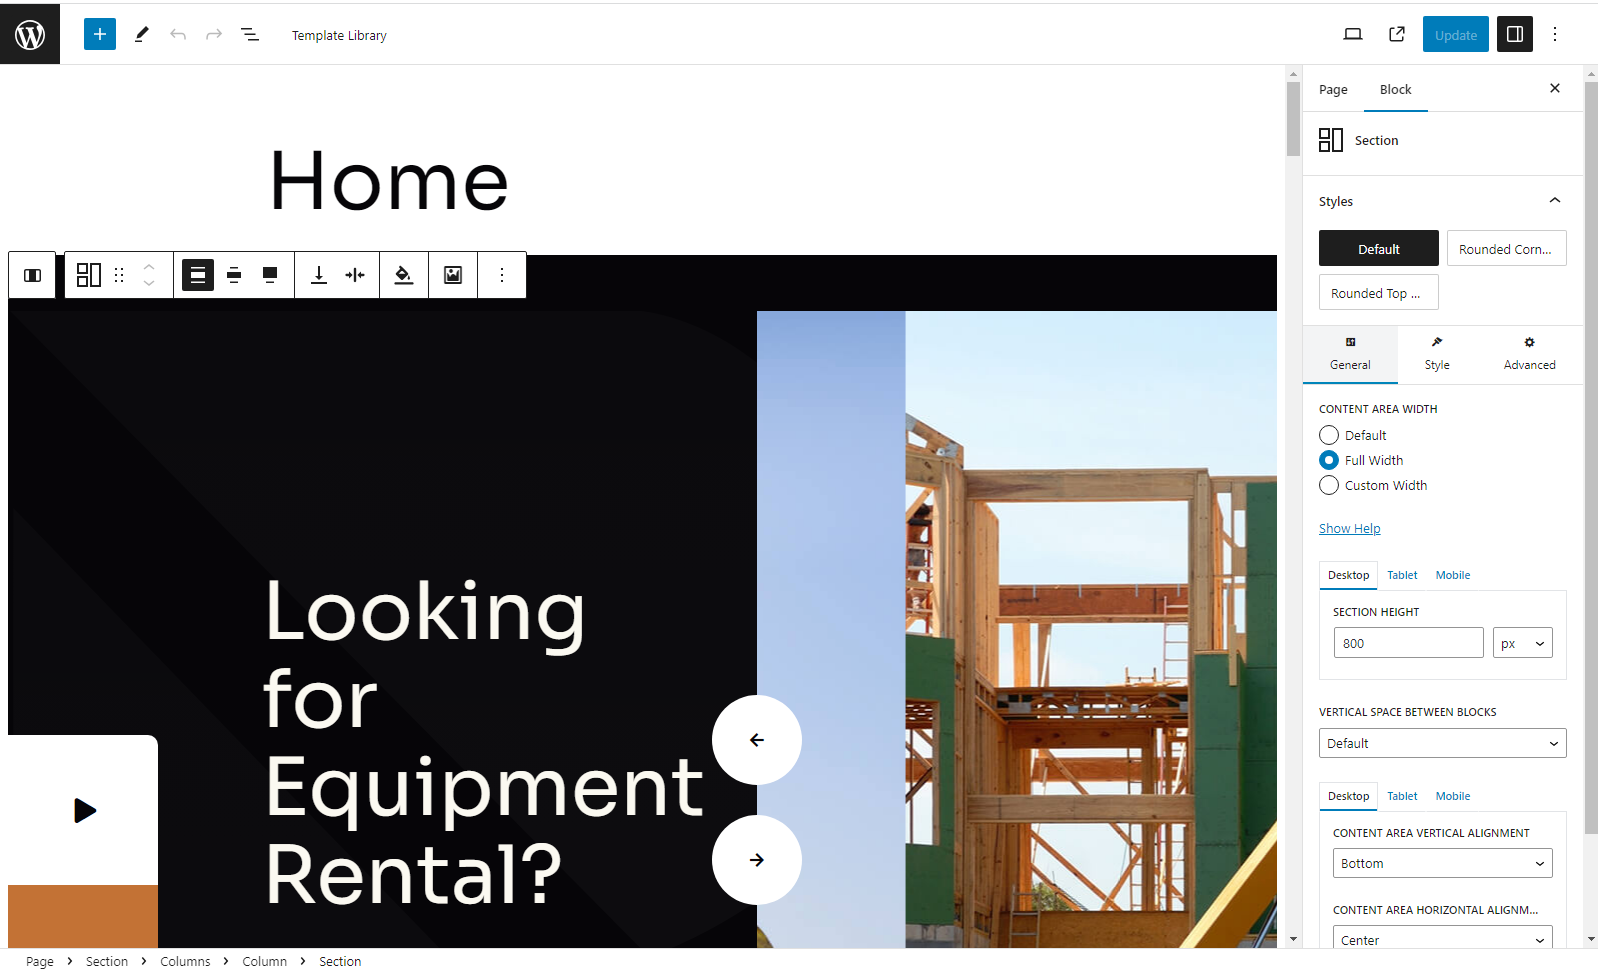
Let’s start editing the Home page. As you can see, everything is pretty straightforward: click on the necessary element, adjust its parameters, remove it completely, or add another element before or after it:
It’s worth mentioning that some entries in the list of pages are not actually pages. Instead, they are elements embedded in other pages, which is very convenient. By adjusting one such element, all changes will be reflected wherever this element is embedded. These entities are highlighted as “Blocks” and can also be adjusted via the Gutenberg editor:

Concluding Words
For those in need of creating an equipment rental website, there are several points to pay attention to. First and foremost, a proper website of this type should provide booking capabilities. These features allow customers to place orders for equipment rental, while you, as the website administrator, can handle these booking requests.
A second important aspect to consider is the appropriate design of the website and a wide range of appearance adjustment capabilities. The Lorenty template by MotoPress, which we used as an example, is specifically designed for renting out items such as equipment, bikes, boats, and even planes. It has all the crucial functionalities for this type of business.
Moreover, there are pre-designed starter kits that fit various sub-niches, and an equipment rental website is among them. Here are the key takeaways from the information above that are worth your attention:
- The Lorenty template provides extensive customization options, allowing website owners to adjust services, rental terms, schedules, locations, and item categories. It employs familiar tools like the Gutenberg editor, ensuring that even those new to website design can easily navigate and modify the website’s features.
- The Appointment Booking extension enhances the theme capabilities by allowing the creation of discount coupons, management of email notifications, integration of payment gateways (PayPal, Stripe, and more), and embedding various elements like booking forms and service lists.
- Lorenty comes with the Getwid plugin that extends the Gutenberg editor with over 35 additional blocks, allowing for unique and visually appealing designs.
Ultimately, if you are looking to establish an equipment rental website, the Lorenty template provides a holistic, user-friendly solution. Its blend of specialized design, customization options, and additional functionalities, important for this type of business, ensures that website owners can create a unique and efficient online presence with minimal hassle.