Add or Remove Checkout Fields in the Appointment Booking Form with the New Add-on!
Table of Contents
Ever wanted to collect more information about customers via the appointment booking form? Or, on the contrary, looking to remove all the current fields to enable customers to schedule appointments with the speed of light? Or basically want to mark any field as non-required? Now everything is possible!
You can completely transform the customer checkout experiences with the brand-new Checkout Fields add-on for the Appointment Booking plugin.
Whether you are operating a yoga studio and need to find out about the student level and goals, or want to personalize the travel experience by capturing a preferred guide language for the city tour booking, the add-on is what you need.
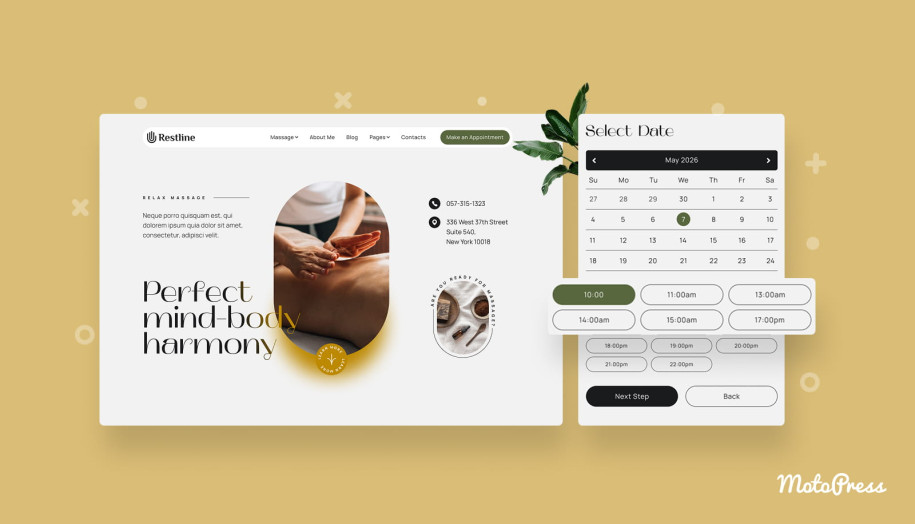
Without the checkout fields editor extension, the plugin’s booking form allows you to collect only basic customer details, such as a name, email address, phone number, and customer notes on the checkout step. What’s more, those are fixed, you can’t move them, rename, or delete.
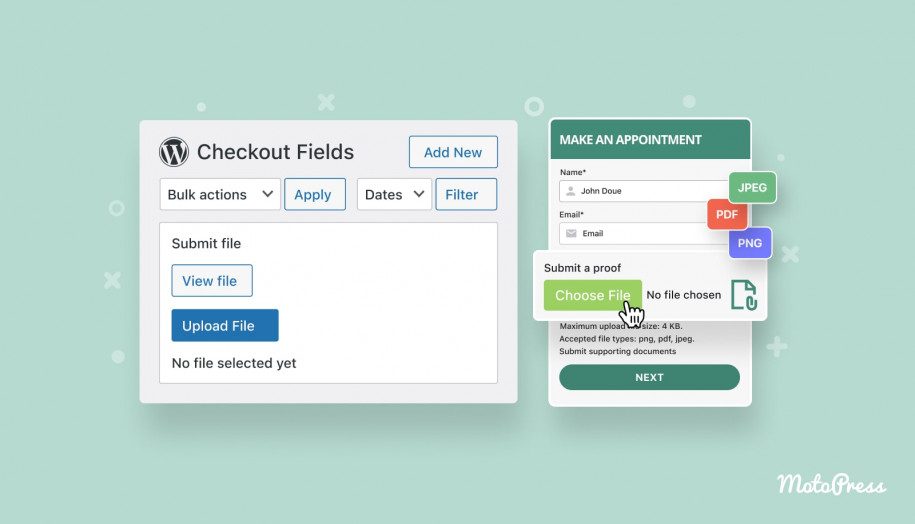
- Capture valuable customer data beyond contact details. With more dedicated fields, such as a checkbox, country, or heading, you can fully personalize the checkout step for your business needs.
- Enable quick bookings and payments. Make it super simple for customers without a need to fill in any fields. You can make any field non-required or completely delete chosen ones.
- Enjoy more customization flexibility. Change the order of the fields, customize placeholders, and make chosen fields non-required. You can even completely disable all the fields!
How to enable the add-on?
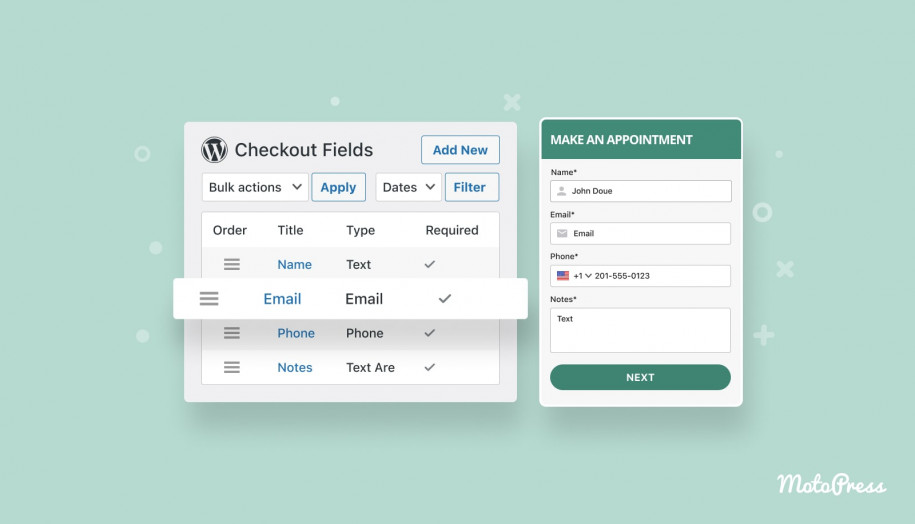
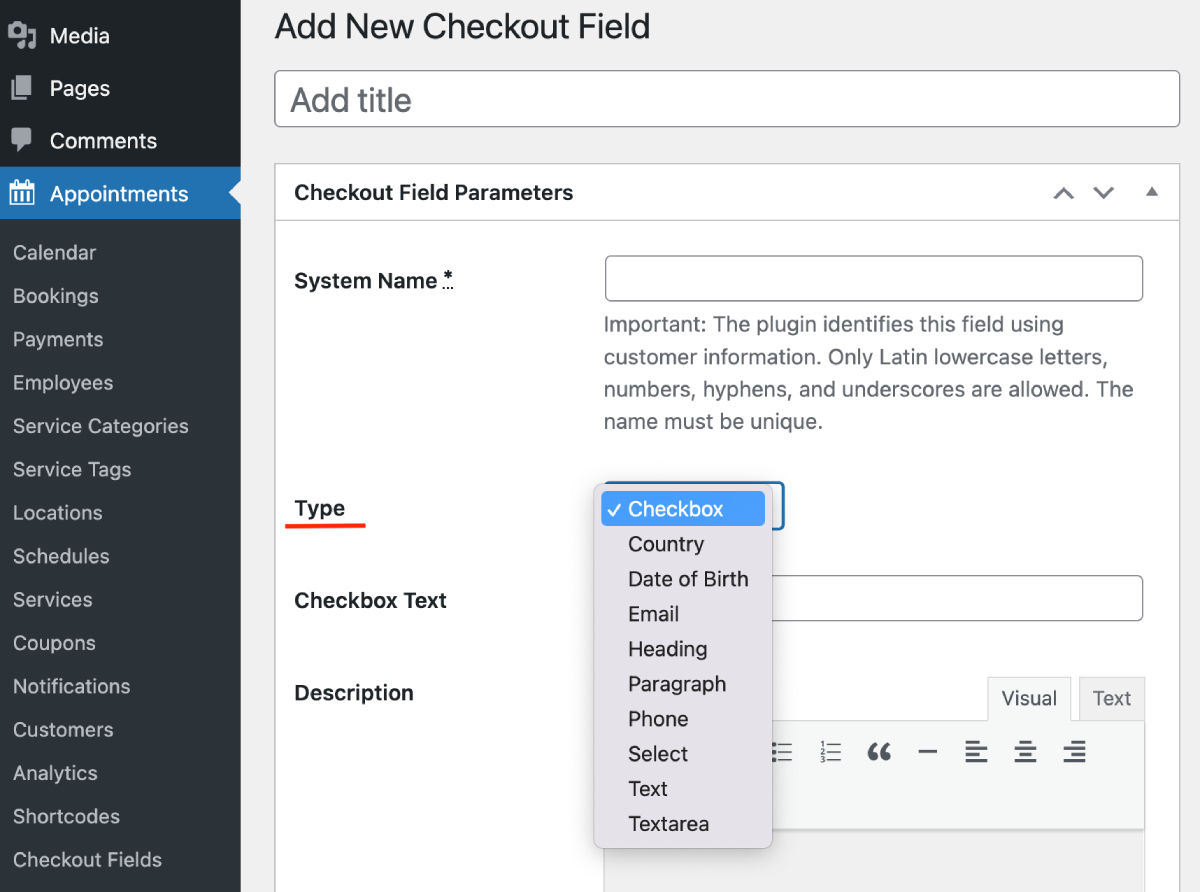
Purchase the add-on and then install the add-on as a regular plugin on your WordPress, then go to Appointments > Checkout Fields.
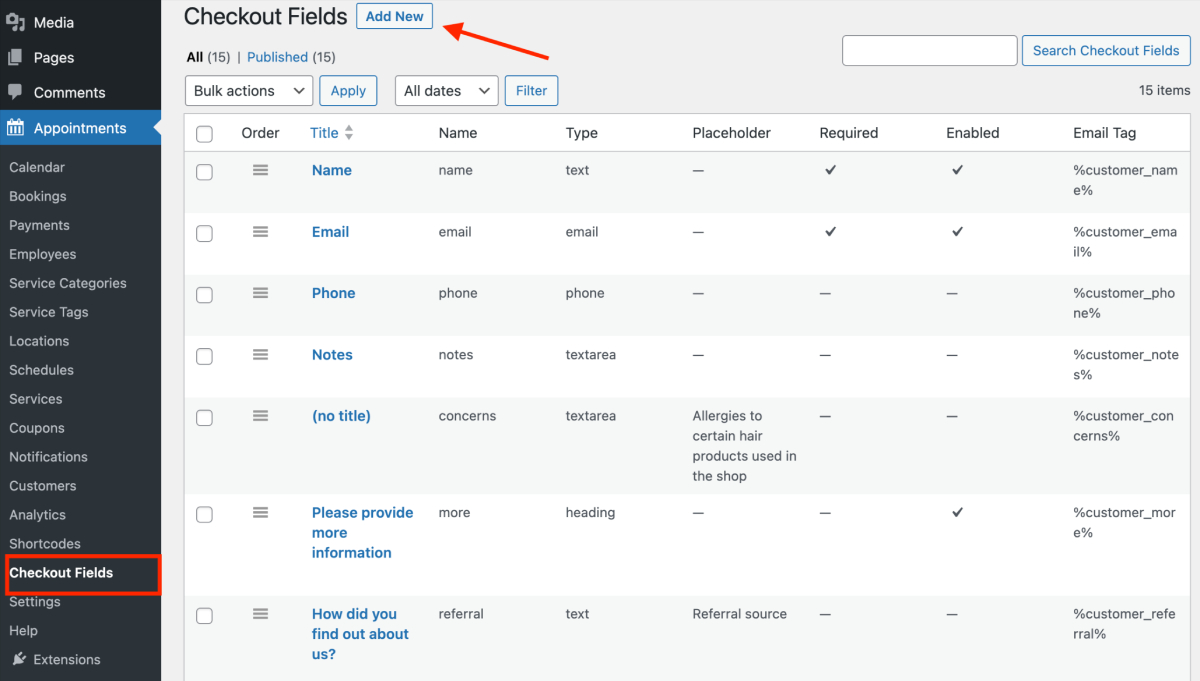
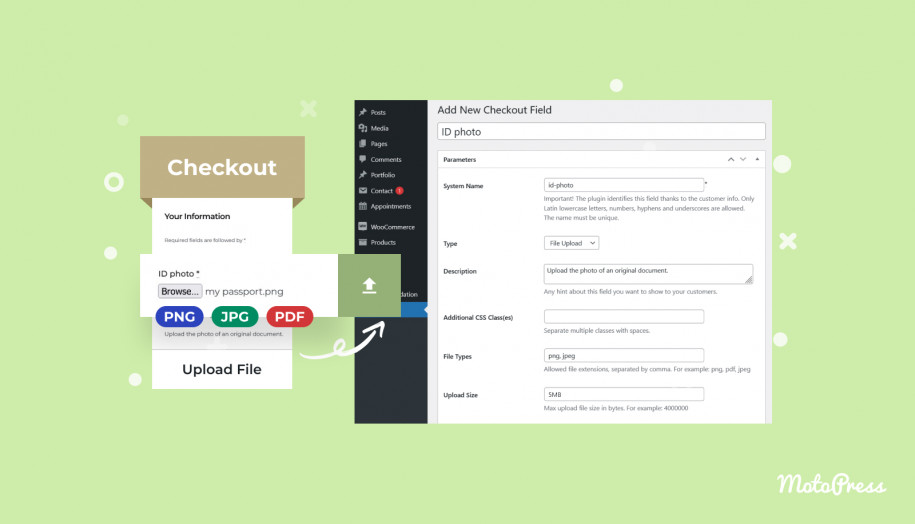
You will see a list of default fields that ship with every booking form generated by the Appointment Booking plugin. To add a new field, click ‘Add New’, select the field type, and fill in the required data depending on the field type.
How many new field types can you add with this checkout fields editor add-on?
We’ve added 10 more checkout field types that you can unlock with the Checkout Fields add-on.
To showcase them in the wild, let’s use our free barbershop WordPress theme that comes with the lite version of the MotoPress appointments scheduler plugin.

The checkout fields editor add-on comes with many field types:
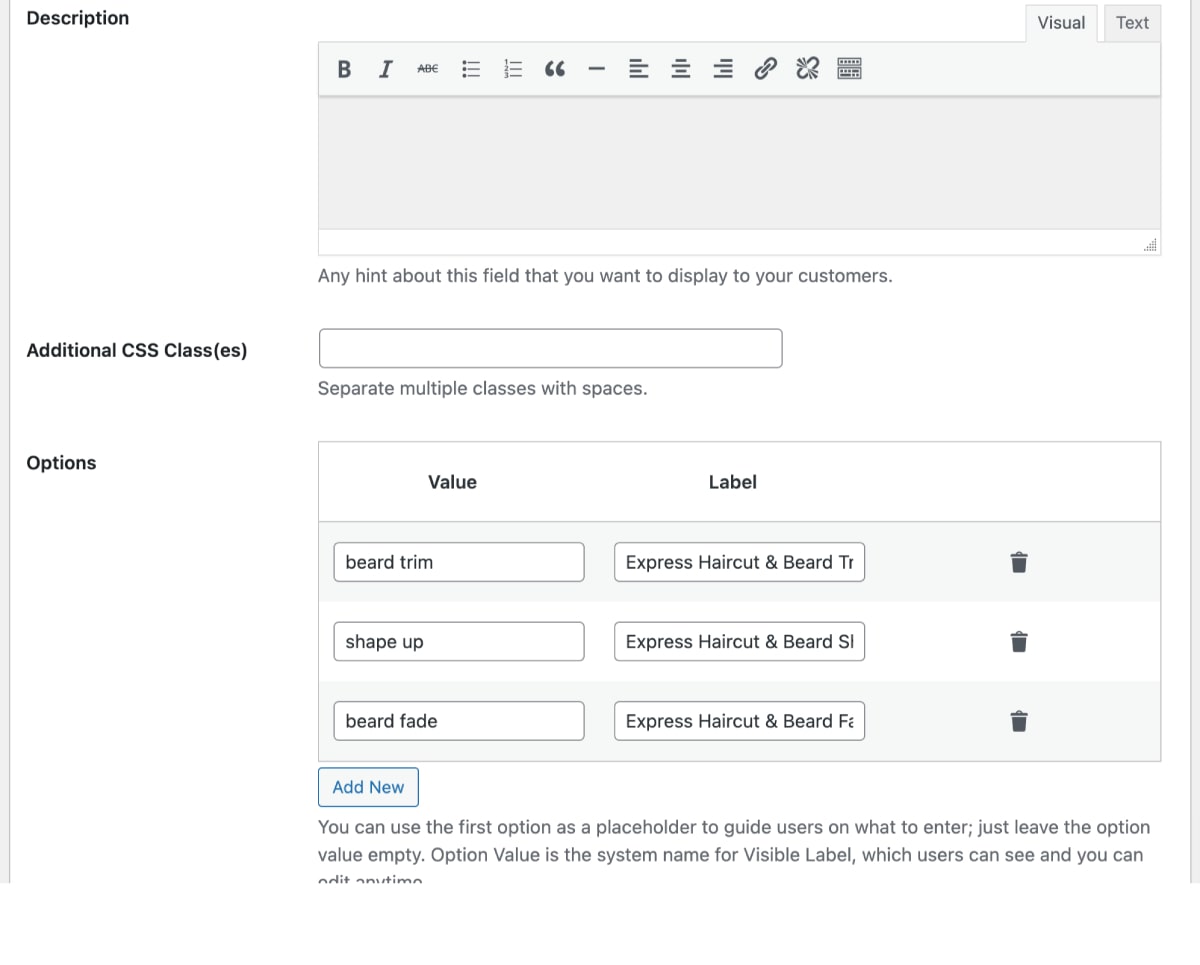
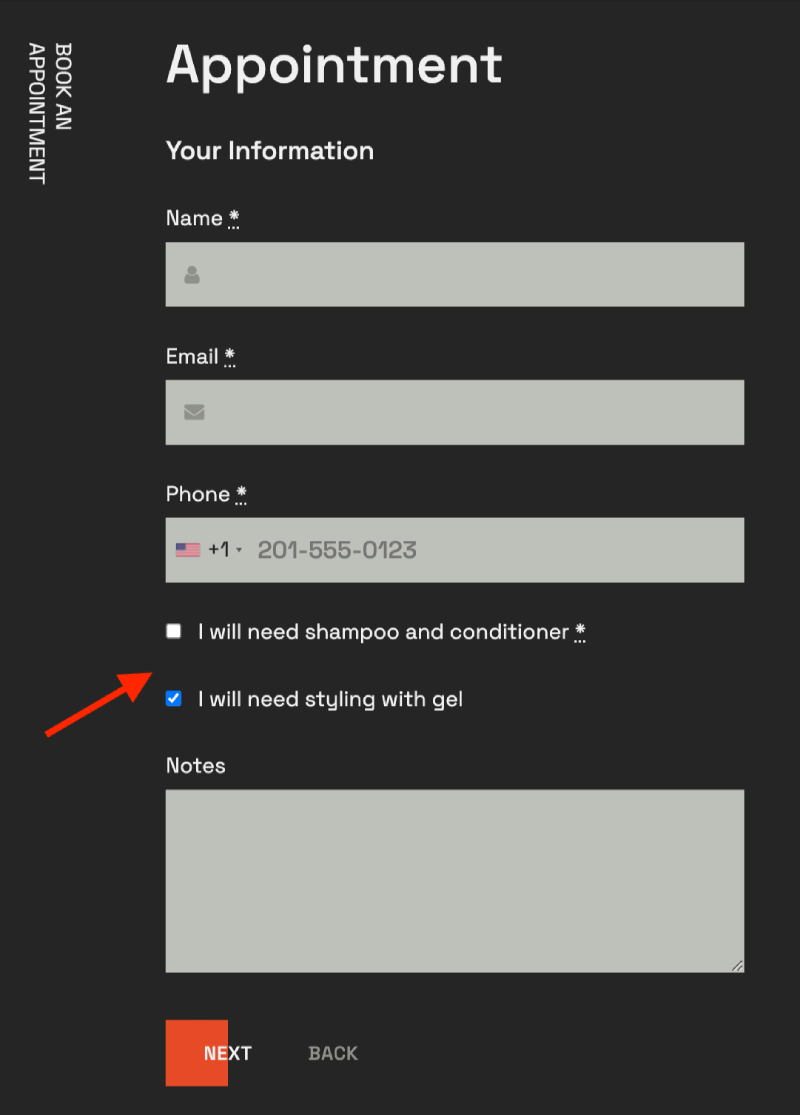
1. Checkbox field type
Give a choice of options with the multi-select feature. For every option, create a new field.
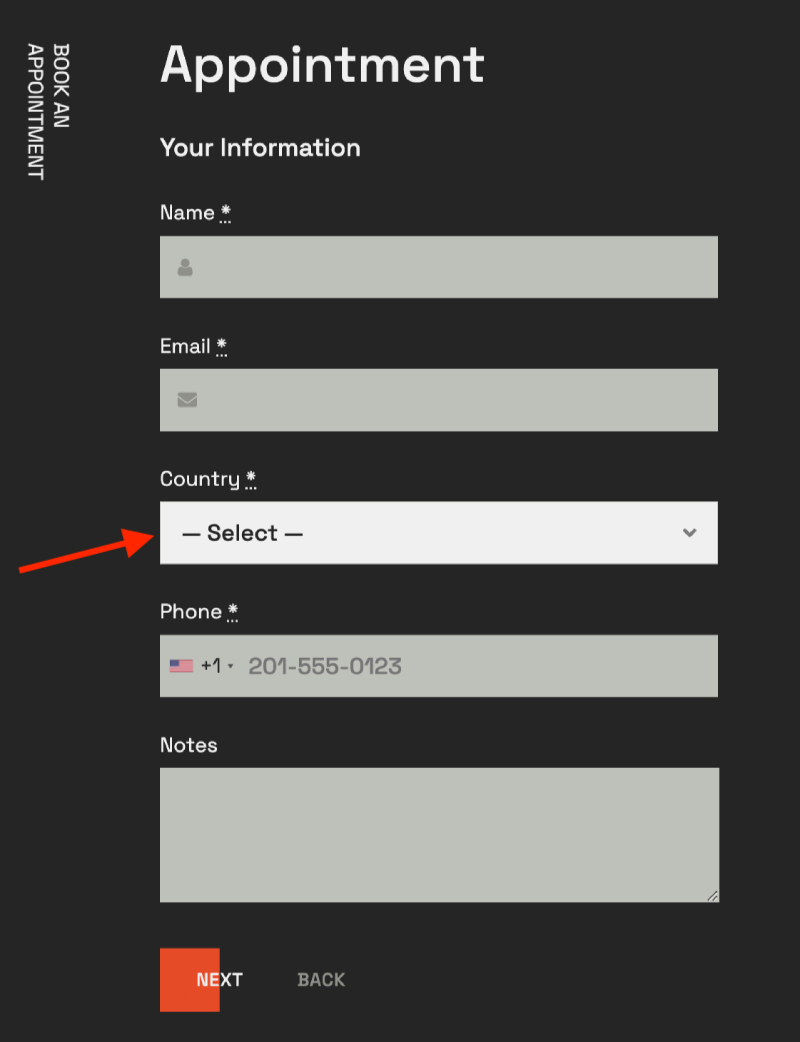
2. Country field type
A simple country selector.
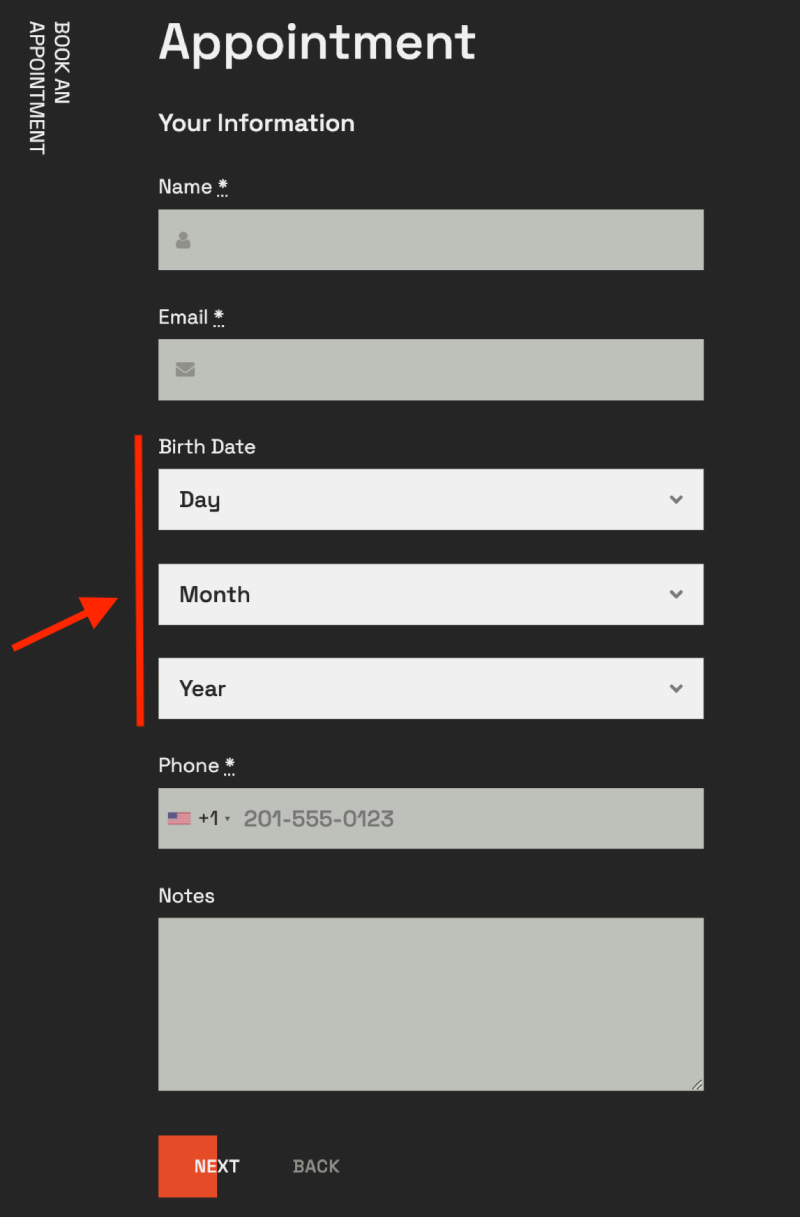
3. Date of birth field type
A three-field selector for the date, month, and year for choosing a birthdate.
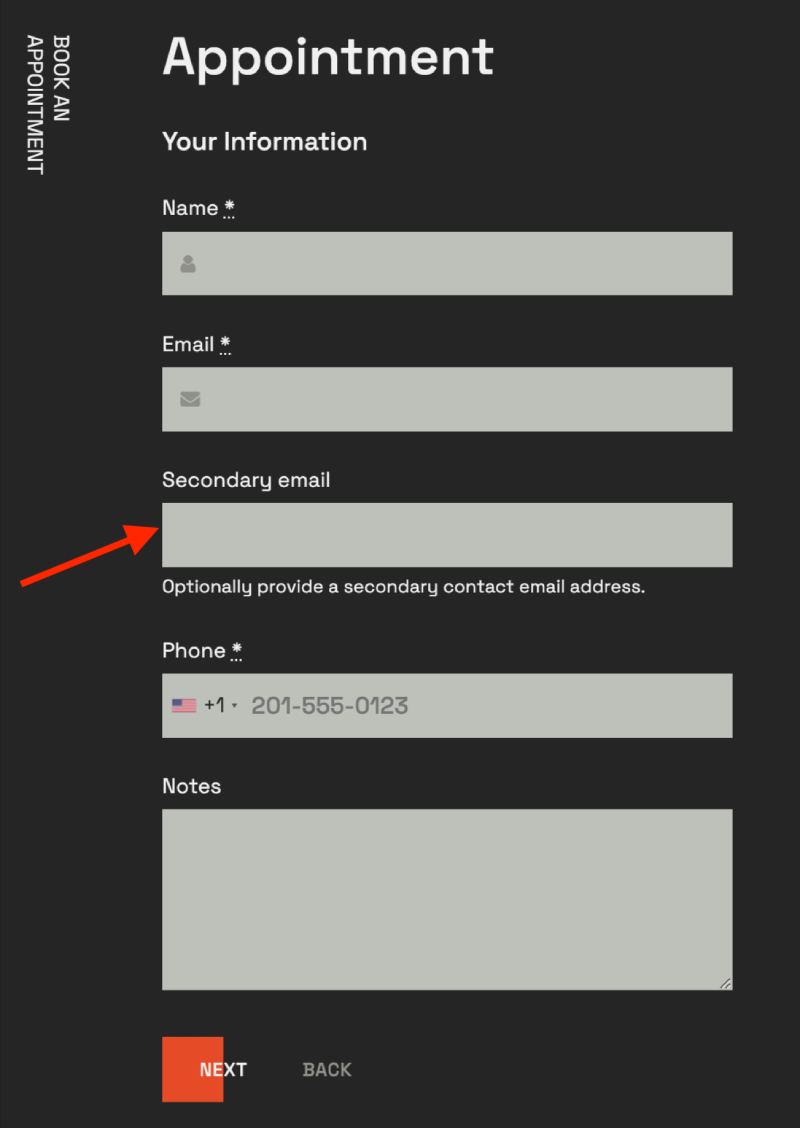
4. Email field
A standard email field if you need to ask for the secondary email/an email of another contact person.
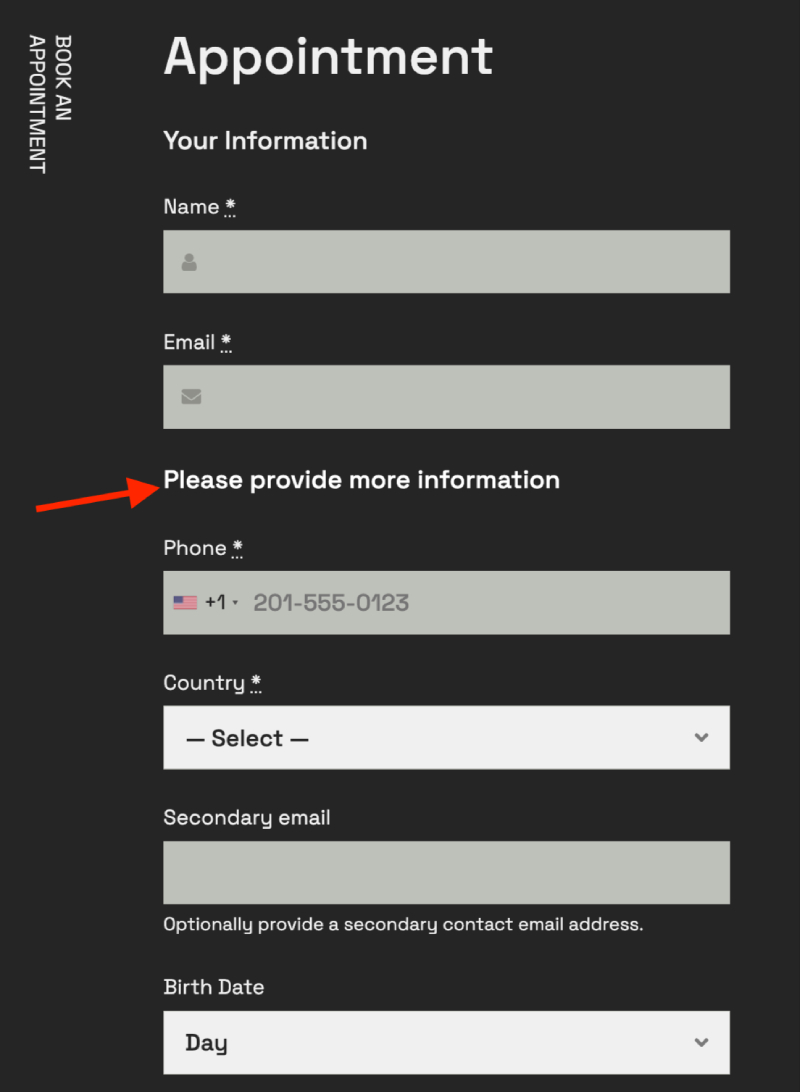
5. Heading field type
A basic heading field that can be used to, for example, break your checkout into individual semantic sections.
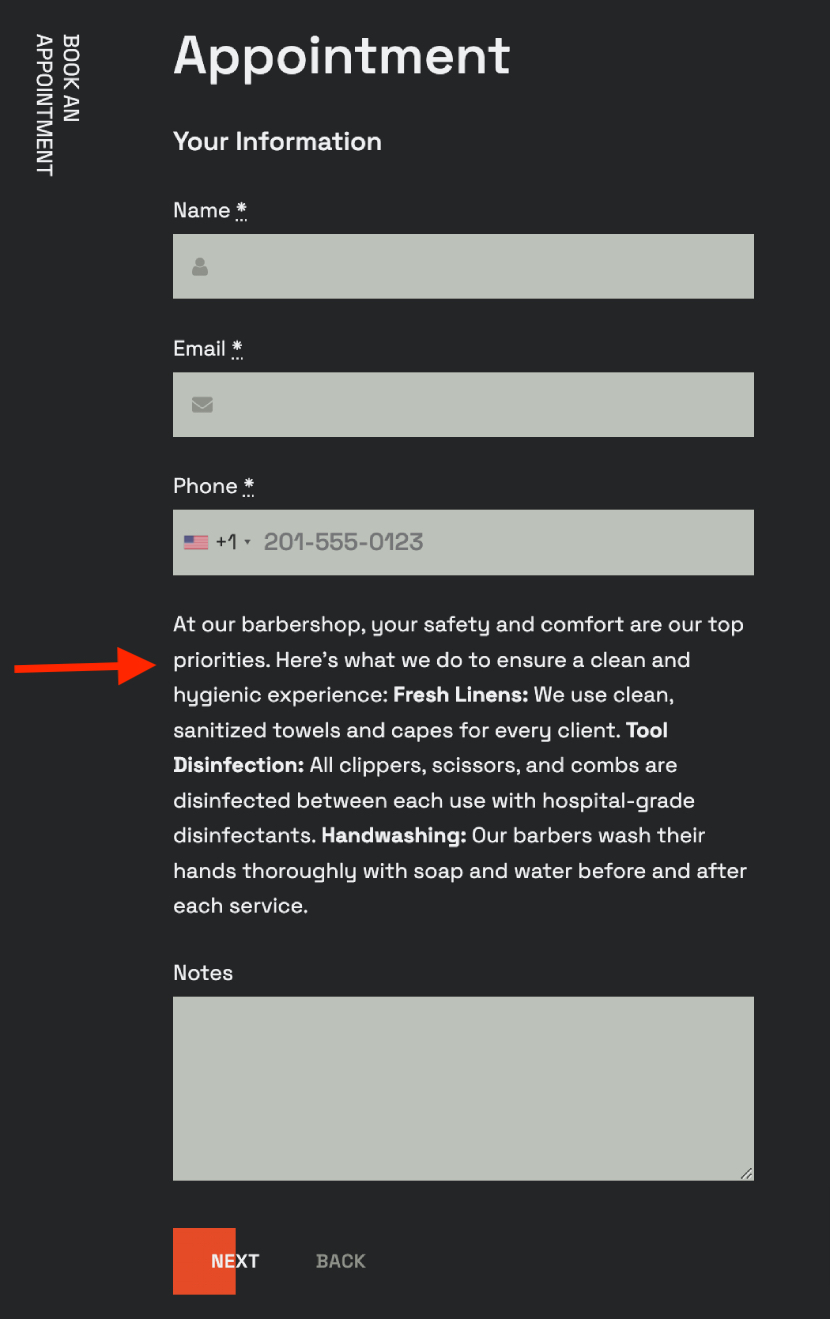
6. Paragraph field type
Use it if you want to display a somewhat longer text at checkout.
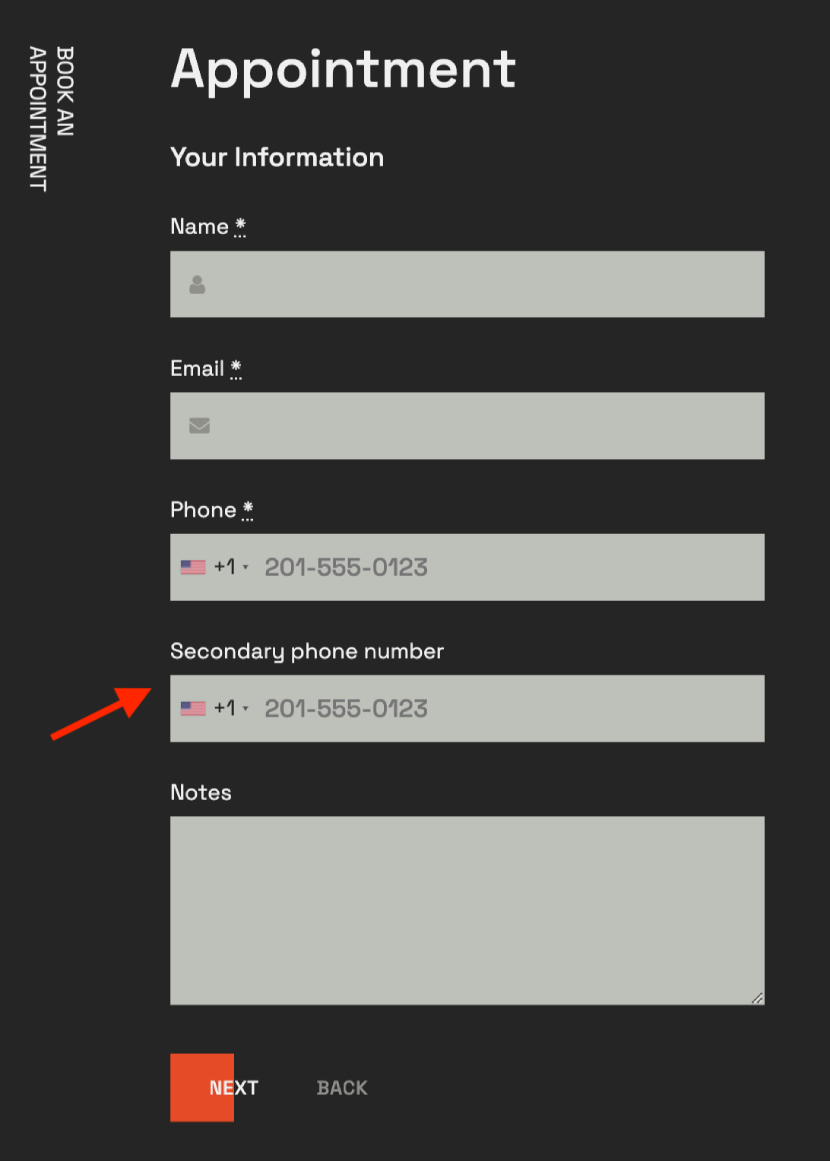
7. Phone field type
Ask for for a secondary phone number.
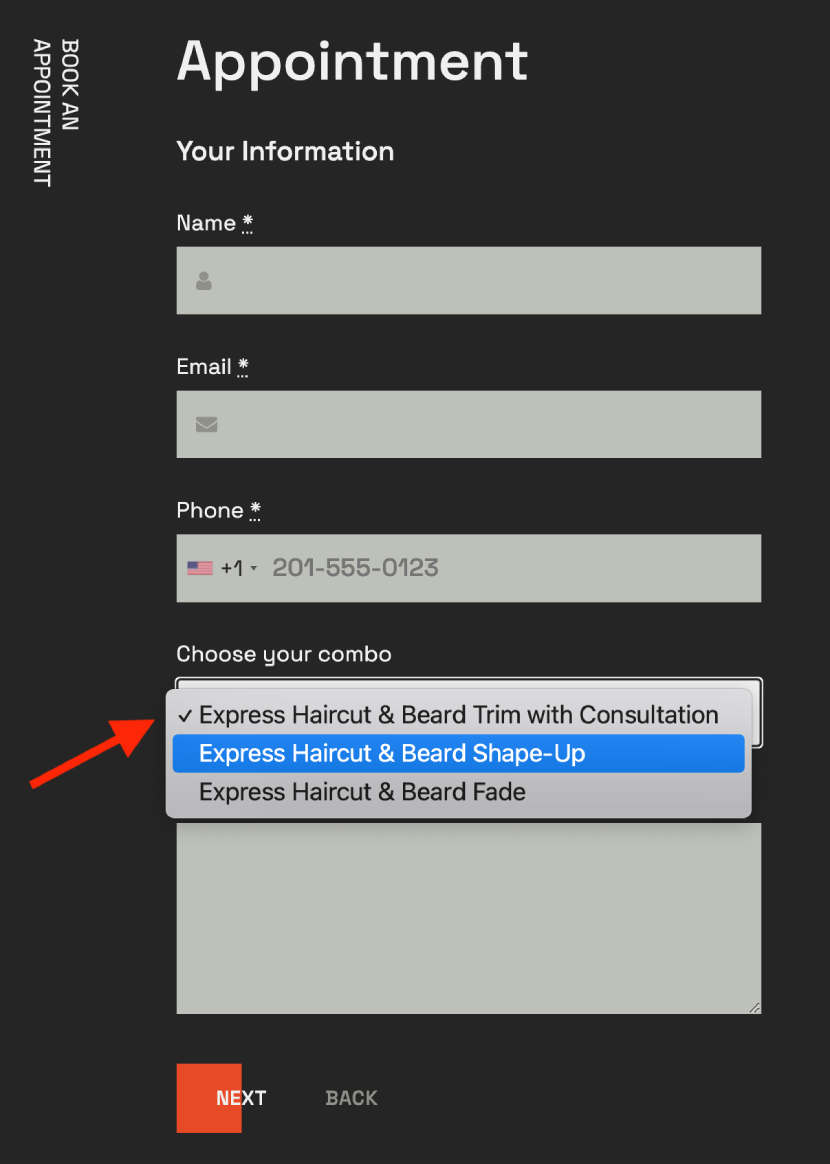
8. Select field type
Give customers a few options to choose from.
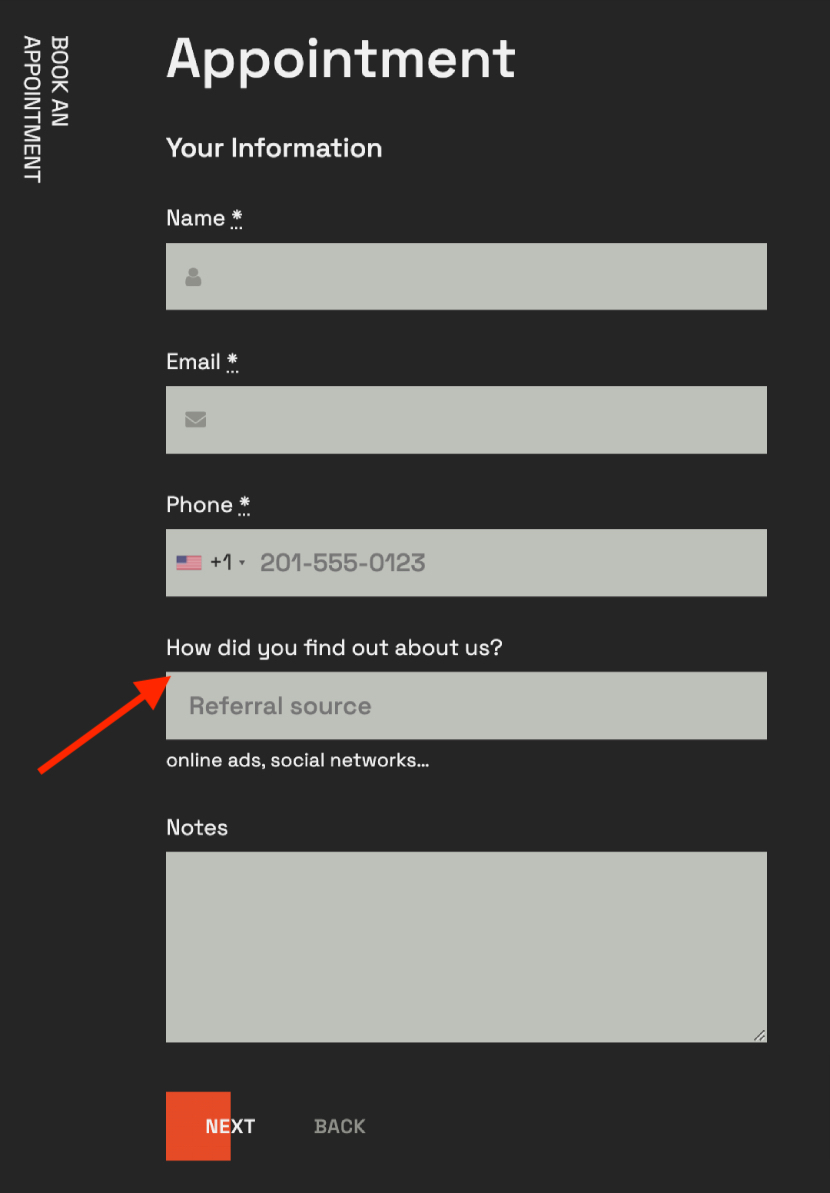
9. Text field type
Allow customers to add a short text.
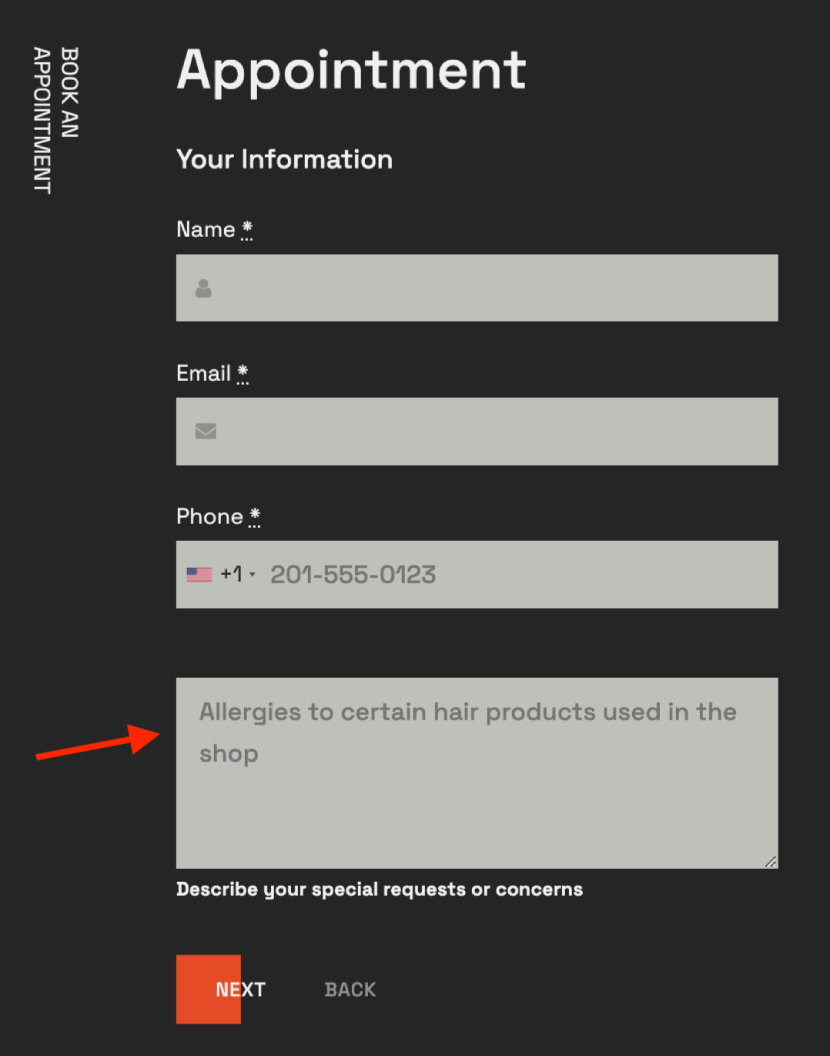
10. Textarea field type
Allow customers to add a longer answer.
Important notes:
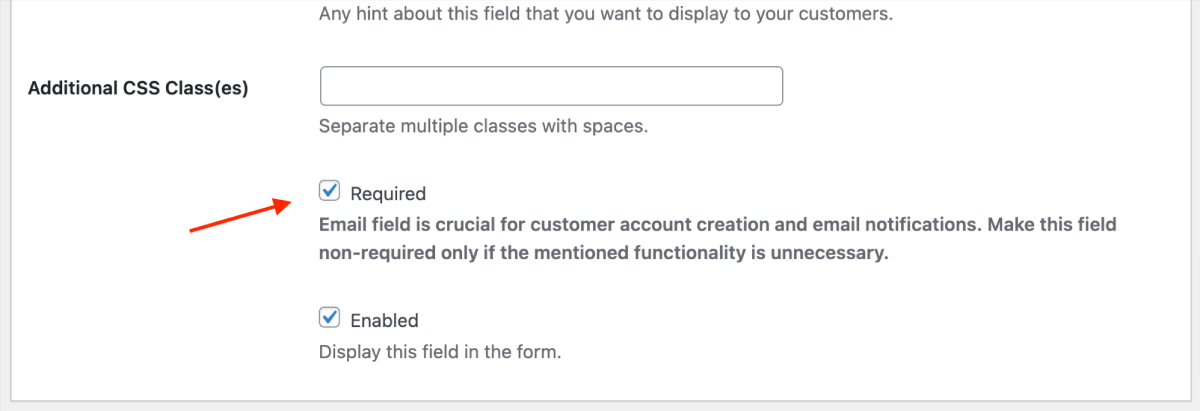
- The add-on allows you to make any field non-required, completely disabling even default fields in the booking form. This way, the customer can be redirected to the payment/confimration page right after choosing time in the availability calendar.
- You can’t disable the email field if you allow customer account registration on your website.
More options of the Checkout Fields add-on
So, how can you interact with the add-on further? There are a few more things you can do:
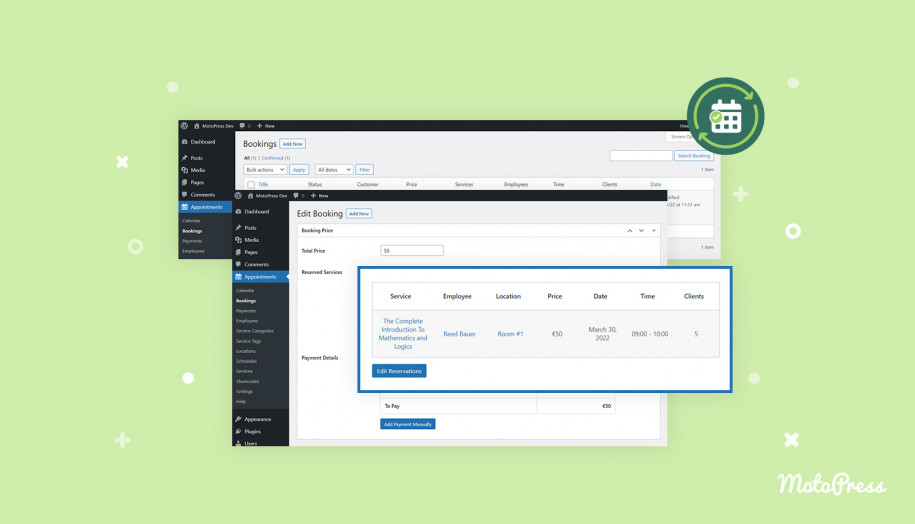
- You can edit the data collected via these fields when you open a booking that contains such data.

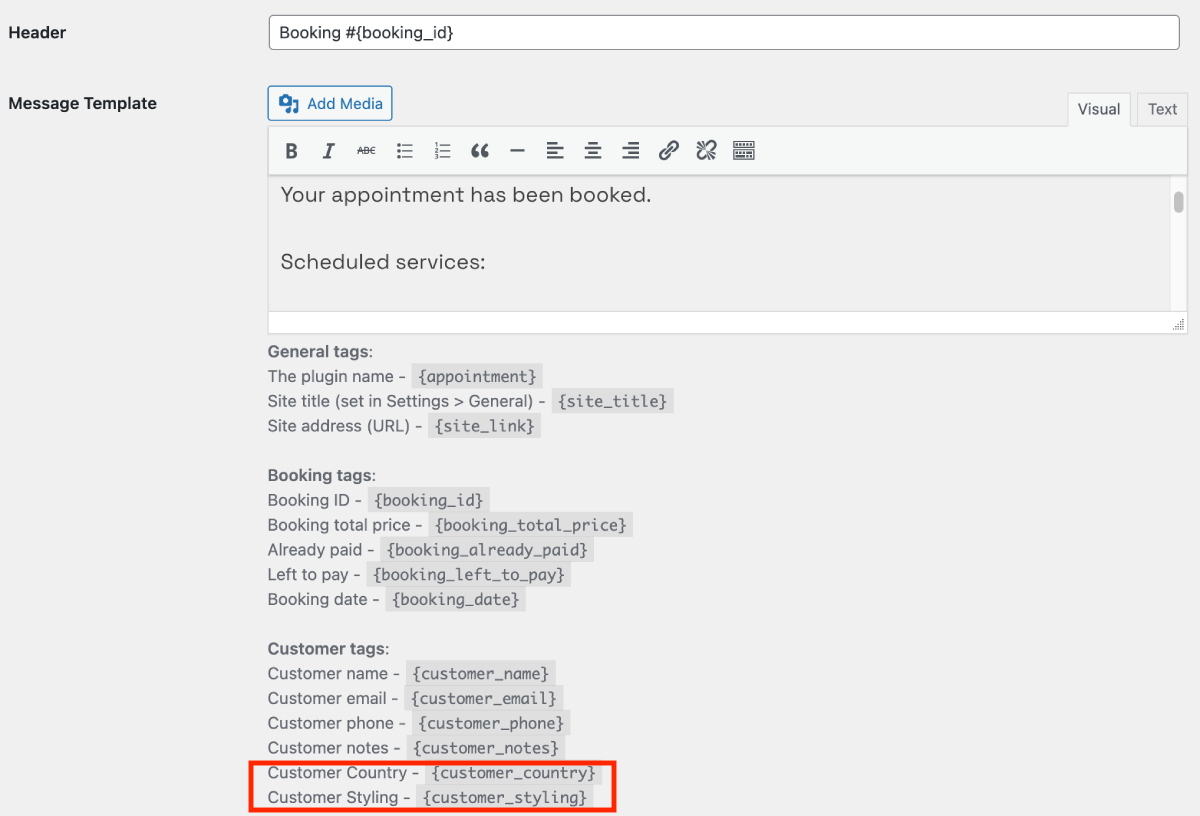
- You can send data collected via custom checkout fields in automated customer emails. For this, you need to go to the needed template (Appointments > Settings > Emails), then copy and paste the needed tags to the email. The tags are generated based on what fields you have.
- You can change the order of the fields at checkout by simply dragging and dropping the fields.
- You can add custom CSS to checkout fields.
So why use the Checkout Fields editor for Appointment Booking?
The brand-new Checkout Fields add-on empowers you to tailor your appointment booking for lightning-fast scheduling or capturing more valuable customer data that matter to your business.
You can easily collect additional customer information or simplify the booking process for customers, all with more flexibility for every field at checkout.
Whether you need to edit the current checkout step in your booking form or want to add new fields and completely re-create it, this extension to the Appointment Booking plugin is made to provide you with smooth experiences for such tasks!