How to Build Custom Dental Website in WordPress
Table of Contents
Looking to create a WordPress website with an online dentist appointment booking form? The good news is that you can build a custom dental website yourself or with minimum tech help.
The biggest hassle is installing the WordPress software on your preferred hosting, but after that, it’s a matter of clicks to create a site that can take dentist appointments.
I’m not trying to say that it’s a job to do overnight, there is a learning curve, but at least it’s not very hard to configure the settings and launch websites for dentists with almost no tech skills.
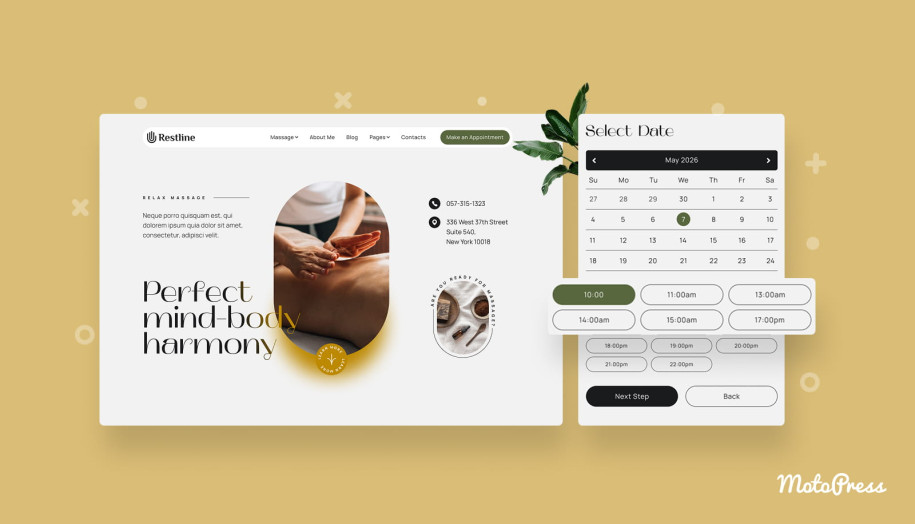
There are tons of guides on how to get started with the site creation – hopefully, you’ve already managed that part because in this guide we’re going to focus on making your online presence maximum relevant to the dental business, plus will take you through the steps of adding an online dentist booking widget to your site.
The WordPress solutions we’ll be using in this post:
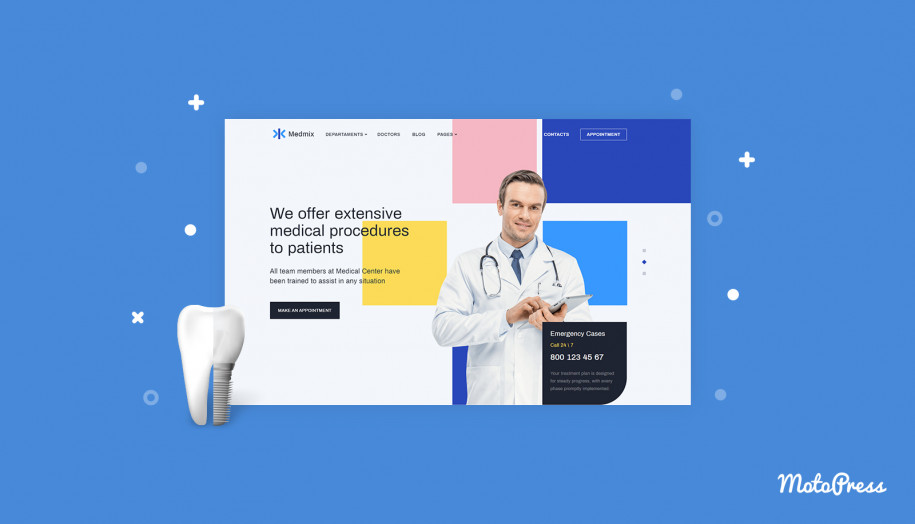
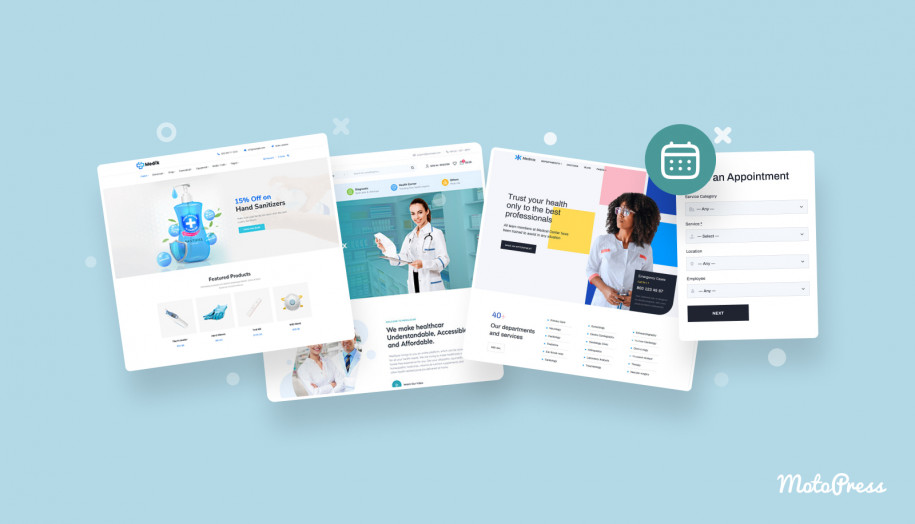
- The Medmix multipurpose clinic WordPress theme – this ready-to-go WordPress design is suitable for different types of clinics so it’s unlikely you’ll need to perform any complicated design tweaks to make it suitable for a dental clinic. The theme can be customized in the visual editors manually.
- The Appointment Booking plugin is packed with the Medmix theme (means you don’t need to purchase it separately) and it’s designed to help you easily set up a dental booking system. If you want to go with any other dedicated WordPress clinic theme, this appointment plugin can also be used together with any theme to power appointments on the websites for dentists.
- Elementor and the Stratum Widgets addon for Elementor – are the theme customization tools. The Medmix is packaged with the premium version of Stratum so it’s another good news, you’ll get access to many premium content widgets for free.
*The theme is free for all MotoPress Club members.
So let’s see what is the best way to start with the custom dental website using Medmix.
Install the Medmix theme for a dental website on your WordPress
Once you’ve purchased Medmix, install a .zip package with the theme just as you would normally do with any other theme or plugin – the easiest way to do that is via the theme uploader on WP dashboard > Appearance > Themes > Add New.
Having installed the theme, you’ll be prompted with the message asking you to install and activate the required pieces of functionality – the plugins we’ve just listed above, plus a few extra helpful theme utilities. Make sure to install and activate them too.
Next, if you want your future website to look as professional and sleek as in the demo, make sure to import the sample design data to your site by going to Appearance > Import Demo Data > click on the Import Demo Data button and wait for the process to complete.
Once it’s done, visit your live site – it should already look good!
Then you can proceed with either site edits, e.g. adding your contact information, opening hours, services, doctors, etc. or configure the booking system right away.
Let’s first take a quick glance at what you can add and edit out of the box on your site.
Customize your dental site identity and pages
There are a few locations where you can start editing your dentist WordPress site:
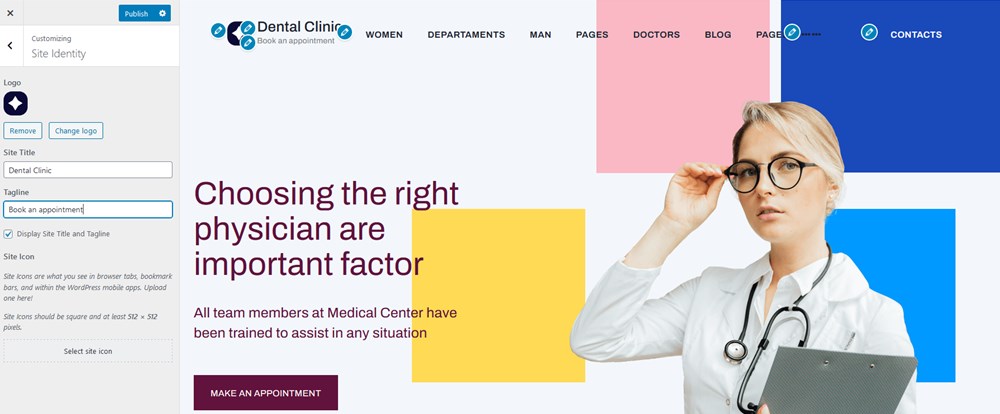
- Go to WordPress Customizer for the global site edits, they’ll be applied across the entire site. For example, here you can edit the site title, upload your logo, change colors, add widgets to the footer section, customize the header navigation menu:
- Open any page via Pages on your dashboard and start editing the visual blocks, whether it’s a list of departments, services, certificates or any other information.
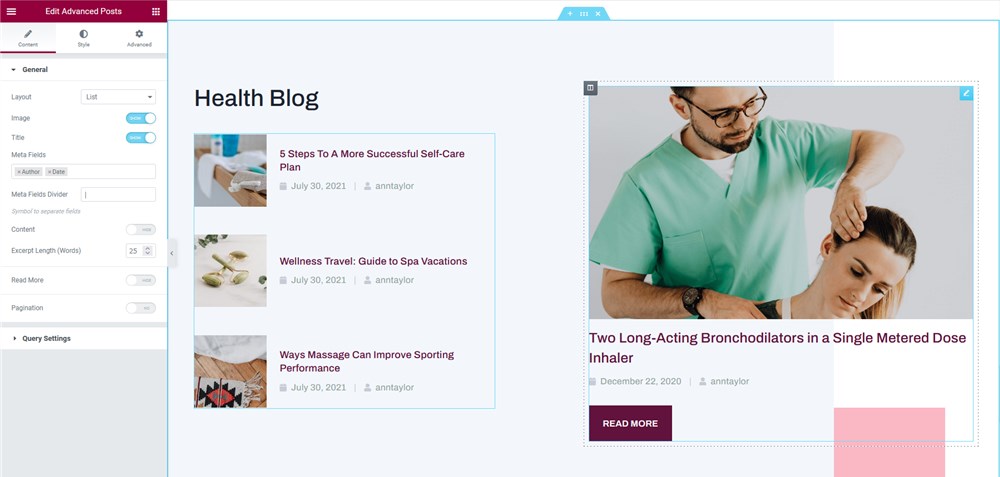
There are tons of ready-made Medmix blocks you can just fill in with your text, images and other information. It’s easy to rebuild them in the Elementor editor:
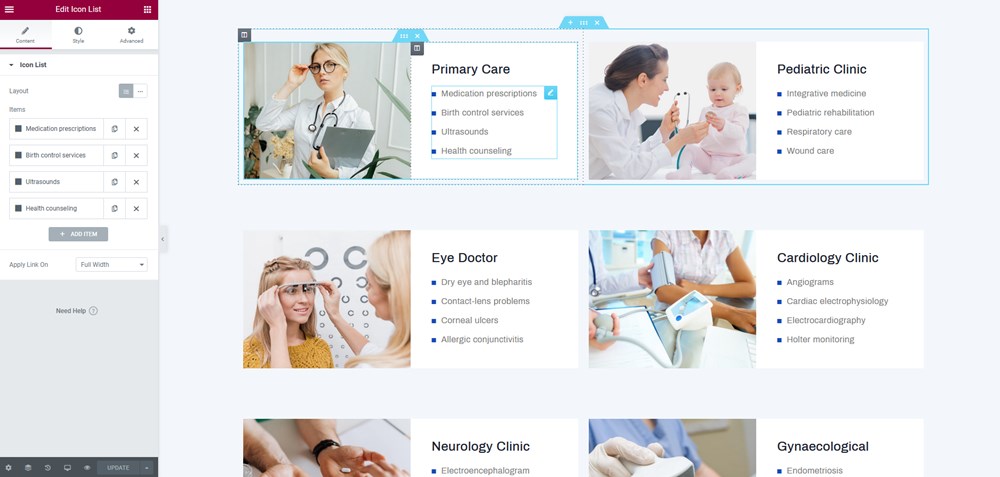
You can also add pages from scratch and add widgets in Elementor. Feel free to optimize general clinic topics to the dental thematic blocks:
- Optimize the navigation menu. If you operate a huge clinic or a chain of ones, you might want to consider creating a more diverse menu in Elmenentor with the Stratum Mega Menu widget.
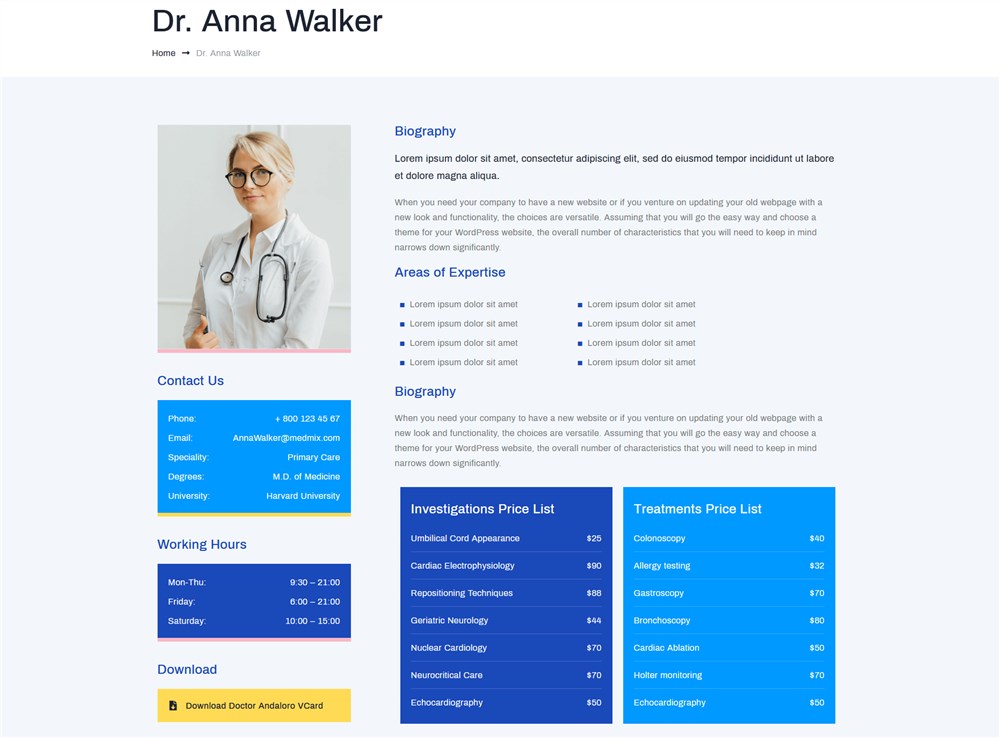
- Build individual dentist profiles where you can include different systemized information.
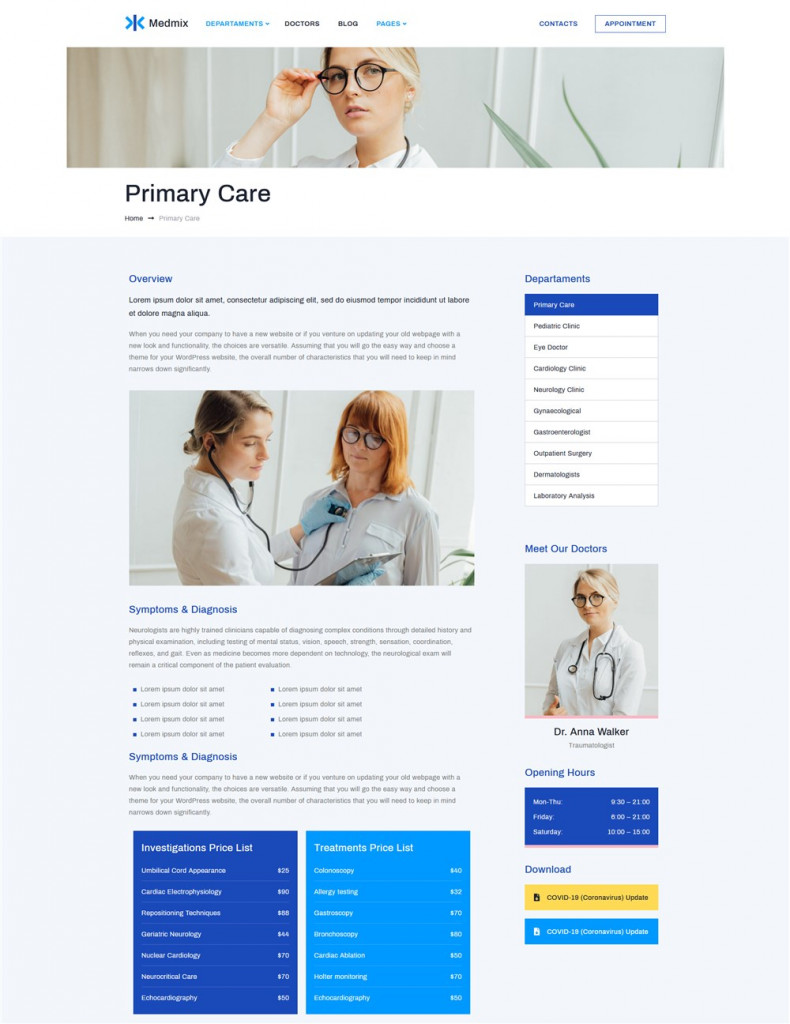
- Build department pages.
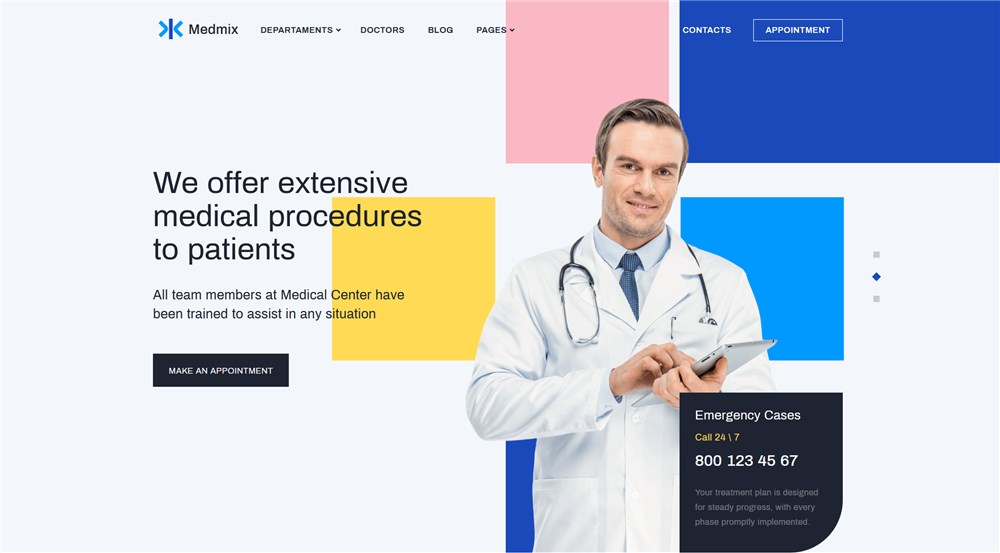
- You can feature the most valuable call-to-actions in the header slider that spans across the site.
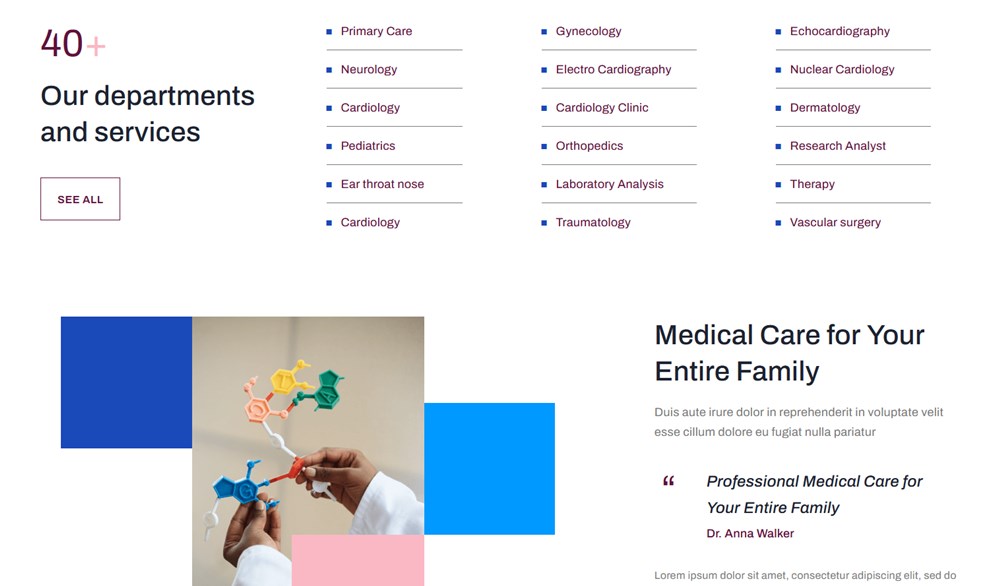
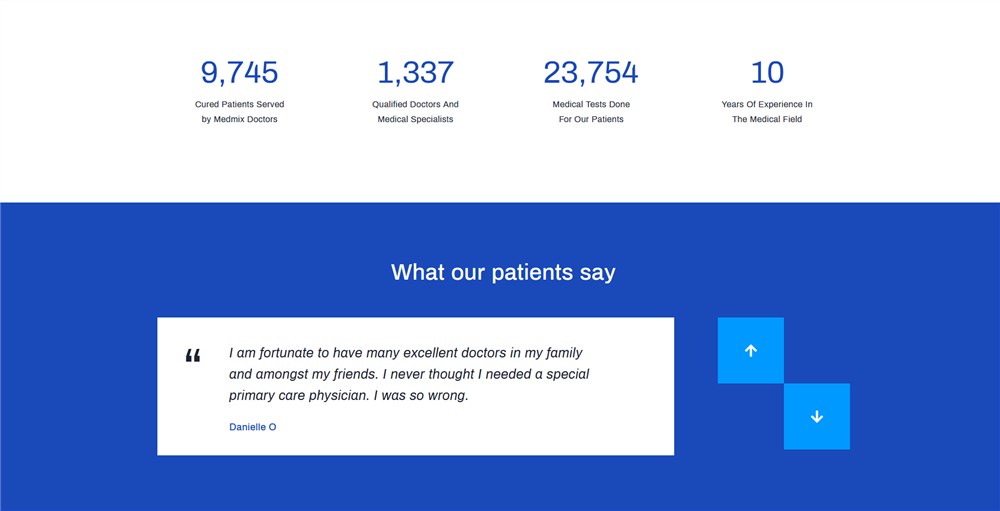
- Display some social proof and show your expertise in numbers to make your dental clinic more trustworthy:
Once you’ve made all the required edits to the site content, feel free to proceed to build a booking widget that will be responsible for all the booking management circles.
Add your dentists, schedules and services
The booking widget is powered by the Appointment Booking plugin for WordPress, it’s not just a dentist booking widget, it’s a whole ecosystem of the employee, schedule, and bookings management. The plugin menu and settings are very straightforward so I’m sure you won’t have any issues with placing the needed menu.
So you need to start with adding all the functional elements of your system.
Dentists
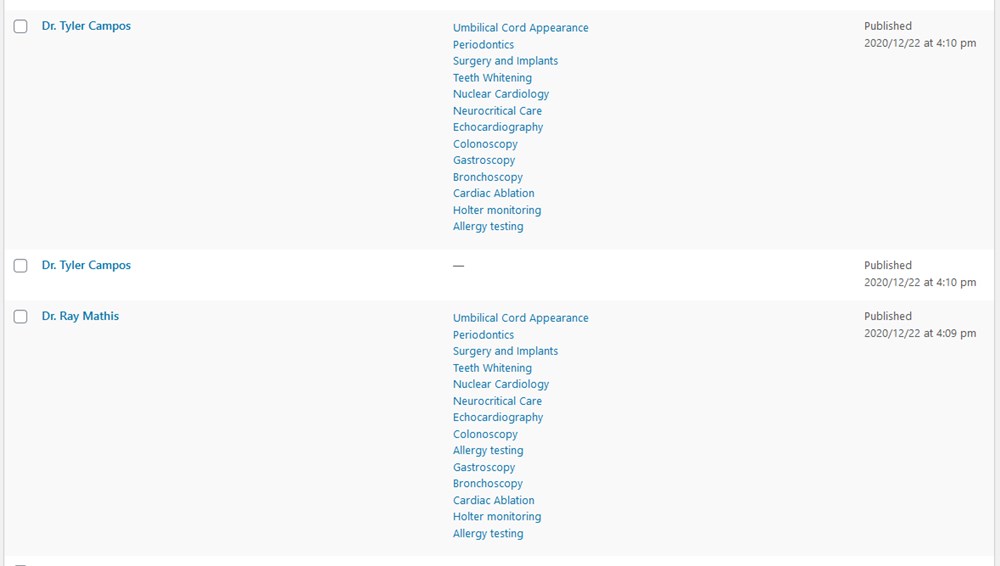
First of all, you need to add a list of dentists and assign individual working hours and services to them. Add the staff members via the Employees menu.
Departments or rooms
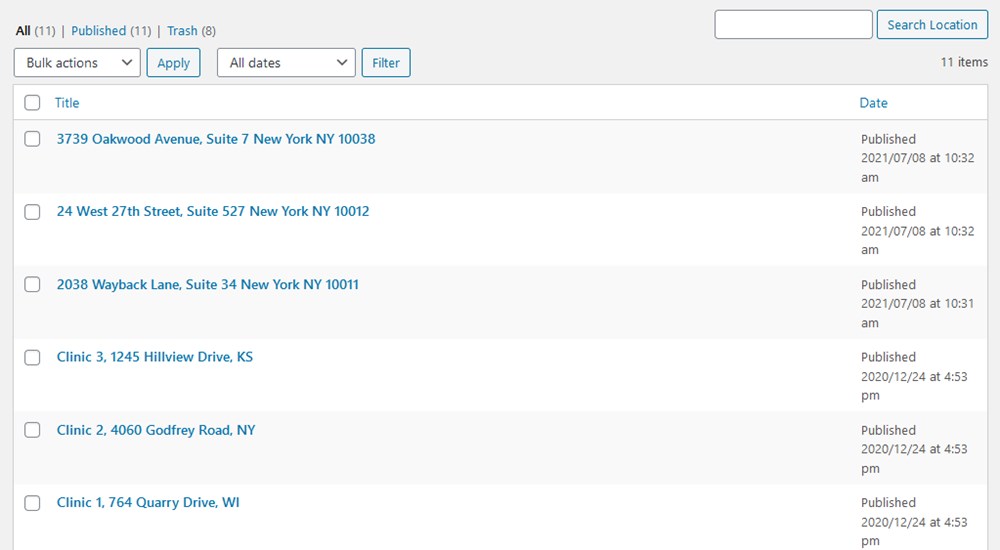
There is a Location menu that allows you to add multiple different places where the service is provided. Those can be rooms, clinics, departments or anything else.
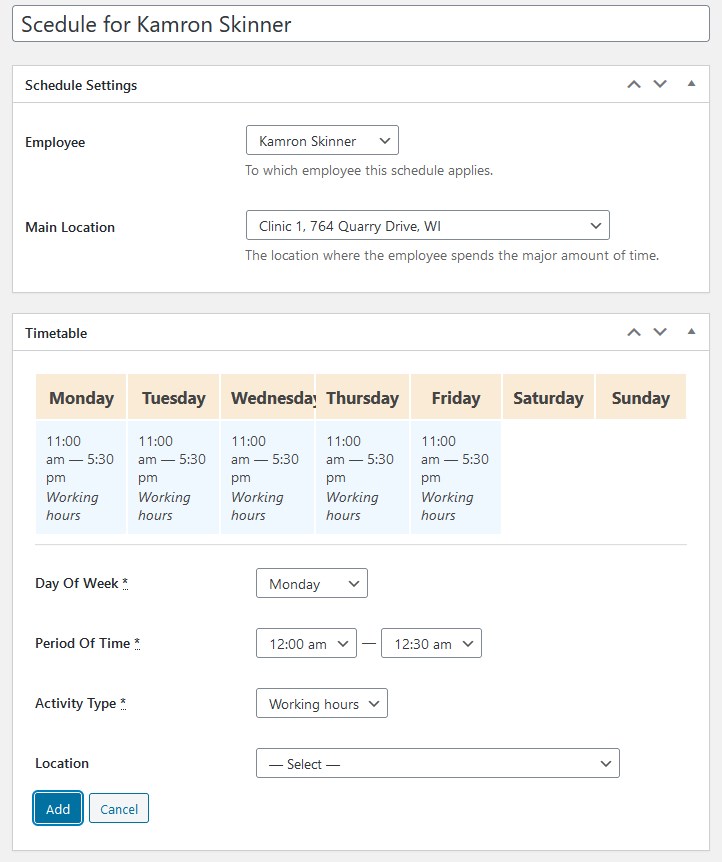
Schedules
Create and assign a specific working schedule for each dentist on your custom dental website. If there are people who can shuttle between locations, you can also specify that in their schedule:
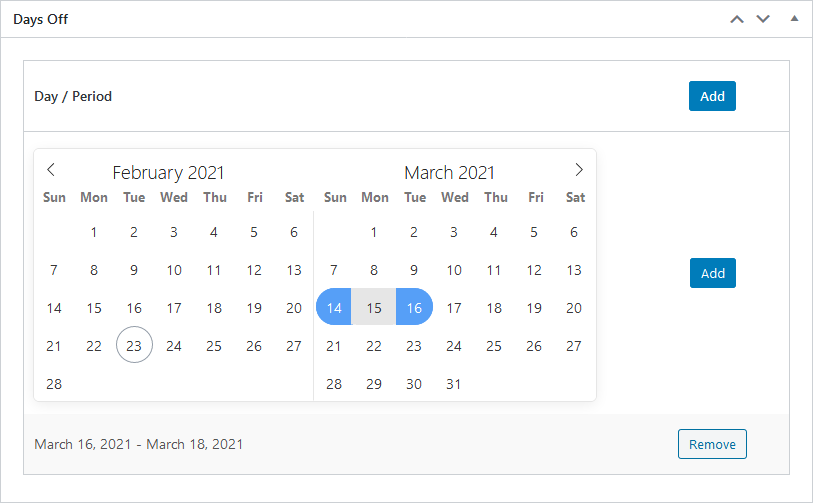
The system also allows you to add days off:
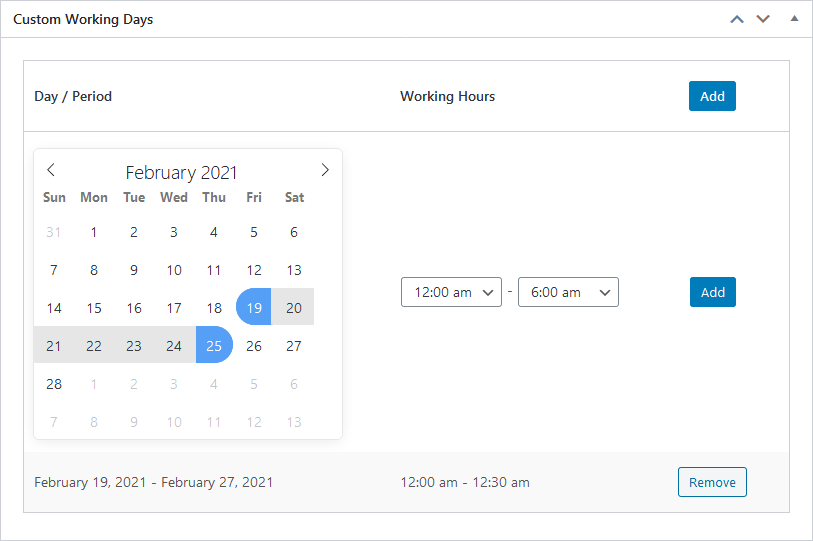
Or you can customize the working days that must be different from the regular schedule:
Dental services
In this menu, you need to add the entire list of services provided by your dentists – in the same Services menu you can assign people who can provide this particular dental service.
You can add a service featured image, text description and also specify the following service settings for the booking widget:
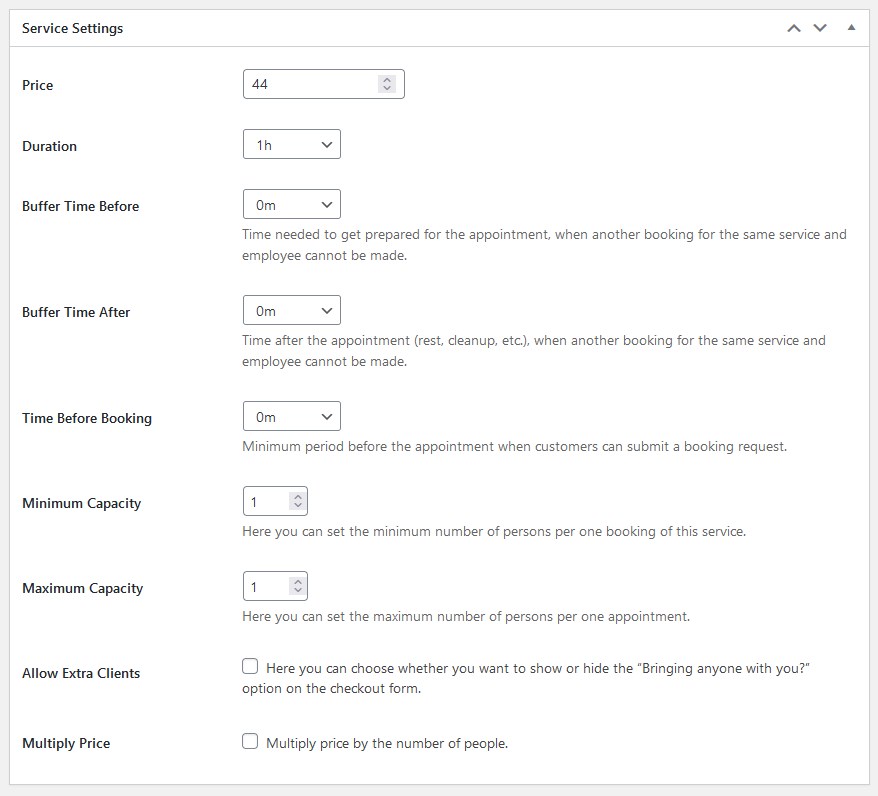
You can notice that each service has the Capabilities settings, which means you can set the minimum and the maximum number of people for each appointment and also define whether you need to multiply the price per person. Although a dental clinic will unlikely need this sort of functionality you might find it useful if you are a multi-branch clinic.
The service duration can be any and also can be customized based on who provides it:

Emails
You may also customize email templates for both admin and client to send notifications automatically upon booking submissions.
These are the key things for the dental WordPress plugin to work properly. Now we need to take it all to the booking wizard, aka a dental booking system on WordPress.
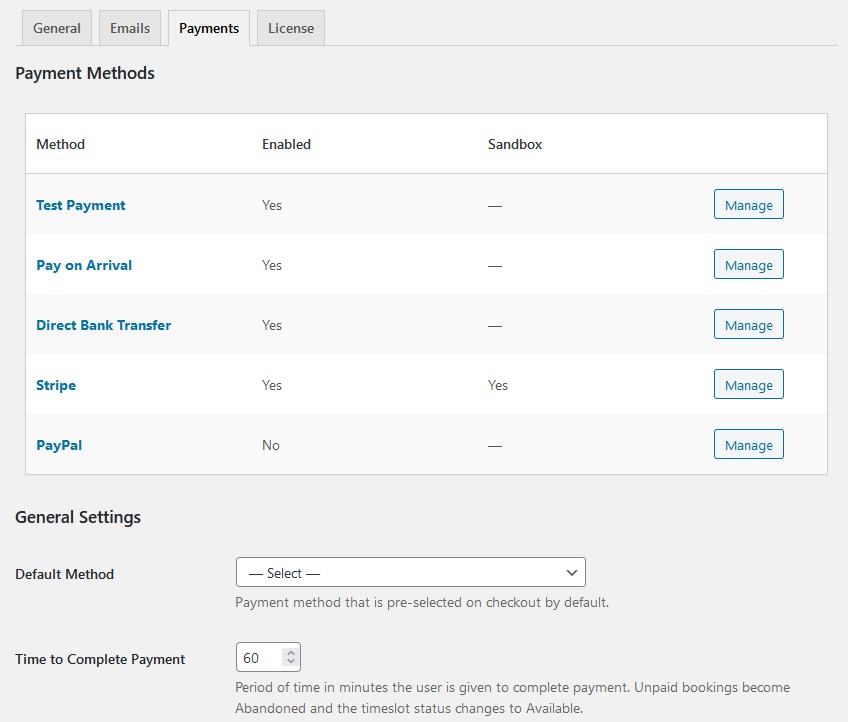
General settings and payment methods
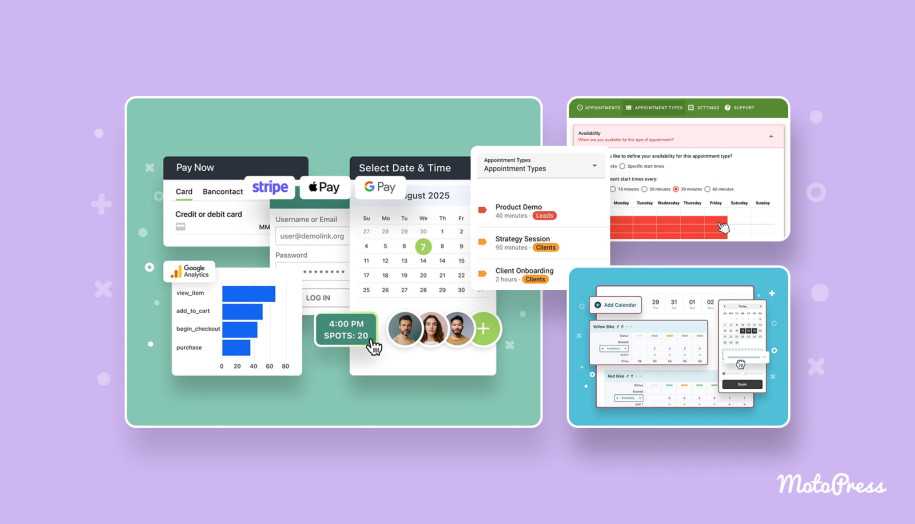
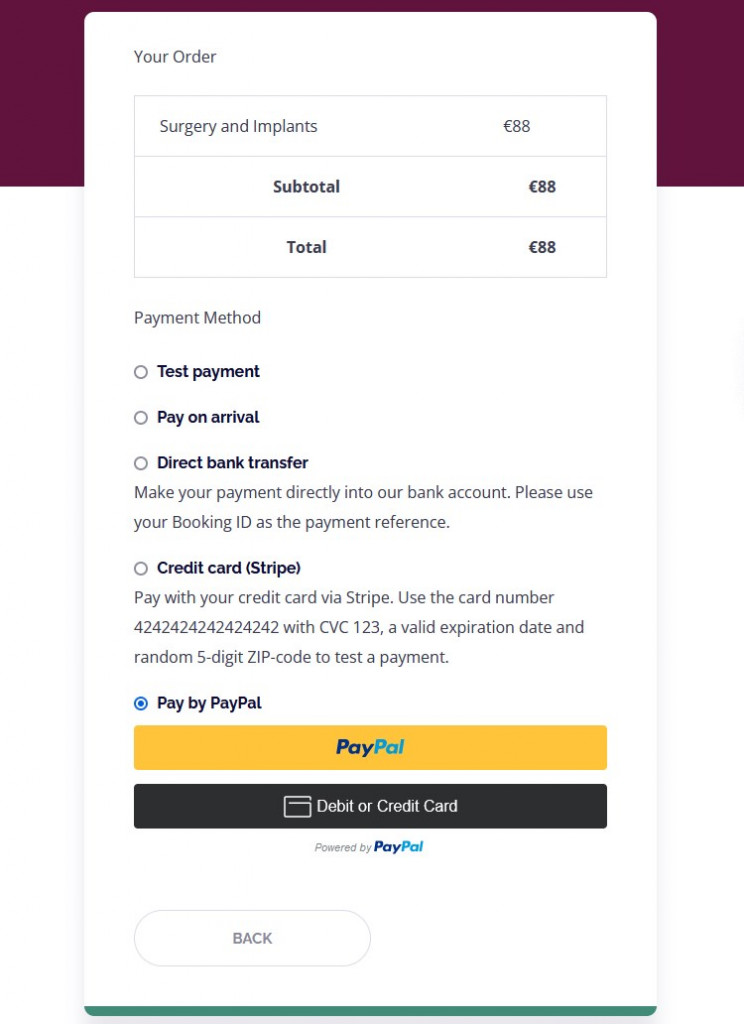
There are some more core settings, such as currency or default appointment duration, that must be also set via the Settings menu. There are also individual menus for payments and emails. You can enable patients to pay online via the booking widget via Stripe, PayPal, bank transfer or allow them to choose to pay at the office.
Creating a dentist booking system on WordPress
So how do you make your site super handy for your potential clients? Of course, you can take a rather traditional way and just add your phone number for registering appointments or add a normal booking form that needs to be submitted by email.
But I’m sure modern people will find an automated online dentist booking form more convenient. It secures them a place and time automatically, no waiting time and frustration.
Needless to say, you can still offer all these methods and allow a client to decide how to make the next appointment in your clinic.
So let’s see what we can do.
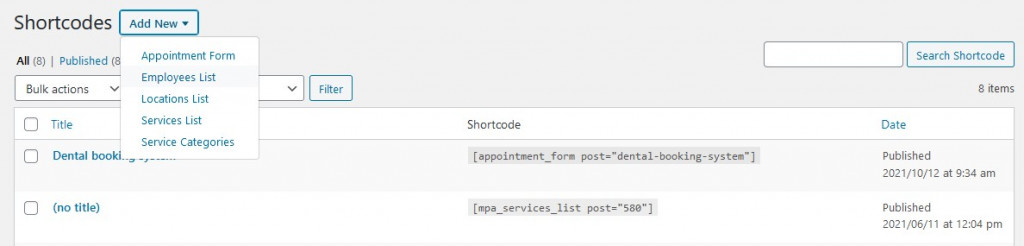
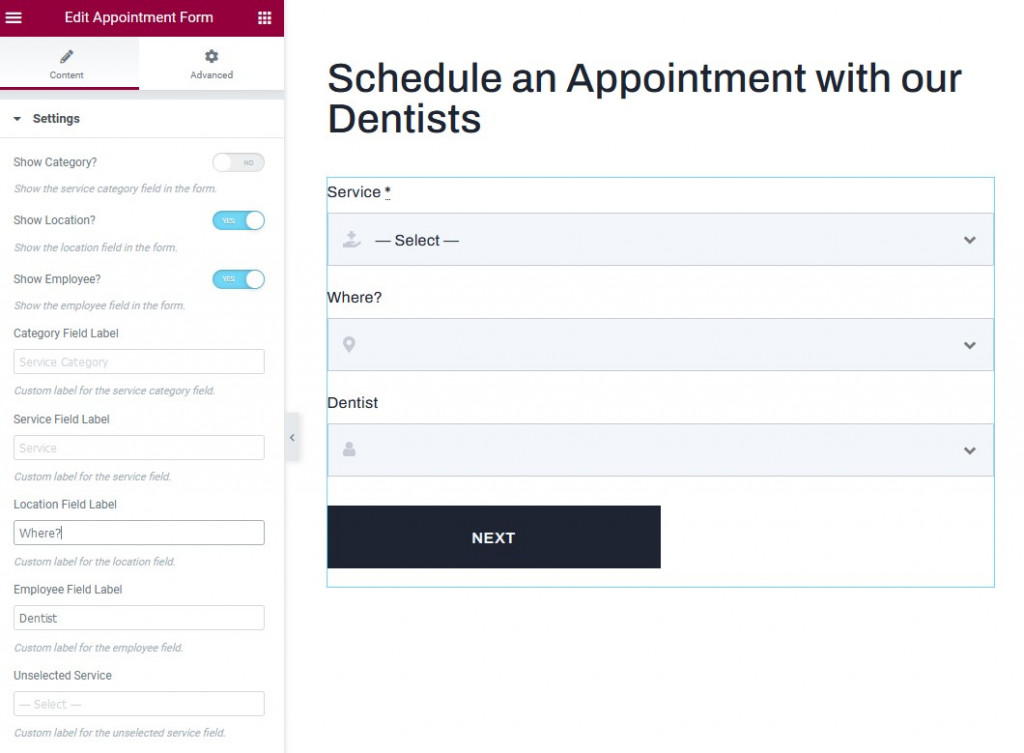
To customize the dentist booking form, go to the Shortcodes menu > Add new.
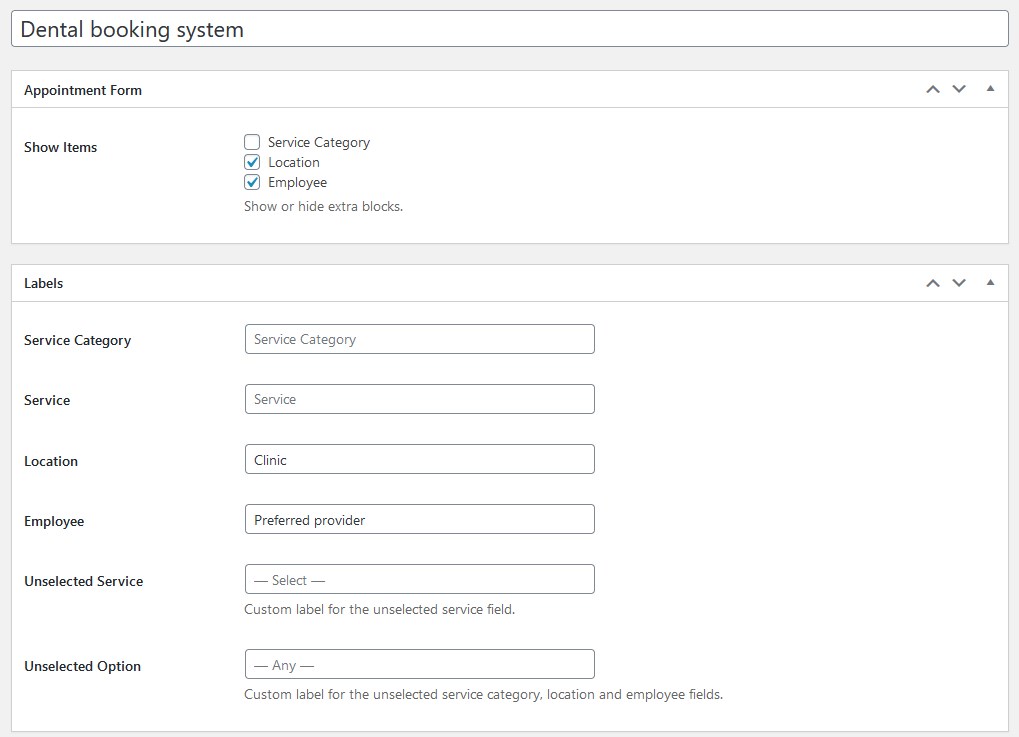
Despite the name (“shortcodes”), you’ll be editing it visually, so no worries. To add a booking widget, select the “Appointment Form” one:
It prompts a user-friendly menu where you can hide or show default form fields as well as rename them:
You may add some custom styling but it’s a more complicated task for those who possess some CSS skills. In the Medmix theme, however, it’ll all look fine since it comes with styles optimized for the MotoPress appointment form.
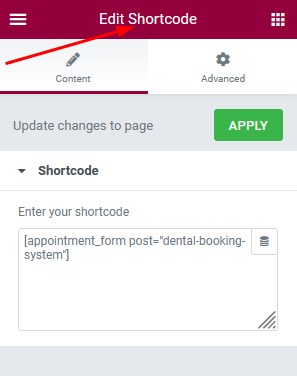
- Via Elementor, use the shortcode widget and place it into any site section.
2. Also via Elementor, but use a more user-friendly, Elementor-optimized widget.
No matter which way you choose, it’s easy to add a widget.
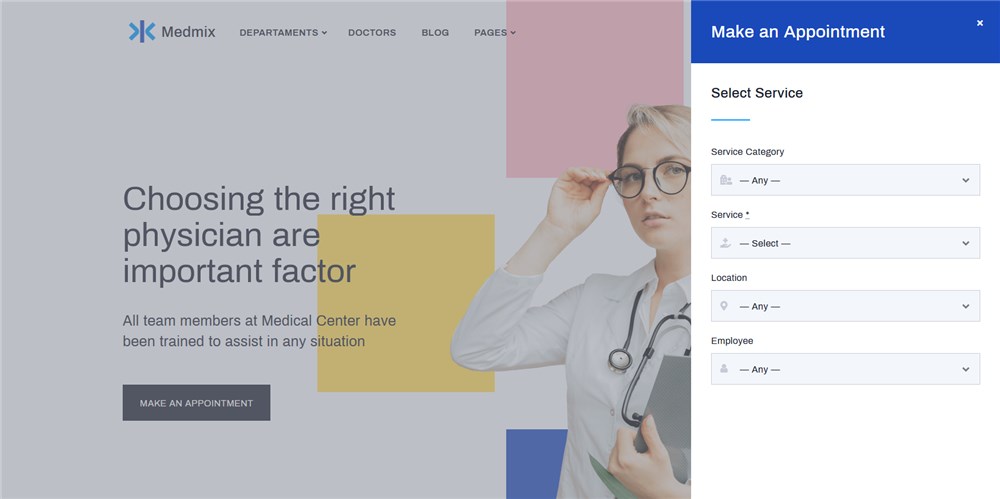
It’s worth mentioning that the Medmix theme supports a booking widget in the navigation menu, which also looks great on mobile phones:
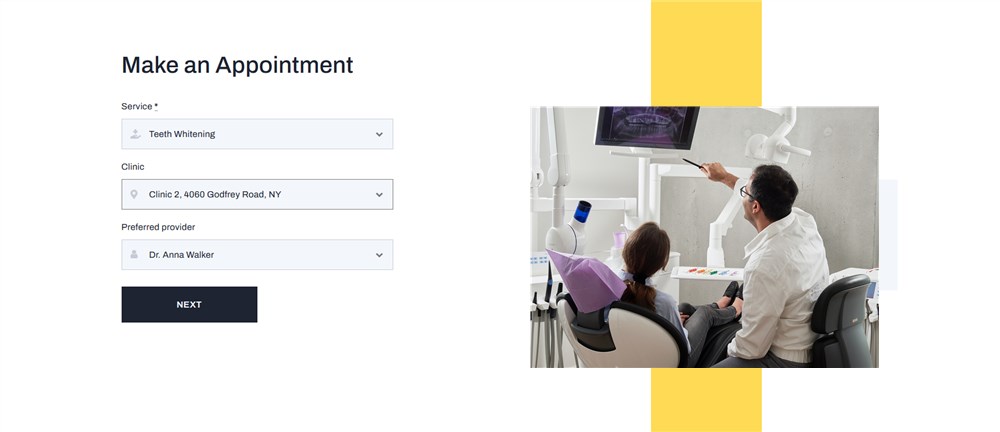
Clients can choose free slots:

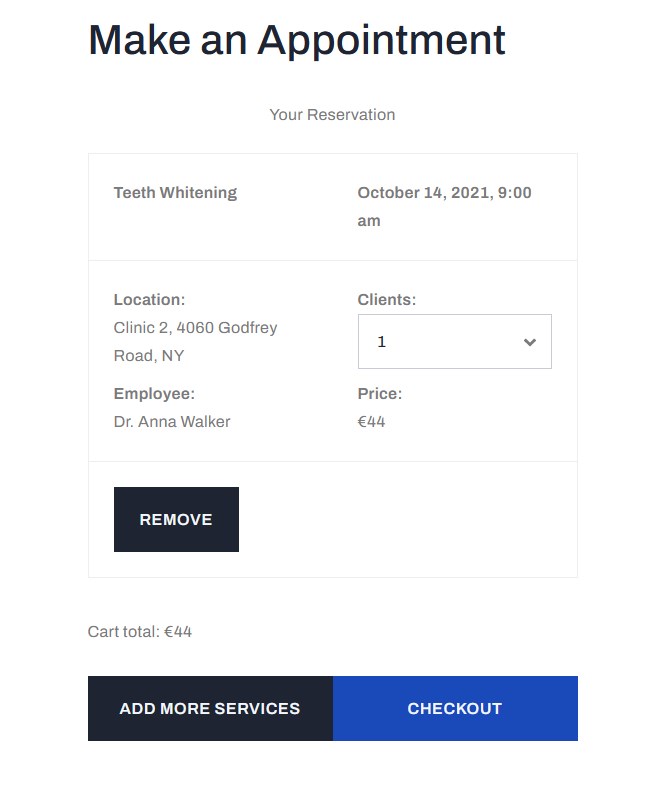
Then they submit their details and make a booking. Note that they can book even multiple dental services at one go:
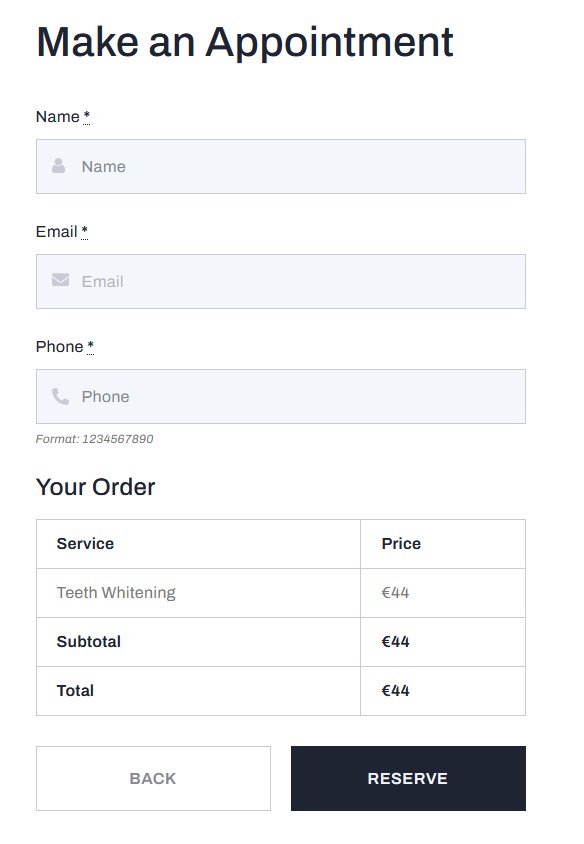
On the final step, people submit their personal details:
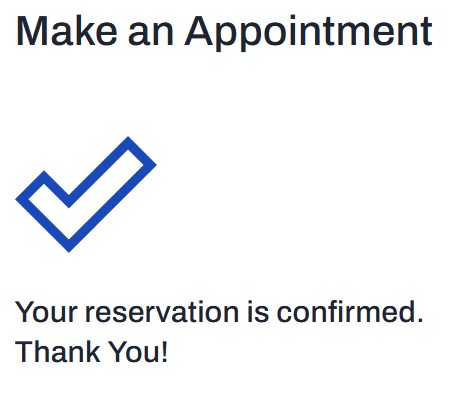
Once it is successful, they receive an email notification and the website admin is also notified:
All the bookings are recorded in the plugin database, you can keep them no matter which WordPress design you use. It’s easy to edit the client details as well. If you enables payment gateways, customers will see them too:
Conclusion: It’s easy to create a custom dental website on WordPress
As you see, it doesn’t take much effort in this time and date to create an online dentist appointment booking system and run it on your WordPress site. If you have a few dedicated, specialist tools and the right design, that will accelerate the whole site building process. In WordPress, it’s rather affordable and the whole process of the websites for dentists creation is pretty intuitive. Are you probably looking for any extra specific dentist clinic functionalities we didn’t cover in the post? Let us know in the comments section.