How to Add Testimonials to Website with WordPress Plugins?
Table of Contents
Owning a business website helps attract potential clients and lets them choose you over competitors. The section with testimonials is one of the most effective instruments to reach this goal. When users read real feedback from current consumers, they feel more confident doing the purchase.
Read further and you’ll learn how to add testimonials to a website using free & premium WordPress solutions.
Why Should You Add Testimonials To Your Website?
Research shows that 88% of users read reviews to determine the quality of someone’s business.
Posting customer testimonials on your website is a perfect way to build trust and credibility. It works not only as strong proof of your product quality & or service expertise. Also, it introduces visitors to the clients (companies) you had a chance to collaborate with.
Plugins To Add Testimonials To WordPress Page
If you own a WordPress website, there is nothing you can’t do with the help of plugins. They let you display client feedback in a visually appealing manner. Also, the reviews section is important for the analysis of schema markup meaning your website will be ranked higher in search engines.
For this tutorial, we chose the 3 best WordPress testimonial plugins – both free and premium ones. We will teach you to add testimonials section to WordPress:
- as a Gutenberg block – via Getwid addon;
- as an Elementor widget – via Stratum addon;
- as a slider plugin – compatible with any WP page builder.
1. Getwid Testimonial Block (Gutenberg Editor)

And off we go with the Gutenberg block editor & Getwid duo. Take notes if you are a fan of the default WP editor and want to add testimonials to website free.
Getwid is one of the largest free collections of Gutenberg blocks & ready-to-go design templates. Overall, the addon counts 40+ multipurpose block elements & 35+ advanced designs. It allows users to create advanced website sections with a complicated structure & vivid styling.
Key Features:
- 40+ Gutenberg blocks
- 35+ pre-built design template
- Clean-coded & lightweight
- Visual customization
- Advanced attributes for developers
- perfect interplay with core Gutenberg blocks/themes
This time, we are interested in the plugin’s Testimonial Block.
After downloading Getwid to your WP admin panel, go to Gutenberg editor, and add the needed block from the library.
Below is the default look of the Testimonial block by Getwid.
The content is divided into 4 sections: the one for adding an image and three sections for writing text (the main text of a testimonial, heading & subtitle):
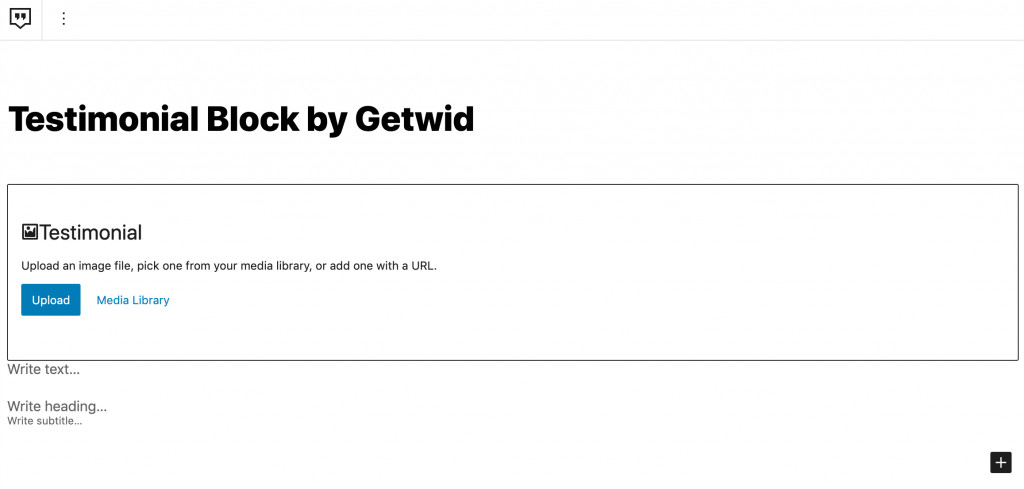
As soon as you insert content inside the block’s sections, you can access a few default content settings. Unless you know how to work with custom CSS, you can only access basic settings (for example, change the text colors). The inserted image converts to a circle automatically.
However, the power of other Getwid blocks (i.e. Container block) gives you more freedom in layout & styling solutions.
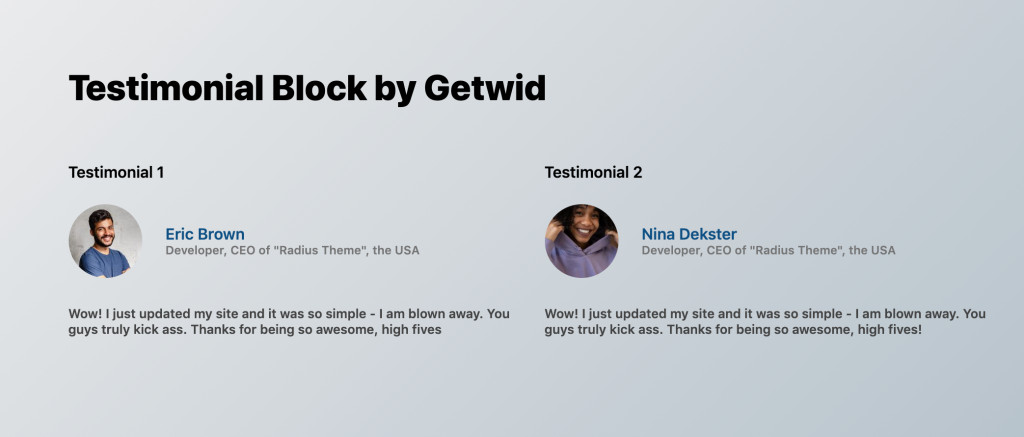
For my example, I added:
- 2 testimonial blocks in columns;
- 2 extra paragraphs for each column (to access more typography settings for the actual testimonial text);
- Gradient background (the Container block provides more background options):
Click this post to learn more about the Getwid Testimonial block.
2. Stratum Testimonial Carousel (for Elementor)

Looking for more ways in WP how to add testimonials? What about Stratum for Elementor?
First of all, Elementor is the most popular WP page builder out there. Barely any existing page builders can offer you the same level of flexibility and visual editing experience.
More to say, there are tons of extra plugins to simplify this process in time. One of them is Stratum for Elementor – a freemium collection of 24+ multipurpose widgets, including the Testimonial Carousel one.
Key Features:
- 24+ advanced widgets for free;
- Modules inherit the visual styling of your current theme;
- Advanced design toolchain for each widget;
- Elementor template library integration;
- Compatible with other Elementor addons.
How to add testimonials to a website with Stratum Testimonial Carousel?
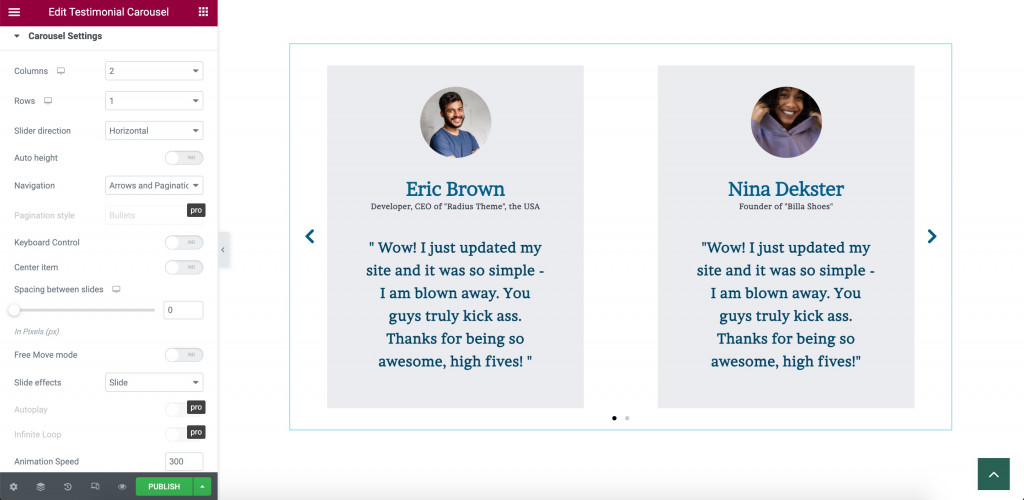
After you install and activate the Stratum plugin (either a free or premium version), go to Elementor and type in “Testimonial Carousel” in the search bar. Drag the widget to the page so that you’ll see the next template:
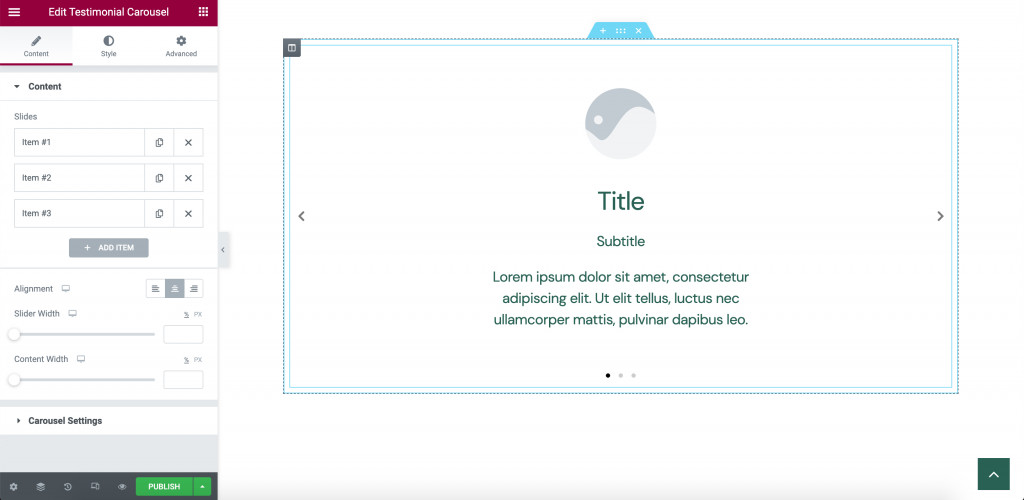
By default, the carousel contains 3 plain slides with the next sections:
- Image (automatically cropped in a circle)
- Title (name or the person’s position/job)
- Subtitle (name or the person’s position/job)
- The actual text of a testimonial
Fill in these sections with the needed content in the Content Settings of the widget (after clicking on each “Item”). This is where you may also set up alignment, slider & content width.
Now you can proceed to Carousel Settings below. This is where you set up the number of shown columns & rows, slider direction, navigation, spacing between slides, slide effects, etc.
If you have Stratum PRO, you may even change the pagination style and turn on the autoplay/infinite loop:
In the Styling Settings, you have 3 customization sections:
- Slides (background colors, box shadow, border type)
- Content for image & title & subtitle & content
- Navigation style for arrows & bullets
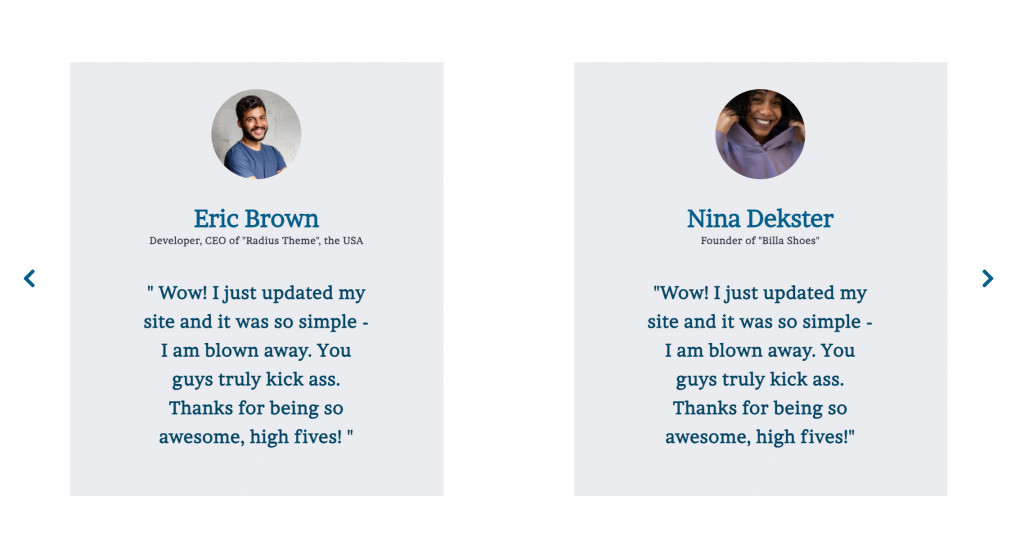
At the end of the day, a plain template may turn into a beautiful carousel display:
Finally, like every other Elementor widget, the Stratum Testimonial Carousel provides a number of advanced settings. This means you can adjust the widget’s margins & paddings, motion effects, background, borders, positioning, responsive settings, custom CSS, and more.
Click this post to learn more about the functionality of the Testimonial Carousel widget by Stratum.
3. WordPress Slider Plugin

The MotoPress Slider plugin lets you create custom slideshows with any content, whether it’s a group of posts, WooCommerce products, or customer testimonials. The plugin’s interface is super simple, easy to navigate, and layer-based. Unlike Getwid and Stratum, this solution is universal for any WordPress page builder + the WP block editor.
Key Features:
- Animated & auto-aligning layers;
- Video background from YouTube, Vimeo & HTML self-hosted;
- Optimized for different screens;
- “Duplicate Slider” feature;
- Visual Style Builder;
- Posts & WooCommerce sliders;
- Integrated Content Editor by MotoPress.
How to add testimonials to my website with WordPress Slider?
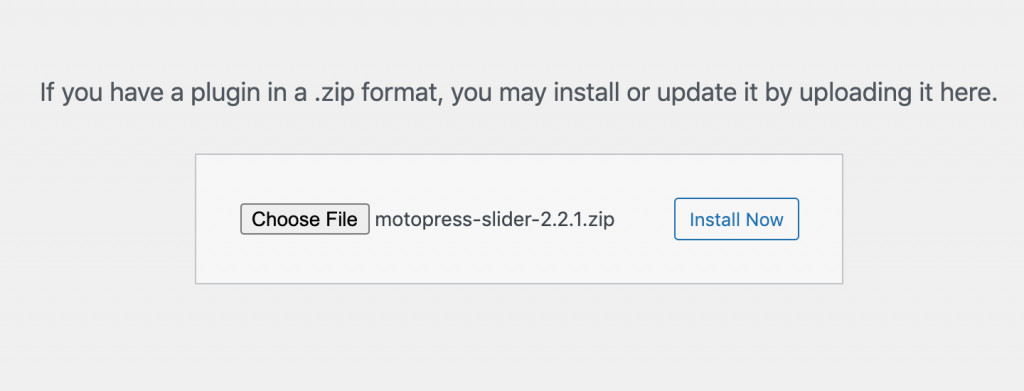
After you purchase the plugin from our website, upload the file to the WordPress admin panel from the Plugins tab:
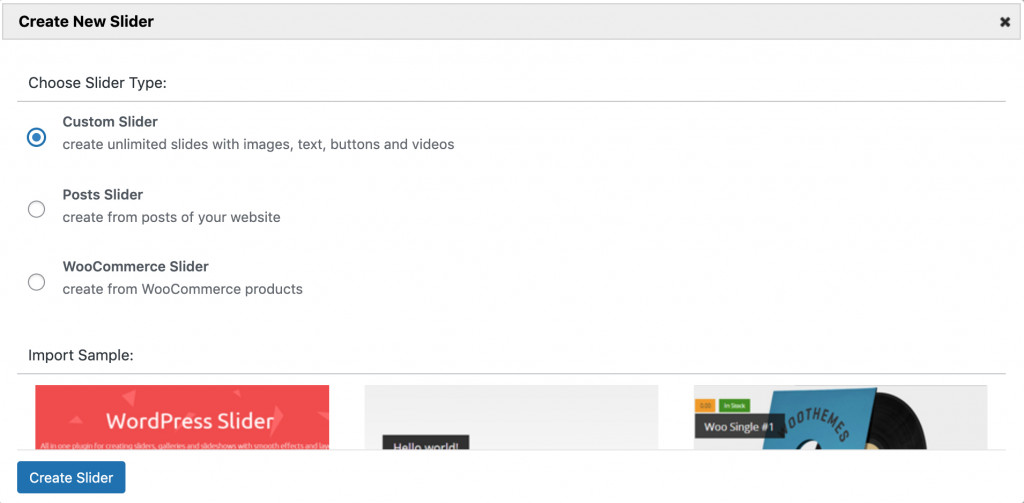
Click ‘Create New Slider’ and choose the ‘Custom Slider’ type:
You will enter the Slider Settings mode with 5 menu tabs:
- General (title, alias, shortcode, slider size on Desktop);
- Size (full width & height, full size grid, slsider size on laptop/tablet/mobile);
- Slideshow (delay, animation, duration, easing);
- Control (show arrows/bullets/slideshow time… and more);
- Appearance (start with slide, initialization delay, custom CSS).
With the next settings, you can customize the outer look of your slider except the one’s actual content & styling.
Note that you can create multiple sliders inside the plugin with a different purpose and for different website pages.
To access the Style Settings, click ‘Edit Slides’ located below. I have already created three slides, so I just click on the slide I’d like to edit first:
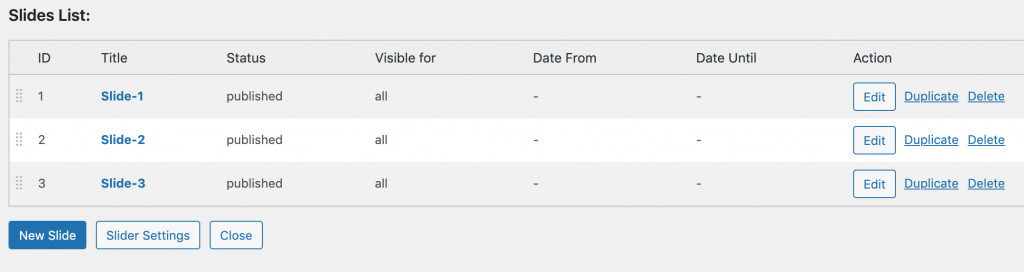
As mentioned earlier, the plugin is integrated with the MotoPress Content Editor – our custom and super flexible drag-and-drop page builder for WordPress. This content editor allows you to insert all types of content inside the slider: from buttons & images to videos & custom codes.
With the drag-and-drop functionality, you can add as many content layers as you need. All elements are easy to resize with a mouse only. This means you’ll easily learn how to use the plugin – even with minimal experience in WordPress editing.
Now, let’s get back to creating testimonials. On the majority of business websites, a testimonial section looks very clean in styling. The content is limited to the reviewer’s portrait photo, name, title (e.g. CEO of …), and the text of a testimonial:
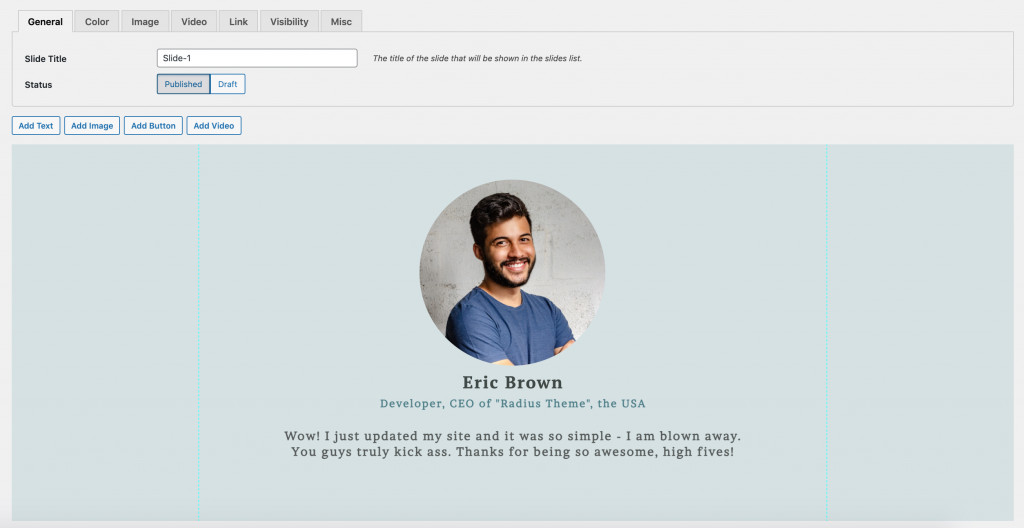
The general settings of each slide allow you to change the slide’s title & status and then, add layers of different content (text, image, button, video). Besides, you may customize the background by adding the color, image, video, etc.
From the image above, you can see that I used a plain background color allowing viewers to focus more on the slide’s content.
Each content element, whether text or image, has its own number of settings:
- Content
- Position & Size
- Animation
- Style
Use them for experimenting with typography, color styling, animation & hover effects – the final result can be rewarding.


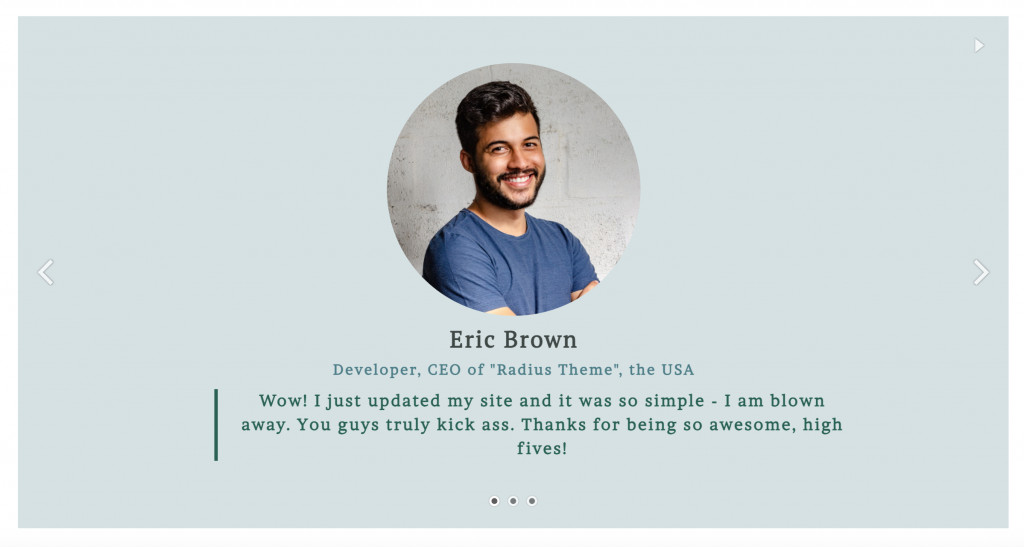
I spend less than 15 minutes creating one slide from scratch with no previous experience using the Content Slider. If you want to preview how the testimonial slider looks on the website, use the shortcode:
See more: 10 Best WordPress Review Plugins
Final Word:
Letting WordPress add testimonials to your website increases your conversion rates, whether you’re selling goods, or provide services. Fortunately, anyone can create a testimonial section on their WordPress websites using plugins like Getwid, Stratum, or WordPress Slider.
Let us know which one was your favorite!