
How to Create a WordPress Multisite Network
Table of Contents
If you need to create a network of separate sites within a single WordPress installation, you can’t get along without Multisite.
Here at MotoPress, we regularly use Multisite – primarily for building demos and dashboard trials for our themes and plugins. Since all MotoPress demos are created with the WordPress Demo Builder plugin (a much faster way than building them in house from scratch), the Multisite network is compulsory.
How Does Multisite Network Work
It helps manage all websites from a single location, with just one set of login details! It’s the best possible way to handle major demo subsites, testing environment sites, etc. as well as grant specific user roles to other people, e.g. your clients.
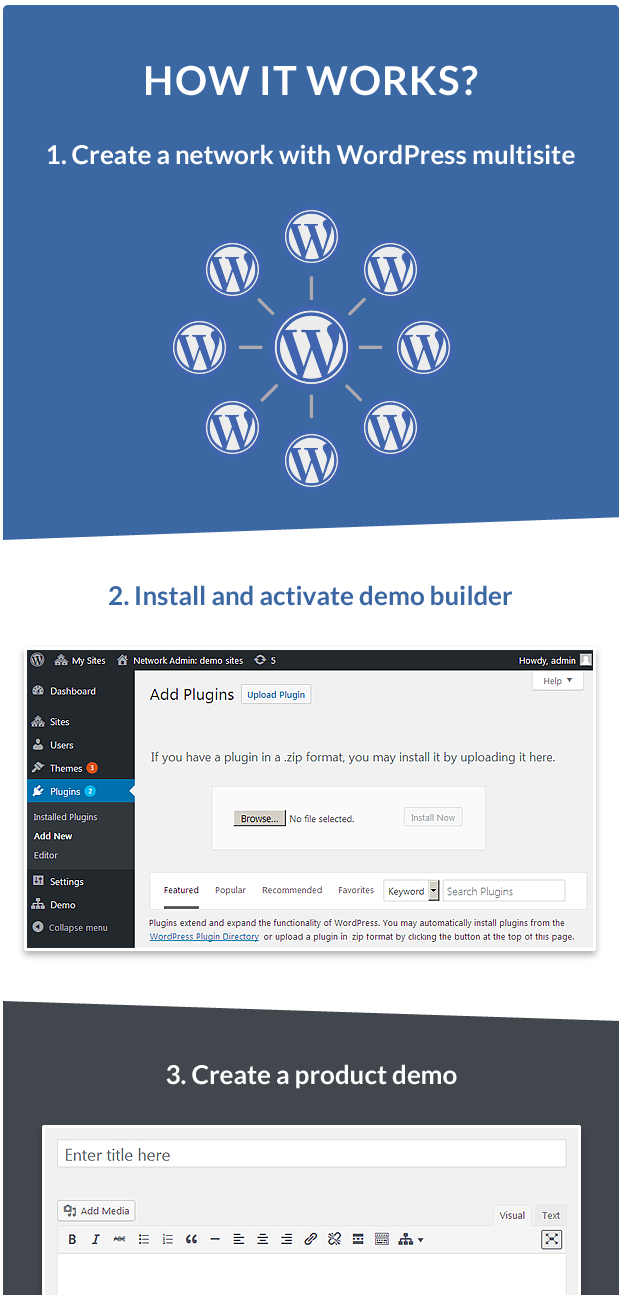
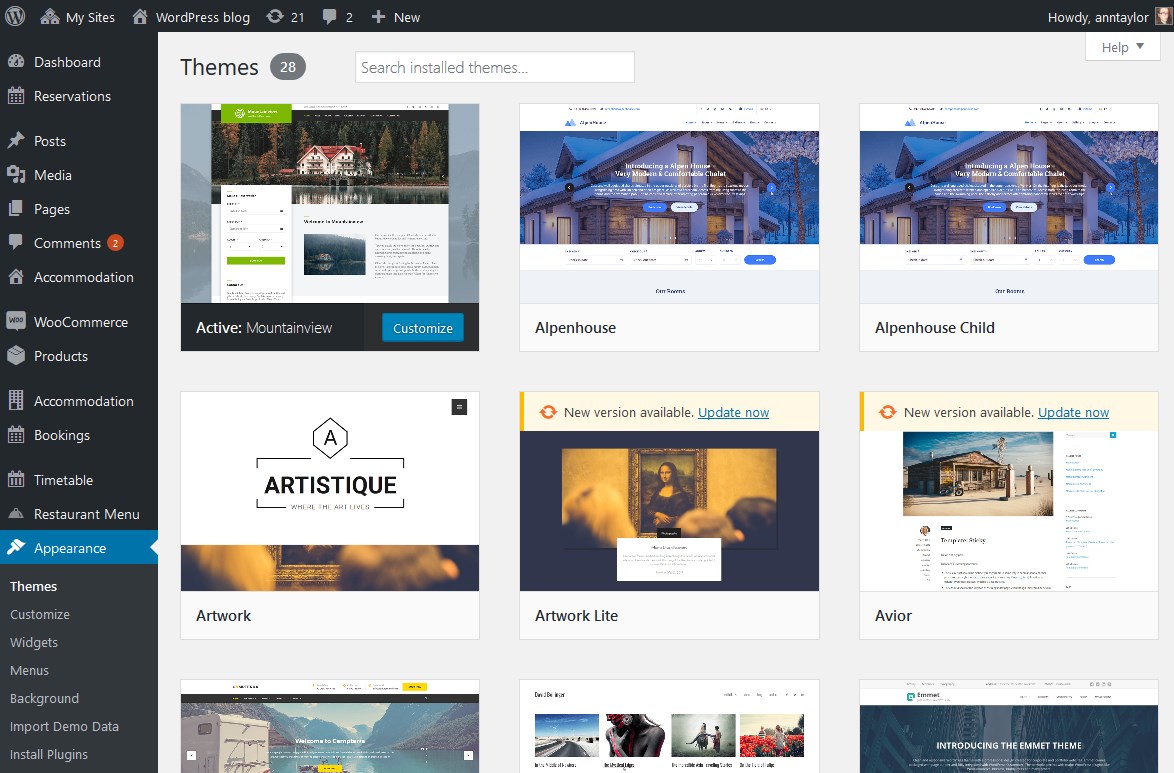
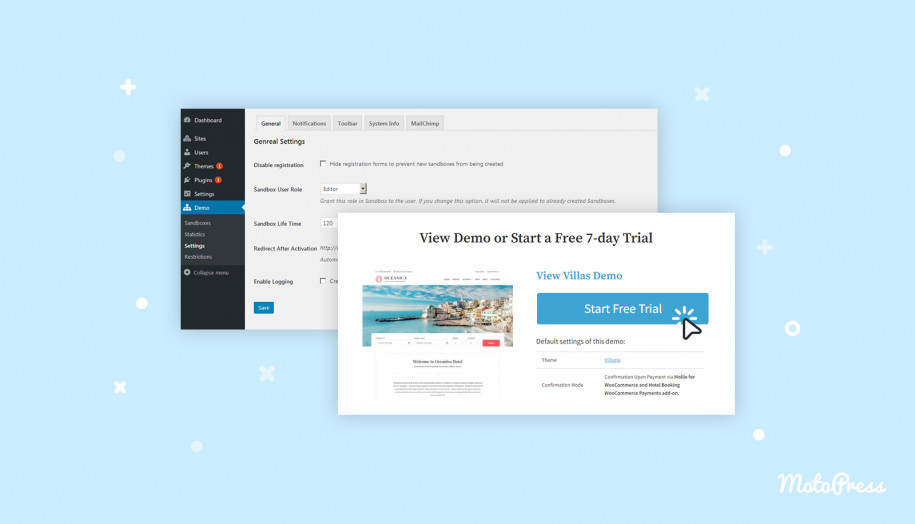
An extract from the Demo Builder guide
In short, Multisite gives you a stunning hands-off experience of setting up and managing an array of sites, at the same time saving a lot of time and server space.
Even though the lingo might sound scary, you can create a WordPress Multisite in simple steps, without any knowledge of WordPress development since it’s pretty much the same process as a traditional WordPress website installation.
Manually Curated Posts for You

To help you easier navigate through the guide, let’s outline the main points we’ll be looking at in this post.
- What is WordPress Multisite?
- How to create a Multisite WordPress network on your current / new website.
- How to add sites to the network.
- Multisite configuration.
- How to improve your work with WordPress Multisite.
Let’s get down to details.
What is WordPress Multisite?
If you are looking for a quick answer, it’s a system of multiple virtual WordPress sites based on one WordPress installation. And you are absolutely not limited to the number of network sites you can put in.
As a Multisite network administrator, aka super admin, you can add all sites yourself or enable users to create their own sites (as in the case with the client registration for the product demo).
All sites of the network can share plugins and themes, though they can have an individual media folder and a database table.
Put simply, all those network sites are not interconnected – they are separate websites under one roof (major WordPress installation). However, if you want to allow users to install their own plugins and themes, Multisite doesn’t meet your requirements. Users can only activate plugins and themes that were previously installed by the network admin.
So if you need a system that holistically shares data and users, Multisite might not be the best choice. For example, there are lots of WordPress membership plugins that allow to set different levels of access to different parts of your website or the MainWP plugin to control multiple independent websites, without multisite.
However, you might want to use a Multisite WordPress network in the scenarios like:
- A directory of network blogs (creative industry business, news portal, TV shows or anything related to media)
- Educational organizations
- A web agency (design / development) that provides clients / prospects with the access to the products / services
- Advanced eCommerce directories
- And so forth.
You got the idea! So if you feel like you are ready to proceed with Multisite, read on.
WordPress Multisite Setup
How to install WordPress Multisite? First up, make sure that your server meets the needed requirements. You might need to consult your hosting provider before proceeding.
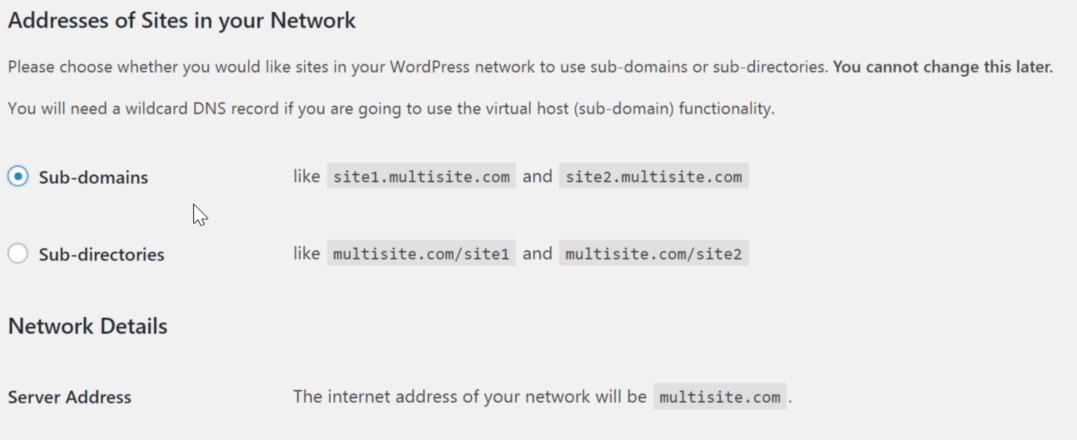
Now you have to decide what type of WordPress Multisite network you need to create, based on the URL structure:
- Subdomain (domain-based): http://site1.majornetworkdomain.com
- Subdirectory (path-based): http://majornetworkdomain.com/site1
- Custom top-level domain: http://site1.com
Let’s elaborate a little bit on the last approach. If you plan on creating top-level domains for your network subsites, i.e. mapping a subdomain to show as domain.com, since WordPress 4.5, you can create those without integrating domain mapping plugins. This approach is a great way to grant clients exclusive access to their custom domains, therefore, monetize your network.
If needed, you can switch between subdomain and subdirectory network types later (apart from running the network on localhost).
But before you start managing network subsites, you should make sure your network is properly set up. What it takes to create a Multisite network for your WordPress installation? Here is your walk-through:
- If you are going to create a network for an already existing website, keep the following things in mind (According to WordPress Codex) :
- You can’t create a network if your WordPress URL doesn’t use ‘:80’, ‘:443’ port numbers.
- You can’t opt for subdomain installations if your WordPress URL contains a path, not just a domain; or if it’s localhost or it’s an IP address such as 127.0.0.1.
Just a quick note, if you are installing a WordPress Multisite Network on localhost for a testing environment, using a subdirectory is the easiest way.
Also, make sure to backup your WordPress databases and files before making any changes.
If you create a network on a fresh WordPress website that is already installed, temporarily deactivate active plugins and activate Multisite.
The easiest way to do that without tinkering is to use an auto-installer if such is provided by your host (some include Softaculous auto-installer to help you in the process).
If you are going to do it manually, follow the next steps.
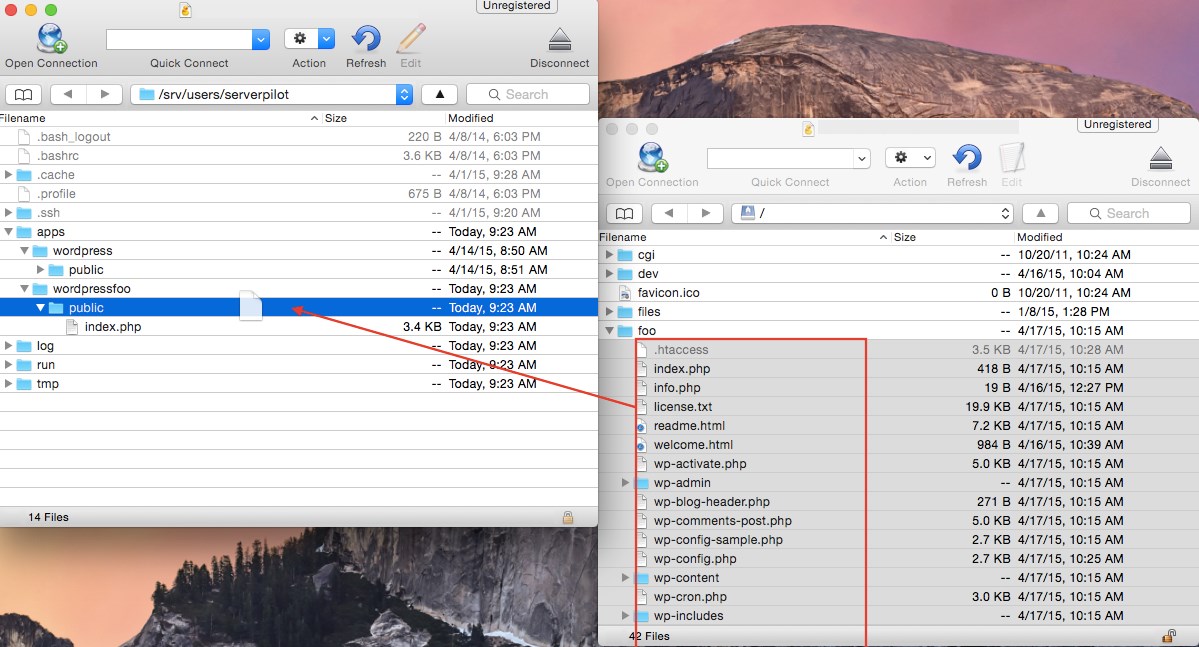
- To activate a network manually, you’ll need to use a free FTP client like FileZilla (Cyberduck for Mac users).
Username and password for connection are typically your cPanel credentials. You may find out these details with your hosting provider.
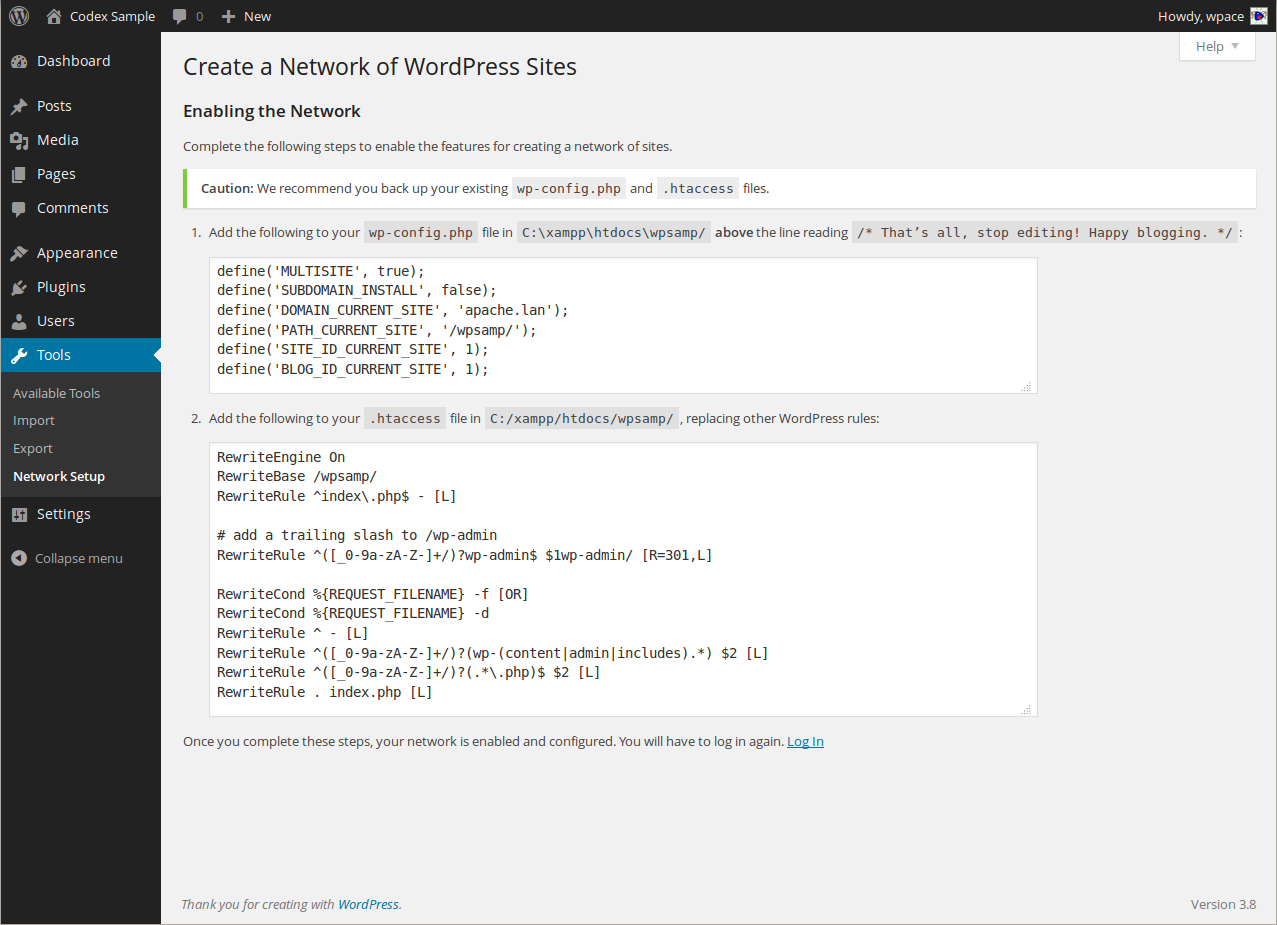
Then, locate and open (right click > View/Open) wp-config.php file – this file appears after the correct WordPress setup process and contains important website configuration details.
Then, find the line:
/* That's all, stop editing! Happy blogging. */
Right above it, add the following line:
define( 'WP_ALLOW_MULTISITE', true );
After that is done, save changes in the editor (don’t use software like Microsoft Docs or Google Docs for editing the file).
Now you enabled Network setup for your WordPress website.
- Then, navigate to your WordPress dashboard > Tools > Network Setup. Here you’ll need to choose the type of network you want to set up and add other network details. Then hit “Install”.
That should automatically generate two lines of code, which need to be copied and added to wp-config.php file and in .htaccess file. Once again, you need to do that via a preferred FTP client. WordPress will provide clear instructions on where those lines should be added.
That’s it! Your Multisite WordPerss network is ready. Now you need to re-log in to get access to your Multisite dashboard.
- Add and manage subsites, themes and plugins.
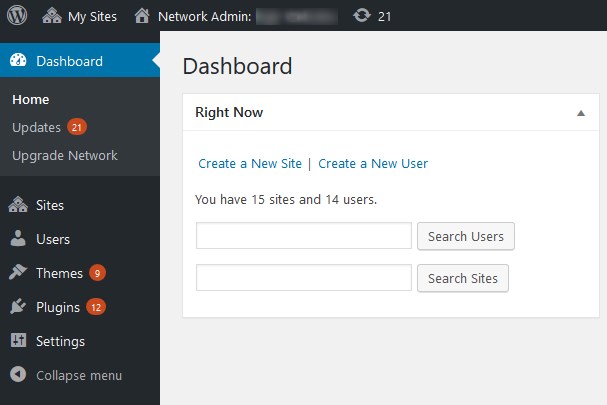
That’s the easiest part: navigate to Network Admin > sites/users, etc.
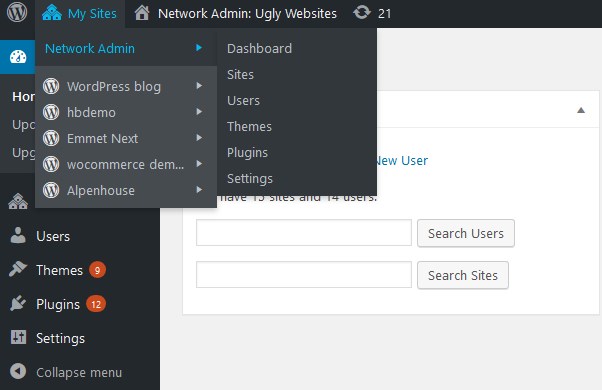
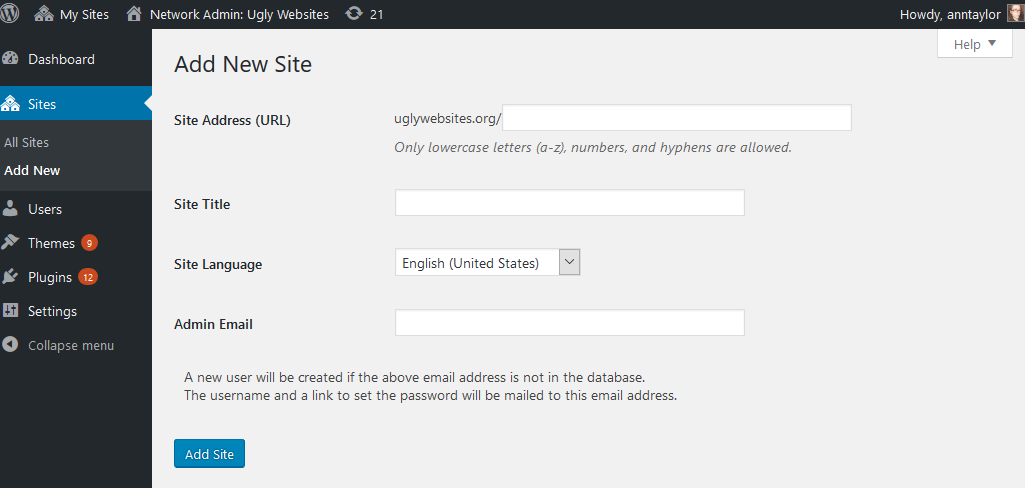
For example, to create a subsite, you need to specify a subdomain/subdirectory, a website admin address, and more.
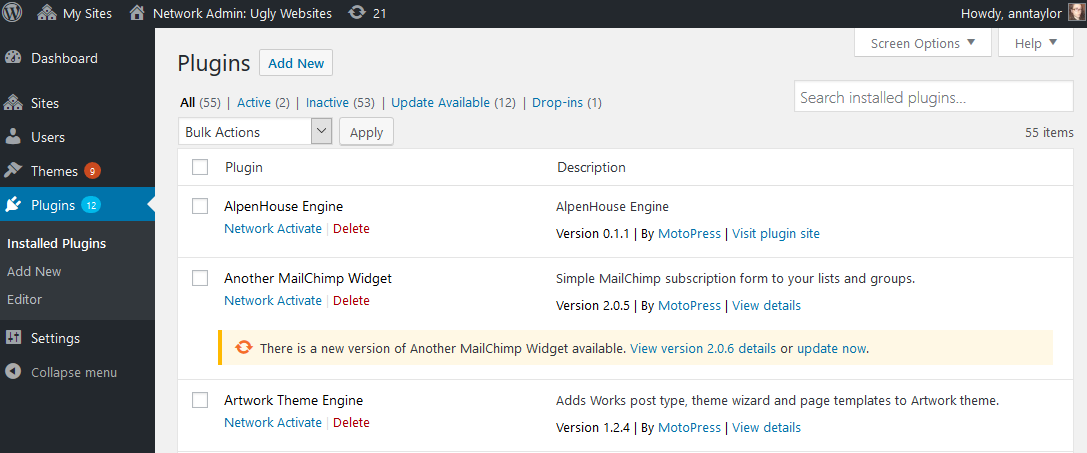
As a network admin, you can install plugins and themes – any or all of them can be activated across the network (on all subsites)
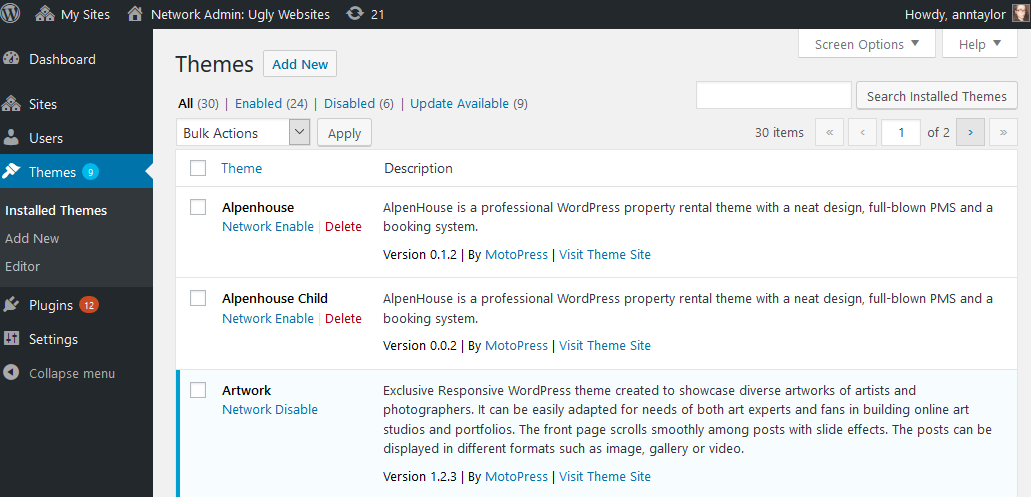
…or selectively for chosen sites.
For example, to allow activation of the installed themes (added by a network admin) for users/subdomains, you should provide access to them selectively.
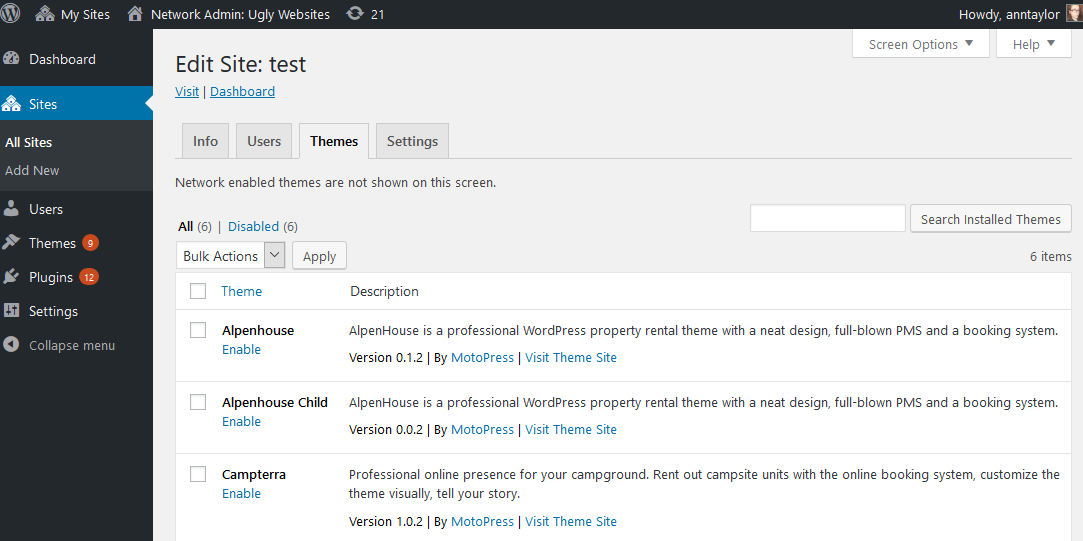
A user will see all available themes via a traditional Appearance menu.
As for plugins, you can’t activate them for subsites selectively. You can network activate the plugins so that they appear on each subsite, or just install them. If you install the plugins without network activation, users can choose the ones they want to activate via their dashboards.
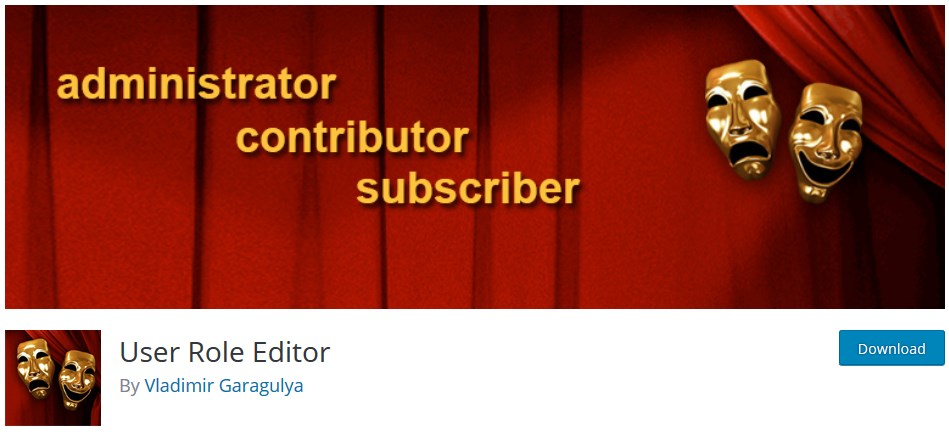
To edit user role and permissions via a network easier, you can install a free User Role Editor plugin that supports Multisite configuration.
Via the Users screen, you can enable particular themes and configure settings for each user.
Navigate to the Settings menu of your Multisite network to configure:
- Operational settings, such as a website title and admin email.
- User registration settings and banned email domains management.
- New site settings like a welcoming email template setup.
- Upload settings – designate a maximum file size and upload file types acceptable.
- Menu – enable it if you want to allow the site admins to activate and deactivate plugins.
- Languages settings.

It’s also worth mentioning that if you plan to build a massive network, make sure your hosting is reliable. Professional, secure and robust hosting is actually the first thing you should think about.
Plugins for Better WordPress Multisite Network Management
- Multisite Enhancements is a free WordPress plugins that offers up to 13 solutions for most commonly needed network improvements. Primarily, it helps you speed up the subdomain management process and use a bunch of useful functions.
- WP Security Audit Log is not a Multisite dedicated plugin, but it fully supports Multisite. The best thing about this instrument is that it allows you to keep track of all network activity logs.
- Multisite Post Duplicator allows you to copy any specific page, post or custom post type of your subsite and easily paste it into another site of your network.
- Dropdown Multisite Selector, which comes with a really self-explanatory name, enables you to provide users with an easy way to navigate across all network sites. Of course, you can configure which URLs to include into the dropdown menu and how to present them.
- Multisite Plugin Manager will give you more flexibility in managing all network permissions.
- WordPress Multisite Shared Media helps you automatically use the same images across various network sites.
- White Label Branding for WordPress Multisite is a super handy plugin to give you full control over the major site and network subsites branding. This tiny cog will help you monetize a network of client websites.
Wrapping up
I hope this article will help you install a WordPress multisite network with minimum effort and optimize its management with extra WordPress multisite plugins. By creating a holistic and flexible system of sites, you can take your client management or website monetization to the next level!

Great post.
I have question, I got task of creating a multisite with folder base structure but they need structure to be like this mainsite.com and for subsites mainsite.com/locations/state/city. I can’t figure out how to add additional steps in url structure. Is this possible ?
Hi Dusan,
It is possible to edit Home URL after you add a subsite under Settings tab.
Thanks for this awesome post, I was confused in domain mapping and structuring but this guide helped me a lot in setting up WordPress multisite on Cloudways platform, https://www.cloudways.com/blog/wordpress-multisite/, This guide helped me in setting up multisite and with the help of your guide I have setup domain mapping easily.
Hi Alex, Thank you for your feedback. We are happy our article was helpful. Check out our Demo Builder plugin that can be used at multisite.
Thanks, for sharing this information with us. I really found this helpful and I also believe All sites of the network can share plugins and themes, though they can have an individual media folder and a database table.
Ann Taylor, thanks a lot for the post.Really thank you! Much obliged.
I’m glad it worked for you!