Sell Food Online: New Option of the WordPress Restaurant Menu Plugin
Table of Contents
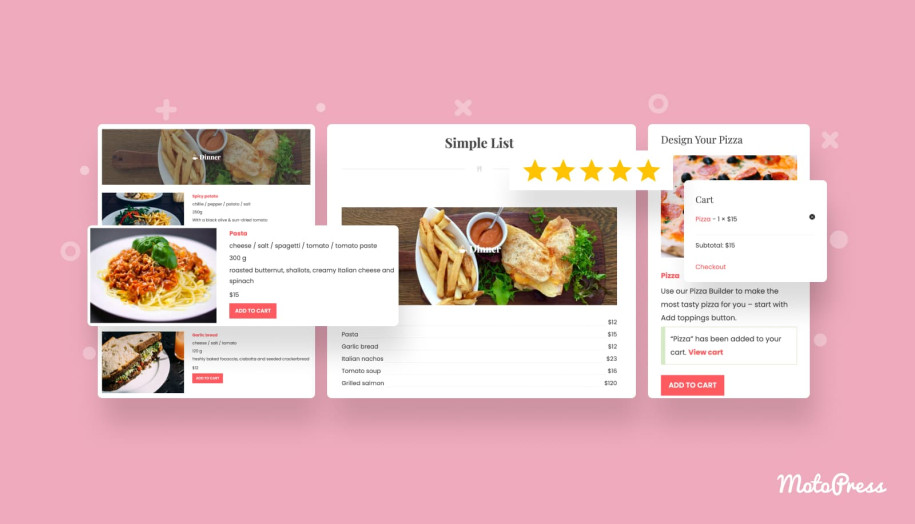
While a lot of restaurant plugin providers offer eCommerce tools as a paid extension or don’t offer them at all, MotoPress combined two necessary options in one free Restaurant menu WordPress plugin: creating your online menu and selling food and beverages online. Installing the plugin, you get an ultimate solution for building a profitable restaurant business. Where can you get started? Let’s revise the main features and steps of adjusting eCommerce options in the Restaurant Menu plugin.
New core features:
- PayPal and Cash on Delivery payment methods
- Ability to test payment system before applying to the live site
- Guest shopping without registration available
- Shopping cart with/without immediate checkout
- Cooking, shipping, and shipped order statuses for buyers
- Customizable email templates (confirmation, payments, notifications)
Enabling eCommerce
To start selling online, you should firstly enable the appropriate option within plugin settings (the option is not switched on by default). To do so, go to your WordPress Dashboard > Restaurant Menu > Settings > General tab > tick Enable eCommerce.
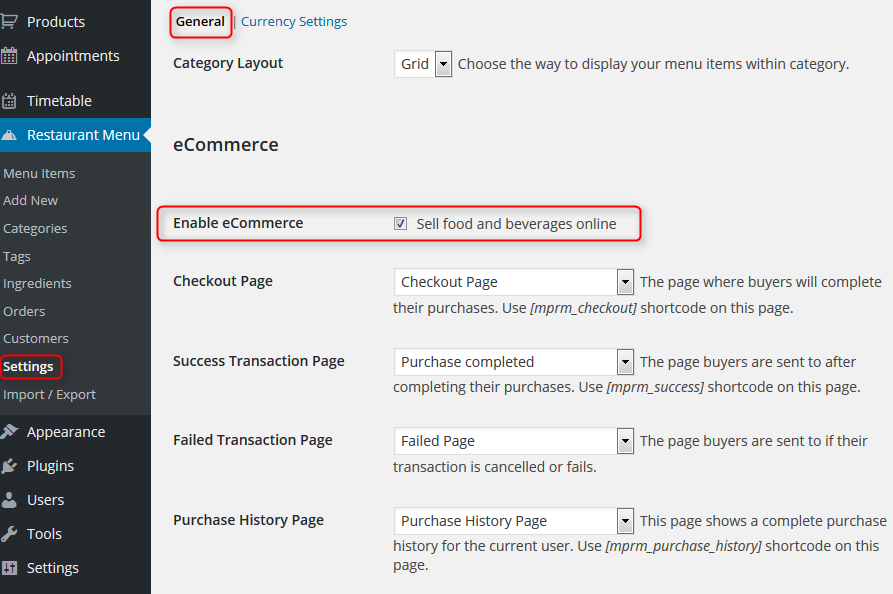
Before choosing the needed pages from the drop-down lists (e.g. Success Transaction page), you should create the appropriate ones within your WordPress backend. These are pages the system will redirect your shoppers to depending on the transaction termination, so you should take care of them before going to ‘Settings’. Simply copy the needed shortcodes (e.g. [mprm_success] ) and paste to the created pages.
Setting payment gateways
At the moment, there are several alternatives of making a purchase. You can set the needed ones under Payment Gateways tab:
- Test payment: you can test how the system works (auto-complete orders)
- PayPal Standard
- Cash on Delivery (manual orders processing)
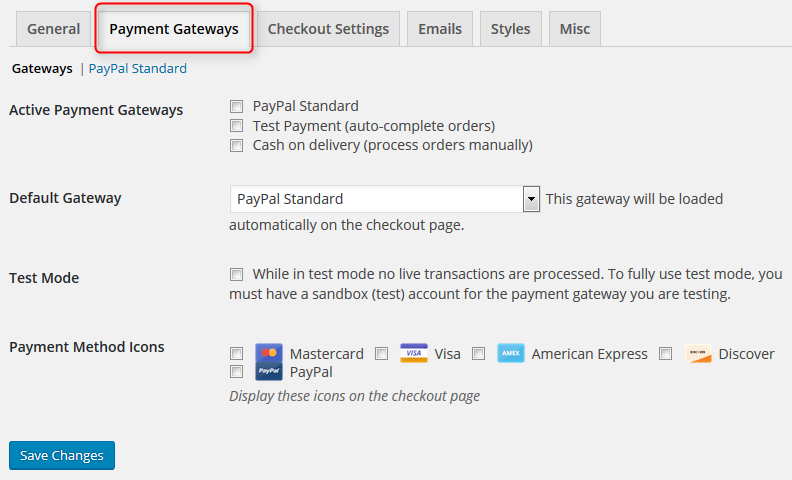
Tick the needed boxes (if you finished testing the system, you are most likely to leave PayPal and/or COD), so your shoppers see them on the Checkout page. You can also choose what Payment method icons should be shown on the checkout page. Also, tick Default Gateway – it will load all further steps for completing the order. If the shoppers want to switch the gateway, they will do it in one click:
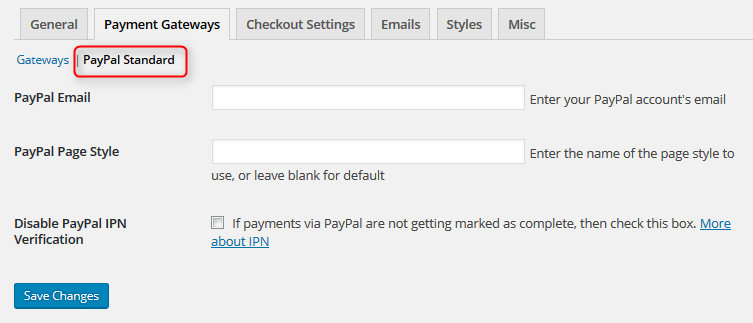
If you choose PayPal standard, don’t forget to toggle to the appropriate tab to input your PayPal email and PayPal Page style to make PayPal payment pages reflect the style and design of your site:
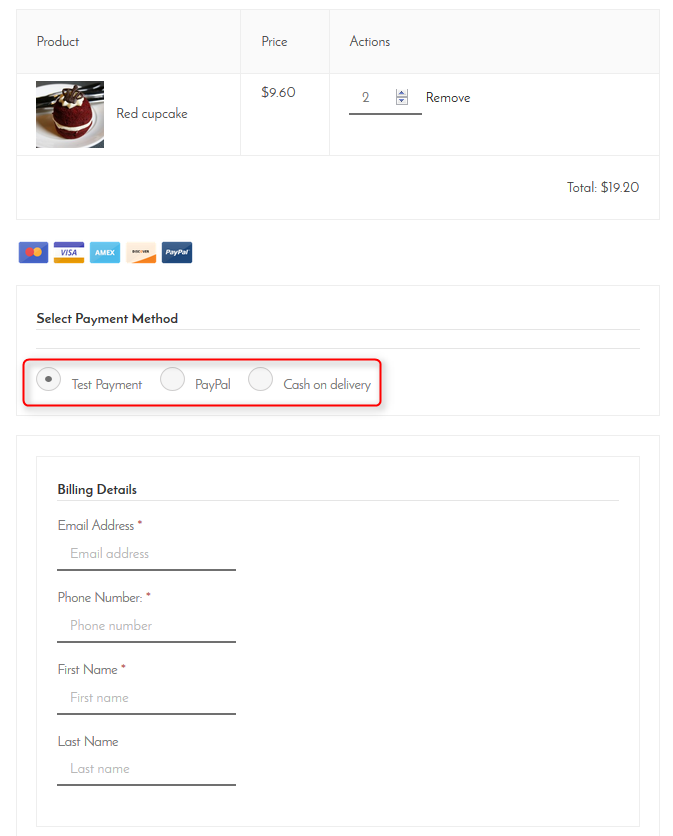
Checkout Settings
Here you should define what information the customers need to provide you with. By default, the plugin allows unregistered users to make a purchase, because a lot of modern shoppers don’t like the process of registration, but you can disable Guest checkout if needed, so all the shoppers will need to register and then log in to proceed with their orders. There are still plenty of options you can apply under this tab:
- enabling Ajax (Ajax-driven Shopping cart functions without a page reloading)
- changing Items Amount (the shoppers will be able to manually set the needed quantity of the product).
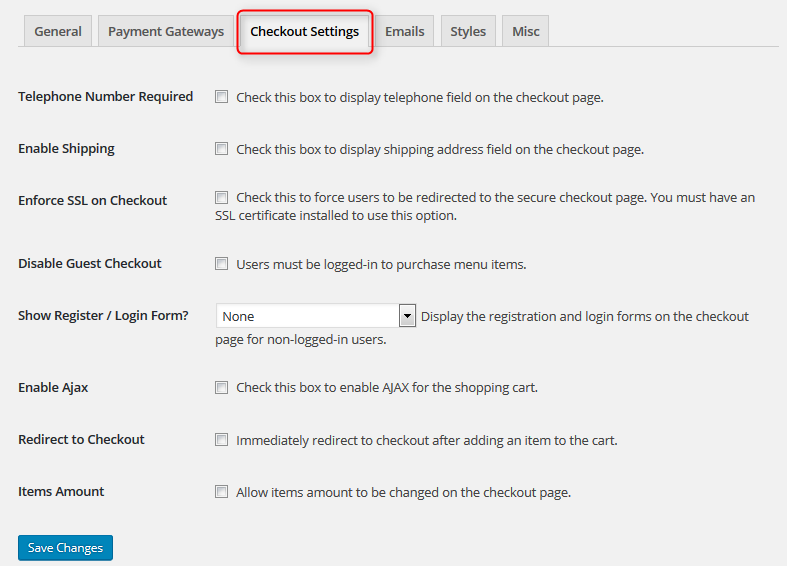
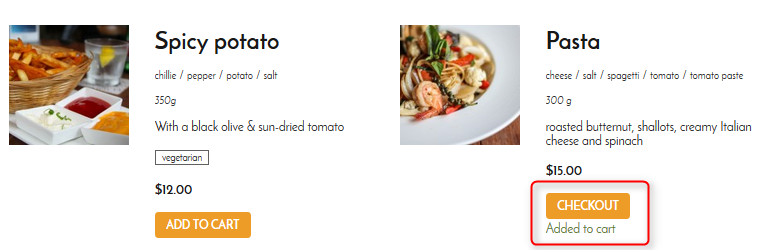
- immediate redirecting to Checkout (if disabled, after the product is added to cart, the shoppers will only see “Added to cart” notification and will need to manually navigate to the checkout page; it’s handier if the shoppers are going to buy several products):
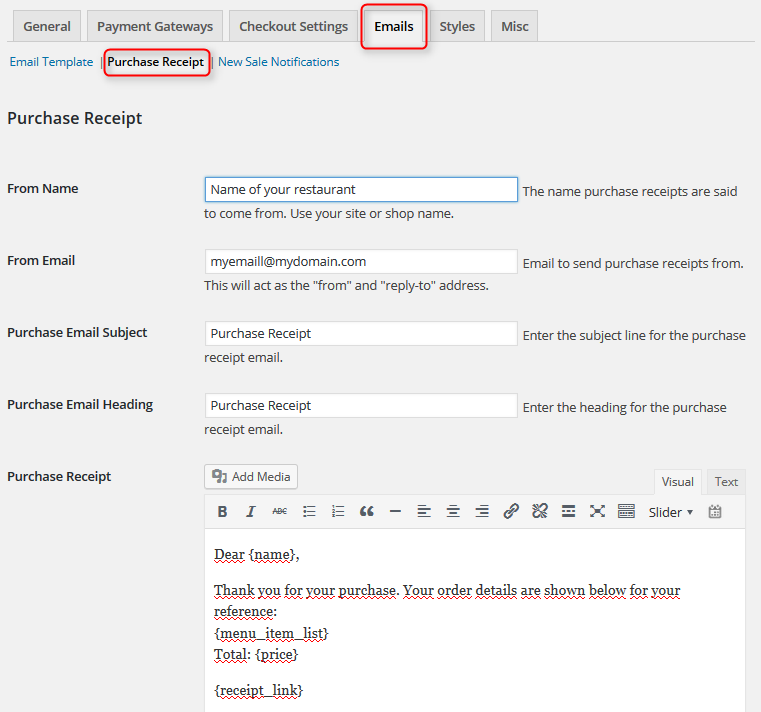
Configuring Email Templates
This option allows you to customize email notifications for the website administrator and shoppers, upload your logo, and adjust Purchase receipt (for users) and New Sale notification (for website administrator). Using all available template tags you can copy the needed ones to show in the appropriate notification. It’ll simplify the process of creating receipts as it’s a half-automatic work.
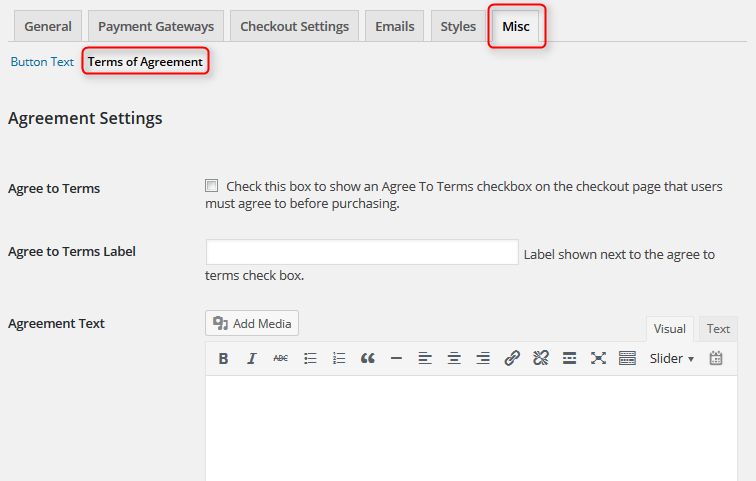
Setting styles
Personalize your shop with brand or suitable colors, appropriate size and style of the Shopping Cart button and overall checkout fields and elements. In the Miscellaneous tab you can also change default button text (Complete Purchase and Add to Cart Text) and input your Terms of Agreement.
All of your orders and customers’ details will be stored under Restaurant Menu > ‘Customers’ and ‘Orders’ menu on WordPress Dashboard. One more big plus, you’ll be able to set order statuses for you buyers, so they can track them: cooking, shipping, and shipped.
You may also want to check the demo version of the plugin with eCommerce enabled:
Download the MotoPress Restaurant Menu plugin here:
Free and premium addons for the MotoPress Restaurant Menu plugin for WordPress
- Restaurant menu cart – a free plugin to add a shopping cart into the navigational menu.
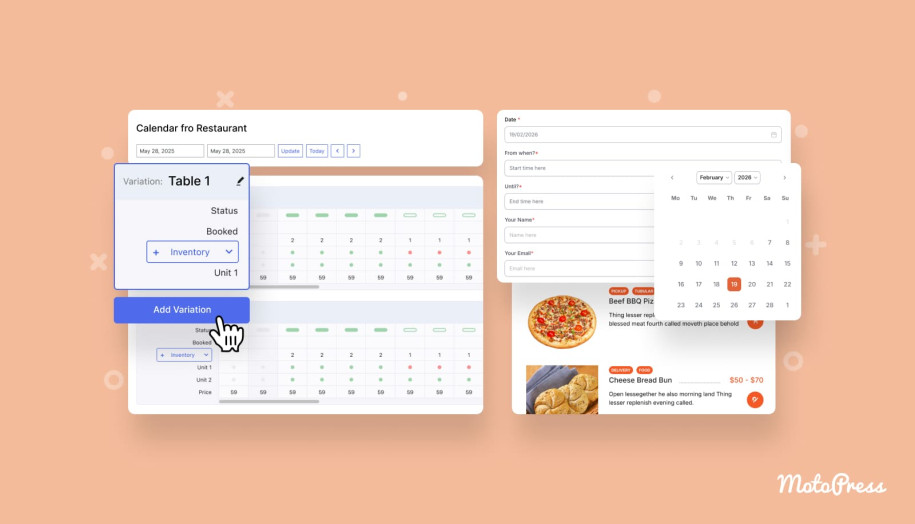
- Delivery addon – a premium plugin to enable delivery and pickup services for the food ordering system in your restaurant.
- Toppings addon – to build a pizza builder and sell extra food and drinks.
If you already had a chance to test the plugin, we cannot wait to hear your feedback!
Hi Ann, It has been a great experience after using Motopress Restaurant Menu Plugin. Thanks a lot for bringing into notice.
Hey Ghulam! I’m happy it came in handy.