How to Create a WordPress Booking Website?
Table of Contents
Are you tired of managing reservations through calls, messages, or DMs? If you run a service-based business, an online appointment booking system can take care of bookings instead of handling them manually. In this guide, we’ll walk you through how to create a fully functional WordPress booking website for accepting hourly appointments!
Clients today expect a quick and easy way to book services online. A well-designed booking website not only improves your workflow but also builds trust. Let’s learn how to make it work seamlessly!
Why Create a WordPress Booking Website?
- Whether you’re a solo provider or run a team, an appointment scheduling website helps streamline operations and reduce no-shows.
- Instead of relying on phone calls or messages, customers can book appointments online at any time, from any device.
- Why WordPress? With WordPress, you have full control over how your site looks and functions.

How to Build an Appointment Booking Website: Step-by-Step Guide
We’ll go step by step, from choosing a domain to customizing your booking form and promoting your services. Let’s get it started!
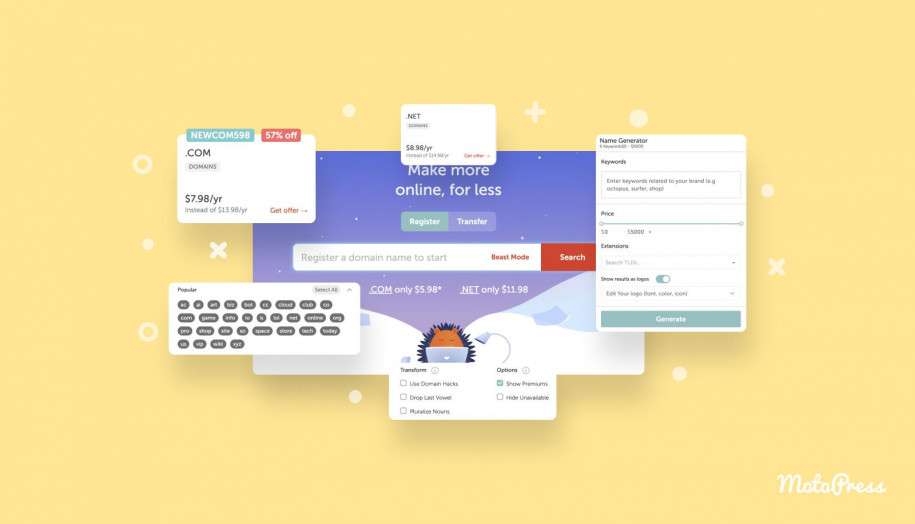
Choose Domain Name
To launch your website, you need a website address. The domain is the name people will type to find your website. Try to make it short, easy to say out loud, and connected to what you do.
Tips:
- Think about words your clients might search for (like “nails” or “therapy”).
- Keep it simple: no weird spellings, hyphens, or long phrases.
- Use a domain registrar tool to check if your name is available.
- Choose a .com domain name extension if possible.

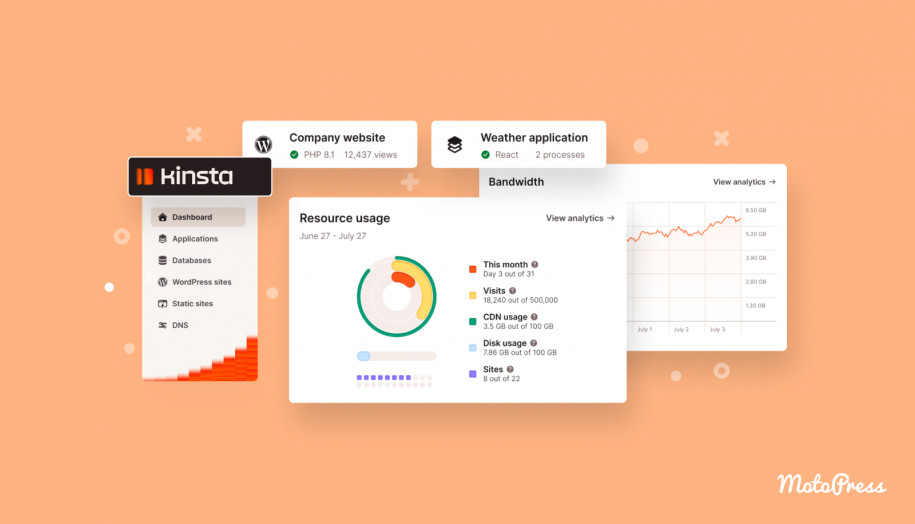
Select Hosting
Web hosting stores your site’s files and makes them accessible online. You should choose a reliable hosting provider with good performance and support for your WordPress booking website.
Tips:
- Look for providers that support WordPress installation.
- Ensure the hosting includes SSL (for site security).
- Consider the difference between managed and shared WordPress hosting.
Install WordPress
Once you’ve got your domain and hosting set up, it’s time to install WordPress. Used by over 43% of all websites, this CMS platform is flexible enough to give you full control over your design and features.
The good news is that most hosting providers offer 1-click WordPress installation, so you won’t need to deal with any complicated setup steps. After installation, you’ll get access to your WordPress dashboard – this is where all the magic happens.
Tips:
- Be sure to save your login credentials and bookmark your dashboard URL.
- Choose a simple username and a strong password to keep your site secure.
Choose a WordPress Theme
With WordPress installed, the next step is to give your site a professional and attractive look. That’s where themes come in. They control the layout, colors, fonts, and overall design of your website.
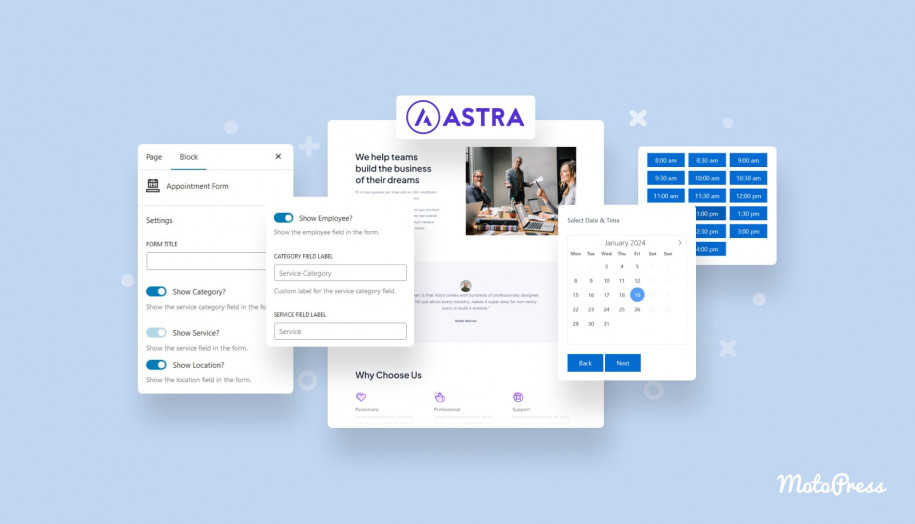
MotoPress offers a wide collection of WordPress themes built specifically for appointment-based businesses. Whether you’re in beauty, health, education, fitness, or consulting, there’s likely a theme tailored to your niche.
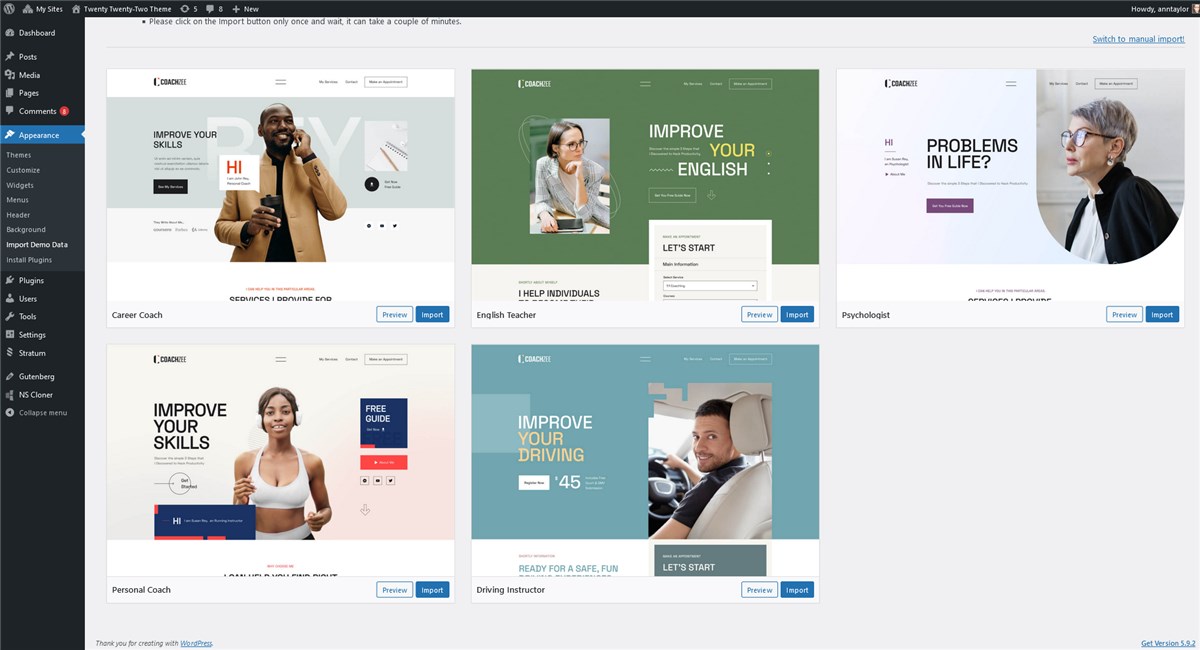
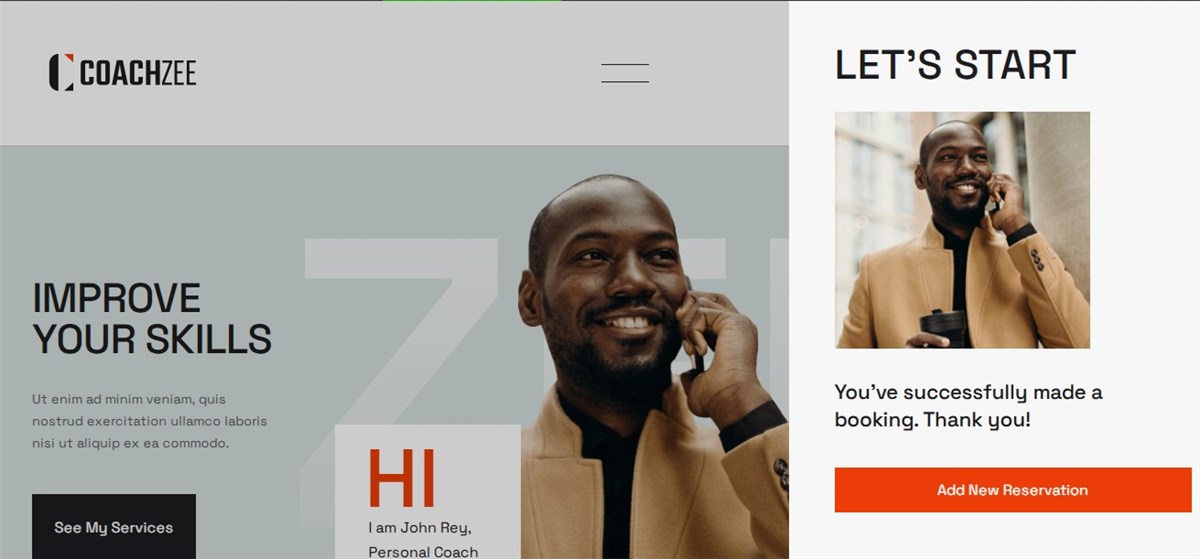
For this tutorial, I’m going to use CoachZee, designed for life coaches, consultants, personal trainers, and educators. Its key features include:
- 5+ demos with a clean and modern layout;
- Built with the WordPress block editor and Getwid;
- Pre-designed pages;
- Packed with the MotoPress Appointment Booking plugin out of the box;
- Free trial available for testing.
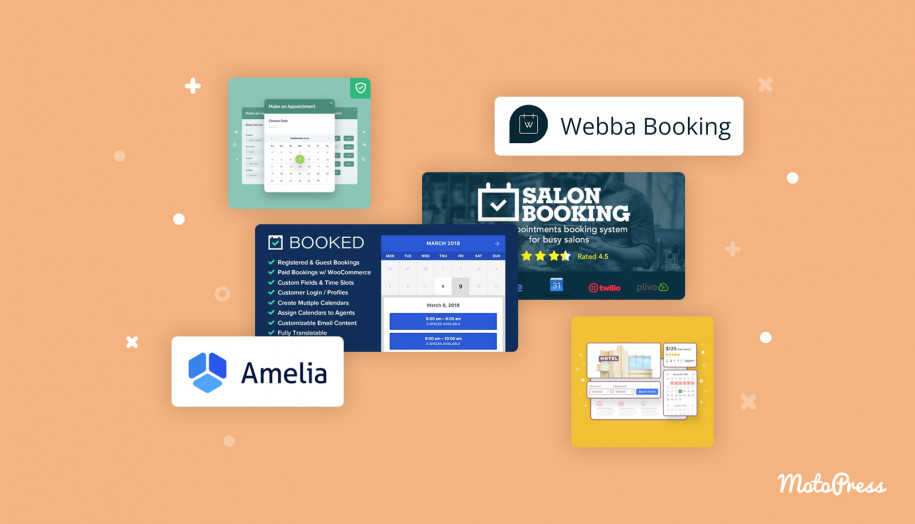
Choose a WordPress Booking Plugin
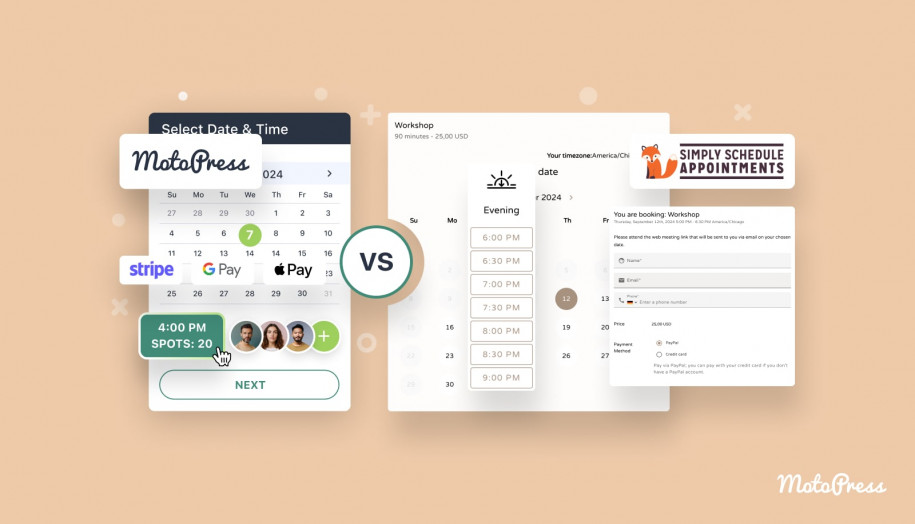
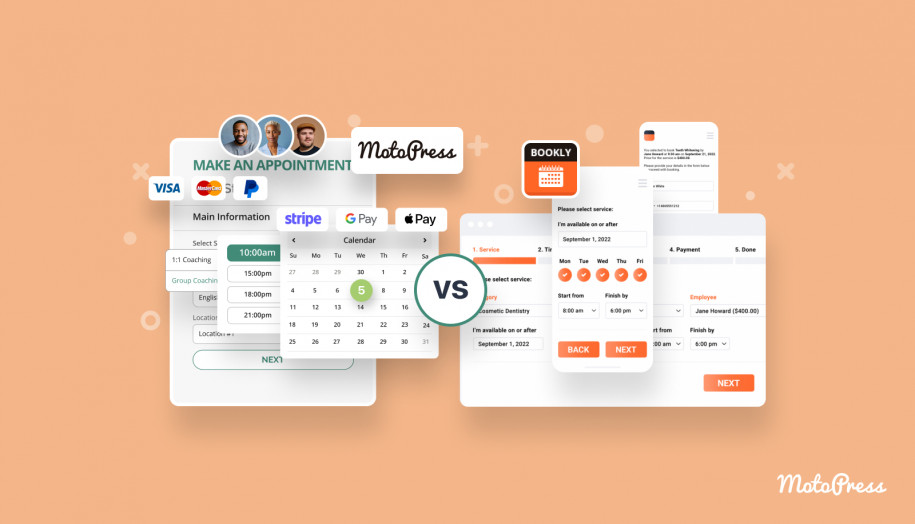
Design is just one part of the website. Now, let’s add the functionality that allows clients to book appointments. For this, I’ll be using the MotoPress Appointment Booking plugin as the best appointment scheduling plugin for WordPress.
| Name | Price | Downloads |
|---|---|---|
| MotoPress Appointment Booking | From $49/year | 1.7K+ |
This plugin works for a wide range of hourly-based businesses. In this tutorial, I’ll show you how to use it to set up everything from services and staff to emails and payments.
Key Features:
- Unlimited services, employees, and locations;
- Custom working hours, breaks, holidays, and buffer times;
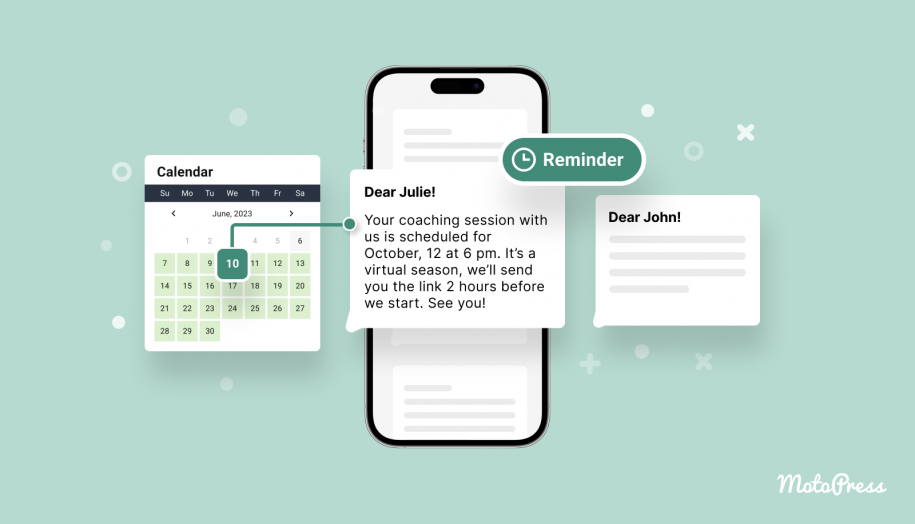
- Email notifications and reminders for both clients and staff;
- Online payments via PayPal, Stripe, direct bank transfer, or pay-on-site;
- Group appointments and individual bookings;
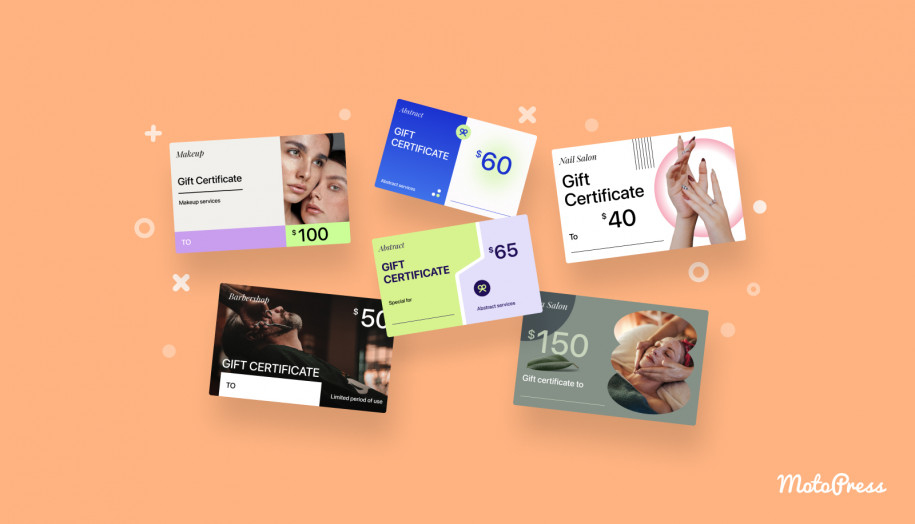
- Deposit payments and discount coupons;
- Google Calendar synchronization for staff;
- Free integrations with Gutenberg (block editor), Divi, and Elementor.
This plugin is what makes the entire booking process smooth and, more importantly, automated.

Configure Plugin
After installing and activating the plugin, let’s dive into the settings to make it work for your business. You can either go through everything manually or use the Appointment Booking Setup Wizard. It’s a helpful tool that walks you through adding your first service, employee, and essential settings.
Step 1: Configure General Settings
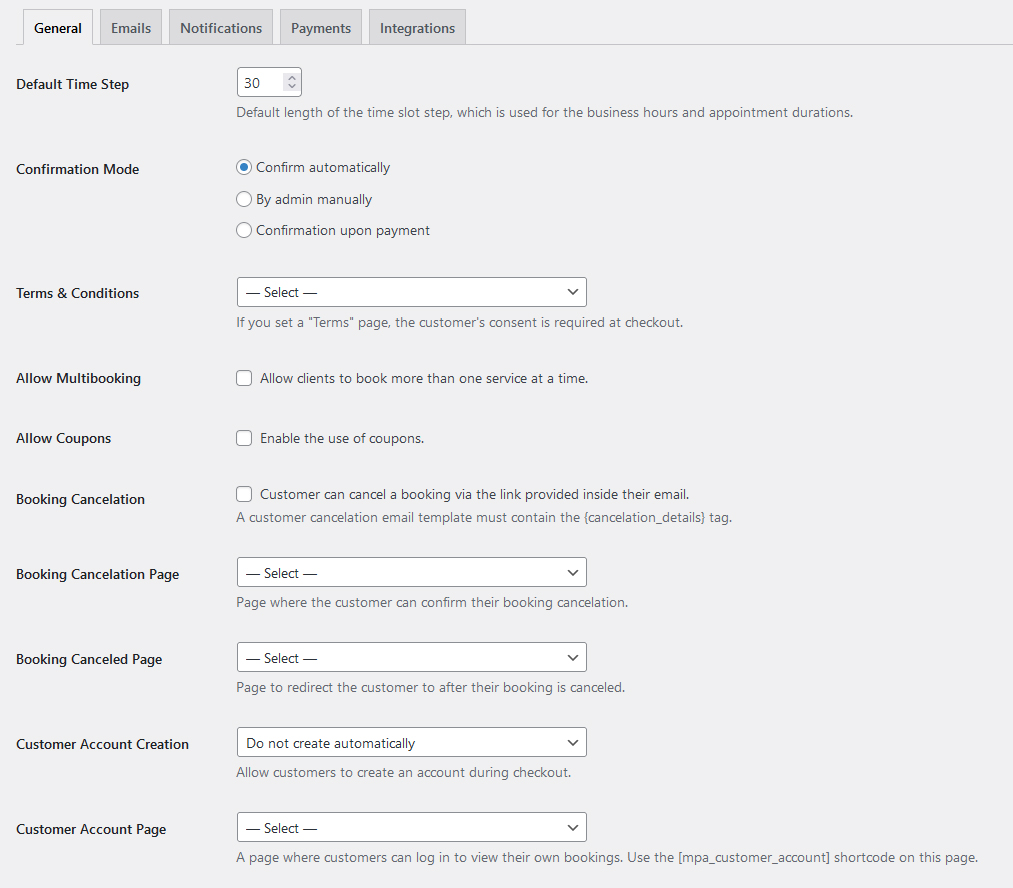
Before anything else, head to Appointments > Settings > General. Here, you can define the main rules and preferences for how your booking system behaves.
- Default time slot step: choose how long each appointment block should be (e.g., 15, 30, or 60 minutes).
- Booking confirmation mode: decide whether appointments are confirmed automatically, manually by the admin, or only after payment.
- Terms & Conditions: add your terms that customers must accept before booking.
- Multibooking: allow clients to book multiple services at once.
- Coupons: enable discount codes to use in promotions (you can further add them via Appointments > Coupons).
- Booking Cancelation Settings.
- Customer Account: let users create accounts for easier future bookings.
- Default Country and Currency: set your location and preferred currency.
Step 2: Add Locations
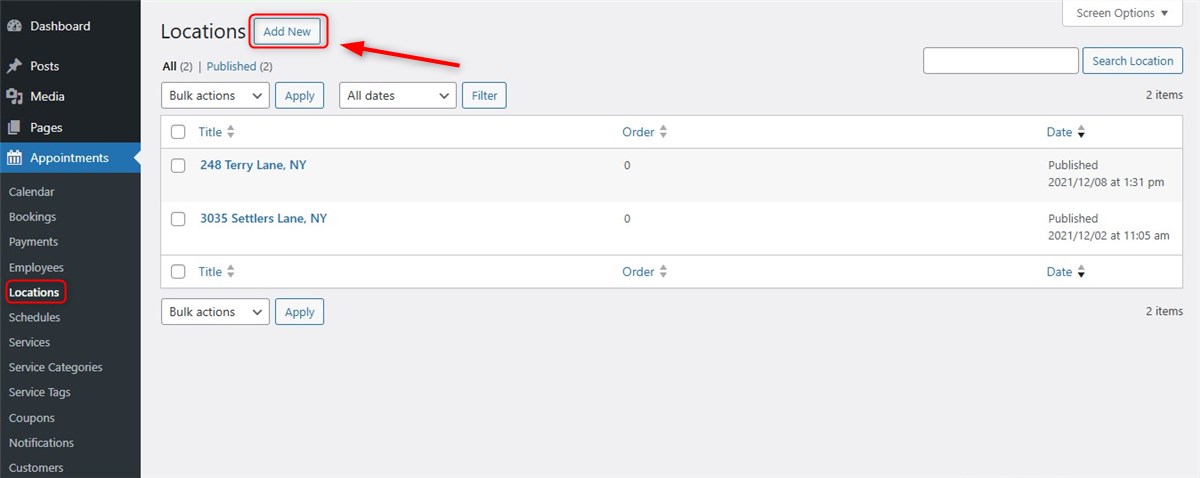
If your business operates in different offices, studios, or rooms, you can define each location separately.
Navigate to Appointments > Locations > Add New to add names, addresses, and contact info for each location.
Step 3: Add Employees
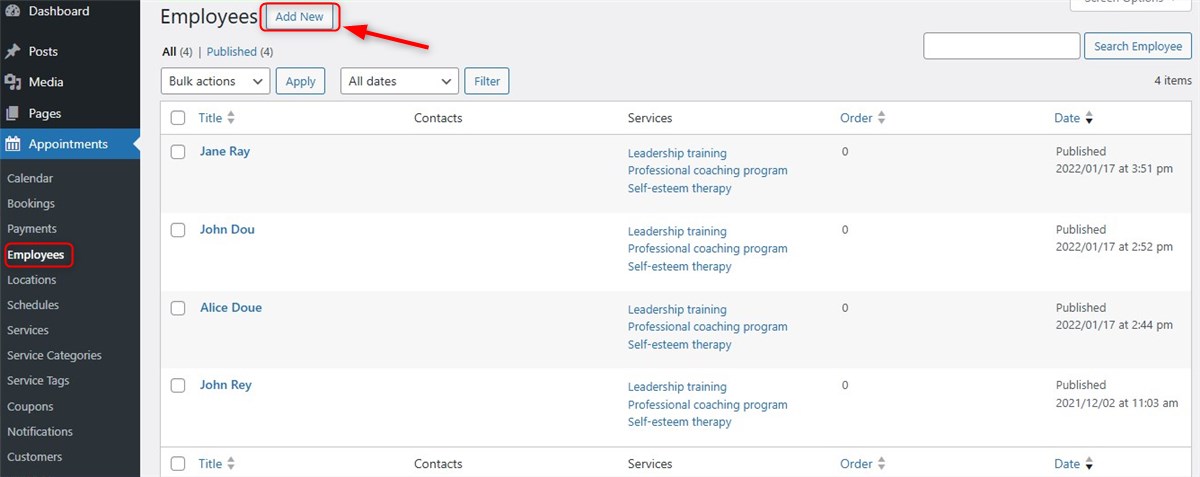
Next, go to Appointments > Employees > Add New to add team members. You can:
- Upload a photo.
- Add a bio or short description.
- Include contact information.
- Add Social Networks.
- Connect their Google Calendar.
Step 4: Create Schedules
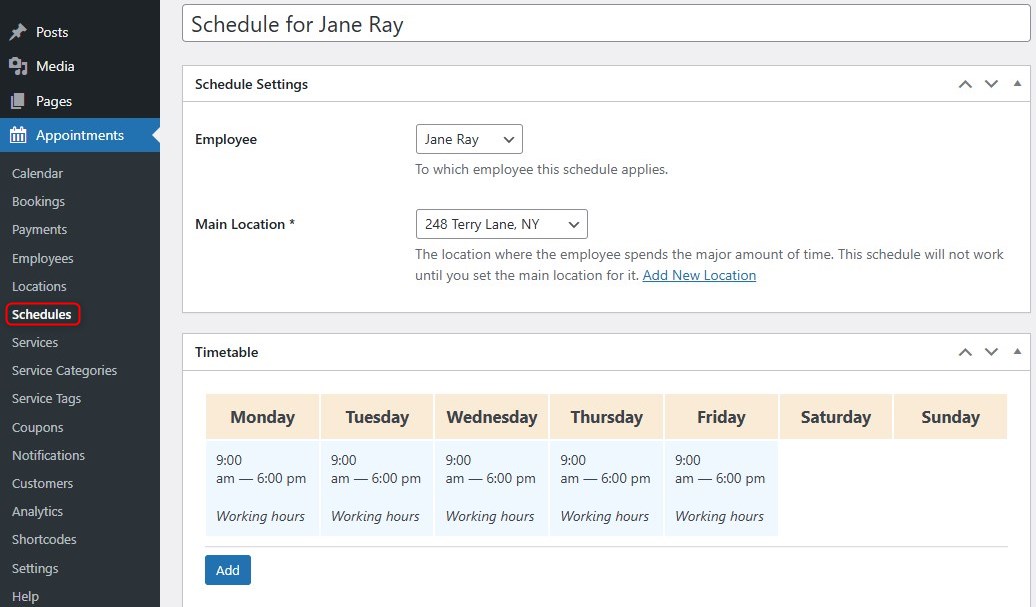
Under Appointments > Schedules, you’ll define your team’s working hours. You can set:
- Working hours;
- Breaks during the day;
- Days off;
- Holidays.
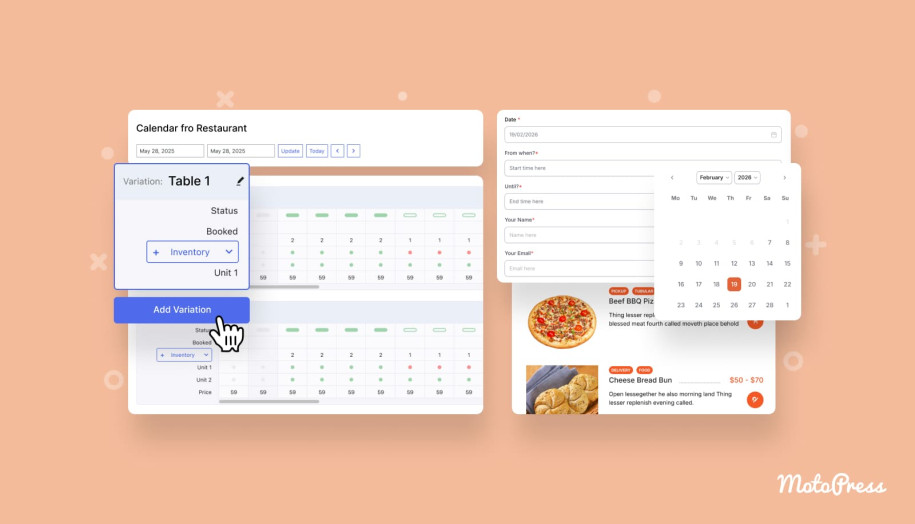
Step 5: Add Services
Now it’s time to define what you’re offering. Navigate to Appointments > Services > Add New to create individual offerings such as consultations, massages, lessons, or workshops.
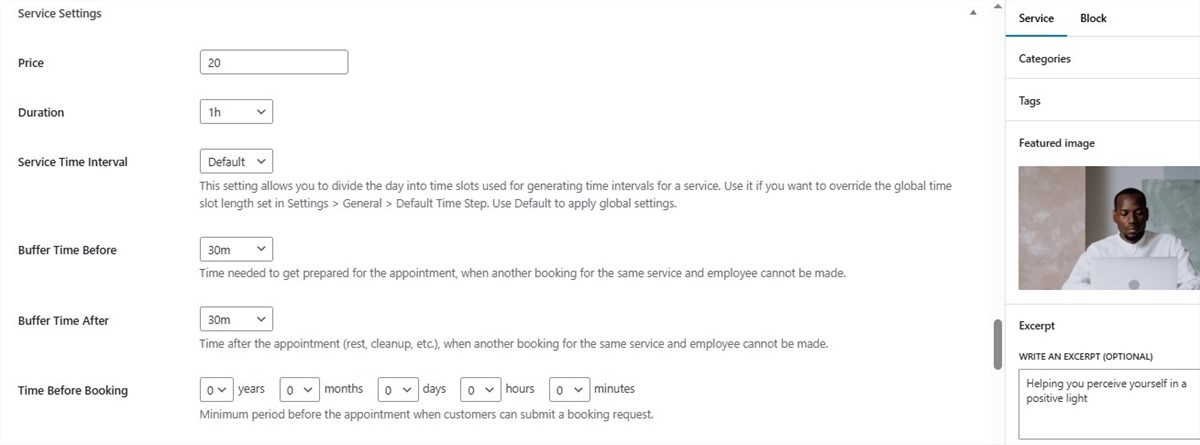
Each service can include:
- Title and description;
- Duration and price;
- Service Time Interval;
- Buffer times before or after;
- Minimum and maximum capacity;
- Time Before Booking;
- Advanced Scheduling Window;
- Eligible employees;
- Color;
- Deposit Settings.
Group bookings
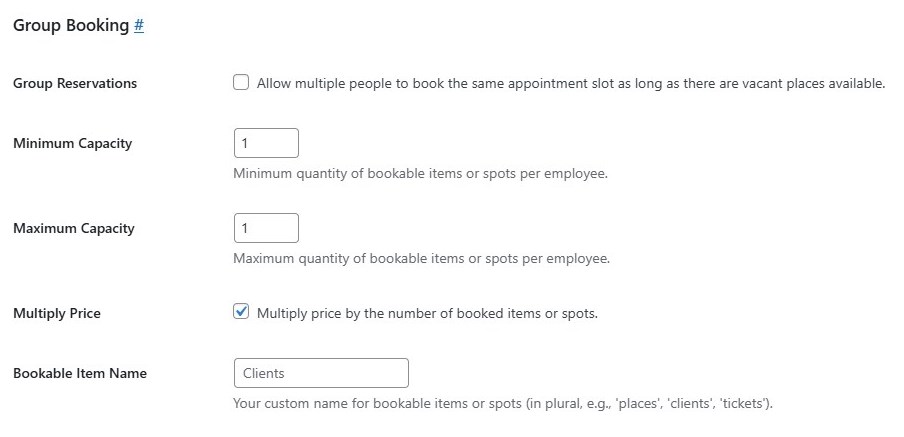
When it comes to service capacity, the MotoPress plugin supports both multiple-person and shared timeslot appointments. It lets you multiply the price by the number of booked items or spots.
- One booking for a group: A client can book several spots in a single reservation.
- Multiple bookings of the same slot: Several people can independently book the same time.
This option makes it easy to use your site for everything from 1:1 appointments to group workshops and virtual events. The plugin allows you to add a custom name for bookable items or spots (e.g., ‘places’, ‘clients’, ‘tickets’).
Step 6: Customize Email Templates
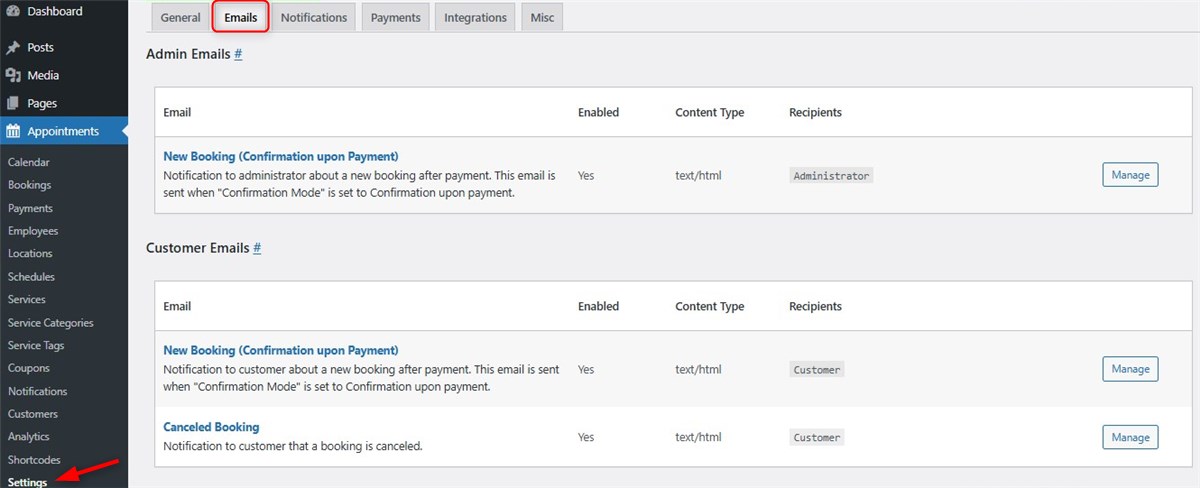
Go to Appointments > Settings > Emails. The plugin includes built-in email templates that you can customize to match your tone and branding.
You can personalize them using shortcodes. It’s a great way to keep your communication professional and consistent.
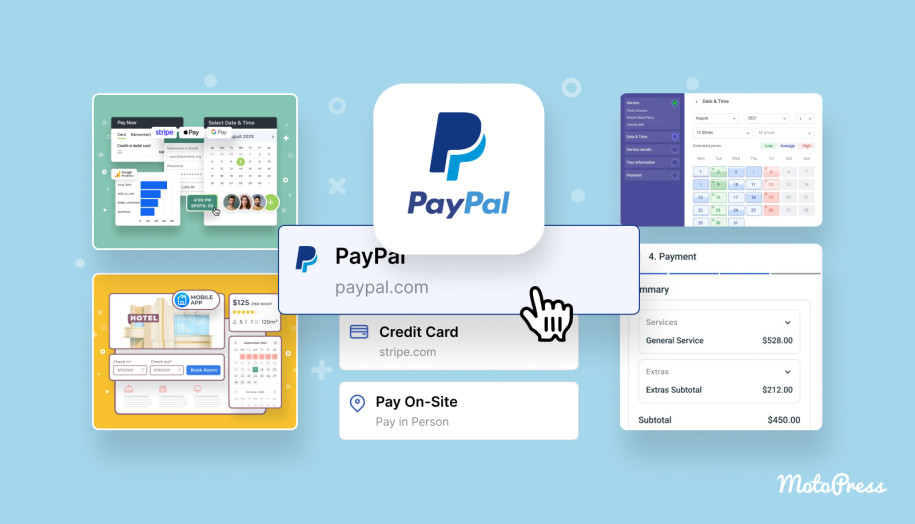
Step 7: Enable Payment Methods
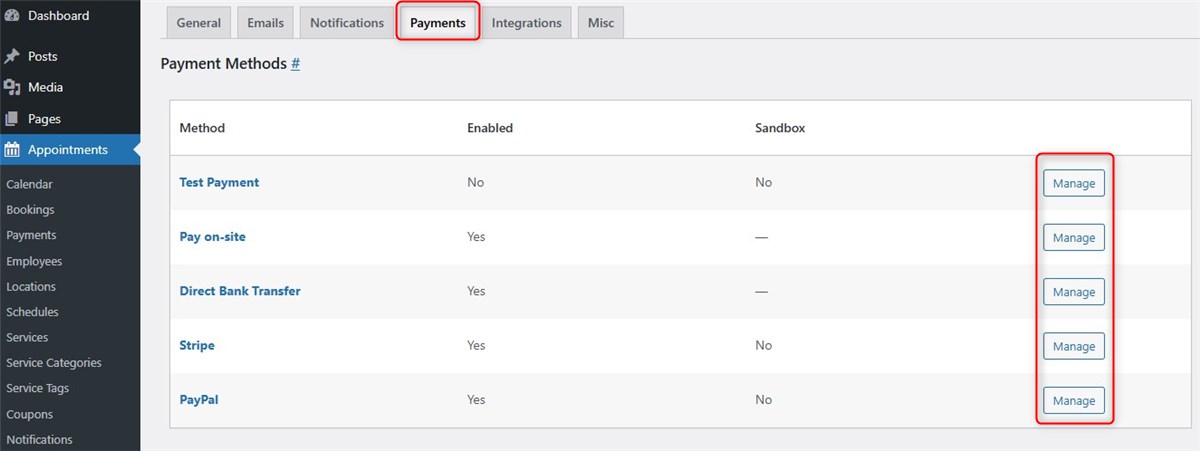
MotoPress Appointment Booking supports various payment gateways, giving you the flexibility to accept online and offline payments. Go to Appointments > Settings > Payments to enable and configure each method. Available options include:
- PayPal;
- Stripe;
- Direct bank transfer;
- Pay on-site;
- Test payment.
Step 8: Add Booking Form to Your Website
Finally, you need to display your appointment form so clients can book services. There are two easy ways to add the form:
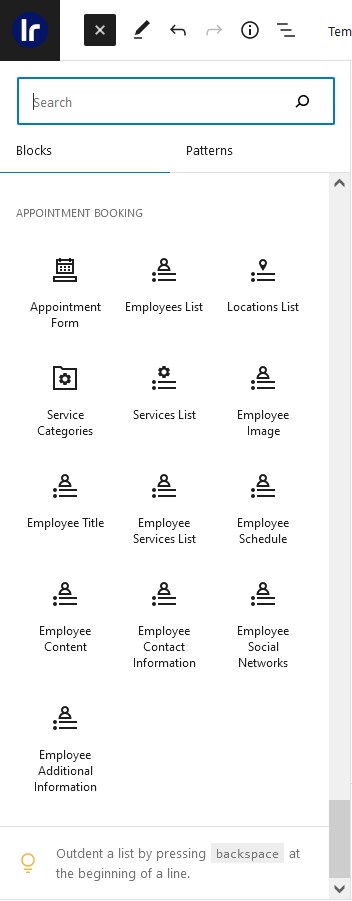
- Using a content block: If you’re building with the WordPress block editor (Gutenberg), Elementor, or Divi, the plugin includes a free “Appointment Form” block/widget you can simply drag and drop onto a page.
- Using a shortcode: Navigate to Appointments > Shortcodes, click “Add New”, and generate a shortcode to embed the form anywhere.
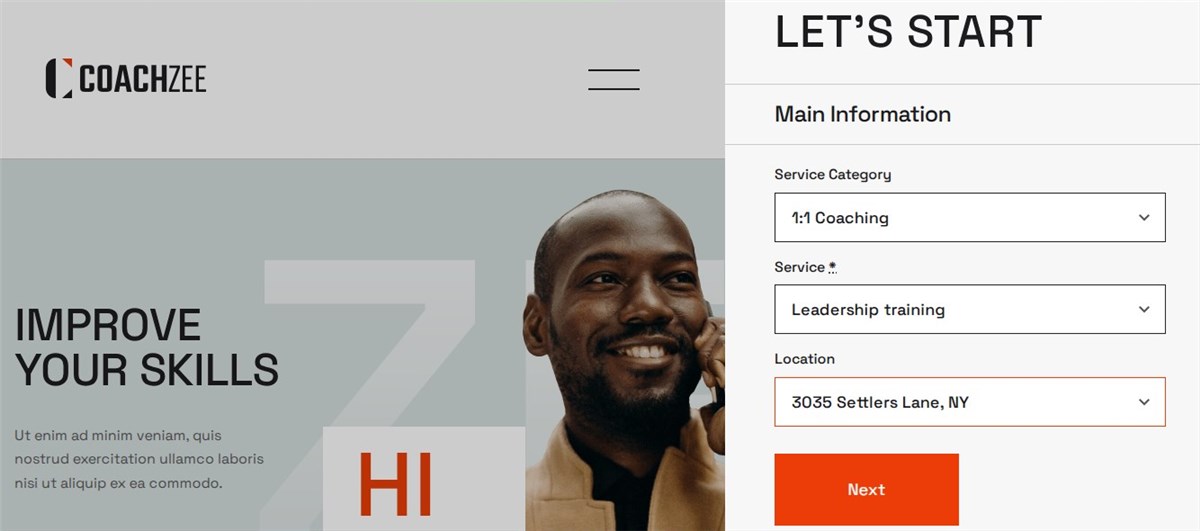
On the CoachZee theme, the booking form visually interplays with the design.
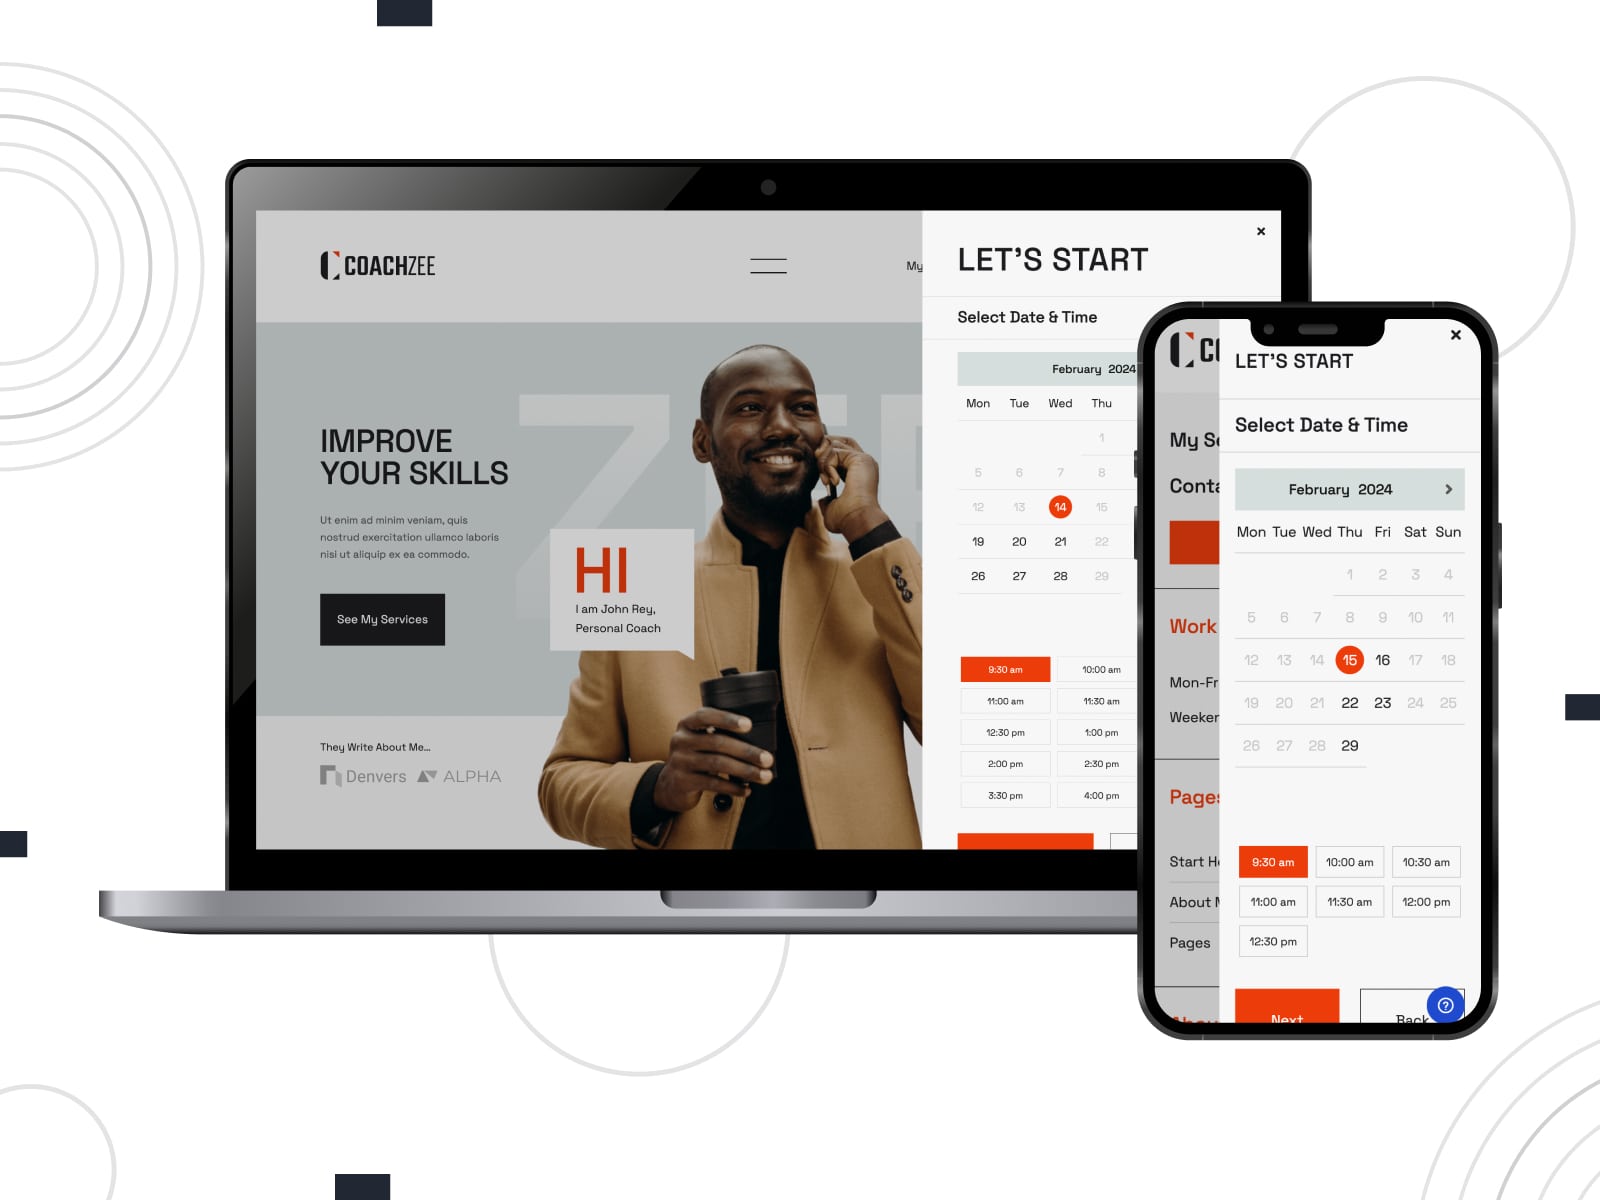
Let’s have a look at the step-by-step reservation process on its career coach WordPress direct booking website.
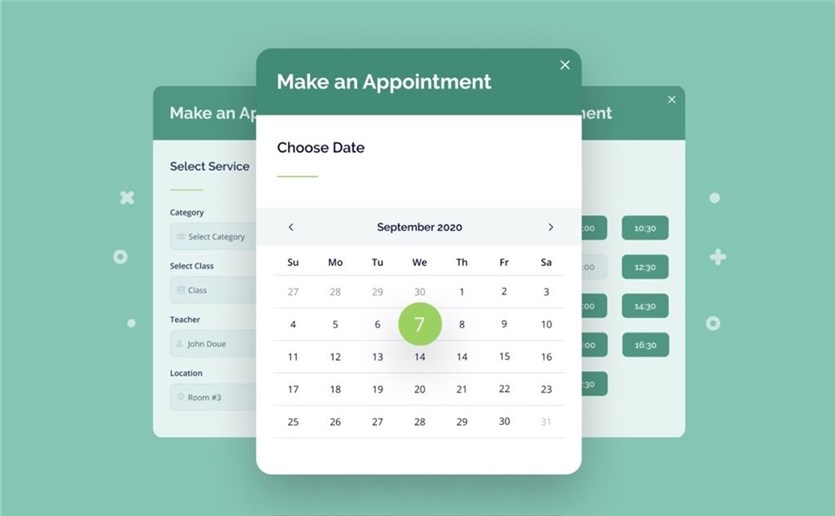
Once clients click on the ‘Make an Appointment’ Button, they will see a mobile-friendly booking widget and be able to select a service category, a service, and a location:
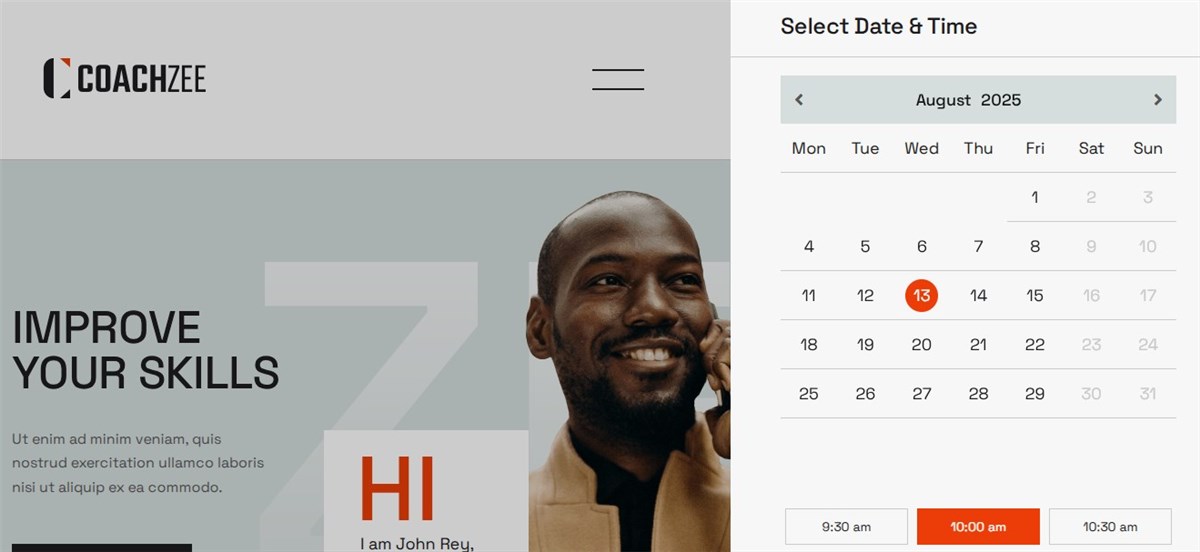
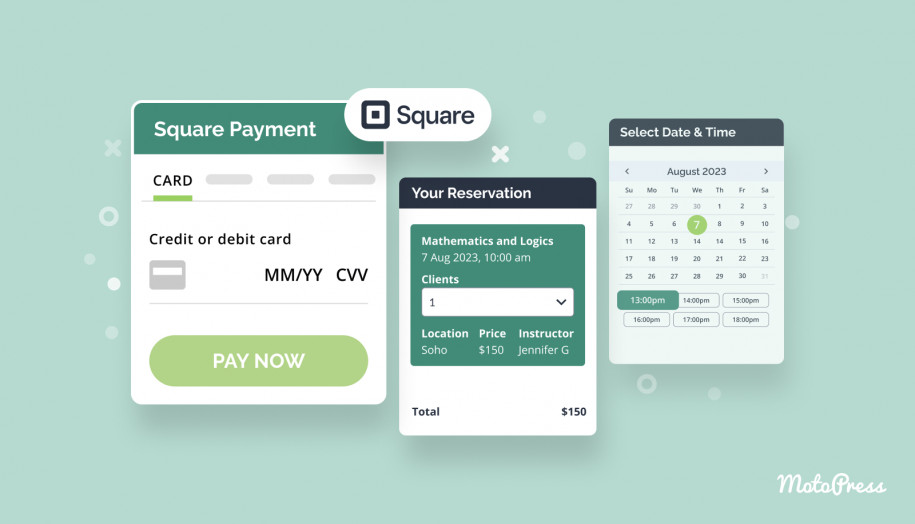
Then, they choose an available date and a time slot convenient for them:
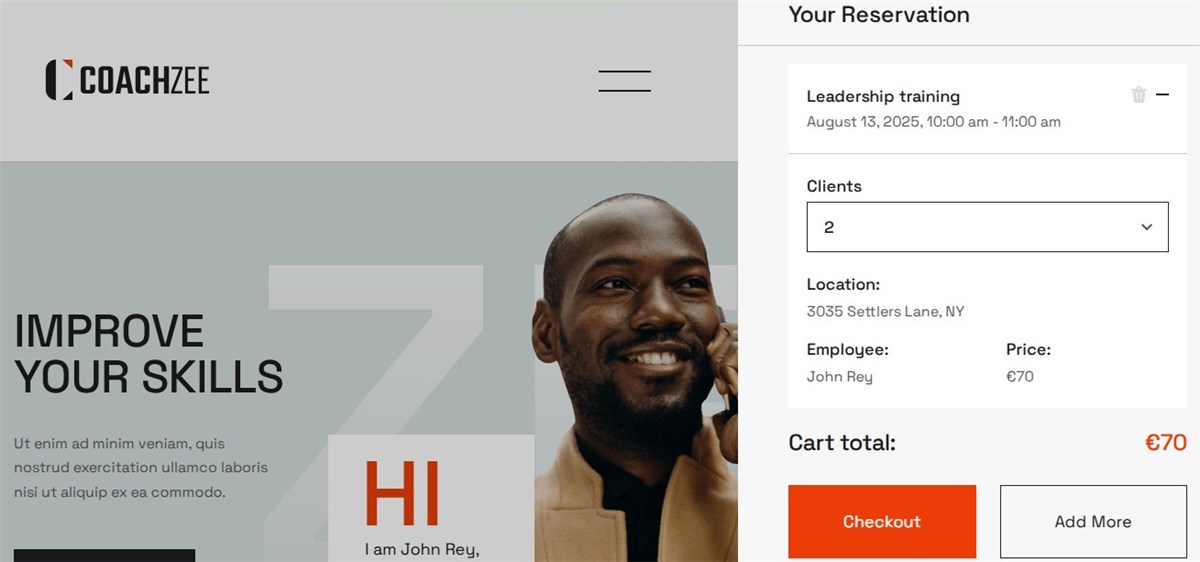
During the next step, your client can select the number of people for the service by clicking the ‘+’ icon and submit multiple bookings by clicking the ‘Add More’ button:
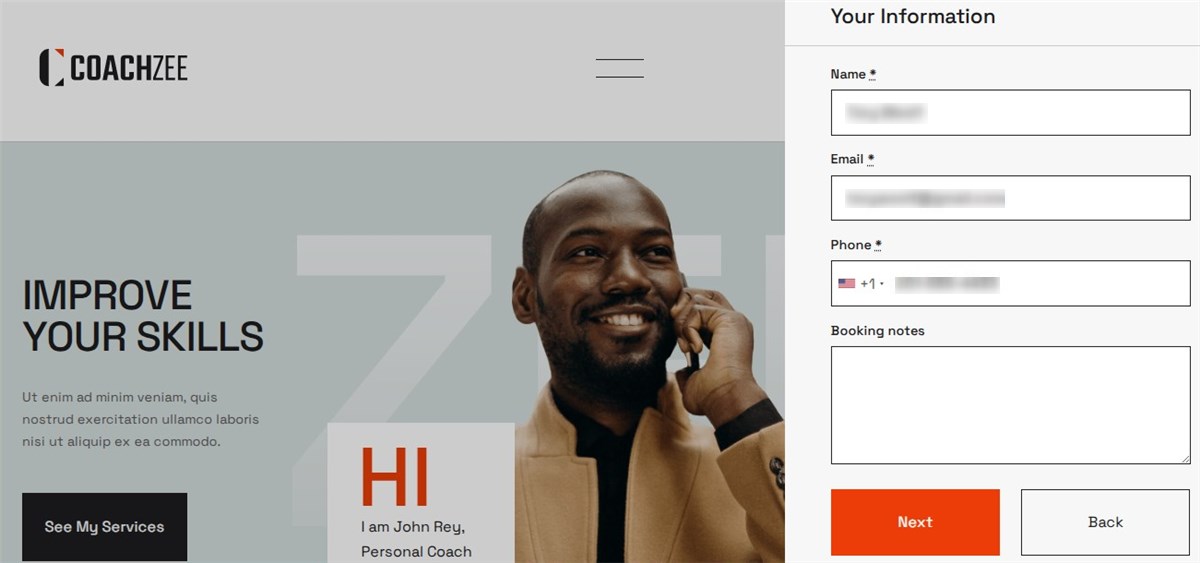
The Checkout button brings the client to the Personal Information step.
If you enable payment gateways in the plugin’s settings, the next step will deal with selecting a preferred payment method:
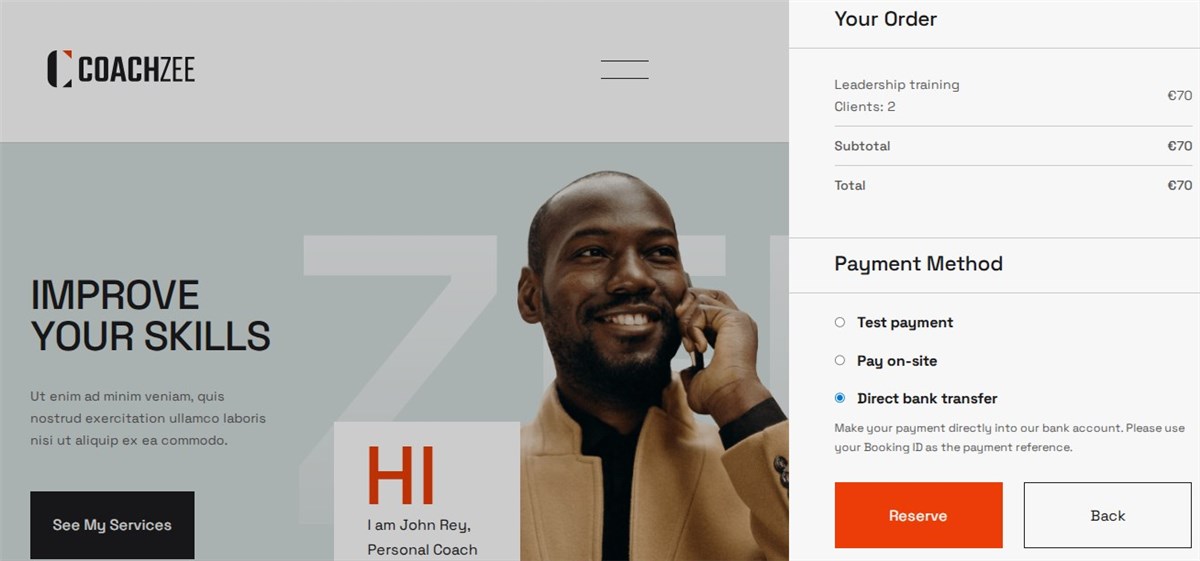
Now, the reservation is confirmed!
Step 9: Manage Appointments
Once everything is up and running, you’ll need an easy way to track and manage your bookings. The MotoPress Appointment Booking plugin gives you a centralized place to stay on top of all appointments.
- On your WordPress dashboard, you’ll find a calendar view that shows all bookings at a glance.
- A built-in analytics dashboard is included to monitor key metrics.
- The ability to export bookings to CSV is useful if you want to do custom reporting, send data to other tools, or just keep a backup.
Watch a detailed video tutorial on how to build a WordPress booking website with online appointments for coaching services:
Advanced Functionality
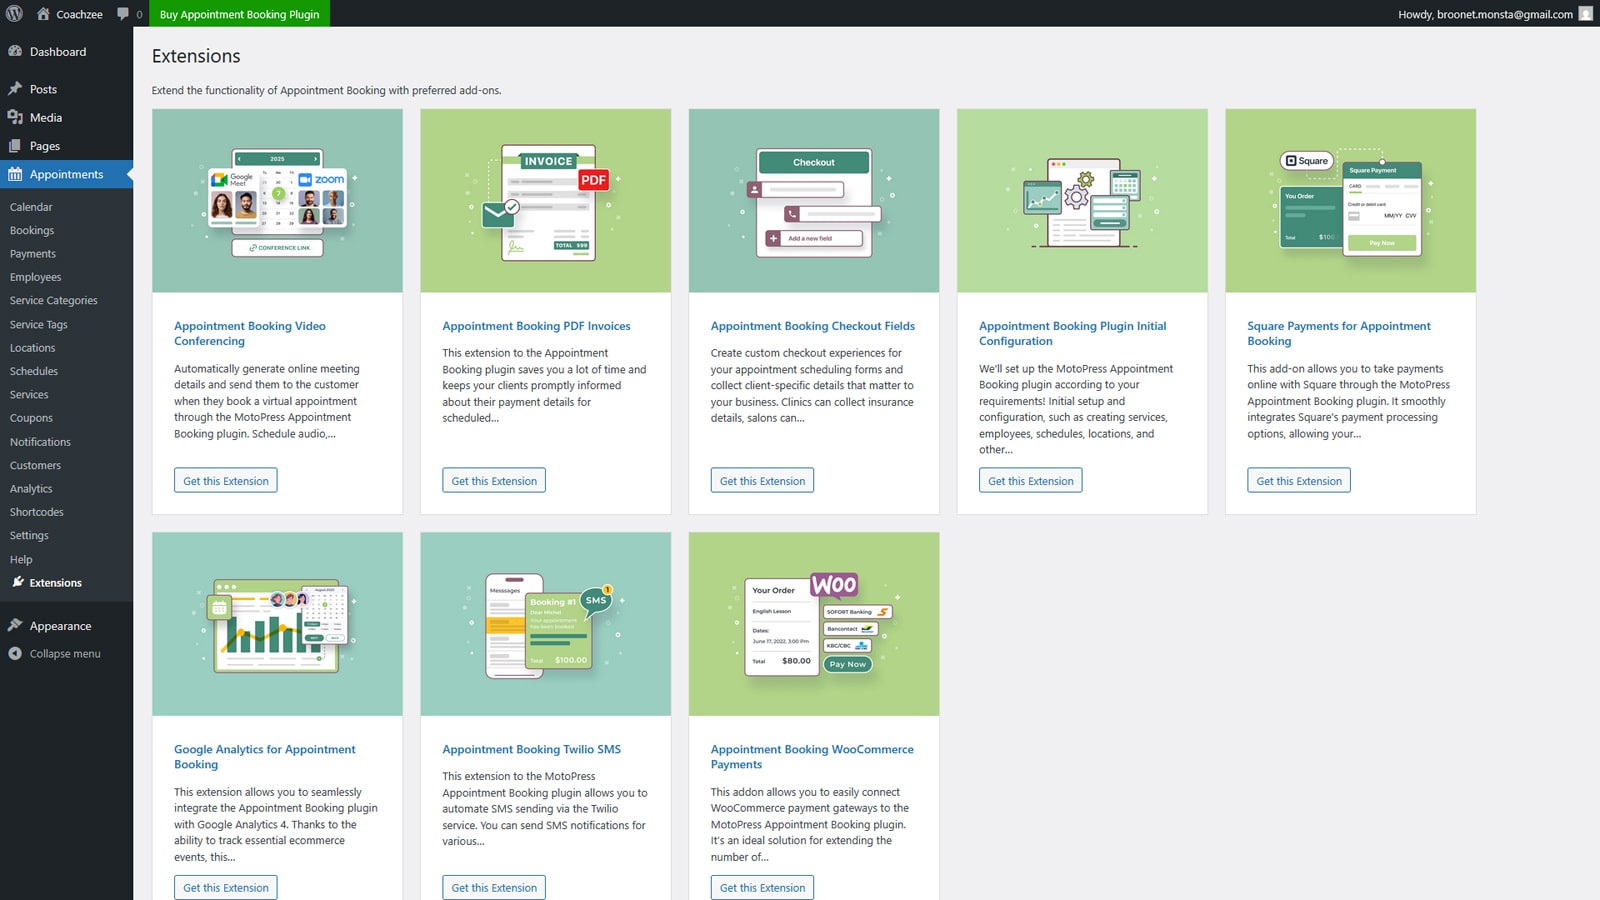
MotoPress offers a growing collection of premium Appointment Booking addons to expand the core plugin’s features. These tools let you fine-tune your booking system to suit specific needs. Here’s a list of available addons:
- WooCommerce Payments;
- Checkout Fields;
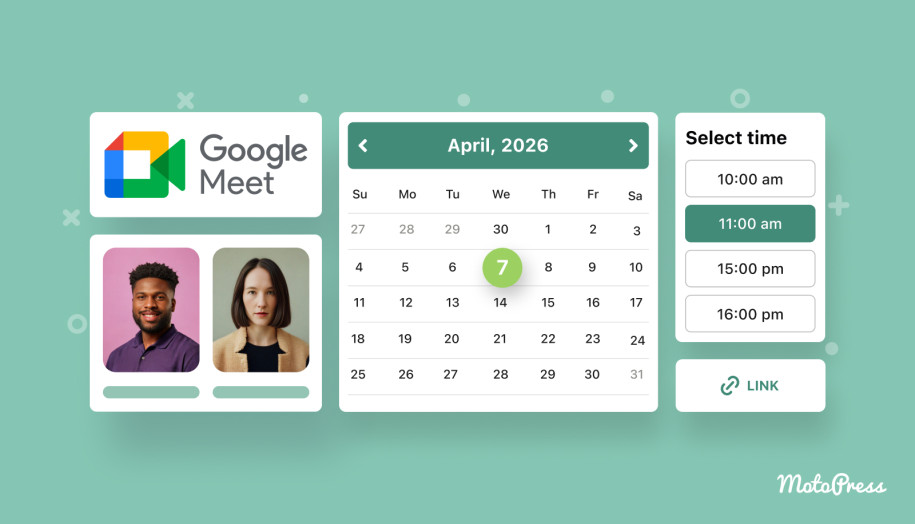
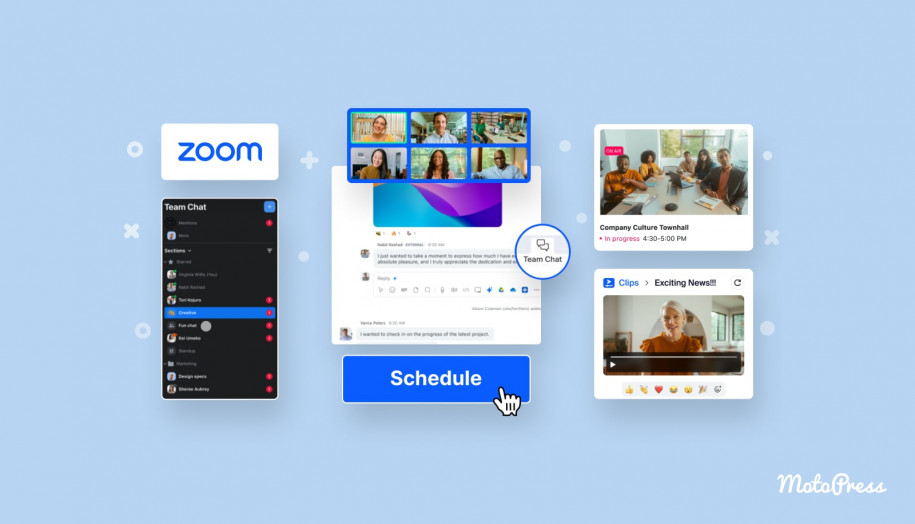
- Video Conferencing (Zoom and Google Meet);
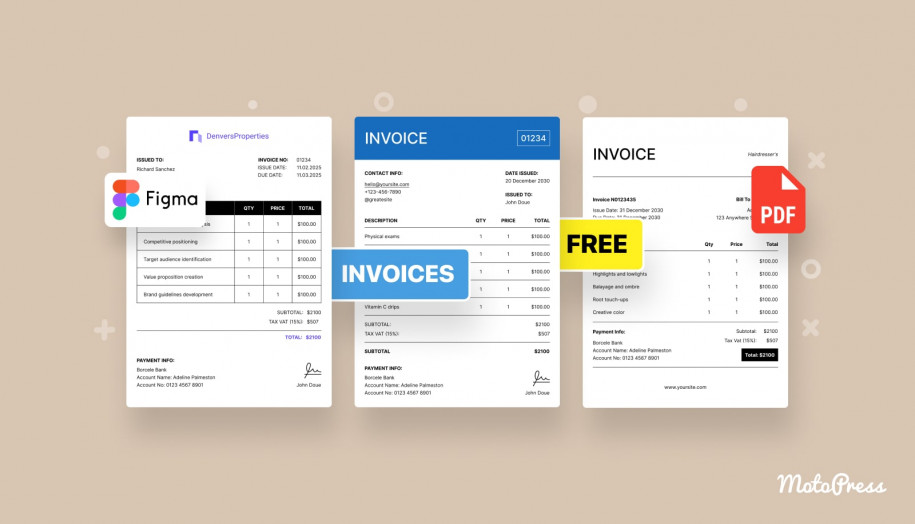
- PDF Invoices;
- Square Payments;
- Twilio SMS Notifications;
- Google Analytics.
Pricing
As for pricing, the plugin is available as:
- A core plugin – a single site license costs $49 per year.
- A part of an Appointment Plugin + 7 Add-ons Bundle – the price starts from $99.
- A part of a Membership, which gives access to 40+ MotoPress plugins and themes – the annual subscription costs $399.
Appointment Booking Configuration
The MotoPress team offers professional Initial Configuration as a paid service, so if you’d prefer to save time or avoid the tech side, you can let the experts handle everything.
Add Content
With the technical parts set up, it’s time to fill in your website with content that reflects your brand and builds trust with visitors. Along with the appointment scheduling WordPress functionality, you can create essential pages such as.
- Homepage – introduce yourself, your services, and invite users to book.
- Services – describe your offerings in detail, including pricing and benefits.
- About – share your story, experience, and what makes your approach unique.
- Booking – display your appointment form so users can schedule easily.
- Contact – add your phone number, email, location, and social media links.
Bonus Tip: Use real photos, testimonials, and even short videos to make your site feel more personal.
Promote Your Website
There are so many ways to promote your WordPress booking website (both online and offline). I’ll share a few easy wins in the tutorial.
Promotion Ideas:
- Share your link on your social media accounts.
- Print business cards or flyers with your booking URL.
- Offer a small discount for online bookings to encourage first-time users.
- Start an email list or newsletter for updates and promotions.
- Ask happy clients for testimonials.
- Apply the best SEO practices to make your website rank higher in search results.
Tip: Keep track of which channels bring the most traffic and focus your energy on them.
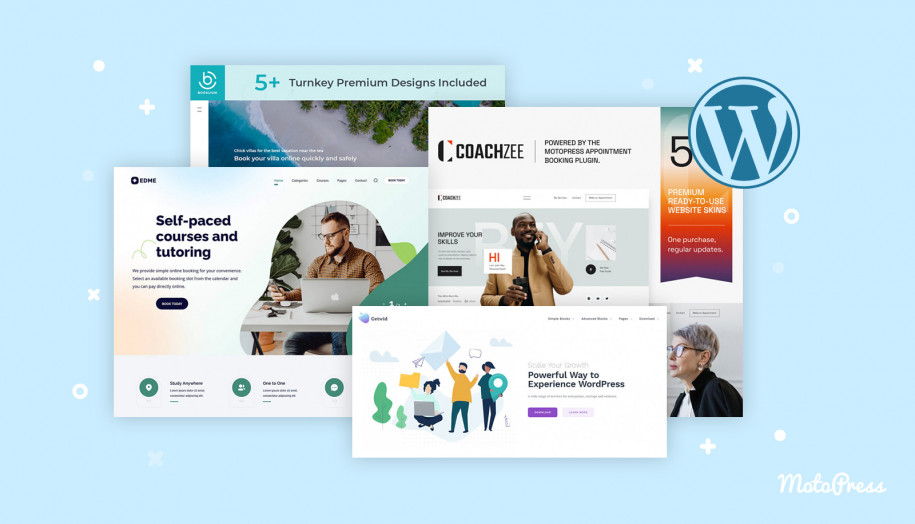
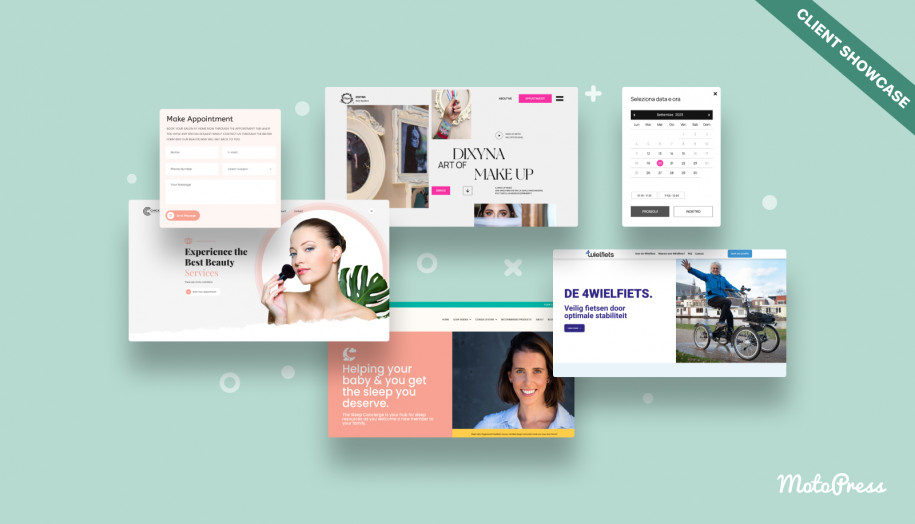
Appointment Booking Website Templates: WordPress Examples
If you’re working in a different niche or want to explore other designs, WordPress has a great selection of appointment booking themes. Let’s explore solutions that come bundled with the WordPress appointment scheduling plugin by MotoPress!
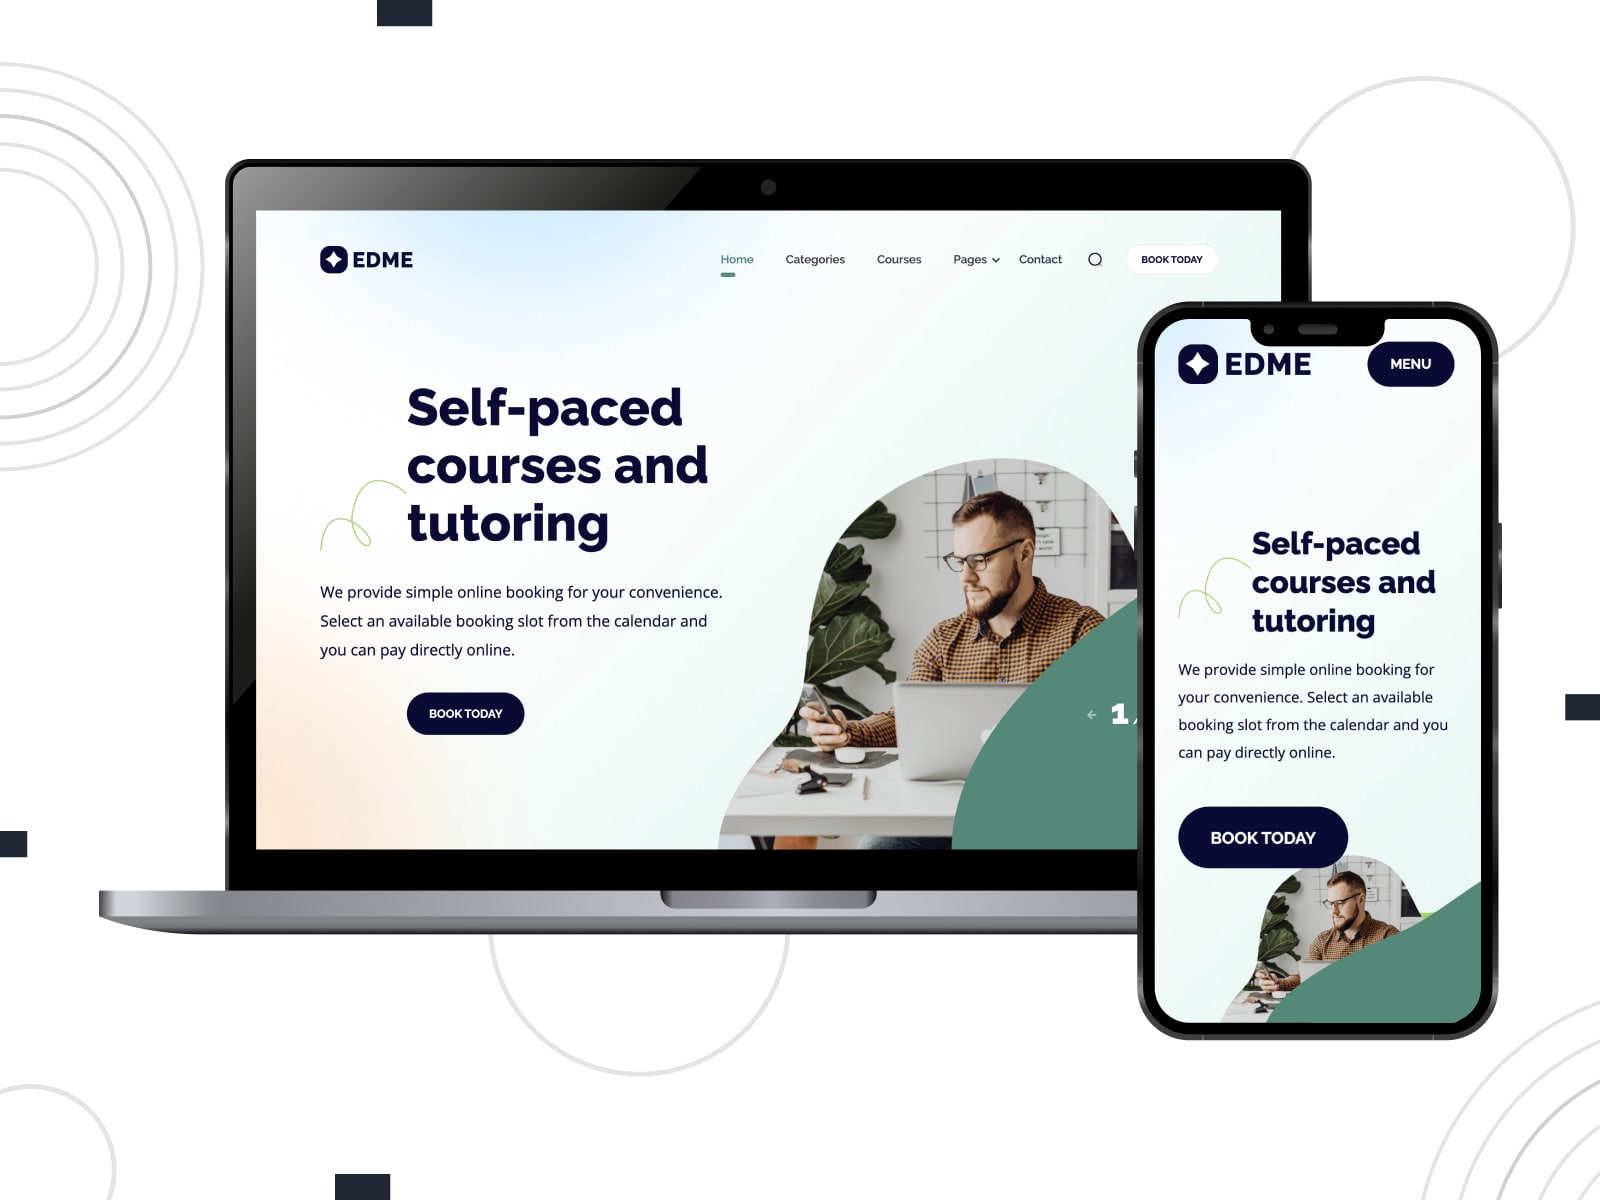
Edme
| Name | Best For | Pricing |
|---|---|---|
| Edme | Tutors, teachers, and education services | From $49 |
Edme helps educators showcase their services because it includes ready-made pages for courses, pricing, and teacher bios. Users can schedule one-on-one lessons or join group classes. It’s a smart choice for tutors offering both in-person and online lessons.
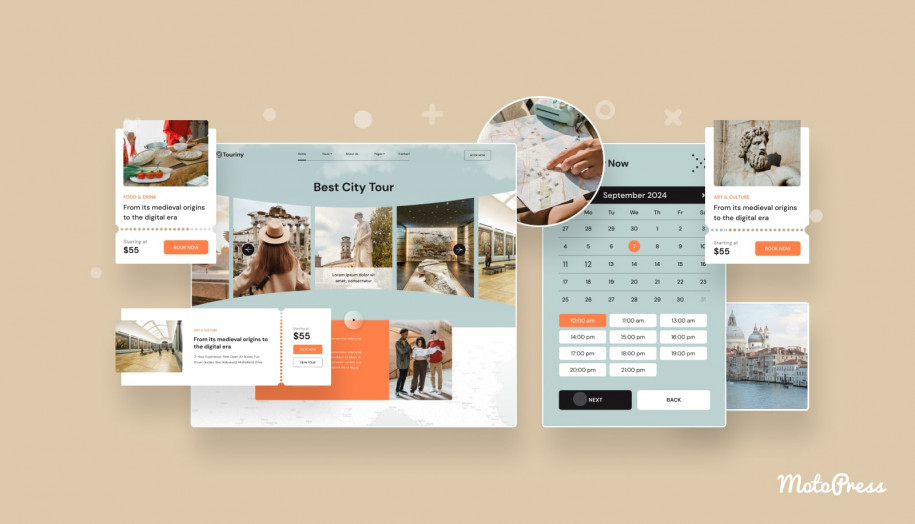
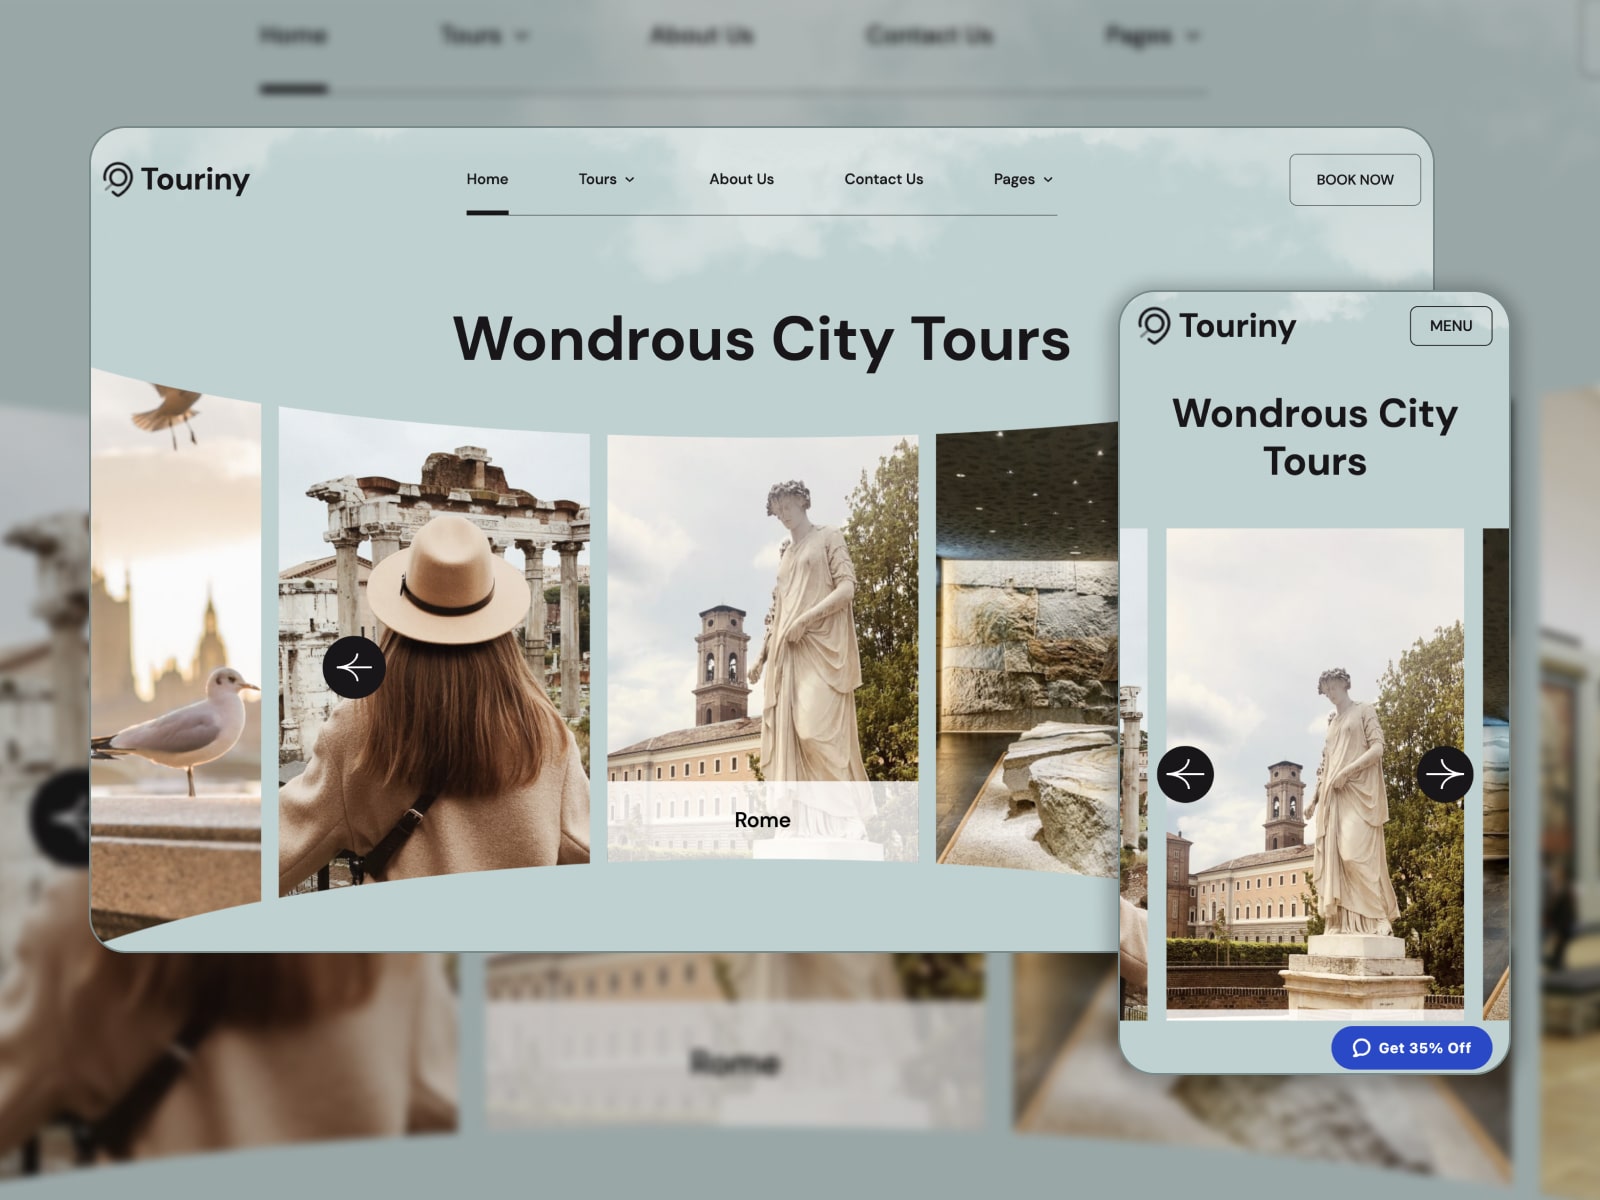
Touriny
| Name | Best For | Pricing |
|---|---|---|
| Touriny | Tour guides and travel agencies | From $49 |
Touriny lets tour providers promote their tours and arrange online tour booking. You can display locations, descriptions, and group sizes, while clients can book tours directly through the site. Ideal for local guides or agencies offering custom trips, the design feels bold and adventure-ready.
Lorenty

| Name | Best For | Pricing |
|---|---|---|
| Lorenty | Different types of equipment rental businesses | From $49 |
Lorenty helps rental companies accept online bookings for any type of equipment. The theme includes 5 unique demos tailored for party supplies, bikes, aircraft, and boats. Each demo comes with a clean layout that focuses on showcasing products and availability.
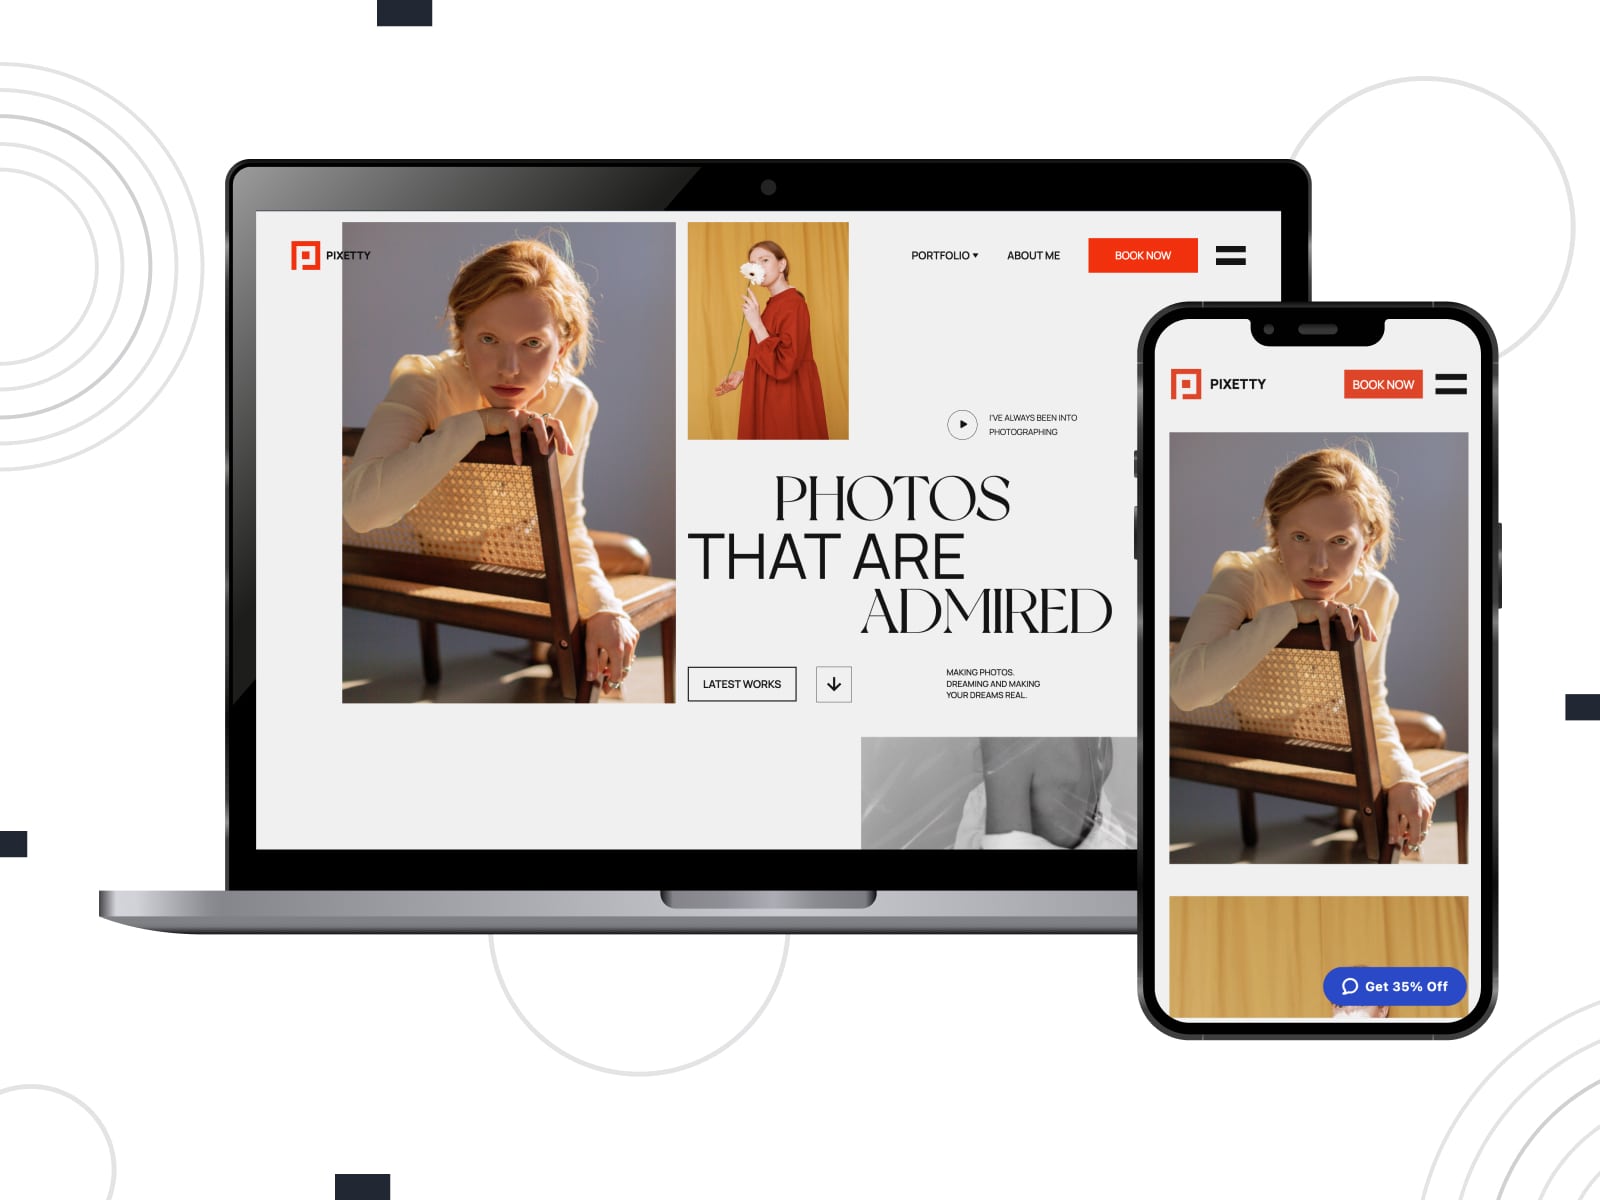
Pixetty
| Name | Best For | Pricing |
|---|---|---|
| Pixetty | Photographers, studios, and creative professionals | From $49 |
Pixetty is a stylish solution for photographers to present their portfolios. Ready-to-go pages guide visitors through services, galleries, and booking forms. Clients can view your projects and schedule sessions online. The design is modern to attract and engage site visitors.
Restline
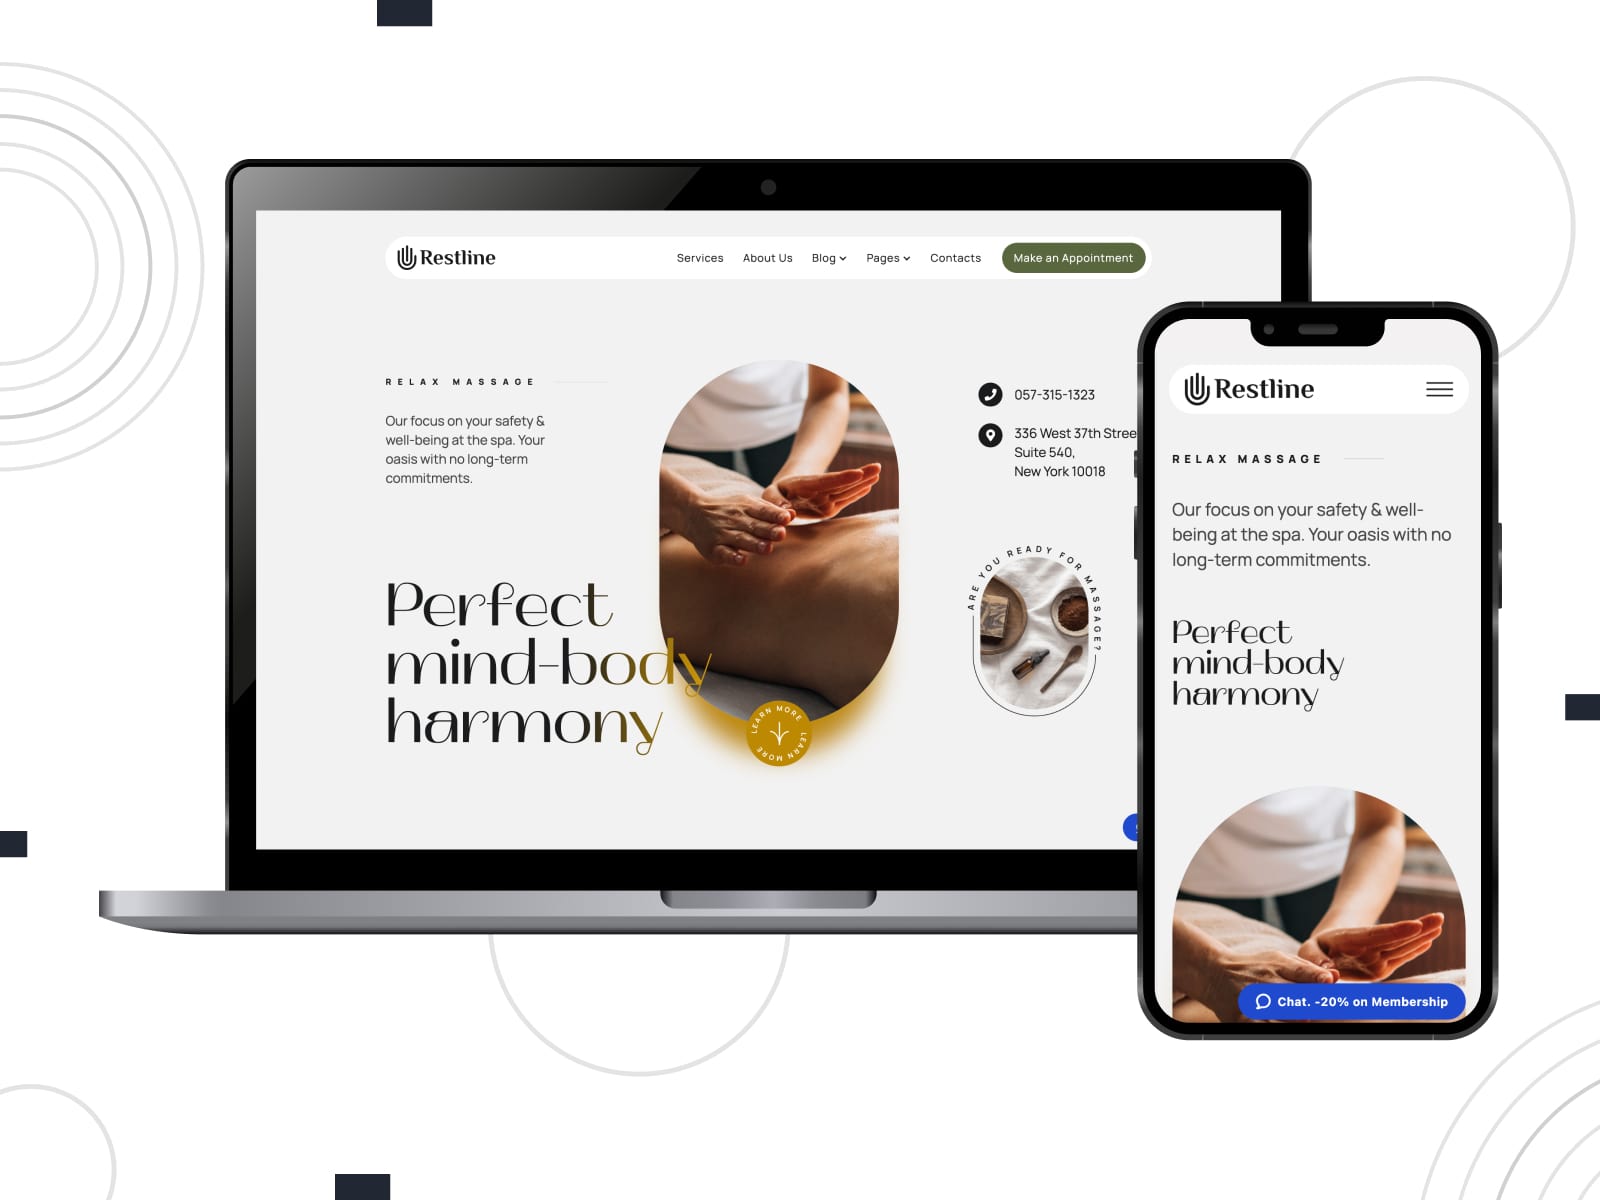
| Name | Best For | Pricing |
|---|---|---|
| Restline | Massage therapists and wellness studios | From $49 |
With Restline, you can list treatments, prices, and staff members. The calming design creates a relaxing atmosphere. Clients can easily find services and choose time slots. This WordPress theme is well-suited for massage or holistic therapy studios.
Yogamo
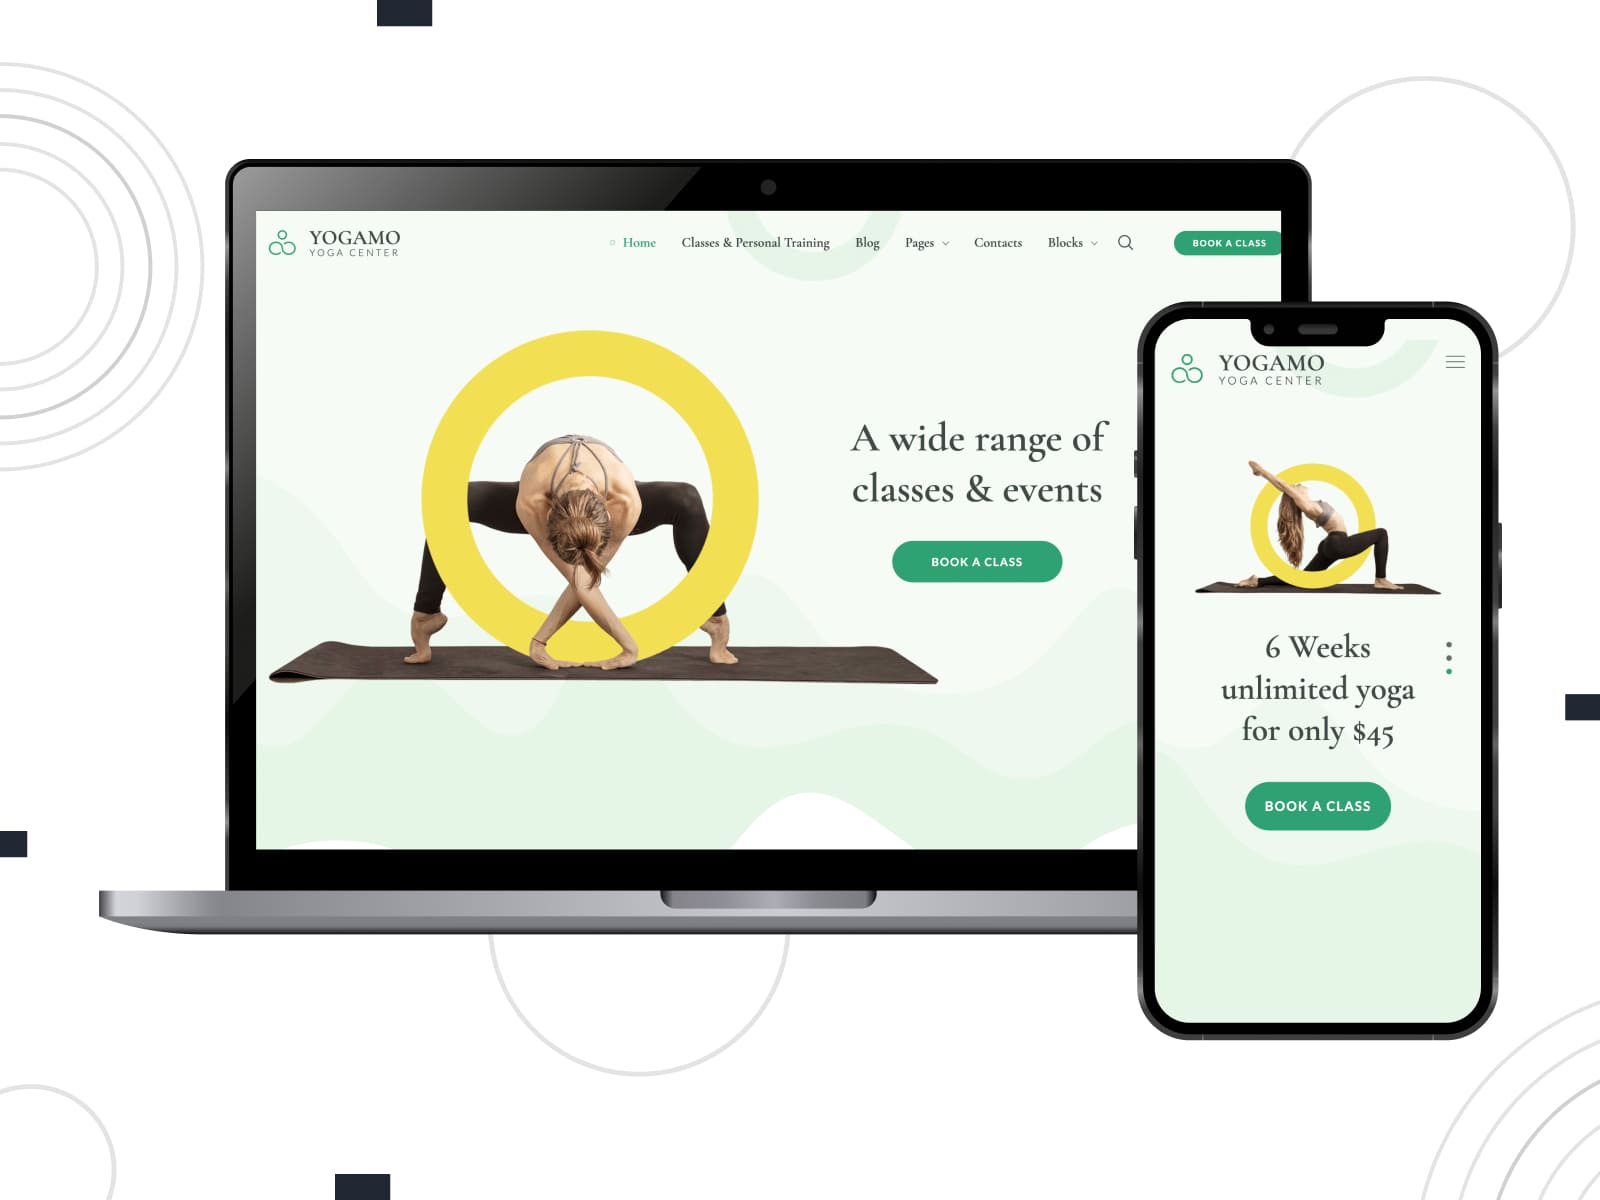
| Name | Best For | Pricing |
|---|---|---|
| Yogamo | Yoga instructors, wellness classes, and dance studios | From $49 |
Yogamo captures the calm energy of a yoga or wellness brand with balanced design and soft visuals. It highlights your classes and appointment options. Backed by MotoPress Appointment Booking, the theme supports both group lessons and private sessions.
Lotus Spa
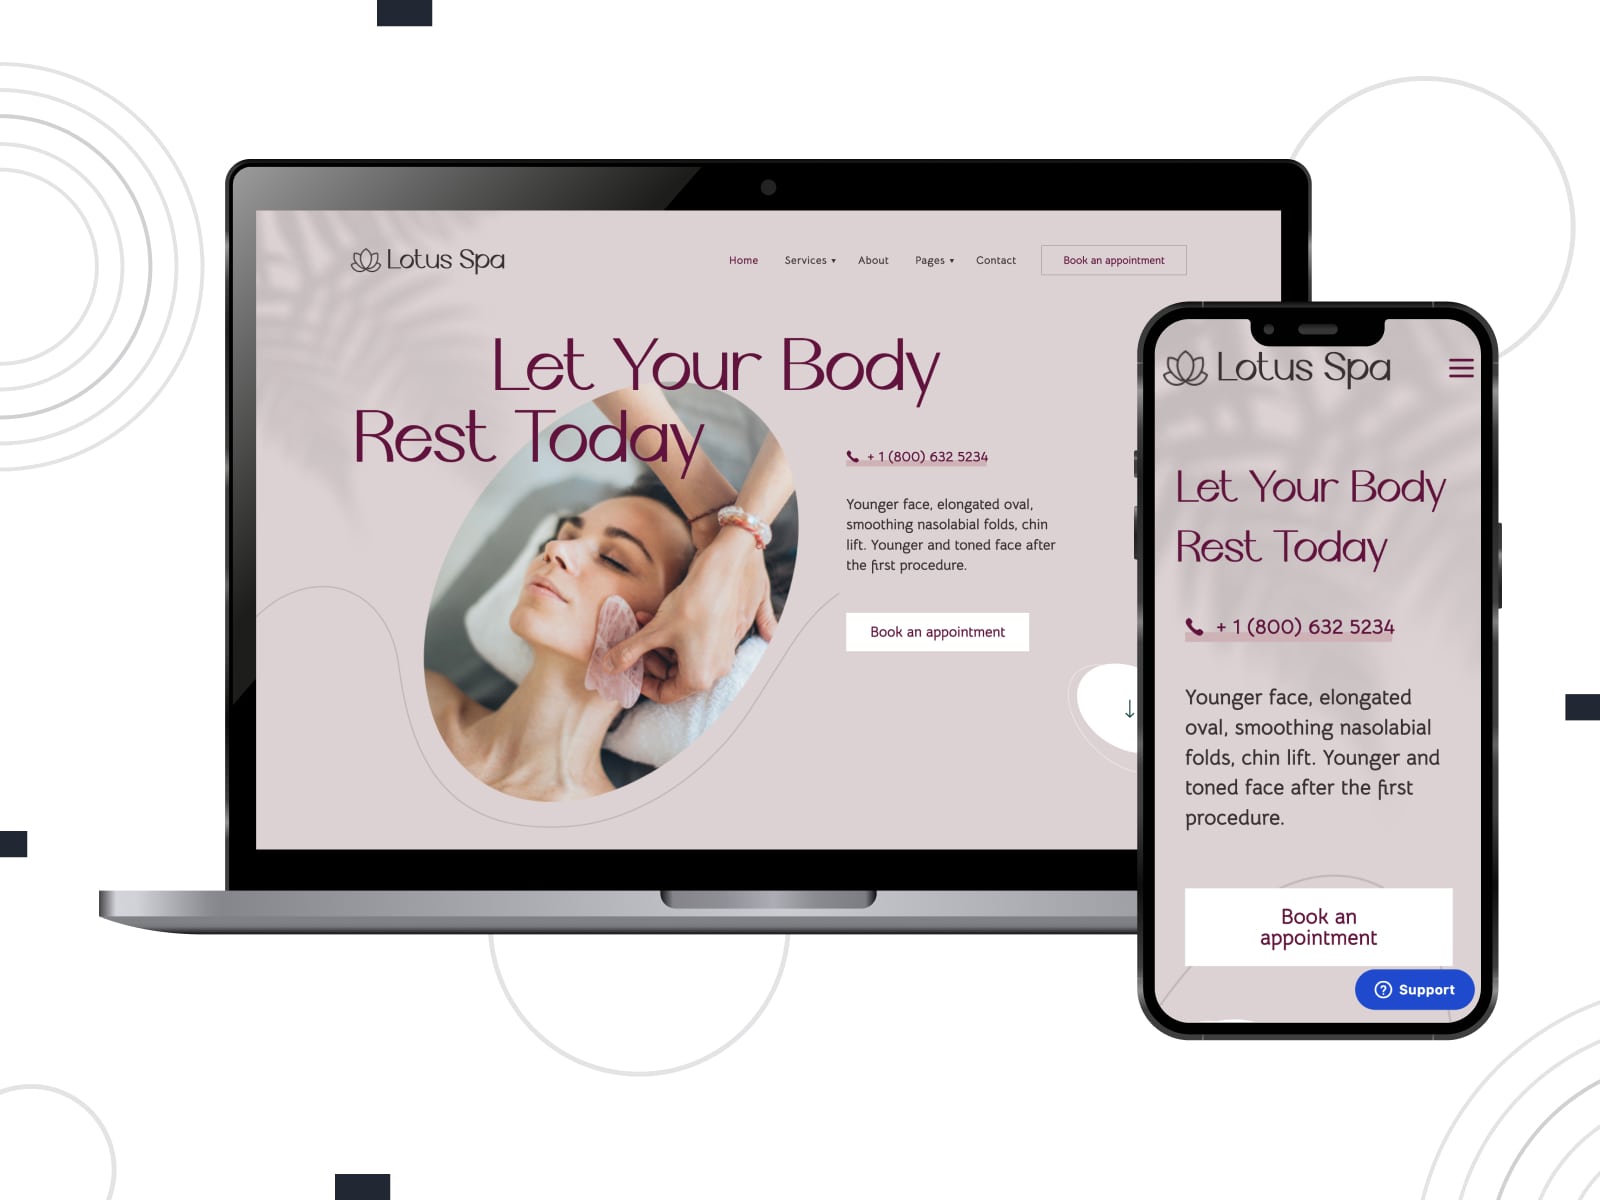
| Name | Best For | Pricing |
|---|---|---|
| Lotus Spa | Spa salons and skincare clinics | From $49 |
Lotus Spa combines an elegant design with a smooth scheduling functionality. Each element is styled to reflect luxury and comfort. Promote treatments, add stunning visuals, and set up a booking system to turn casual visitors into loyal clients.
Leolex
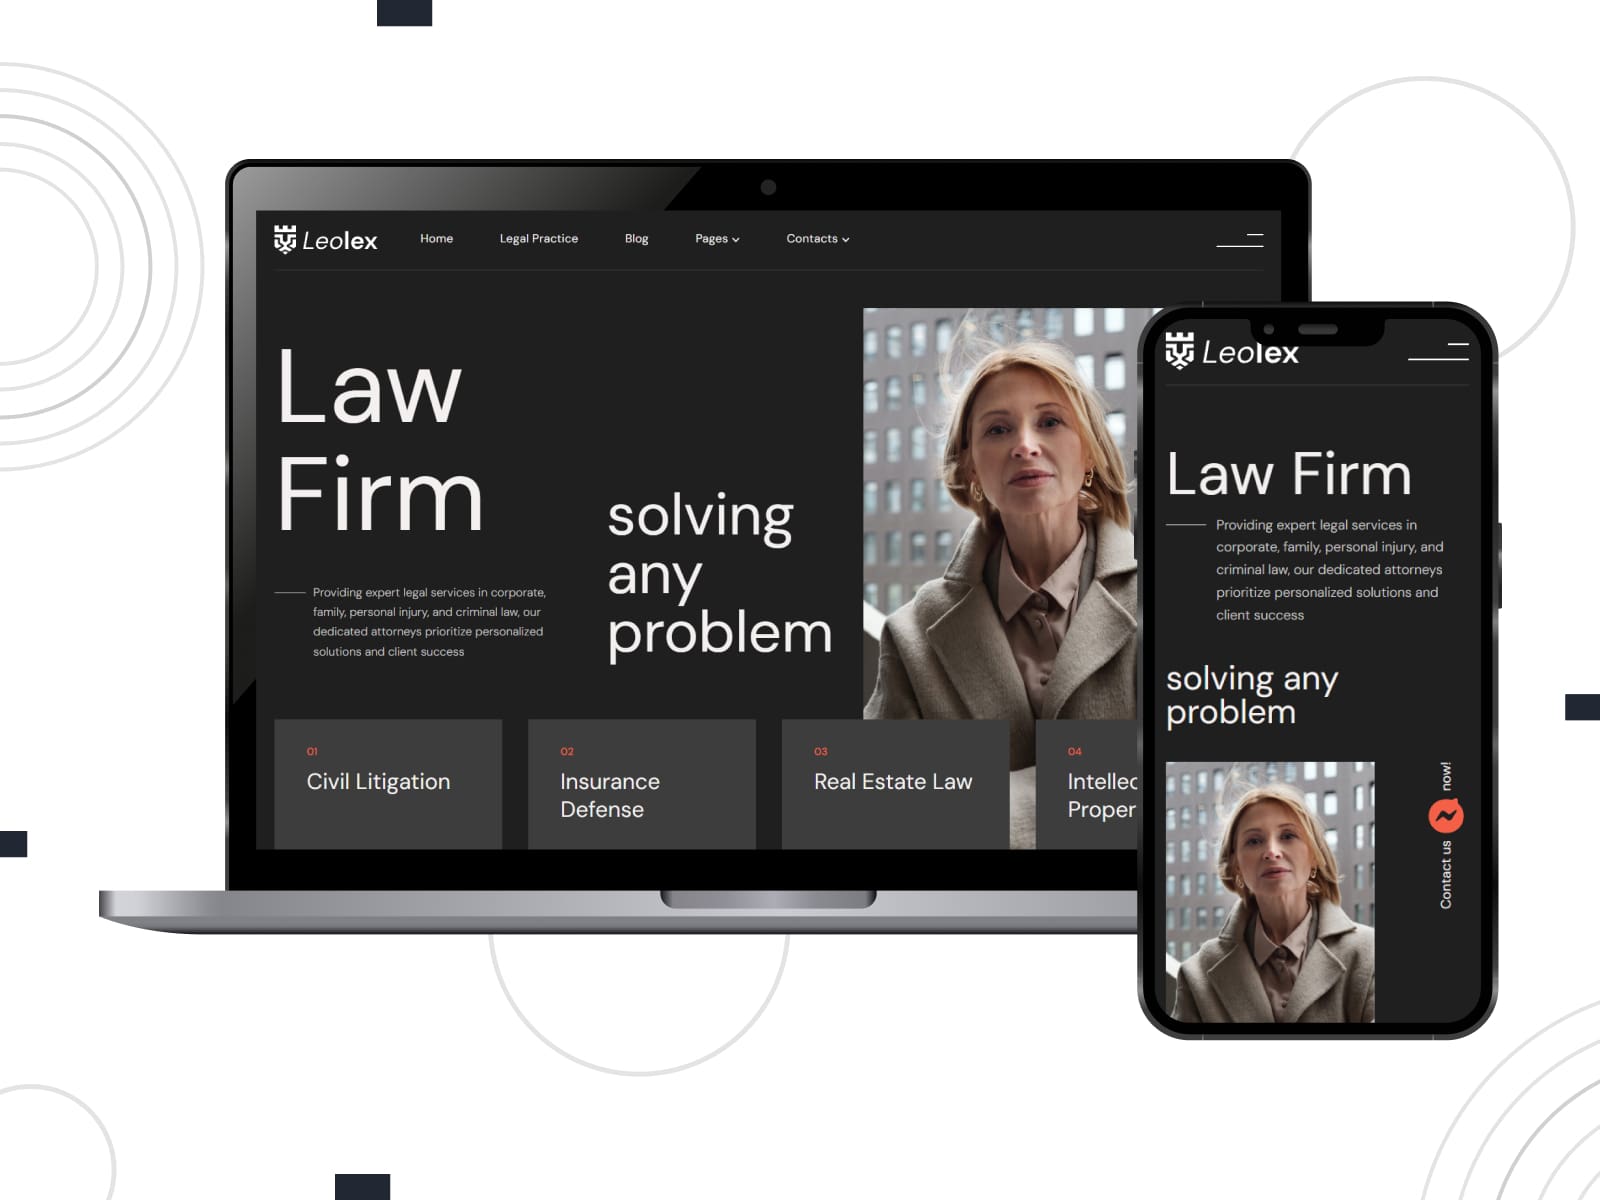
| Name | Best For | Pricing |
|---|---|---|
| Leolex | Attorneys, legal consultants, and small law firms | From $49 |
Leolex gives law professionals a structured and clear website layout that inspires trust. You can present your legal services, practice areas, and credentials. It’s easy to set up consultations using the built-in appointment form on your WordPress booking website. The design keeps things formal yet user-friendly for a broad audience.
Medmix
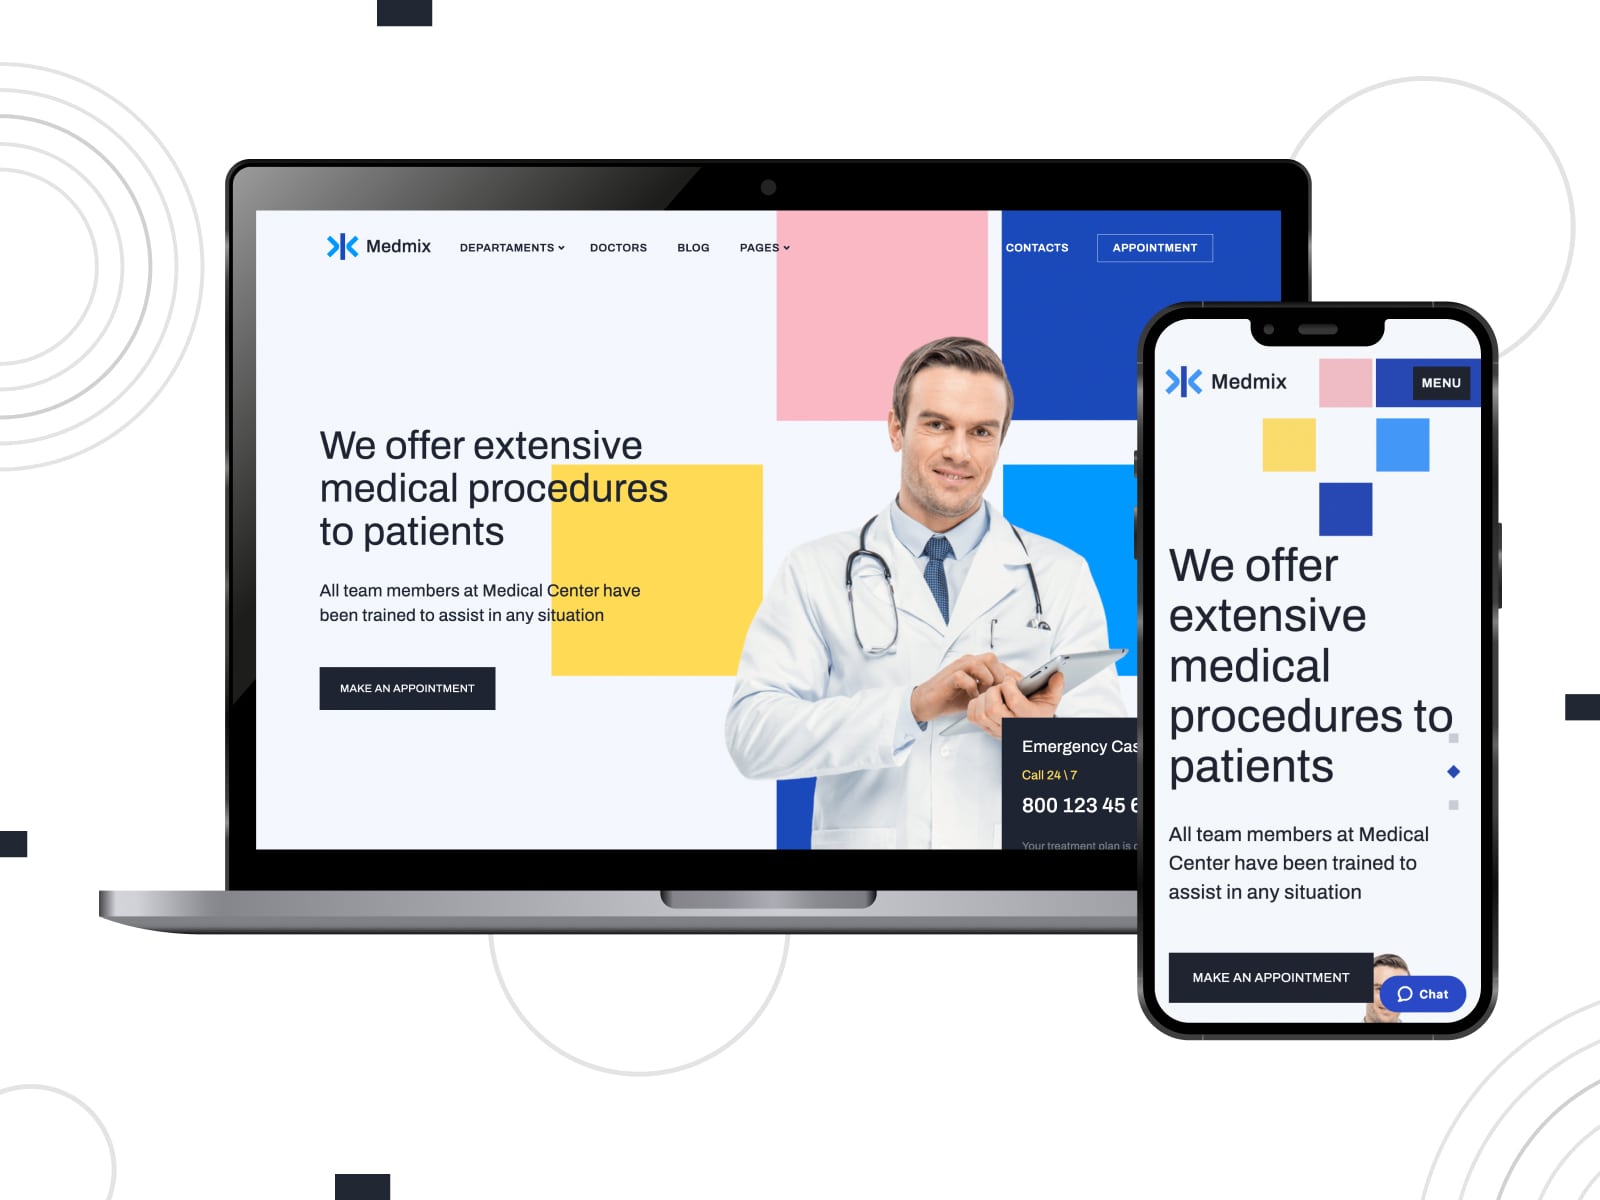
| Name | Best For | Pricing |
|---|---|---|
| Medmix | Private clinics, mental health services, and therapists | From $49 |
Medmix is crafted for medical professionals who want to simplify appointment scheduling on their WordPress booking website. The theme provides a clean, clinic-style layout where users explore services and staff profiles. It supports multiple practitioners, each with individual schedules and booking options. You can also display insurance details, credentials, or certifications.
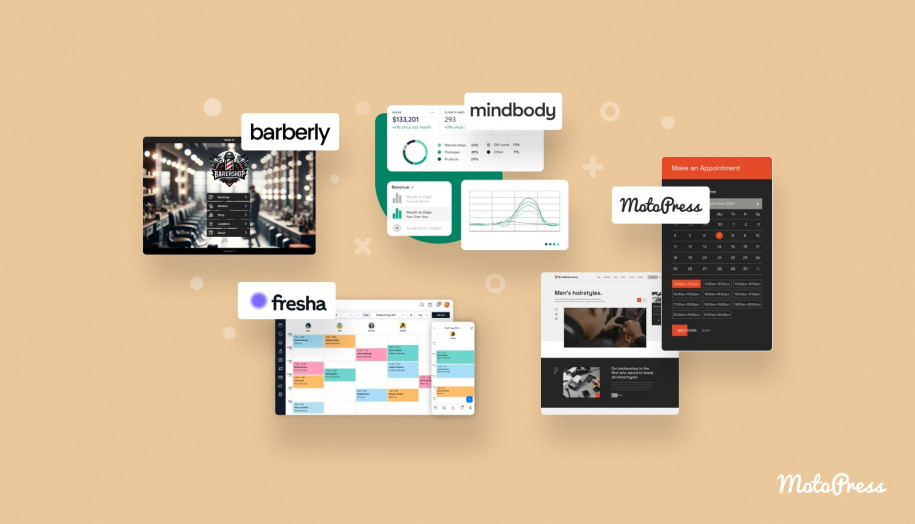
Bro Barbershop
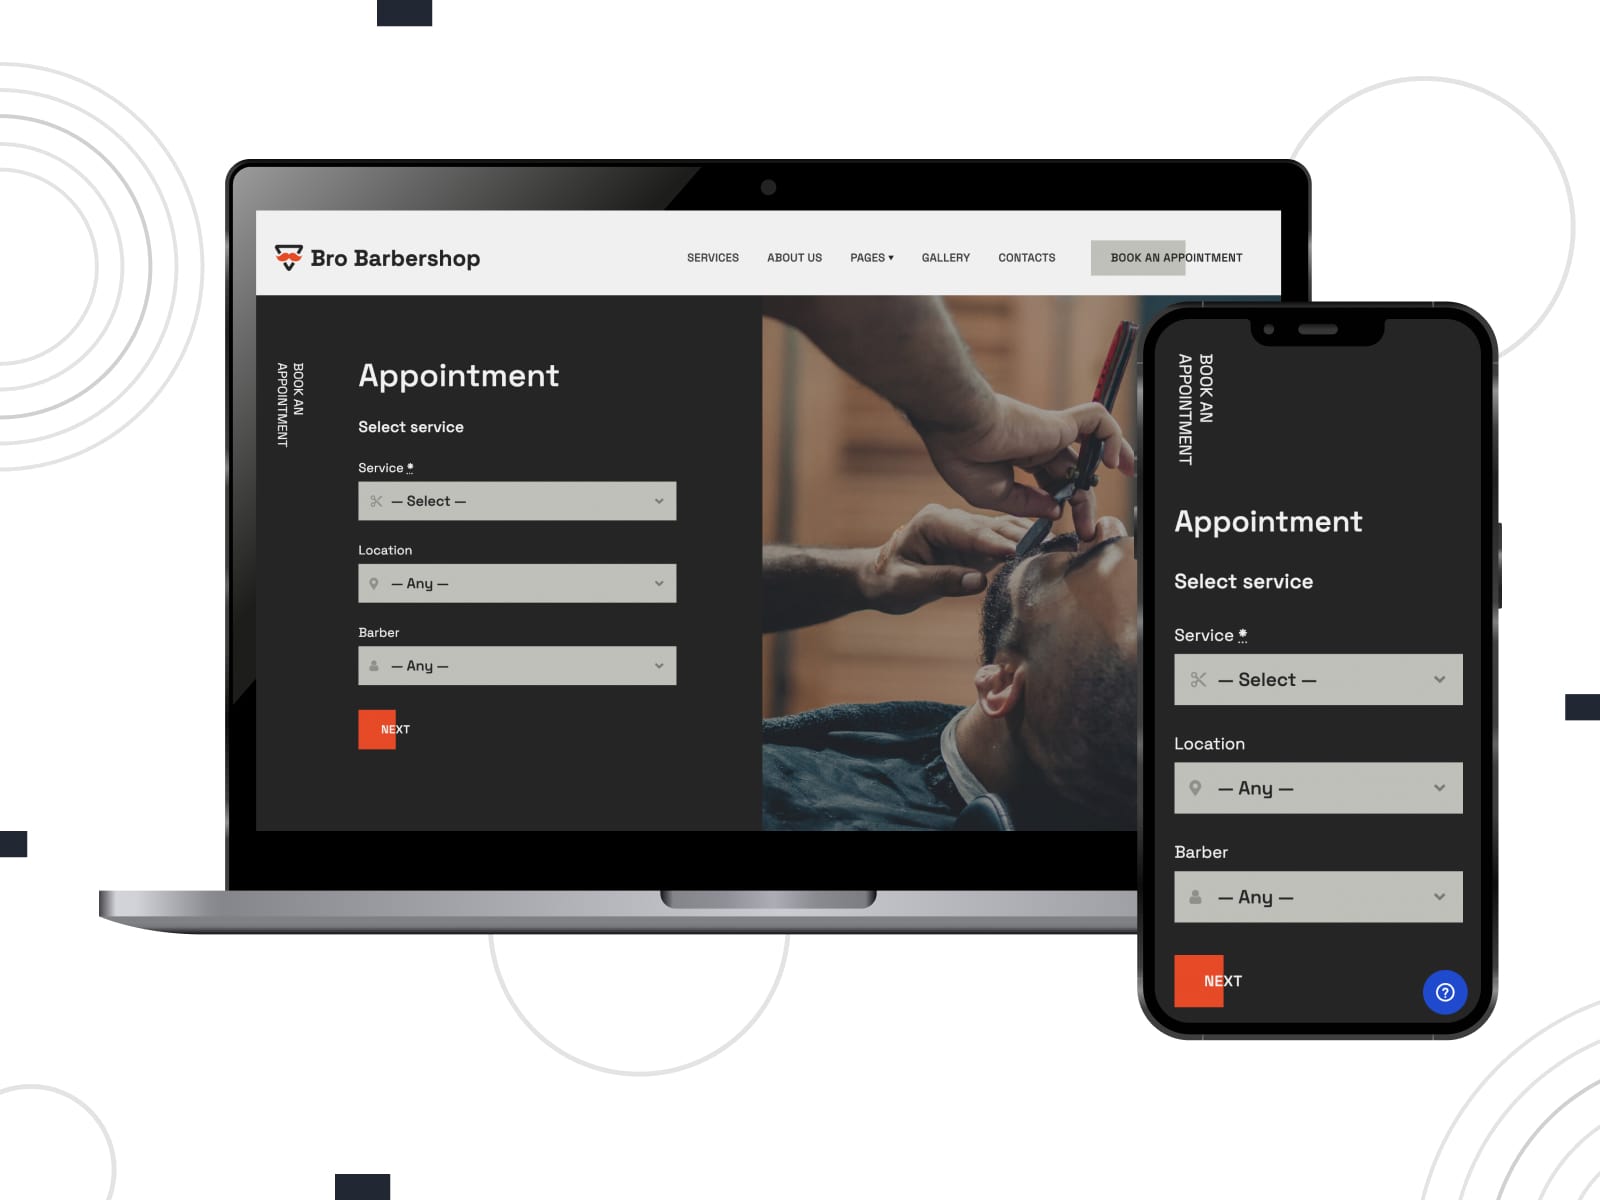
| Name | Best For | Pricing |
|---|---|---|
| Bro Barbershop | Barbershops, grooming salons, and hairstylists | Free |
Bro Barbershop is a free WordPress theme that delivers bold style with a confident layout that grabs attention. The theme supports easy online bookings and real-time availability. Dark color tones, large photos, and bold fonts build a strong brand image. It’s a solid match for modern barbers looking to stand out.
Conclusion
So, building a WordPress booking website for accepting online appointments is about the right theme, a well-configured plugin, and some thoughtful content. Using the MotoPress ecosystem, you can combine beautiful design with smart booking tools that work around your schedule.
Take your time through each step and test the booking experience your clients will have. Start building your site today and make the reservation process easier for both you and your clients!
Disclosure: this article may contain affiliate links for third-party products. If you click a link and later make a purchase, we may earn an affiliate commission that doesn’t result in additional charges to you.
FAQ
What are the WordPress booking website essentials?
What is the best booking plugin for WordPress?