
How to use MailChimp and WordPress: Quick and Ultimate Guide
Table of Contents
Regardless of the activity, you conduct here, on the Internet, the constant communication with your audience and truthful feedback from it are two key factors to have credible relations with customers. To stay on track, there are multiple WordPress Mailchimp plugins, with the help of which you may effortlessly get in touch with subscribers, notify about updates, send surveys and conduct a thorough analysis of your audience.
Blog, online shop, rental accommodations website, or company site – all of them are needed to communicate with the audience, to inform about new posts or products, about sales and advantageous proposals. In this case, there is no better choice than MailChimp for a WordPress website.
What Is MailChimp?
MailChimp is a great platform for marketing automation and at the same time email marketing service. The company operator, Rocket Science Group, is an American company founded in 2001 by Ben Chestnut and Mark Armstrong (yes, son of Neil Armstrong). Millions of people all around the world are using this platform and integrate it into their websites.
Why Do You Need MailChimp WordPress Plugins on Your Website?
It is very important to hear your customers, to show interest in their wishes and to give them exactly what they are looking for.
There are quite a few ways of how you can communicate with your audience.
The first one is via social networks. You may post new information every day, conduct polls or giveaways and for some purposes, it works. Social networks are very progressive nowadays and there is probably no person of the new generation who doesn’t have a Facebook profile. Hence, you have a high chance that many people will come across your announcement on social networks.
Manually Curated Posts for You

BUT, this variant has some disadvantages as well. You may not be sure that the whole number of your followers will check the announcement. Some people may not check social networks for a few days or probably there is just too much information in the news feed that yours will be unnoticed.
The second variant is to go to mailing. If people leave their email address, willing to receive notifications, you will be a hundred percent sure that they check it. The mails stay unchecked until you open them, hence there is little chance they will be ignored.
Some Marketing Insights
If you are serious about raising the number of your audience, pay attention to the churn rate. It shows how many customers left you in a certain period of time. If the number of new clients is higher than those who left, you are doing the right job. Otherwise, in the nearest future, you will undergo some losses on your website and business, which is obvious when clients are quitting.
This indicator is vital while building marketing strategies and gathering information about all the clients and their activity on the website.
How can you minimize the churn rate on your website?
Now, as we know all the advantages of having a Mailchimp plugin, let’s take a closer look at the installation process.
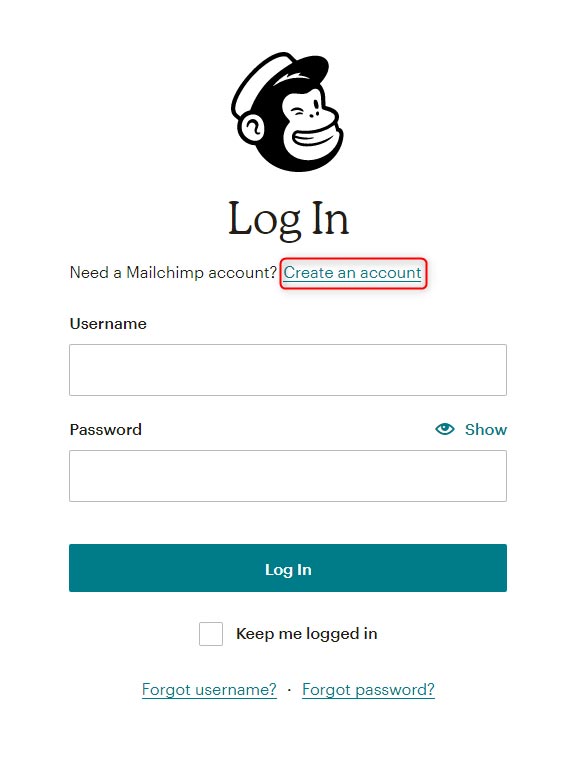
Creating a MailChimp Account
MailChimp is very easy and intuitive in usage, you understand this as soon as you start creating your personal account. Go to the official website and start doing it.
Fill in your email, username, and password – within a few moments, you will be given more detailed instructions.
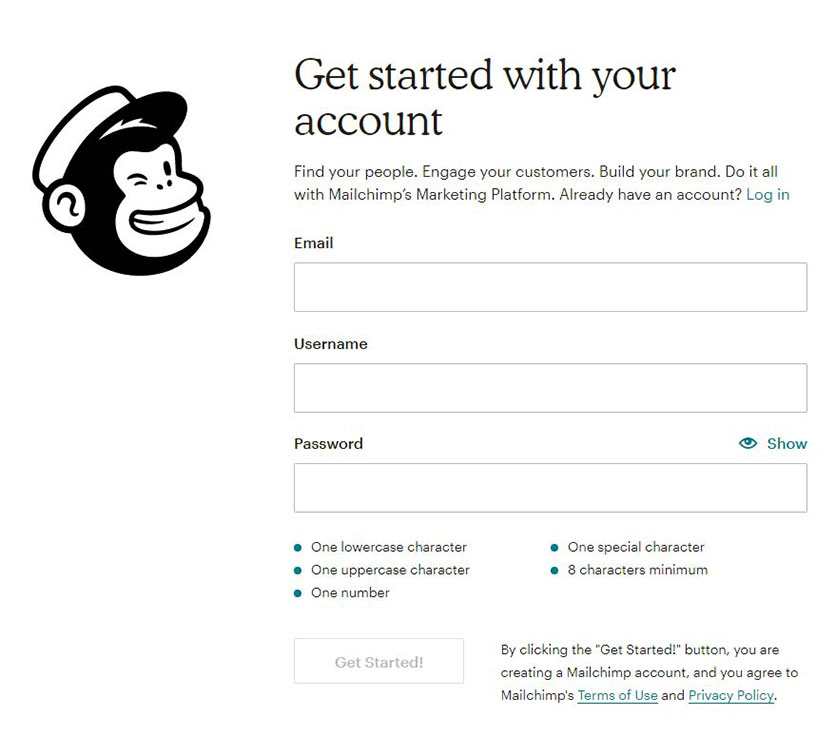
Right after it check your mail and start a registration process.
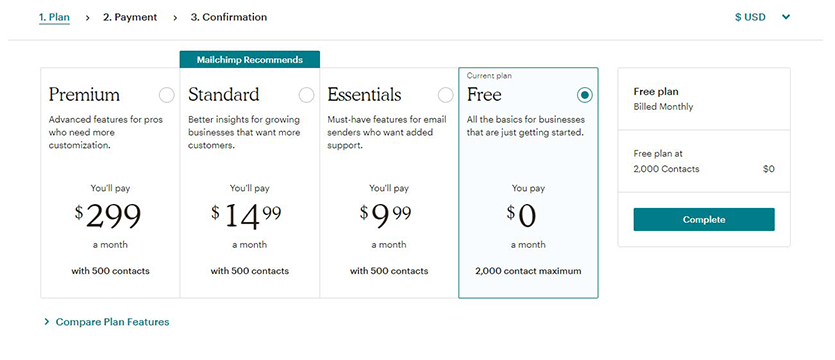
The first step is to choose the plan. We recommend starting with a free plan with which you can have 2000 contacts and send up to 12 000 emails.
As soon as you configure the settings you are ready to start working with MailChimp!
For this tutorial, we have created accounts to test the given options, but you may send the first mail to yourself – you are viewed as a subscriber as well. Hence, in the beginning, your list contains only one contact unless you have a client list from another platform. In the latter case, simply add them to a new list. Do the following:
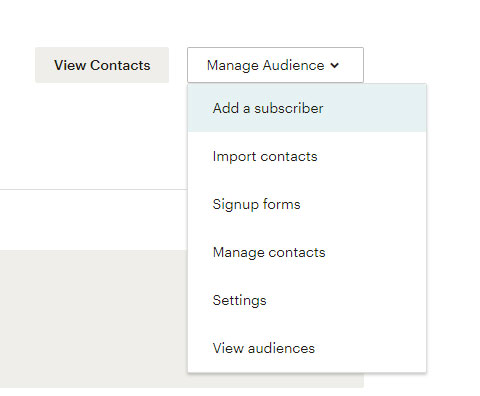
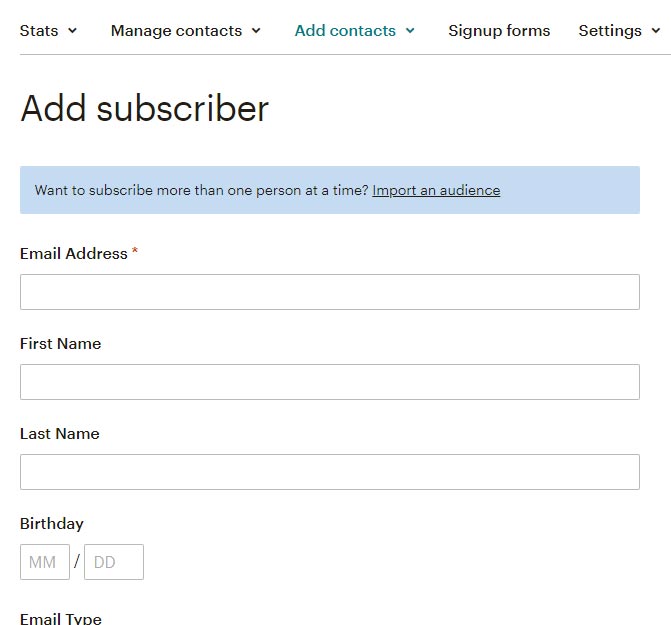
Here you may do the adding either manually by adding each contact to the list.
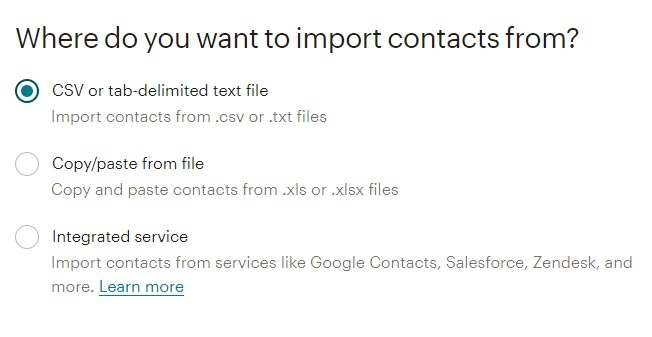
or you may import the whole list of the audience at once, providing you have the corresponding files.
Now you have all the contacts gathered in one list. If you create a campaign it will be sent to all of them. But there are some cases in which you would like to send emails to specific groups of people who have common interests.
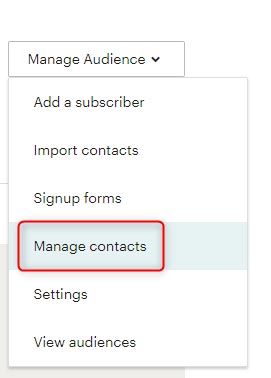
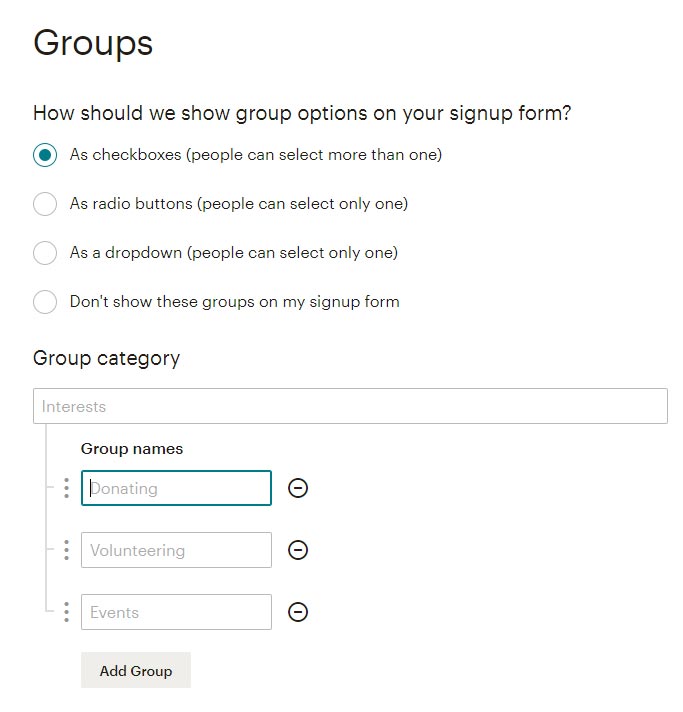
Groups of contacts are created by going to Manage Contacts > Groups > Create groups.
After that configure the needed settings and you can effortlessly have multiple groups of your subscribers.
When lists and groups are ready, you may start doing the main thing – create a campaign.
The campaign in MailChimp is a powerful tool with the help of which all your subscribers receive constant notifications on their mails about the new product, service, sale or whatever you want to inform them about.

Click on Campaigns > Create Campaign
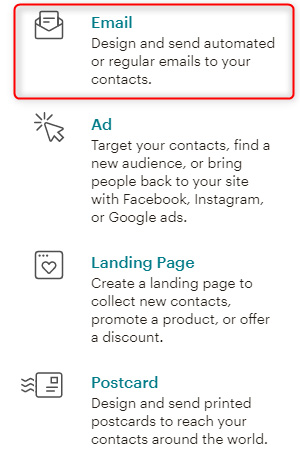
As we are aiming at newsletter subscription, choose email and give a name to your campaign (ours is Test Campaign).
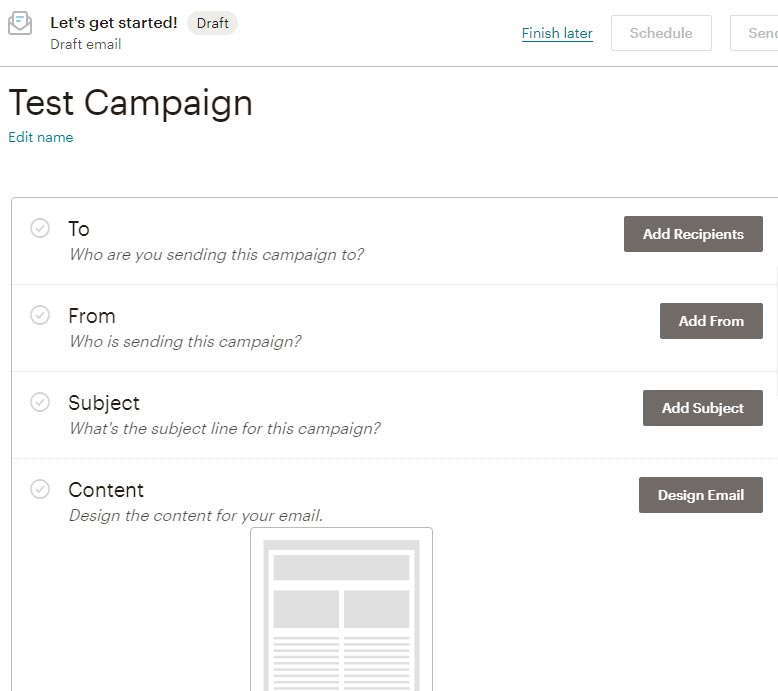
Now you see four main points to complete in order to launch a campaign. They are very easy and intuitive.
Create a logo, body of the letter, add new blocks by simply drag & drop them. The UX is very smooth and the design options are rather wide. But you can always go to the premium packages to widen them.
As soon as you have all green checkboxes, send the campaign.

You have created a campaign, groups, and list of your audience, now it is high time to discover how to set up MailChimp on WordPress.
How to Add MailChimp to WordPress?
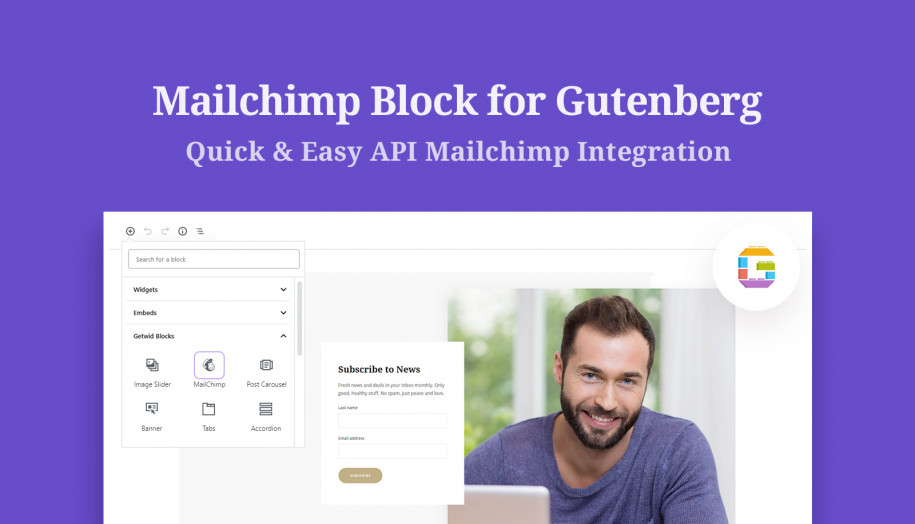
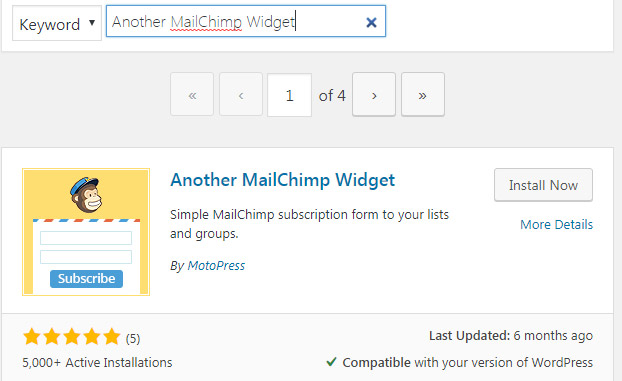
The newsletter subscription form is represented as a widget on a website. There are so many both free and premium plugins to add MailChimp for WordPress. In this tutorial we will use Another MailChimp Widget by MotoPress.
Go to plugins, add new, type the name, install and activate it.
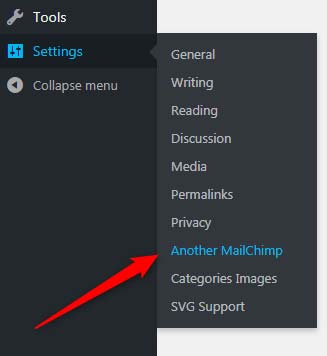
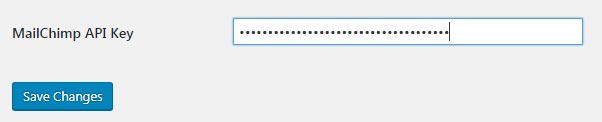
Now you need to configure some settings to display MailChimp widget. Go to Settings tab > Another MailChimp. There you will need to insert an API key.
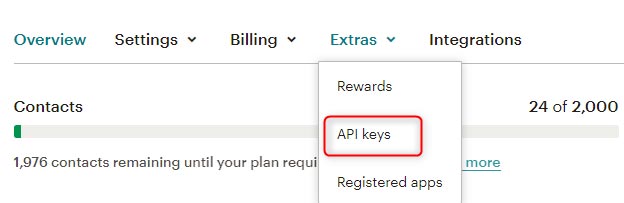
To get an API key, go to your MailChimp account.
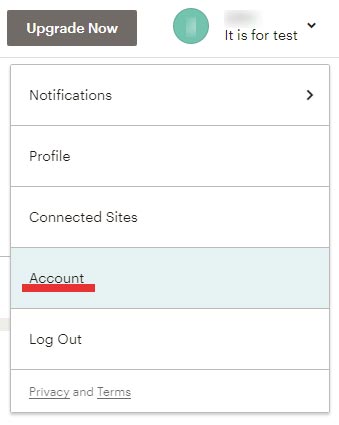
Click on Extras > API keys and generate one.
Insert it to the field in your WordPress admin panel.
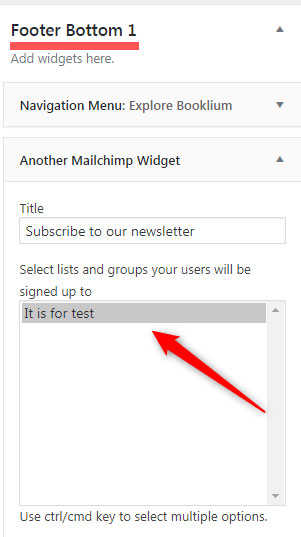
Now, go to Appearance > Widgets, add it to any widget zone you want and choose the list (ours is “It is for test”).
This is how it looks on the front end. The styles are from the Booklium Multipurpose WordPress rental theme.

MailChimp and Hotel Booking Integration for WordPress Property Rental Website
Nowadays hotel business is extremely popular, especially handy are the websites of hotels, hostels, b&b, etc. because it takes no effort for users to book a room online within 5 minutes and have no worries. If you as a business manager want to keep your clients always on track and monitor their actions, we recommend using MailChimp and WordPress – there is an awesome tool for you called Hotel Booking and Mailchimp integration addon.
Multipurpose MailChimp WordPress plugin integration for hotel booking will definitely come in useful if you already have a rental business website, that is powered by a Hotel Booking engine by MotoPress. This integration opens way more opportunities for you for tracking and creating more detailed groups of interest depending on your clients, namely:
- Contacts of all your guests, those who paid a booking or made an online free reservation will be gathered in one MailChimp list.
- Groups of interests: divide your guests into corresponding groups (discounts, trips, special offers) to target the exact audience.
- Subscribe customers automatically when the payment is conducted, after the consent at checkout, or after double opt-in.
- Send an email to abandoned carts.
- Automatic subscription after any e-commerce actions.
- Instant export of all email addresses of the previous reservations.
- Track visitors booking activity individually via MailChimp plugin WordPress.
- A/B testing for better results.
If you are particularly interested in email marketing for hotels, there is no better tool than this one – you will surely target your guests with email campaigns and get nice feedback from them. WIth MailChimp & Hotel Booking integration it is easy to inform guests about discounts, new accommodations, and events which will take place at your hotel.
The Final Word
MailChimp is a very powerful platform and marketing tool if you want to increase your SEO ranking and be in constant contact with your audience. The whole MailChimp setup process takes a few minutes, so it is not rocket science, but a very simple, intuitive, and powerful instrument.
You may add the MailChimp widget for WordPress to your website in multiple ways, one of them is to use free Another MailChimp Widget by MotoPress and easily configure its settings in the dashboard. Generate an API key in your MailChimp account and you are ready to go. Create campaigns, various groups of interests and send emails – MailChimp and WordPress are indeed powerful tools together. You can check the actions and activity of your audience in the account, which will help you to create accurate statistics.
Would you like to have MailChimp on your website? Or if you have, what feature do you like most? We would be glad to hear your thoughts.
I will prefer it for my website. Thanks