Create a Life Coach WordPress Site with Online Appointments
Table of Contents
Businesses are in the full swing developing websites, as their major sales platform. Coaching service is not the exception. One website can fulfill a hand pack of functions, from marketing promo to a portfolio showcase. But most importantly, it can become a full-fledged life coach booking system. With software like the Appointment Booking plugin, accepting & managing online reservations becomes an easy task.
In this post, we’ll dive into the process of creating a website for business & life coaches, psychologists, mentors, and specialists of adjacent niches (teachers, tutors).
But first, let’s figure out which elements contribute to a good life coach website:
- List of services – e.g. consultation, coaching sessions, mentoring (with description + price);
- Life coach booking system for appointments – allows customers to reserve an appointment in a few clicks online;
- About Us/Me page – used to introduce you not only as a professional but as a personality. It makes clients trust you more;
- Killer calls-to-actions – they must be concise, up to point, and evenly located across all websites;
- Blog page – helps improve your website visibility in search engines. Also, it’s a great way to share valuable information as an expert, and share related news;
- Real testimonials – clients’ reviews work as social proof of your expertise, and almost 90% of site visitors certainly read them;
- Contacts & working hours – in particular, a contact form, email & phone. Include working hours.
The great news is, by the end of our tutorial, your website will feature all the mentioned elements. Just read further!
MotoPress created the best solution for you to build an efficient life coach WordPress website. Download Edme and get premium WordPress booking software for free! If you prefer editing with Gutenberg, check out the Coachzee theme by MotoPress. In addition to 5 demos for coaches & instructors, it also comes bundled with the Appointment Booking plugin! For a free solution with this plugin, get started with the Bro Barbershop free appointment booking WordPress theme.
Step 1: Choose The Domain & Hosting Provider
While pro users know the process of hosting & domain installation from A to Z, others may be confused.
In short, a domain name is the address of your website. It’s displayed in the address bar, and has an ending (most likely, .com or any country code).
A hosting service leases space on a web server so that your website remains visible online for any user. The amount of web space depends on the hosting type. Small-scale websites like blogs or landing pages require minimal space (shared hosting). For high-traffic websites like marketplaces, it’s better to choose dedicated or VPS hosting types.
When it comes to hosting for a business page like yours, gigantic bandwidth & tons of functionality will likely be a waste of money. Not only will you pay extra for something you don’t need but also jeopardize website security.
Here at MotoPress, we made our personal list of WordPress hosting recommendations. Click to see a comparison table with key features of top 4 WP hosting companies.
Important note: many hosting providers may include free domain registration in their package.
Read also: WordPress Learning management themes compared
Step 2: Install & Edit a Life Coach WordPress Theme
As soon as you manage hosting & domain, it’s time for WordPress. Assuming that you already added WordPress on a hosting server, I’ll skip the installation part of WP software.
We’ll go straight to the Edme WordPress theme activation.
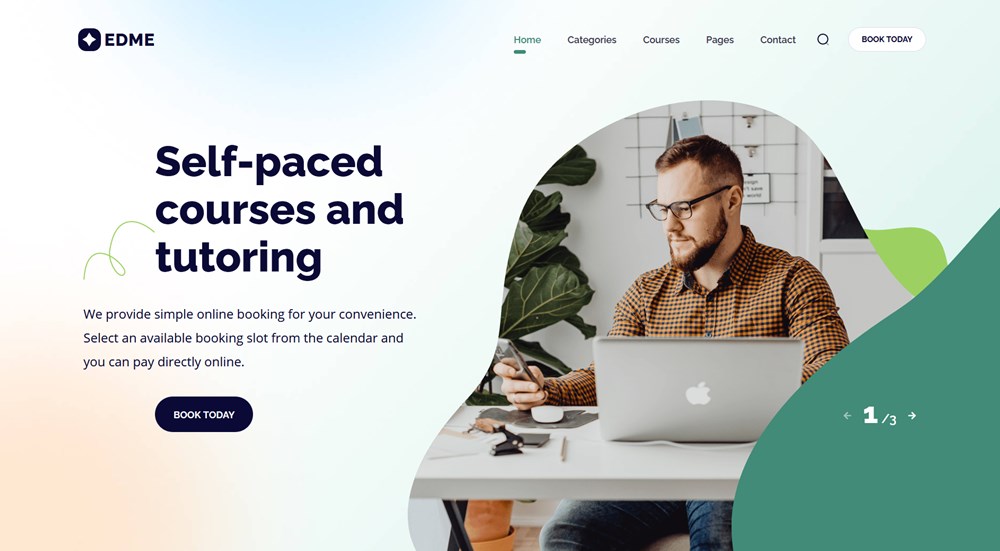
Although Edme is mostly demonstrated as a template for schools, private tutors, etc, it works perfectly for coaching websites of any kind. The theme is designed and structured in a way to fit all appointment-based & teaching-related niches.
Main Features of Edme:
- Compatible with Elementor
- High-quality gallery & home sliders
- Multiple widget zones
- Smart CTA sections
- Appointment WordPress plugin (built-in for free)
- 20+ extra Elementor widgets by Stratum PRO (built-in for free))
View demo of Edme appointment WordPress theme.
By the way, we have a quick Edme video review:
Now when you know everything about this Elementor template, let’s finally add it to our WordPress profile.
After you purchase Edme from our website, you’ll be able to download the theme’s zip file. Now, go to the WordPress dashboard > Appearance > Themes > Add New > Upload a theme.
Choose the zip file and wait till the upload is completed.
Note: Edme recommends installing the next WP plugins: Elementor, Stratum PRO, Appointment Booking, Breadcrumb NavXT, Contact Form 7, One Click Demo Import & SVG Support. Make sure to upload/active them.
The installation is complete – as easy as it is!
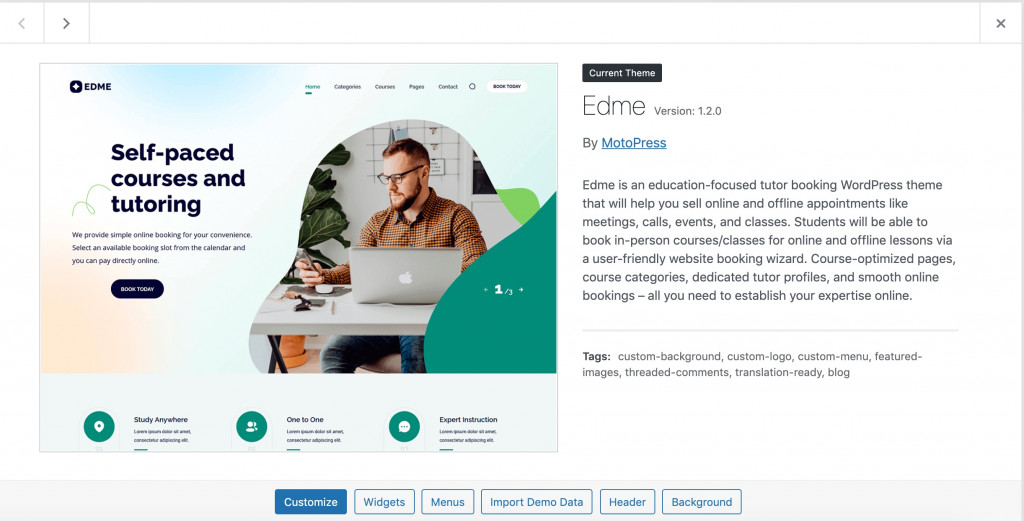
Do not forget to use the One-Click Demo Import feature and replace the previous content with the default content of our theme.
With Live Customizer & Elementor support, you can adjust Edme to the needs of a life coach website in minutes.
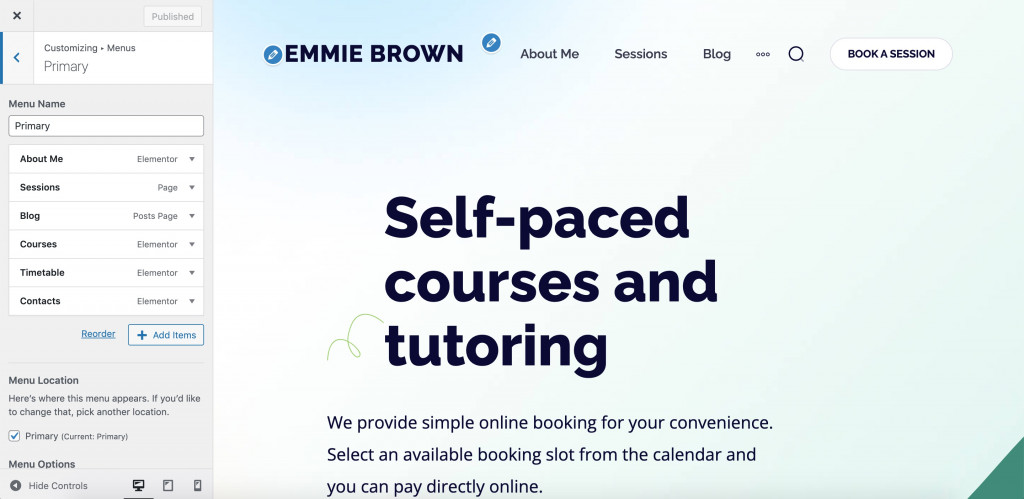
Click ‘Customize’ and you will be redirected to Live Customizer. Here you can change permanent website elements like footer & header, website logo, title, colors, and more.
The interface of Live Customizer is super easy to follow:
The next step will be customization in Elementor. This page builder needs no introduction. It’s known for its flexibility and the ability to enhance basic Elementor settings with a bunch of extra addons.
Each element of Edme is an Elementor widget. It can be easily adjusted to your preferences, duplicated, or removed.
For example, I adjusted the homepage slider to what it can look like on a life coach portfolio:

As mentioned earlier, the theme includes a premium package of Stratum at no cost. The addon counts 24+ extra Elementor widgets for multipurpose use. It can help you build better testimonial sections, more advanced sliders, price lists, flip boxes, and many more!
Main Features of Stratum:
- 24+ multiuse widgets for Elementor;
- Extended functionality for each widget;
- Widgets inherit the visual styling of your current theme;
- Advanced design toolchain for each widget;
- Elementor template library integration.
The majority of Edme elements are Stratum-based (including the above homepage slider):
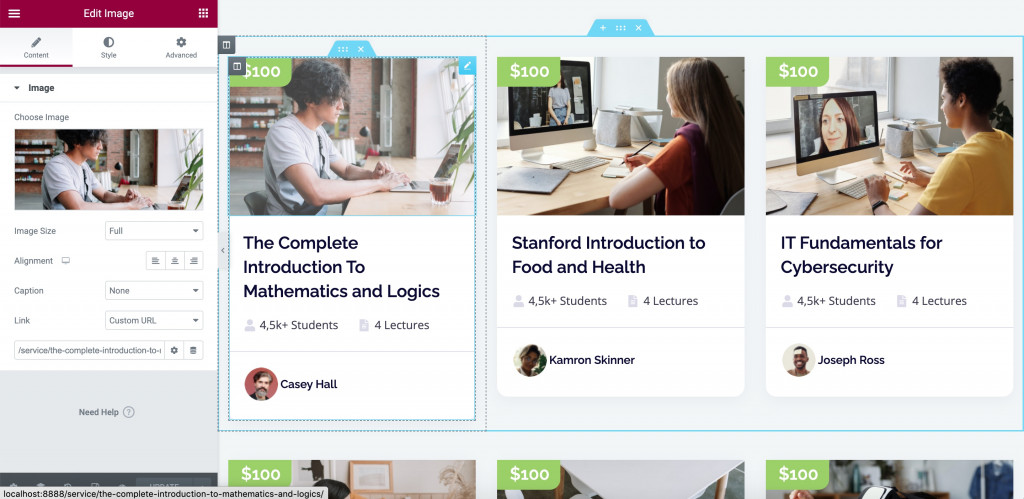
Click to read more on customization settings of the Edme Elementor theme.
Step 3: Customize Appointment Booking Software
Finally, we can work on the life coach booking system – the key functionality of any appointment-based service. Edme has pre-installed software for accepting & managing effective booking, namely the WordPress Appointment plugin.
Yes, this is one more MotoPress plugin included in the theme’s package for free. The plugin can become a perfect health coach booking software, which automates major management processes. This WP Appointment plugin allows users to pick free slots on the real-time calendar and make a reservation online.
Features of Appointment Booking Plugin:
- Unlimited services & employees & locations;
- Individual staff calendars (lunchtimes, breaks & days off);
- Custom time slots of any duration;
- Buffer time (before & after appointment);
- One-time /recurring/ group bookings;
- Convenient scheduling on the backend.
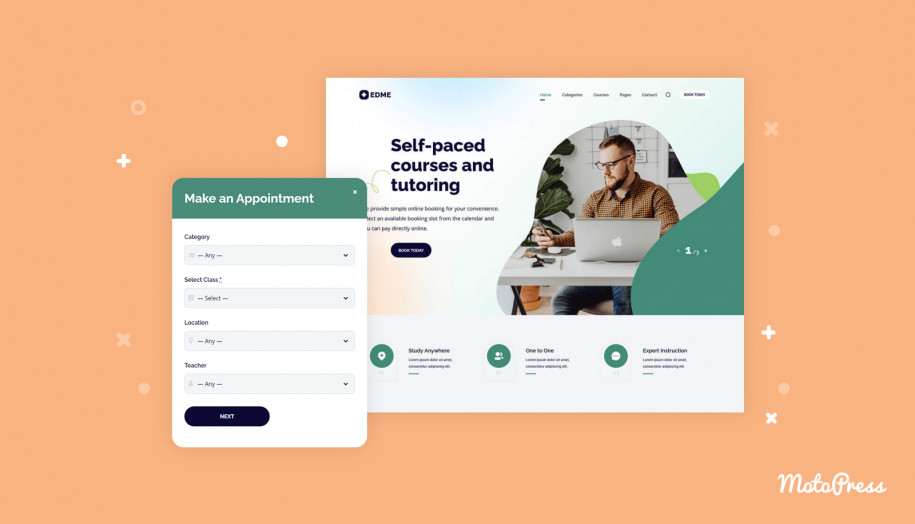
This is how the default booking widget of Edme looks like:
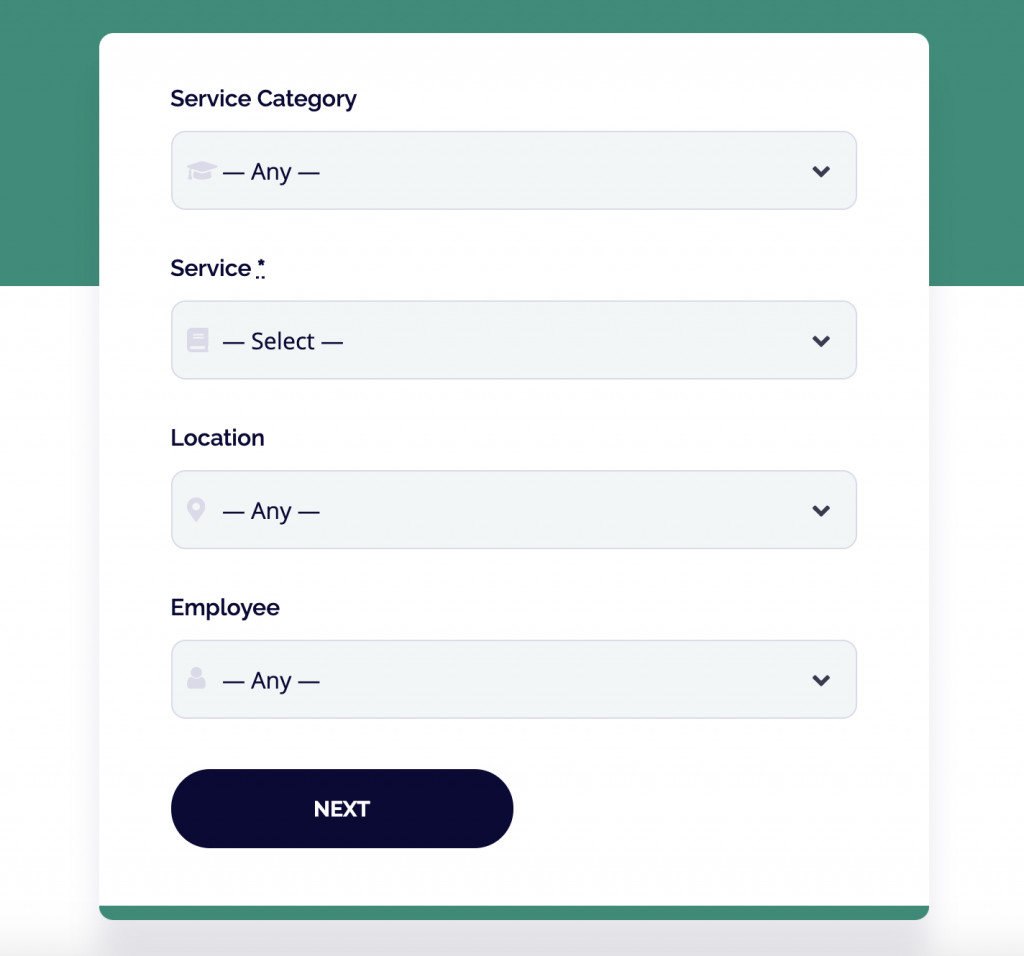
What’s more, the plugin is compatible with all WordPress page builders and not only Elementor.
If you want to accept payments online on the site, you can also enable preferable gateways, including PayPal, Stripe, wire transfer, or pay on arrival.
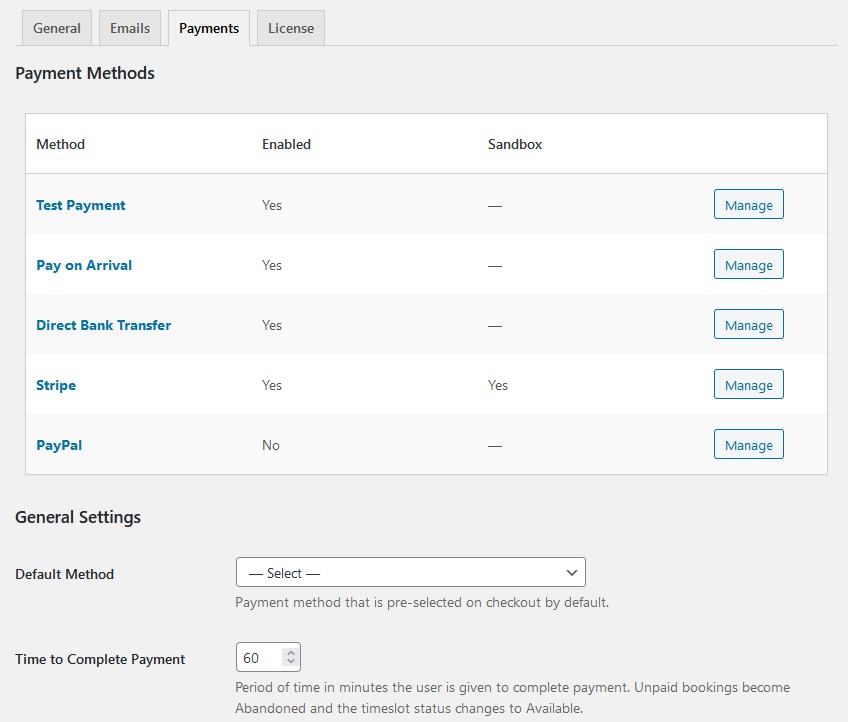
All of the data will be stored in dedicated menus, for payments and bookings individually:
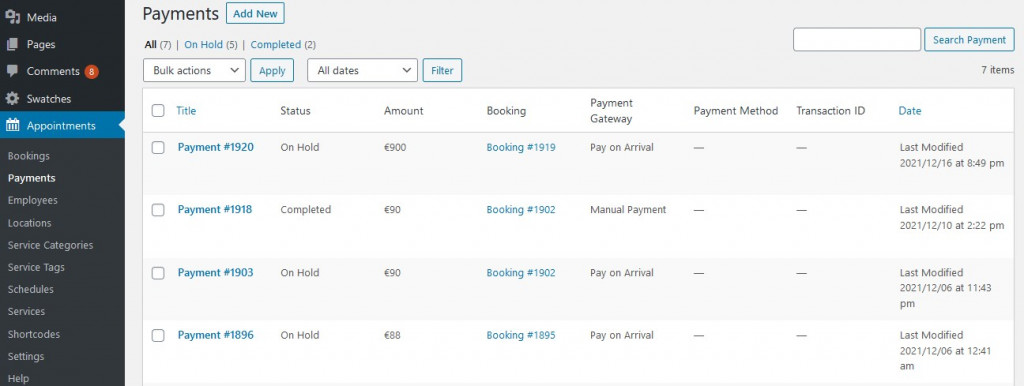
Now, we move further to creating & customizing a life coach booking agent.
After you install the WP scheduling plugin, you’ll see the Appointments menu on the WP dashboard. The list of submenus consists of:
- Bookings – the major admin’s tab for checking out the booking statuses, viewing client information & booking details;
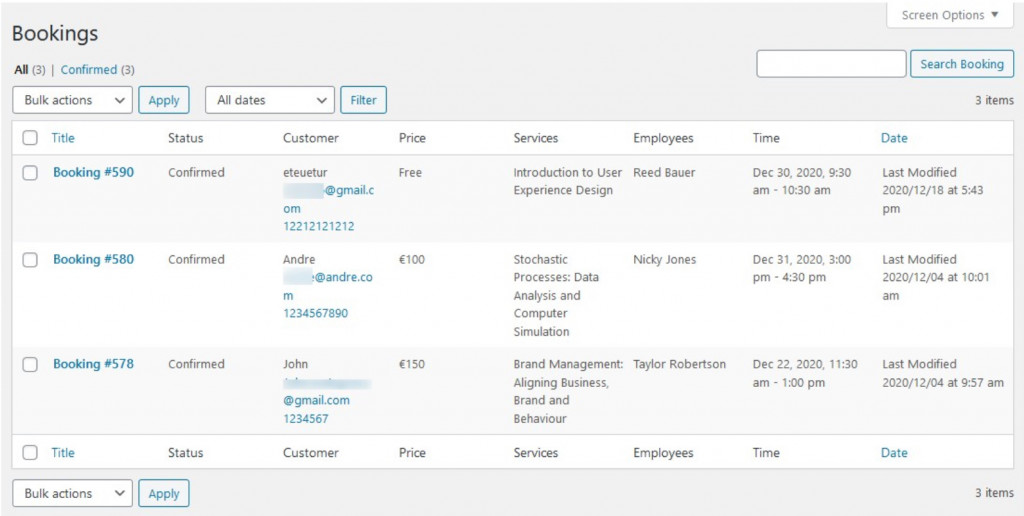
- Employees – allows creating detailed profiles of you & your employees (supports direct customization in Elementor);
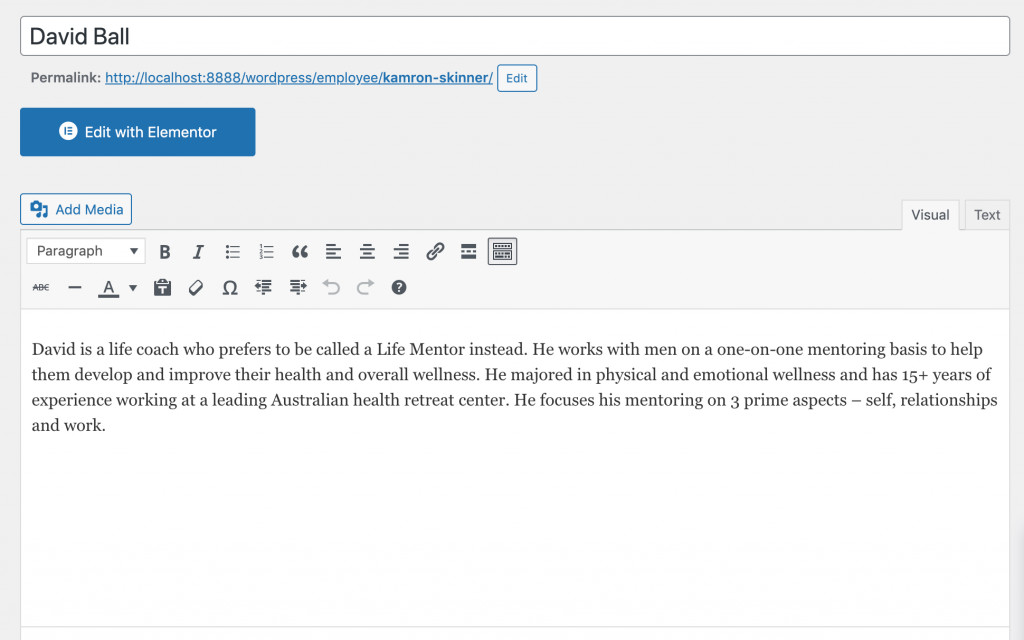
- Locations – allows users to choose between multiple locations (for multi-chain centers)
- Schedules – allows building a timetable for you & your employees;
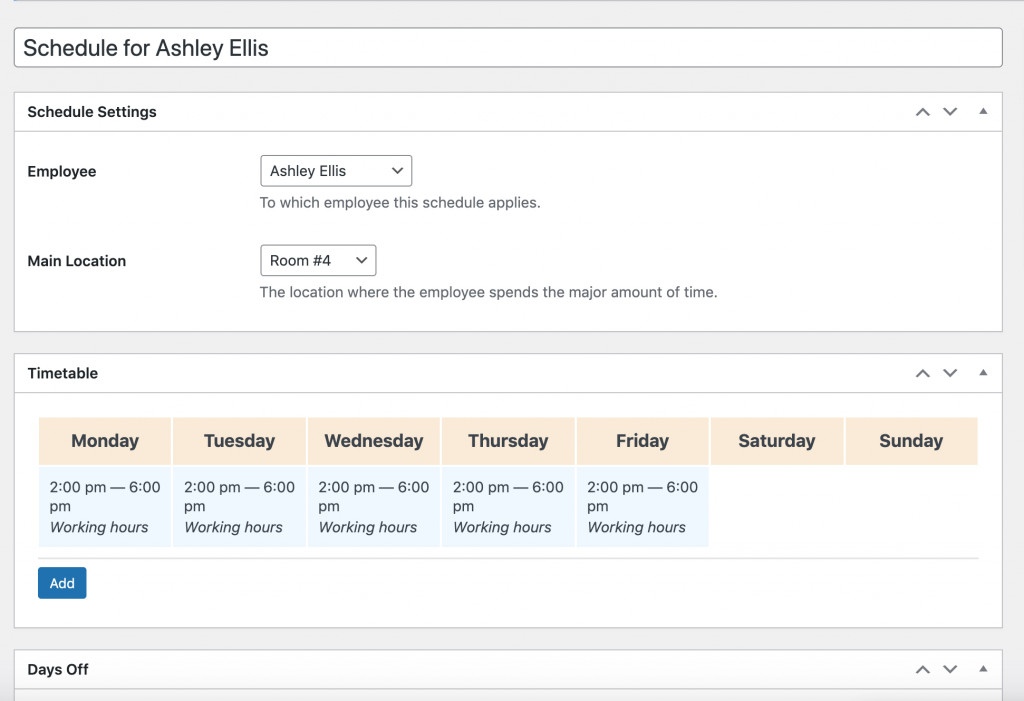
- Service categories;
- Service tags;
- Services – provides descriptions of each service (session, consultation). Set pricing and the service duration.
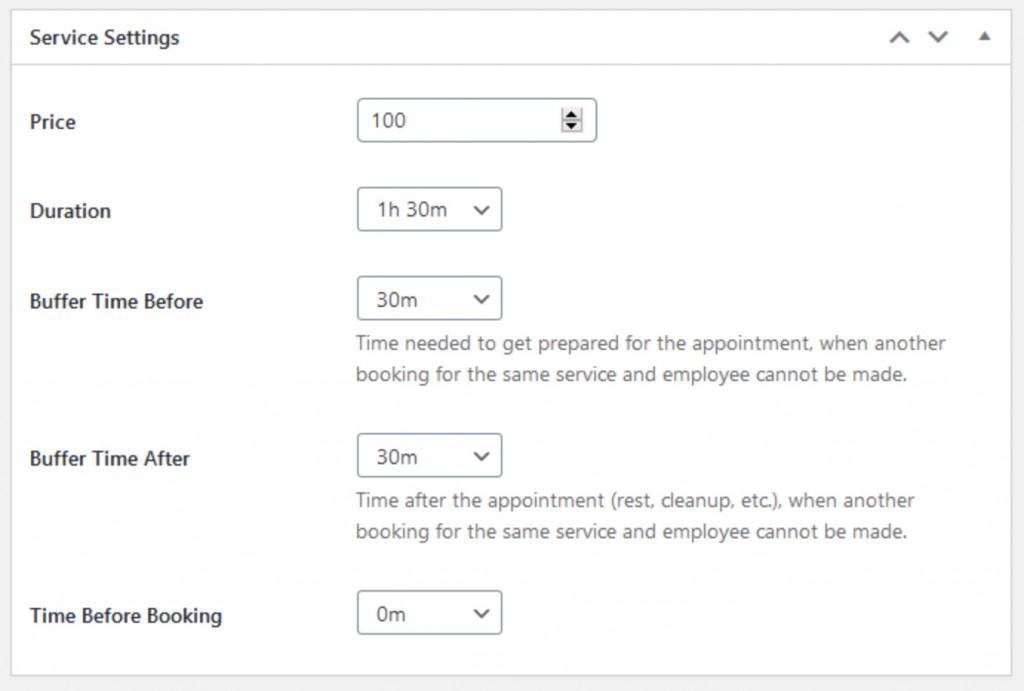
- Shortcodes – with a booking widget shortcode, you can add the appointment form to any website page & any WP page builder;
- Settings – provides general currency & appointment status settings.
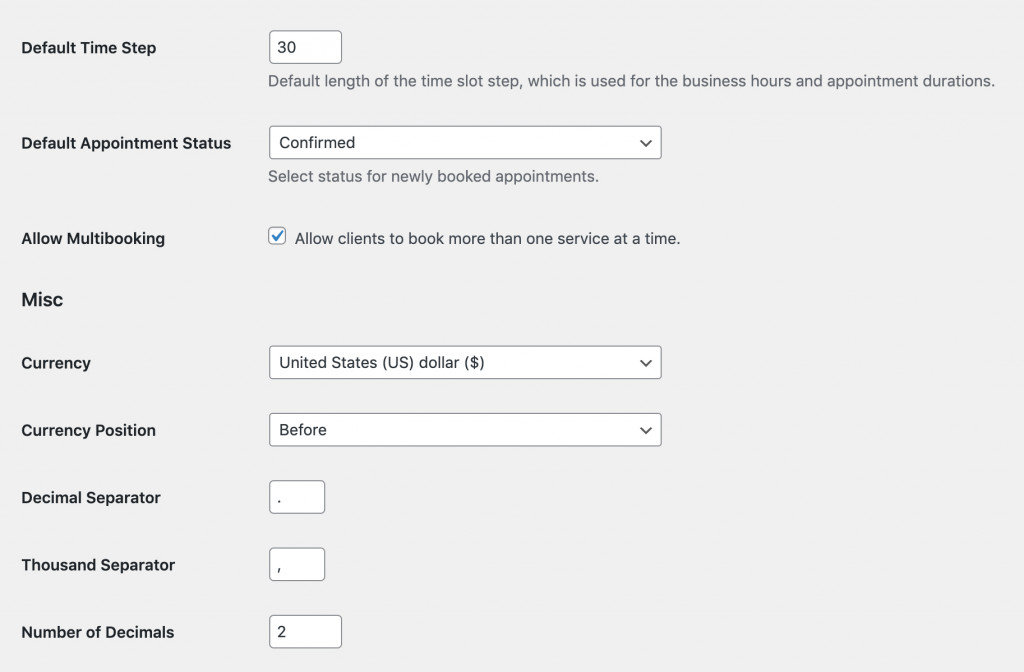
Each submenu has a convenient interface allowing users to make instant changes to your appointment widget. All you have to do it to adjust all content to your own business and generate a shortcode. Now, insert it on the particular page of your favorite WP page builder, and the job is complete!
Keep an eye on the WordPress Appointment plugin updates. We are planning to add the online payment functionality. Soon, you’ll be able to build an online booking and payment life coach website.
How to add an appointment widget to a WordPress site? We shared a detailed instruction in the other post, read it down this link.
Final Word:
It does not matter how good-looking your website is (or how much you paid for it.) What matters is how many clients a website can bring you. With the life coach booking system, you are likely to increase conversions from users who learn about your services online.
