How to Use Gutenberg: Quick Guide on New WordPress Block Editor
Table of Contents
Right after the WordPress 5.0 release, there was a rather big uncertainty as to how to use this new Gutenberg WordPress editor. How to work with a revolutionary interface, how to use Gutenberg and start handling blocks as a fundamental element of a website? In our WordPress block editor tutorial, we will clarify all the information about the Gutenberg editor and how to work with it.
TinyMCE (aka WordPress rich text editor) was and presumably is beloved by many people, old well-known interface with visual and text modes. Gutenberg’s new WordPress editor, for its part, is something absolutely different that has its brand new concept and upgrades the whole process of building a website. We have created this Gutenberg tutorial for block and block themes for you to once and for all understand how to work with it.
The Main Concept of the WordPress block editor
Gutenberg Block is the key element of Gutenberg. So, now with WordPress Gutenberg editor, any website consists of various blocks, which you combine with each other, integrate, and customize.
This is very simple as soon as you see it – the whole website is made of blocks, take a look:
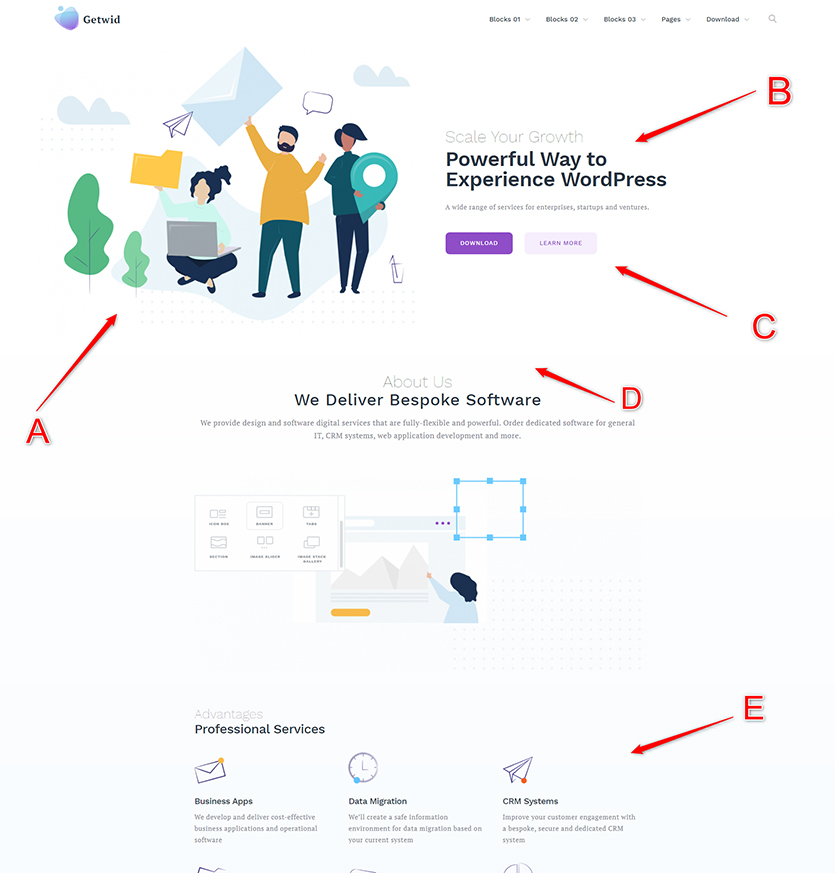
A – Image Gutenberg Block
B – Heading Gutenberg Block
C – Button Gutenberg Block
D – Spacer Gutenberg Block
E – Section Gutenberg Block
From this moment you literally build a website by adding blocks, it is just like a constructor or even lego (for a better understanding of the concept). Such an easy-to-understand approach opens all gates to not tech-savvy, new to WordPress users, which can start using it straightforward since there is no required code, which implies a deep knowledge of programming.
With the new WordPress editor Gutenberg everything is more simple!
Manually Curated Posts for You
Turning back to the interface, you work with blocks and what you see on the back-end is almost what you will receive on the front end. It makes your experience more visual and time-saving – you don’t have to constantly check how the front-end changes.
Their Majesty, WordPress Blocks
Before working with WordPress blocks you obviously need to have at least one in the editor space. By default, you have a Title block to give a name to your post.
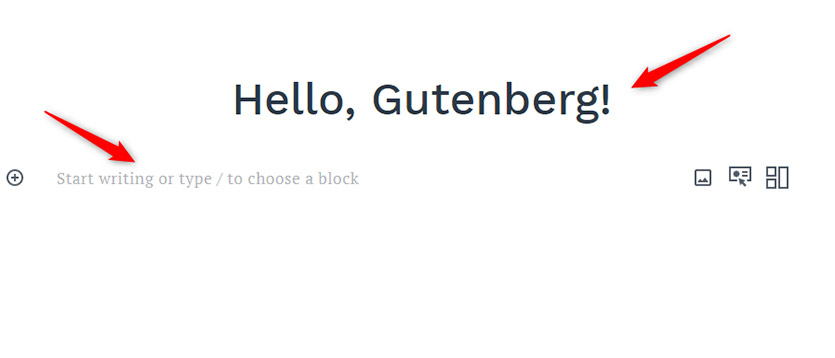
To add a new block click on one of the “plus circles”, there are three options to choose from. An icon that is on the top is the sticky one, meanwhile, the other two become visible only when you hover over the block.
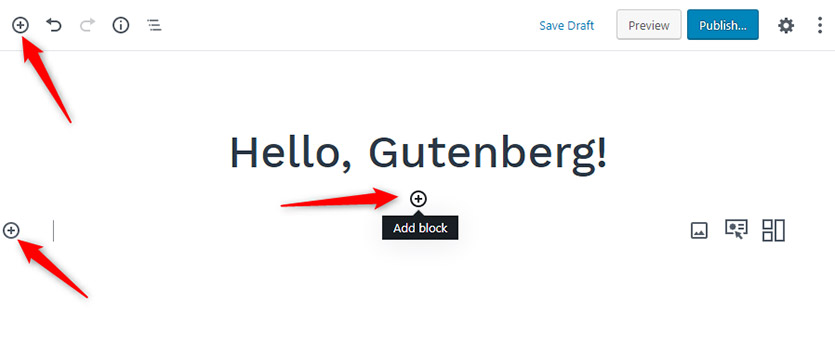
You can also add a block by typing its name right after the slash (this is handy when you have already had some experience and know each block name)

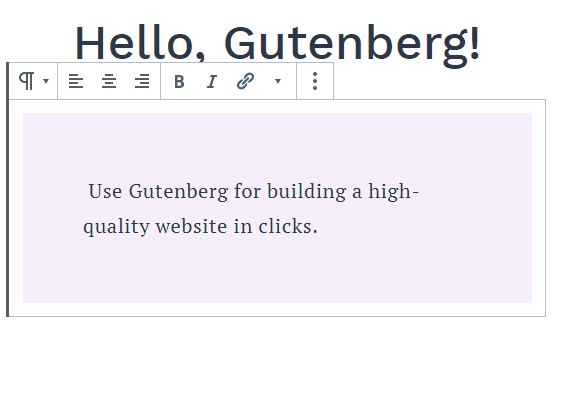
“Hello, Gutenberg” this is our title and right under it, you can clearly see the field where you are to write any engaging content you want to be displayed on the website.
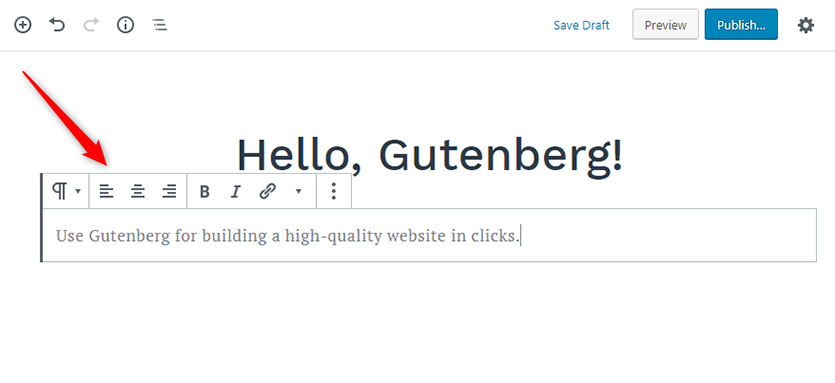
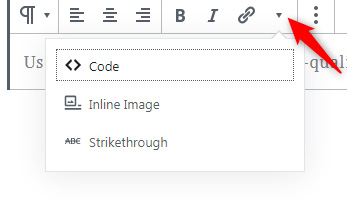
As soon as you type any content, there is a nice toolbar with basic settings, such as text alignment, bold, italic, link addition and by clicking on the small arrow you get code-insert, inline image, and strikethrough.
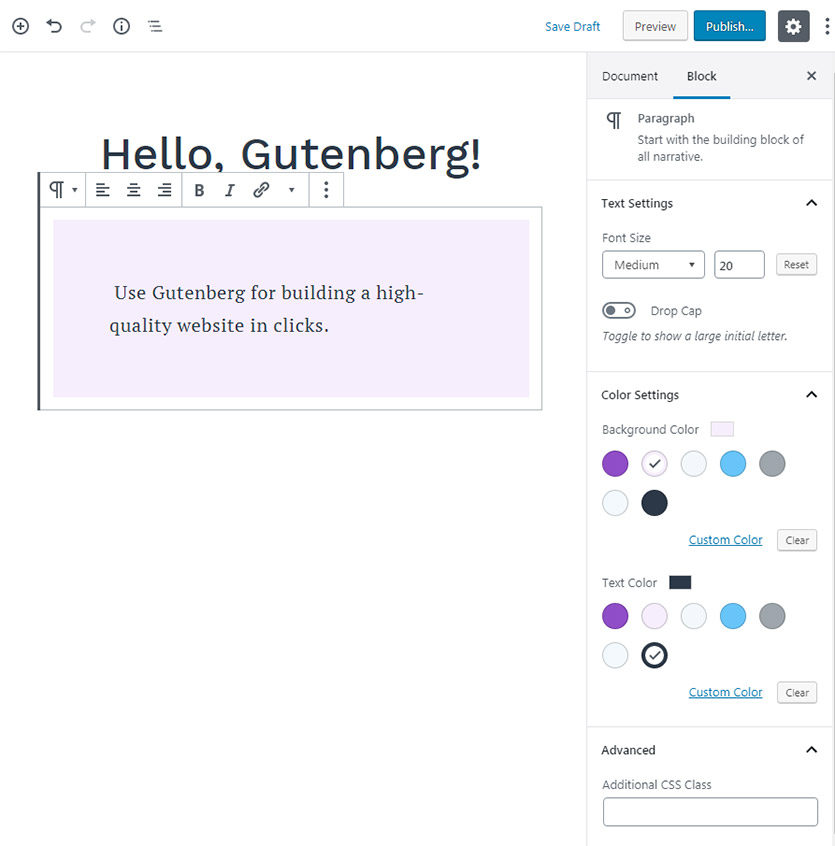
If you look at the right-hand toolbar, you will see some more options for text altering, namely font size, background, and text color settings and there is even an advanced CSS class section, where you may add custom code lines for more options.
The great thing about Gutenberg WordPress editor is that any block that you create can be saved to the reusable blocks and then used multiple times without creating them again. This feature is great for those who are coping with websites every day, write various content for blogs, etc.
To save your custom blocks, follow the easiest instructions.
As soon as you have created a reusable block and saved it, you can in clicks find it in the Blocks list > Reusable.
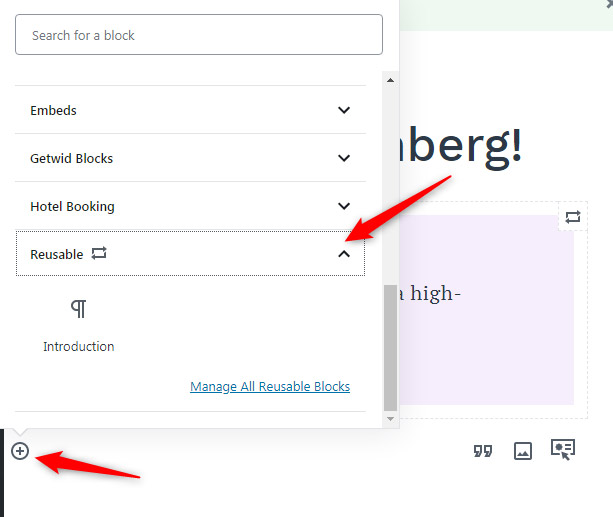
If you click on Manage All Reusable Blocks, you will be redirected to the page with all blocks you have created so far, where you can delete them or export to use on other websites in the future.
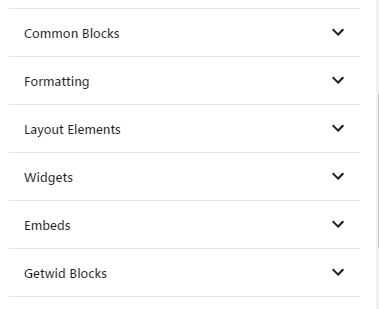
You have probably noticed more tabs that comprise different blocks. Let’s shed some light on them as well.
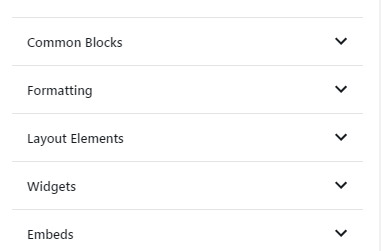
Common Blocks – comprise the basic set of blocks, which are mostly used (Paragraph, Image, Quote, Gallery, Heading, etc.).
Formatting – these blocks are great tools for managing all content on the page (Pullquote, Table, Verse, Custom HTML, etc.).
Layout Elements – Use them to display content the way you want it to be: with Spacer, Separator, Page Break, Columns Blocks (and more) you can effortlessly rearrange your content so that it looks holistic. There are block filters that will help you.
Widgets – with their help you are able to display Categories, Latest Comments and Posts, Archives, Calendar, and many more widgets right in Gutenberg.
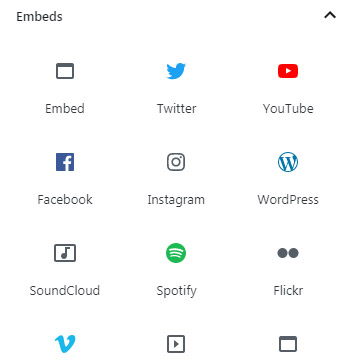
Embeds – add content from third-party resources such as YouTube, Twitter, Instagram, Facebook etc.
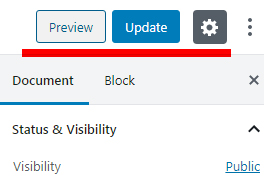
Near the Block settings right on the top, there is one more tab for managing your website page – Document.
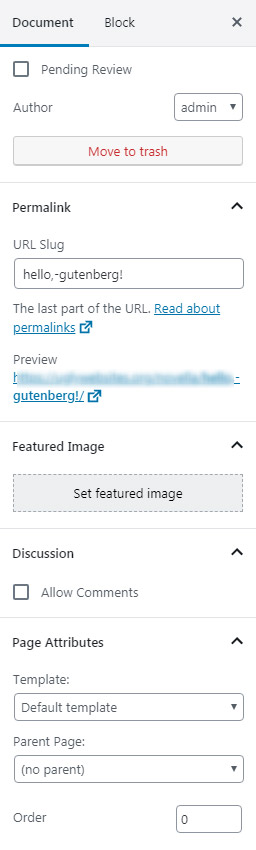
In this section you are to write the URL slug (this is how the post link will be seen), set a featured image (the first image near the post title, which will be seen in the posts list), allow comments under the post and set page attributes, choose the template (depends on the theme you use) and connect it to the parent page if you want this page to be the child one.
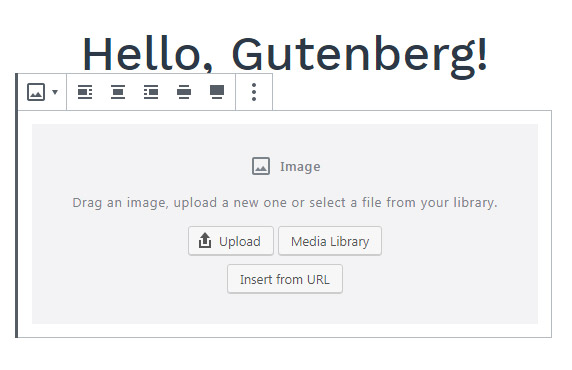
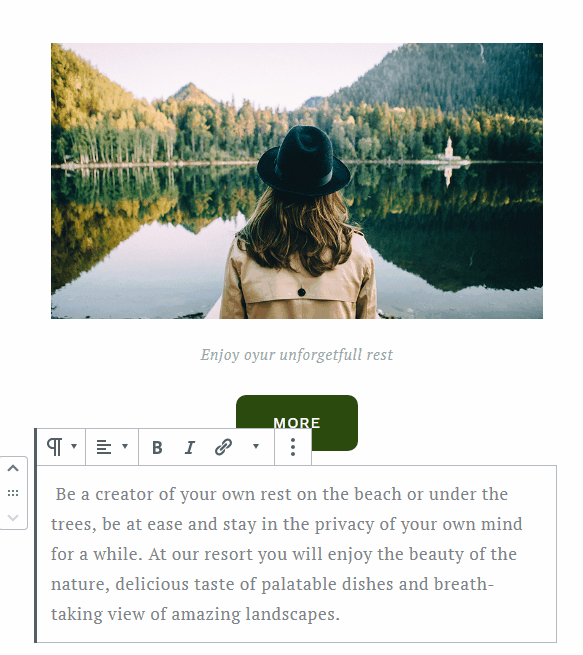
Going further to the blocks, another WordPress block that is one of the most used is Image Block. Add it by clicking on the plus button, typing via flash (/image) or simply drag & drop it from your desktop.
Note: You may also create your own Media library in the block editor, where all of the needed images will be stored and you don’t have to upload them every time.
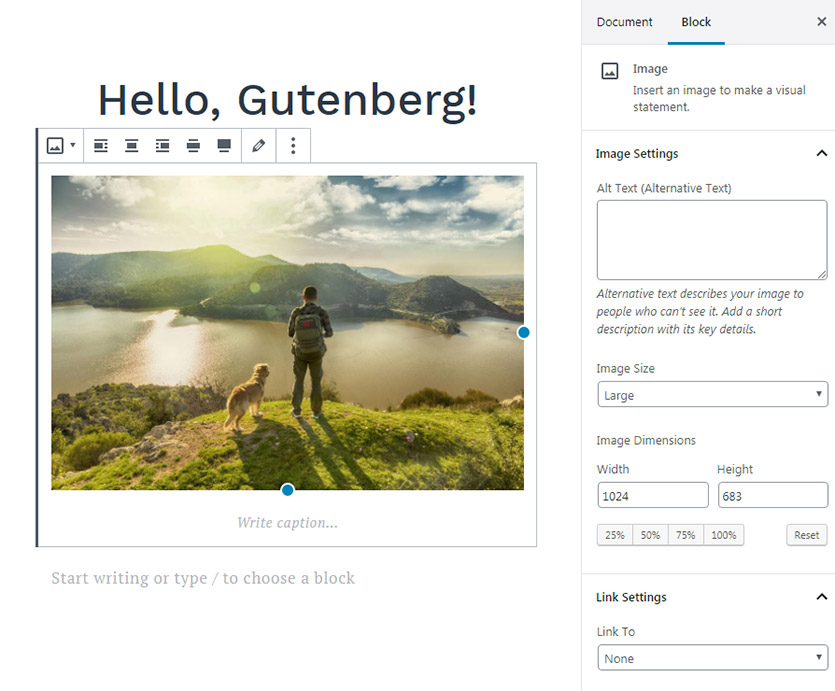
Start editing your image by changing the border size (simply drag them right from the image), write a caption under it, add alt text (this influences your SEO search rankings), choose image size, image dimensions, add a link to the image and use the Advanced CSS section if you are an experienced used already.
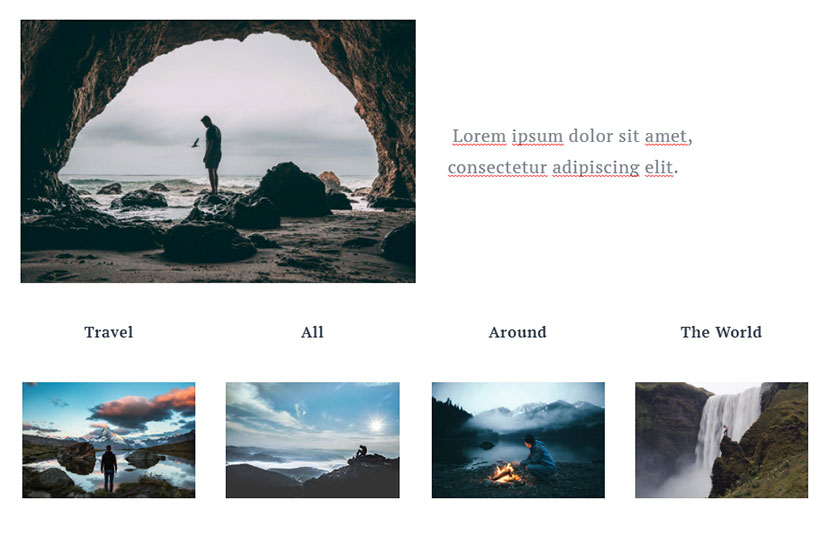
To make your content more engaging and containing vivid images, use the Gallery block. Layouts will be automatically created right after you’ve chosen desired images in the block editor.

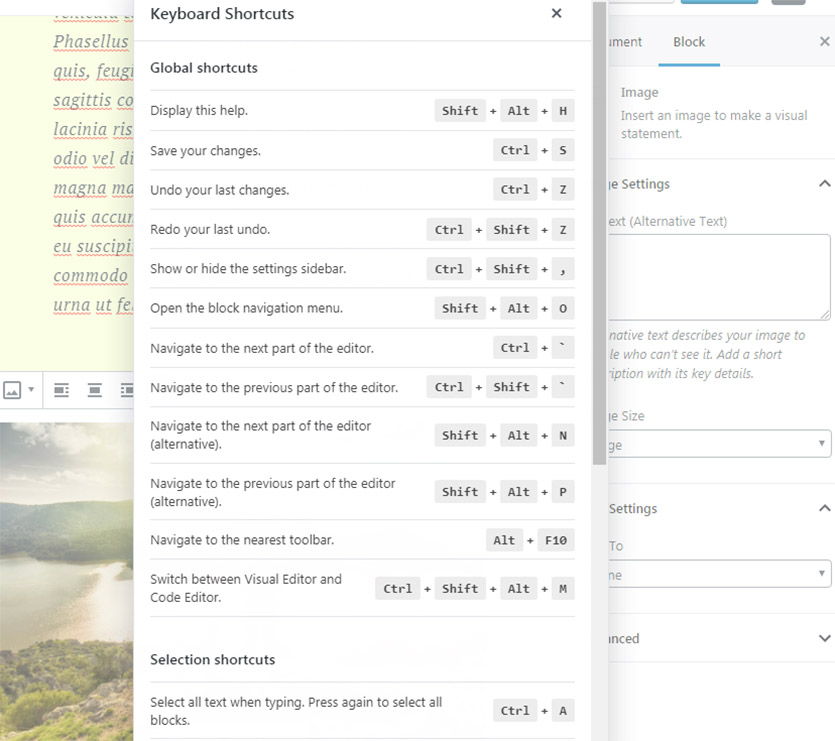
Hack: by typing on the keyboard Shift+Alt+H, on your screen will appear the list of shortcodes, which will help you navigate through the editor, last changes, redo or undo actions, altering options etc.
With Gutenberg editor, you are empowered to effortlessly change the position of every block, by clicking on the arrows (as shown below) or by dragging blocks manually with mouse pointer located between the arrows.
Tip: use Columns to make your content look more structarized.
Example in the block editor:
Right on the top from the right side in the editing space, you will find four buttons.
Preview – this is how your website looks like on the front-end. Check this without the actual publishing of the page.
Publish – your post will be seen by all Internet users in the block editor.
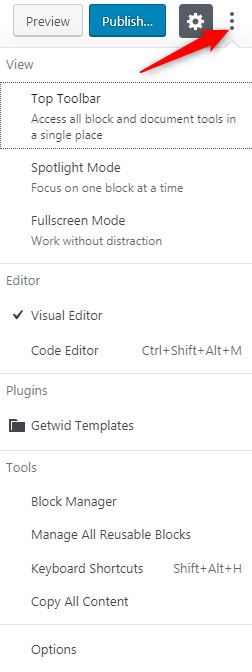
Settings – by clicking on the cog the right-hand settings panel will disappear and by pressing again – appear.
More – more features as for settings. By clicking on this button, you receive some more options, namely:
Top Toolbar – the default altering settings will appear as a sticky header on the top of the post depending on the block you use.
Spotlight Mode – all the blocks you don’t work with will be semi-transparent, so that your attention is focused only where it is needed, only on the block you work with.
Full-screen mode – with it, you don’t see the WordPress interface on the left and have better UX & UI, in other words, nothing distracts you.
All of the settings provided by Gutenberg are more than enough to create cool, original, and attractive content for a website of any scale, particularly if you are willing to run a personal blog and nicely present your company and products.
However, Gutenberg doesn’t leave you with default blocks only, because some, especially advanced users, may want to have more options for customization and some other new interesting blocks to play with. In this respect, Gutenberg lets you integrate any blocks plugin into it, which will seamlessly interplay with Gutenberg, your theme, and design.
Additional plugins for Gutenberg, or Add-ons, are collections of new custom blocks, which greatly widen the core options of Gutenberg blocks and help create eye-catchy banners, block templates, CTAs, advertisements, etc.
For your help and references, there is Gutenberg handbook.
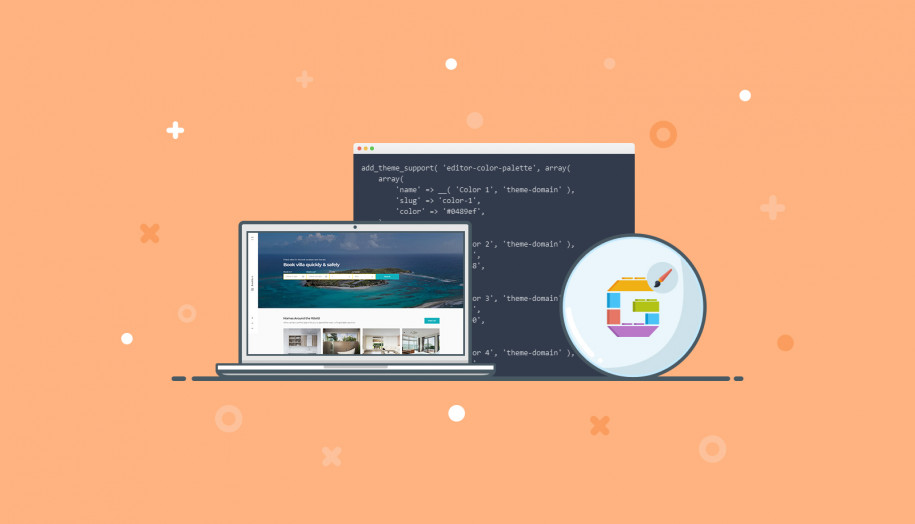
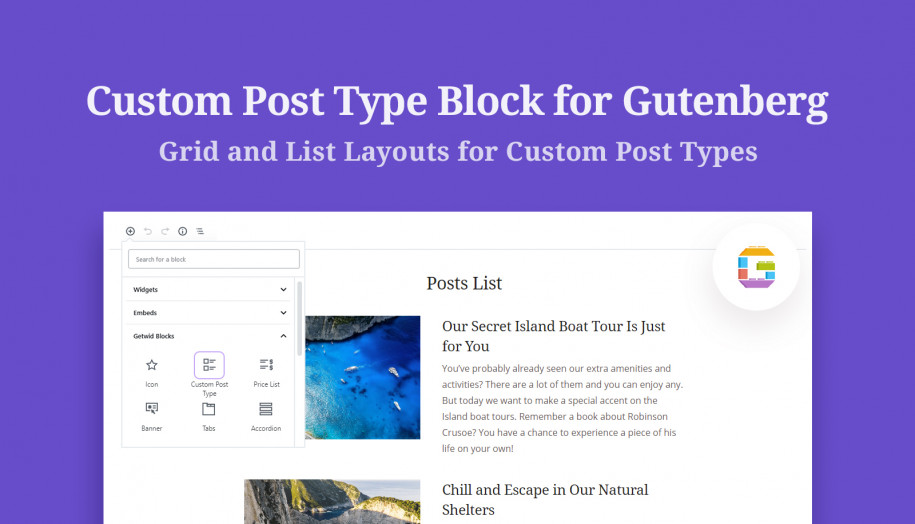
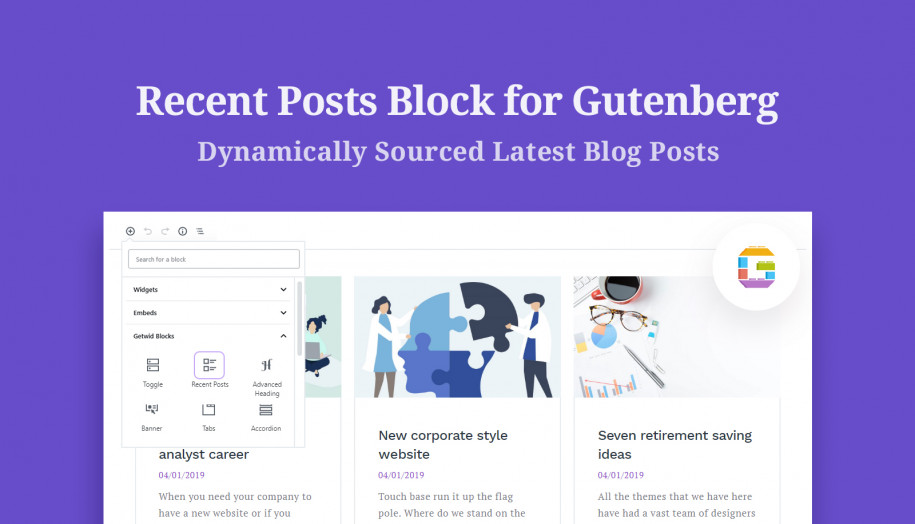
Getwid 34+ Unique Blocks for Gutenberg WordPress
How to create blocks in WordPress? You don’t need to if you have an awesome library of blocks at hand.
Getwid is a free add-on that provides you with 34+ additional blocks for Gutenberg WordPress block editor, which can be easily integrated into your website. With Getwid, you don’t need to be a block designer to create awesome content.
The main concept behind Getwid is to make them as native to Gutenberg WordPress as possible. This is how they look in the search:
Getwid Blocks are constantly rising its number, so 34+ isn’t the final one!
There are very powerful blocks in the Getwid collection which will for sure impress you with the feature-rich functionality: Section Block, Banner Block, unique Image & Media Slider Blocks, MailChimp Block and many other powerful blocks, which you can use at no cost!
Though at the current moment there are plenty of various block add-ons, not all of them are free and offer a wide range of functions for the WordPress block editor.
Install Getwid to your Gutenberg-powered website and you will have no need in searching for third-party plugins or blocks for your website, they comprise everything you need. And in the future, there will be more updates and more blocks, which are being created according to people’s needs.
WordPress block themes
The theme, used for this WordPress blocks tutorial, is built with Getwid blocks only and it is called Getwid Base Theme, a perfect block template. This is a free multipurpose theme that will be suitable for running a website of any scale and type (blog, portfolio, etc.).
Conclusion on how to work in the WordPress block editor
Gutenberg is the new default editor of WordPress starting from the 5.0 version. This WordPress editor is revolutionary, since the main element of the website is a block, and you don’t write code manually, but simply drag & drop blocks to create what you need.
The user experience is on the highest level, the website building procedure is as easy as it is possible, the tools for customization are feature-rich and additional plugins to it are completely free (Getwid Gutenberg Blocks).
Despite the obvious advantages of Gutenberg WP in front of TinyMCE (WordPress rich text editor ), there are still opinions that the new content editor is something unacceptable. And there is a clear explanation of such a reaction: people have been working with the old editor for many years, they got used to the interface, features, and its peculiarities. When it comes to the work with something new, never-seen-before, and acquiring some time to figure it out, many people just refuse and don’t go out of their comfort zone. But this by no means implies that there is something wrong with Gutenberg.
Many people work with Gutenberg WP editor and the number of Gutenberg Blocks add-ons downloads on wp.org only proves this fact. The future of WordPress is surely connected with Gutenberg and if you haven’t heard about it before, this article has already given you all the needed information. The block themes directory is also getting richer so no doubt you’ll be able to find the right block template soon enough for any business.
It will be interesting for us to know your opinion on the WordPress block editor, do you like it or not? What was your experience? Feel free to share your thoughts in the comments below.