How to Create Virtual Events on WordPress?
Table of Contents
Whether you’re hosting webinars, consultations, or online classes, virtual events are a must for staying connected in a digital-first world. Are you looking to set up the events calendar virtual events system on your WordPress website? With the tools in this article, you can host everything from one-on-one meetings to group classes or webinars!
Who are virtual events best suited for?
- Tutors – to teach students remotely with flexible scheduling;
- Coaches and fitness instructors – to run live training, classes, or motivational sessions;
- Consultants – to connect with clients from anywhere in the world;
- Lawyers and financial advisors – to offer secure and private online consultations.
Why do virtual events matter today? They eliminate the need for travel and ensure flexibility for both hosts and participants. WordPress provides powerful solutions for scheduling and running interactive sessions directly on your website.
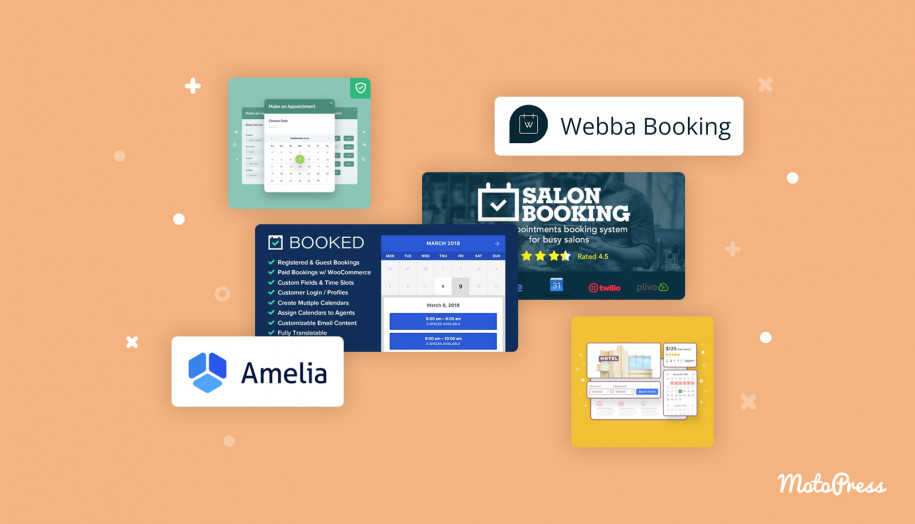
Here are the tools we’re going to use for our guide:
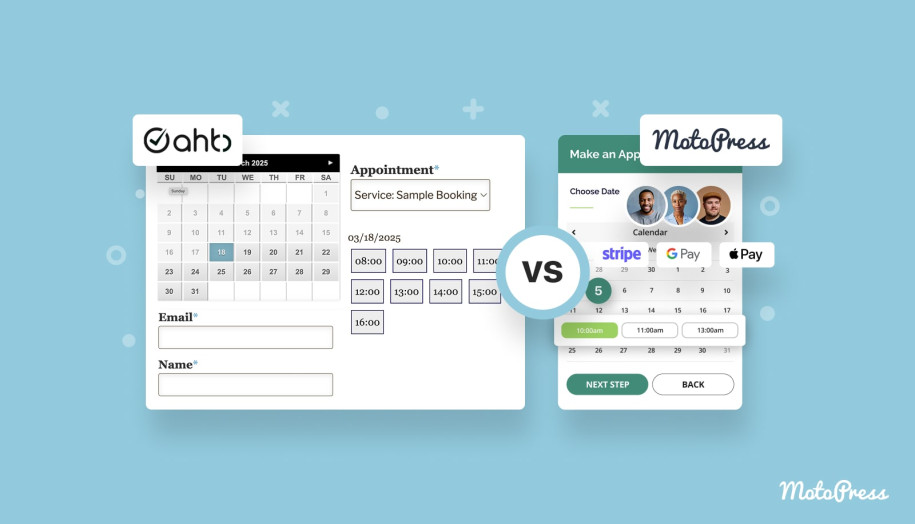
- MotoPress Appointment Booking plugin (version 2.2.0 or later is required).
- Appointment Booking Video Conferencing addon to integrate Zoom and/or Google Meet and automate virtual appointments.

Getting Started with Virtual Event Appointments: Preparing Your WordPress Site
Before launching virtual appointments, it’s important to make sure your WordPress site is all set up:
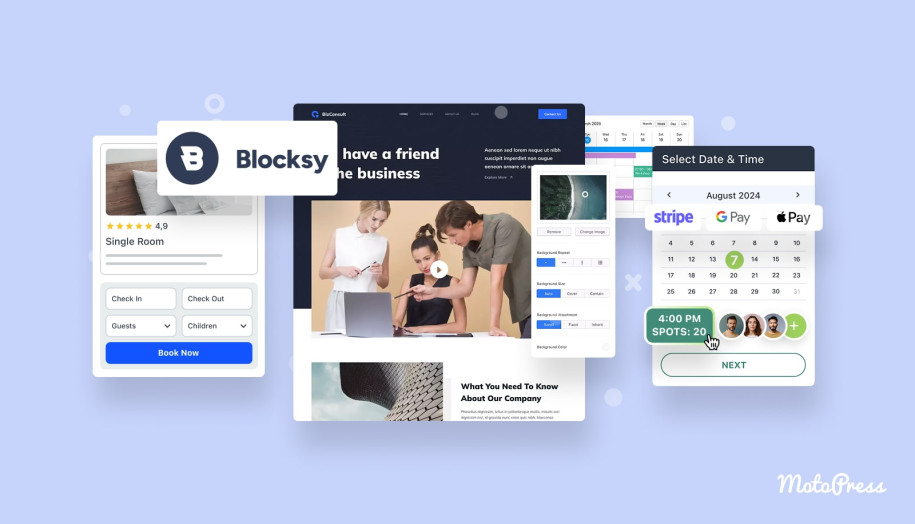
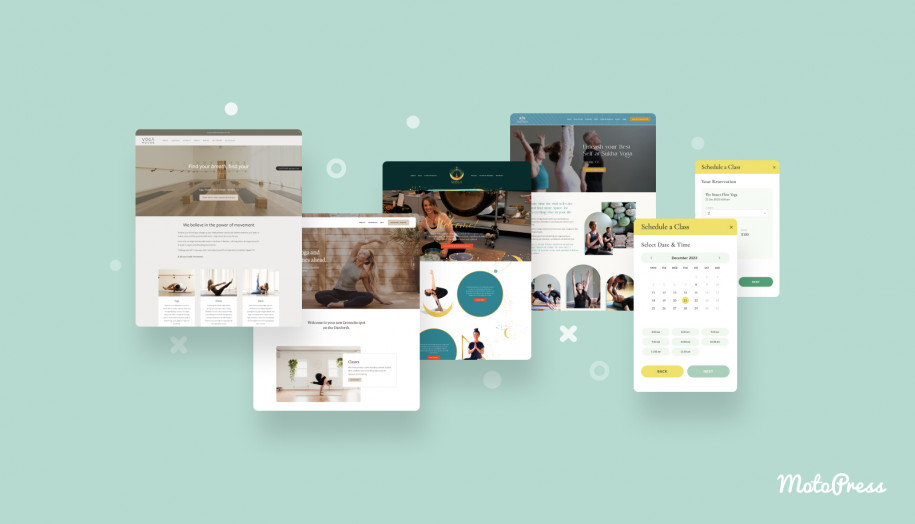
- Select a WordPress virtual event theme that works well with booking systems and suits your industry. For example, the MotoPress lineup includes a wide range of appointment booking themes, such as:
- Coachzee – for personal coaches, instructors, and motivational speakers;
- Edme – for educators and online schools;
- Medmix – for medical professionals;
- Yogamo – for yoga instructors, wellness trainers, and fitness studios.
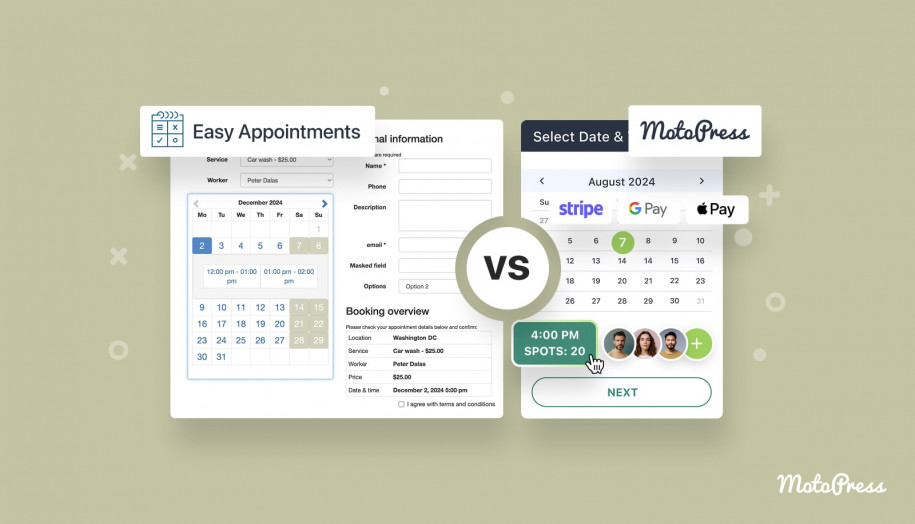
- Install and activate MotoPress Appointment Booking, which is used as a WordPress virtual event plugin in this tutorial.
- Install and activate the Video Conferencing addon.
- You need to have a Google and/or Zoom account for integrations.


How To Create Virtual Events: A Step-by-Step Guide
Once you’re equipped with all the required virtual event WordPress tools, you can use the following steps to get started.
Set Up the MotoPress Appointment Booking Plugin
This quick tutorial walks you through the main booking plugin settings and menus.
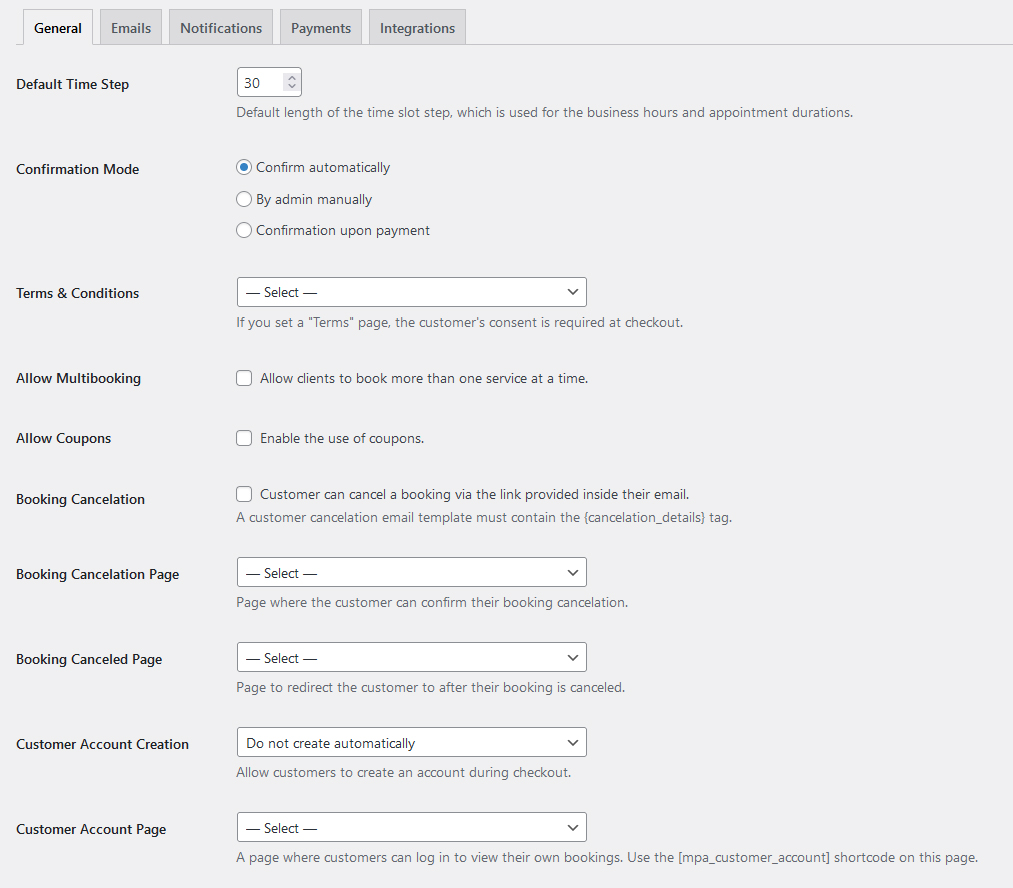
Step 1: Configure General Settings
- The default time slot step;
- Booking confirmation mode (automatic, manual, or upon payment);
- Terms & Conditions;
- Multibooking;
- Coupons;
- Booking Cancelation settings;
- Customer Account;
- Default Country;
- Currency options;
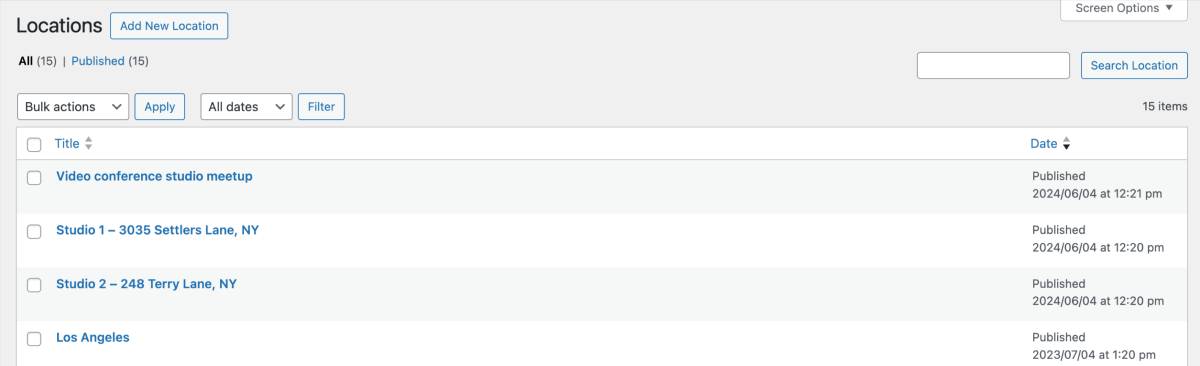
Step 2: Add Locations, Employees, and Services
With MotoPress Appointment Booking, you can add unlimited locations such as cities, rooms, buildings, etc.
Go to Employees > Add New Employee to create an employee profile with a staff member’s image and their bio/skills.
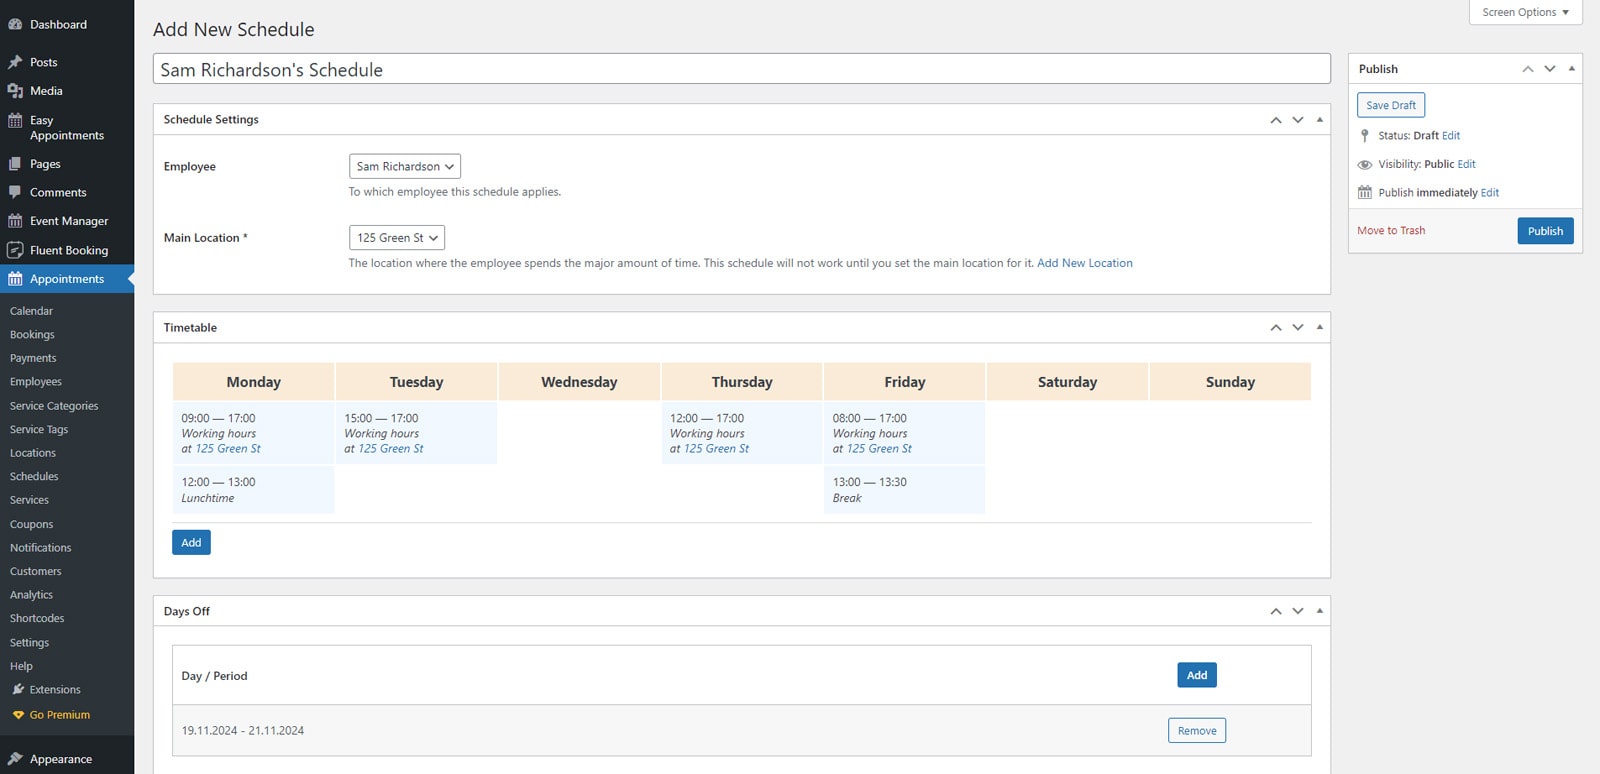
Then, navigate to Schedules > Add New Schedule to add schedules for employees. For each day of the week, the plugin allows you to choose:
- Working hours;
- Lunchtime and break duration;
- Days-off;
- Extra custom working times.
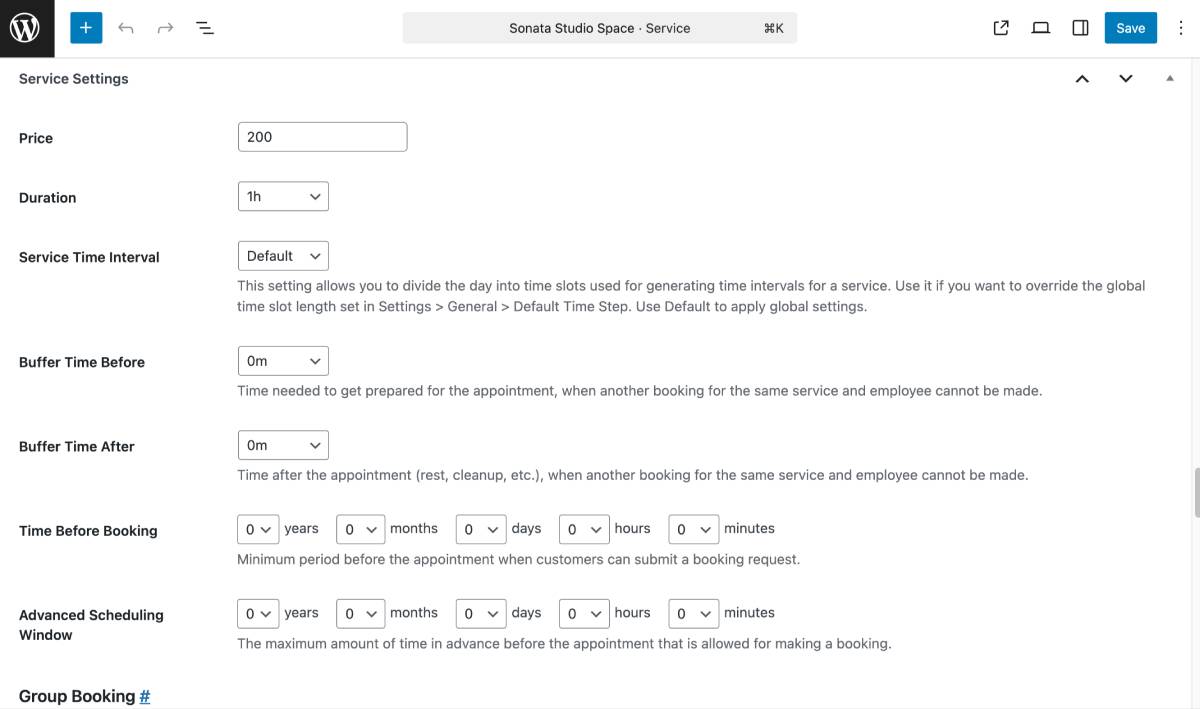
In the Services menu, you can add any number of services and configure:
- Price;
- Duration;
- Service Time Interval;
- Buffer Time Before/Buffer Time After;
- Advanced Scheduling Window;
- Time Before Booking;
- Service color;
- Eligible employees;
- Deposit settings.
Appointment capacity & group bookings
It’s worth noting that the MotoPress Appointment Booking plugin lets you define service capacity and supports group bookings. Thus, you can set up virtual event appointments for different cases:
- One booking for a group: A single individual can reserve multiple spots within a specific time slot.
- Multiple bookings of the same timeslot: Multiple independent people can book the same timeslot. This option can be applied to offer workshops, lessons, and other group activities.
Appointment Booking Setup Wizard
You can run the Appointment Booking Setup Wizard to set up the plugin in just a few steps. This wizard will guide you through adding your first service with the necessary settings.
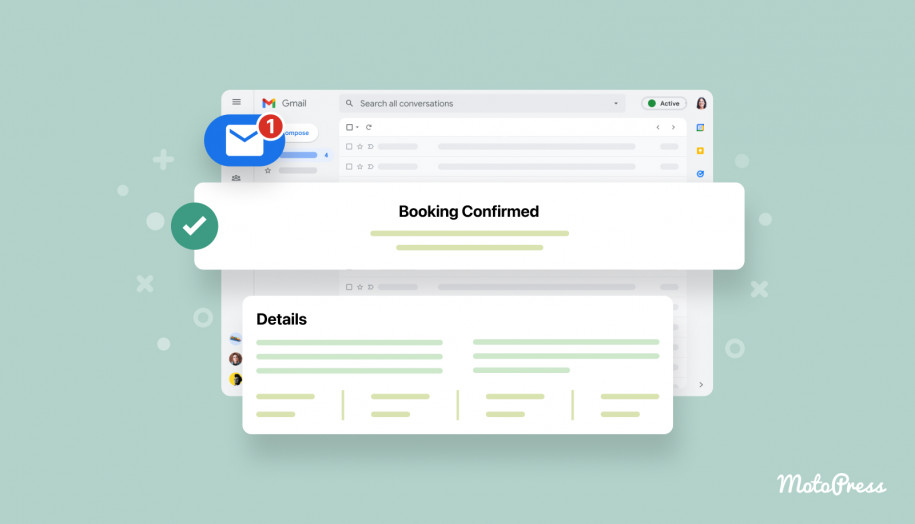
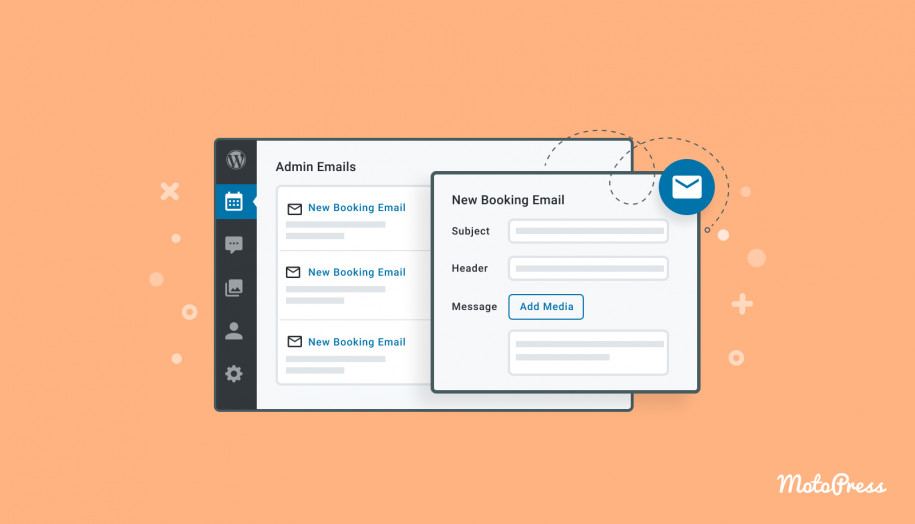
Step 4: Customize Emails
Go to Settings > Emails to enable automated email notifications sent to the admin and customer and customize email templates.
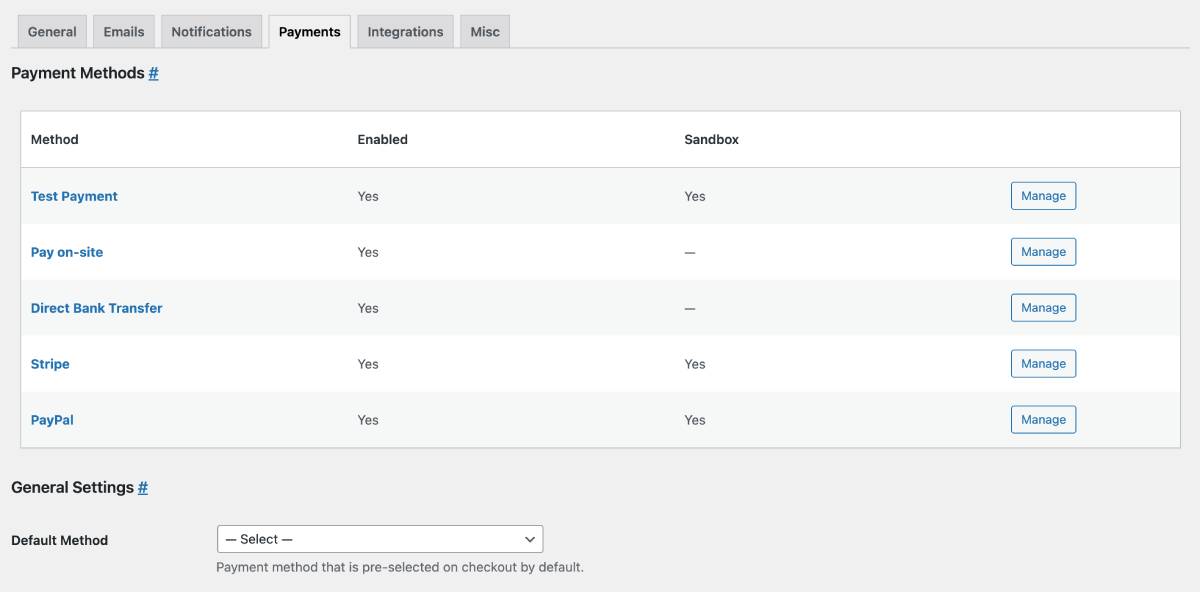
Step 5: Configure Payment Gateways
If you navigate to the Settings > Payments, you’ll be able to set up different payment methods:
- PayPal;
- Stripe;
- Direct bank transfer;
- Pay on-site;
- Test payment.
Step 6: Display the Booking Form on Your Website
You can add the appointment booking form of the MotoPress Appointment Booking plugin:
1. With a dedicated free ‘Appointment form’ content element in the WordPress block editor, Elementor, or Divi builders.
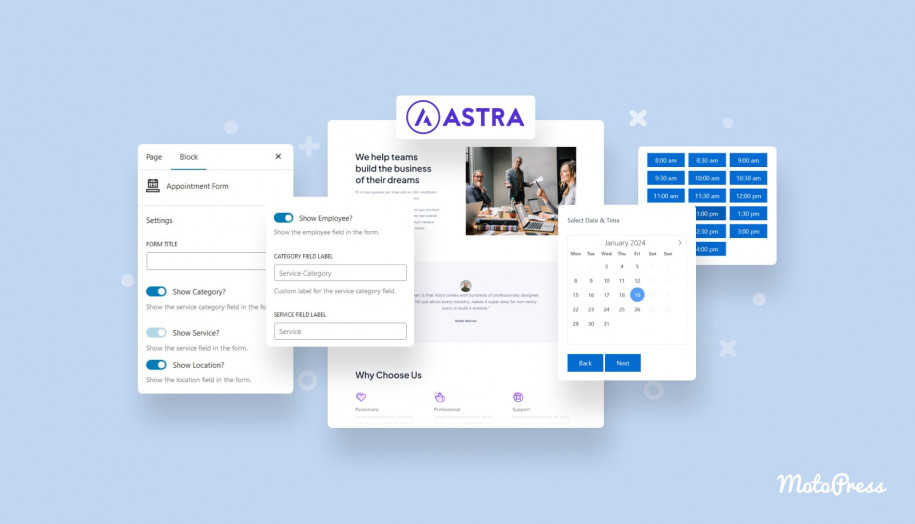
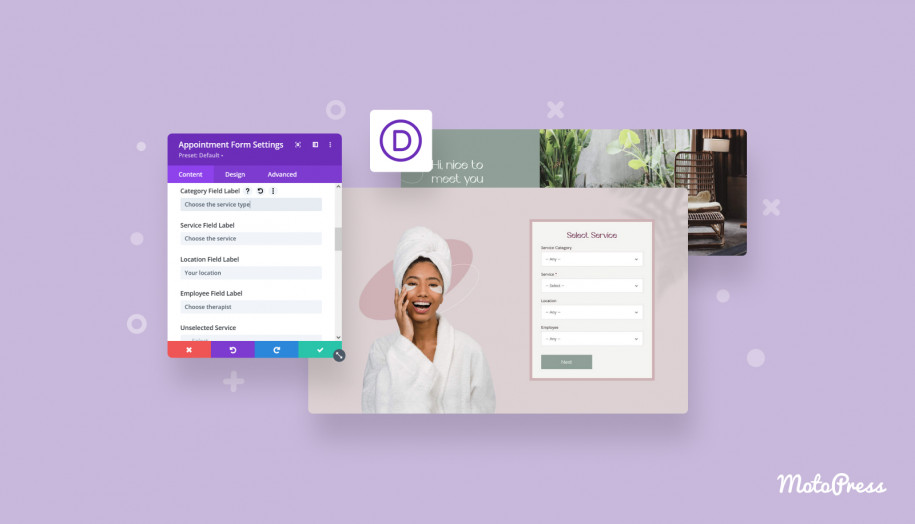
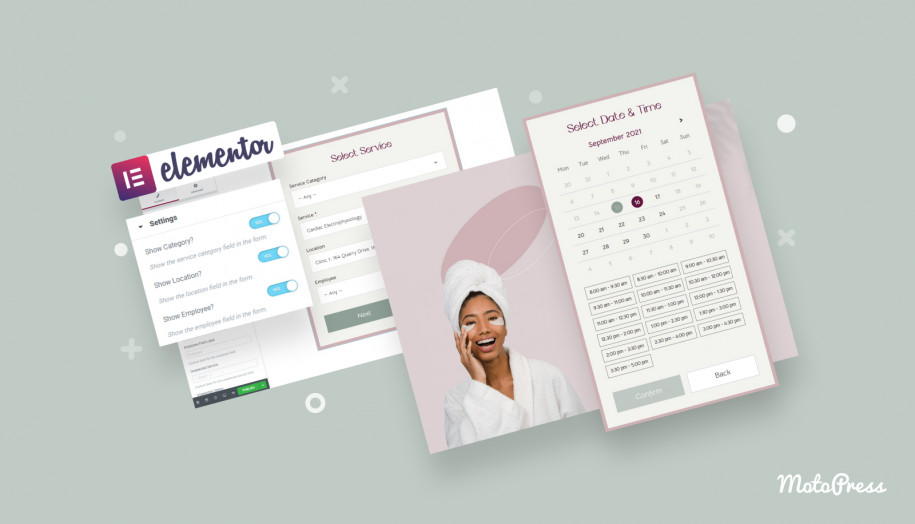
2. With a shortcode by navigating to Appointments > Shortcodes > Add new > Appointment form.
Now, let’s dive into creating virtual events on Google Meet and Zoom with MotoPress plugins!
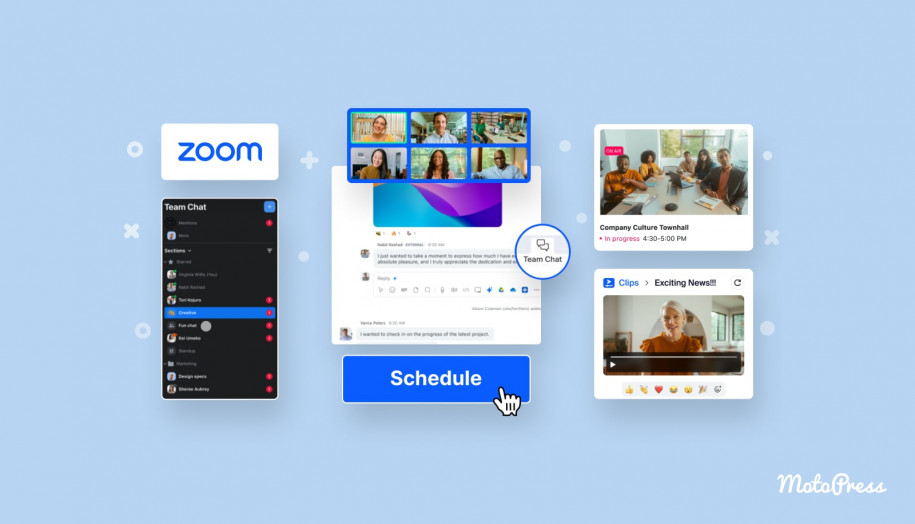
Enable Virtual Meetings: Google Meet Integration
How to do a virtual event on Google Meet with the dedicated extension for the MotoPress Appointment Booking plugin? Here is a quick guide:
- Obtain your Client ID and Client Secret Key.
- Configure Google Calendar sync via Appointments > Settings > Integrations > Google Calendar Sync, where you should insert your Client ID and Client Secret Key.
- Connect Google Meet via Appointments > Settings > Integrations > Video Conferencing > Google Meet > Connect Google Calendar.
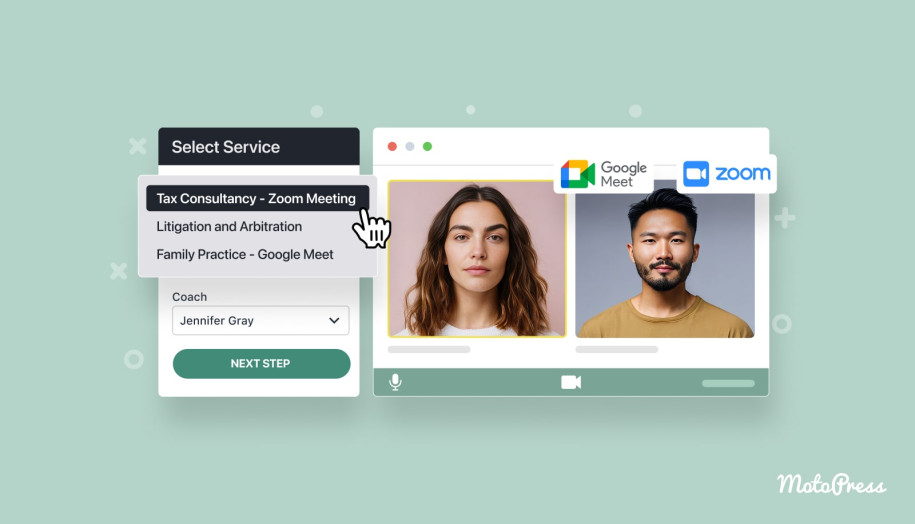
- While creating or editing your services, select Google Meet from the Provider drop-down in the Video Conferencing metabox.
- Automate Google Meet meeting links in emails by adding the {video_conference_details} tag to the Reservation Details templates.
Visit the documentation to get more detailed instructions
Also, we’ve created a step-by-step video tutorial:
Enable Virtual Meetings: Zoom Integration
How to create a virtual event and get Zoom appointment bookings on your WordPress site?
- Obtain your Account ID, Client ID, and Client Secret.
- Enter these credentials in Appointments > Settings > Integrations > Video Conferencing > Zoom.
- In the service editing page, choose Zoom from the Provider drop-down menu in the Video Conferencing metabox.
- To send Zoom meeting links automatically in emails, you should add the {video_conference_details} tag to the customer and admin email templates.
Note: The current version of Zoom integration in the add-on supports one-way sync. So, you can’t delete or change these meetings directly in Zoom.
We’ve prepared the documentation with more detailed instructions
And here is a hands-on video tutorial from our YouTube channel:
How to get the Video Conferencing premium extension?
1. As an individual product
2. As a part of the discounted bundle of the MotoPress Appointment Booking + Add-ons
Manage Virtual Appointments: Admin Walkthrough
There are a few ways to keep track of your virtual event appointments within the MotoPress booking plugin:
- The events calendar virtual events overview in the dashboard: check out and manage bookings, payments, and attendees from one place.
- A built-in analytics dashboard: get reports on service trends, revenue performance, coupon usage, and popular payment gateways.
- CSV reports: export booking data to CSV files to edit and analyze in third-party tools.
- Google Analytics: integrate the dedicated analytics appointment booking extension to get data-driven insights about your website and business performance.

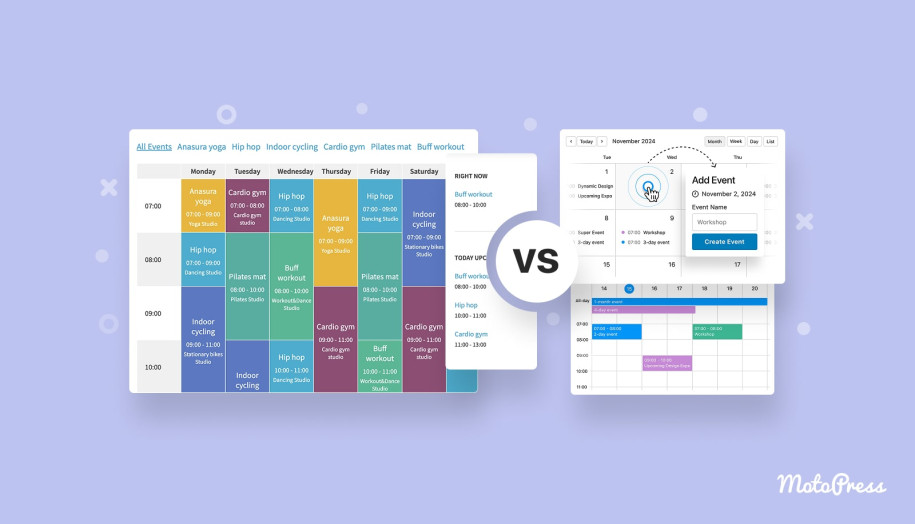
How to Display a Virtual Events Calendar on WordPress?
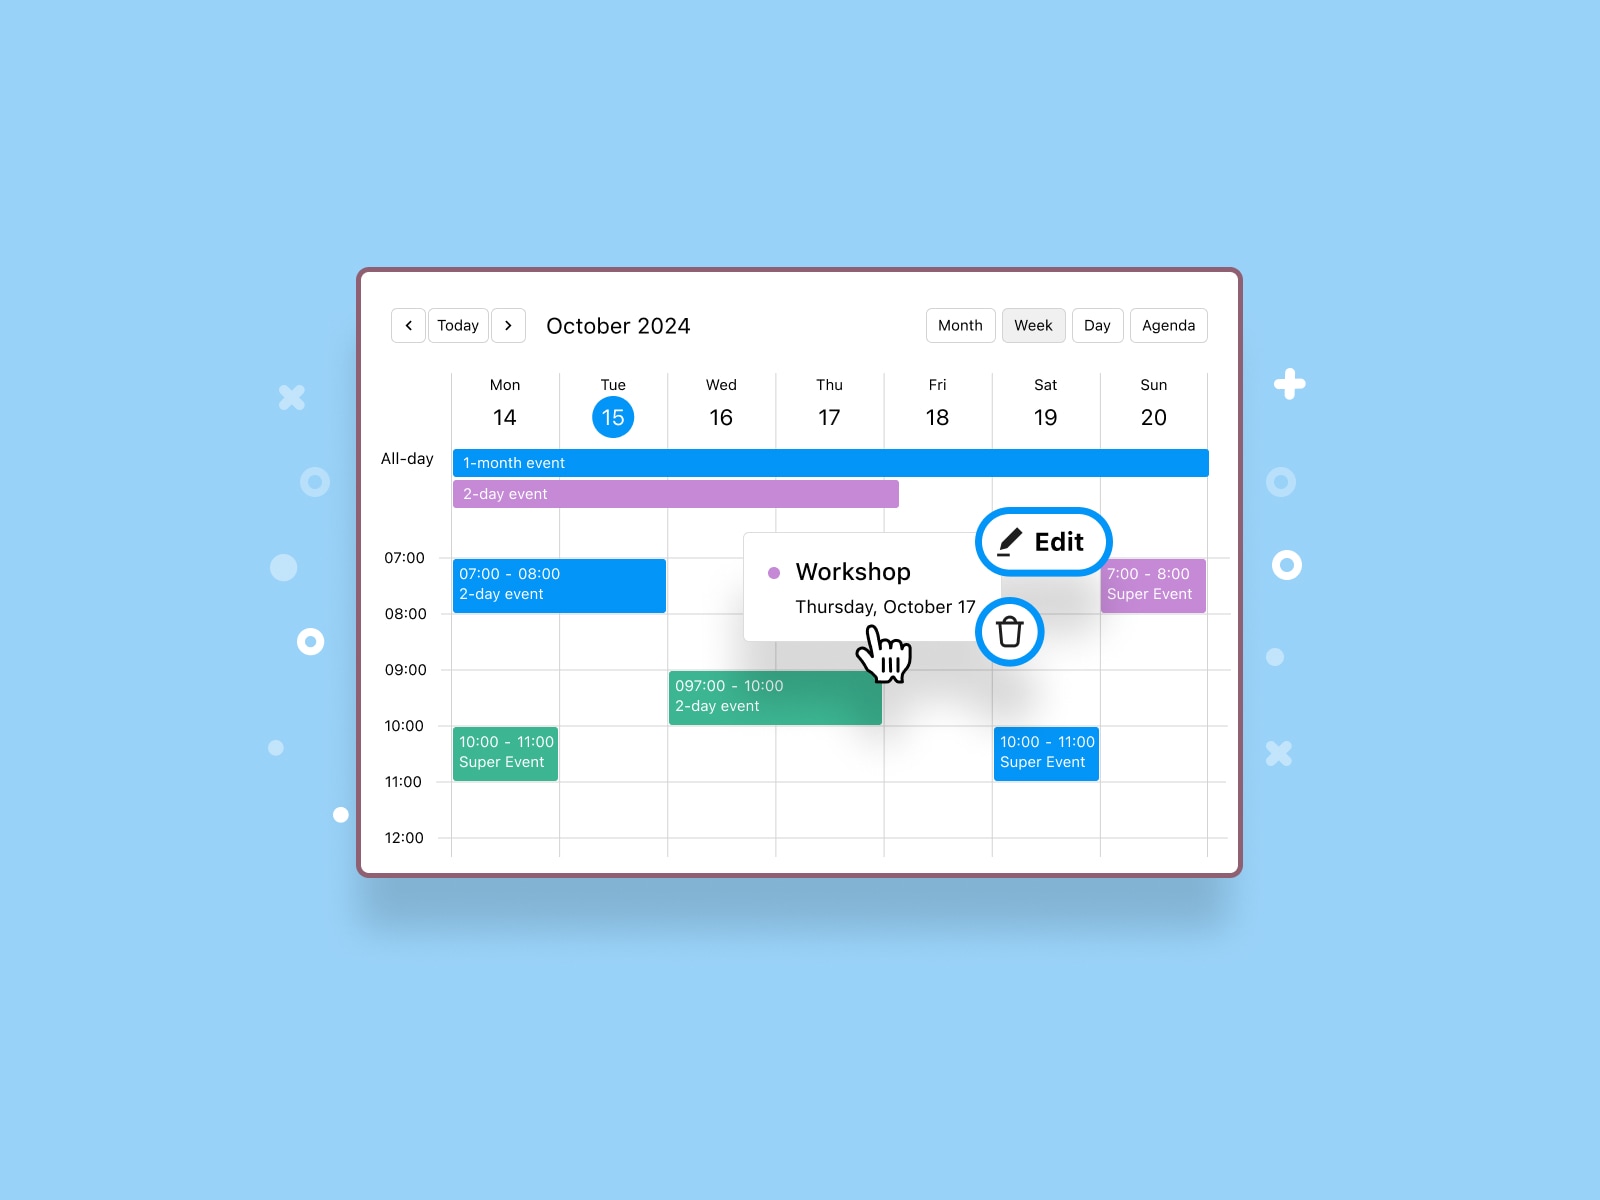
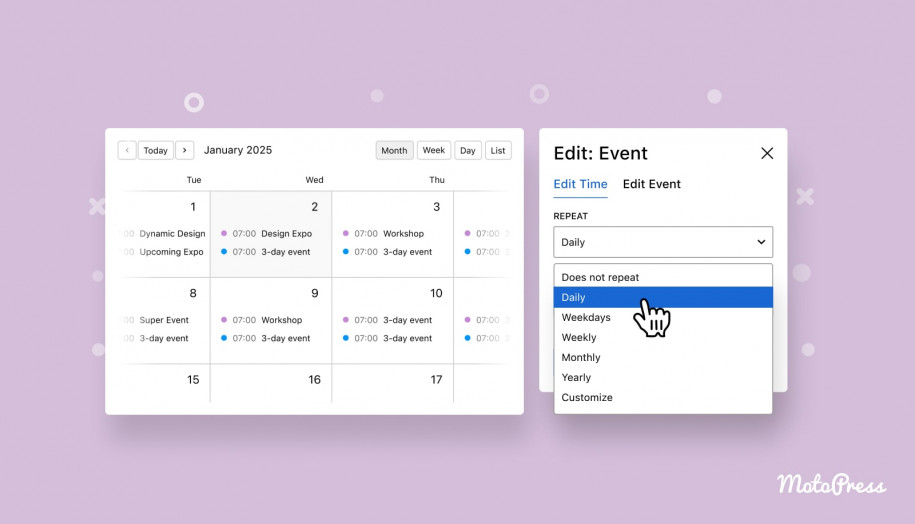
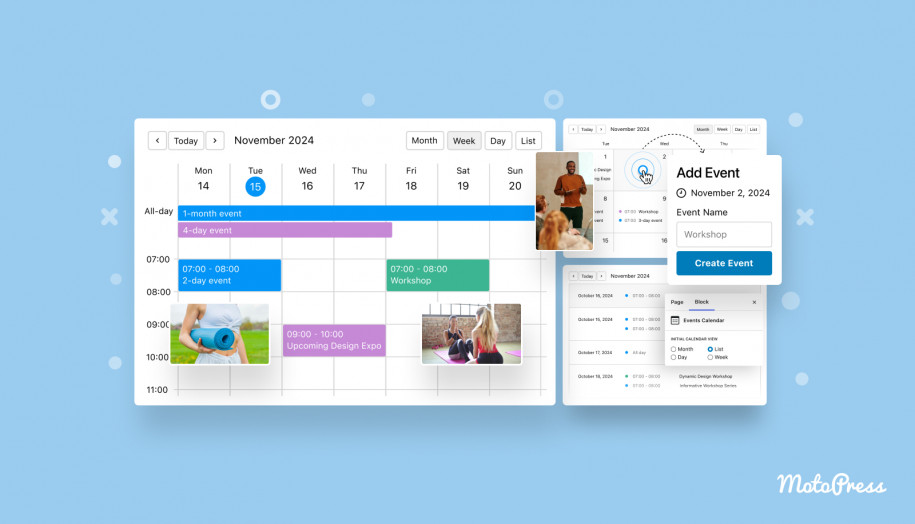
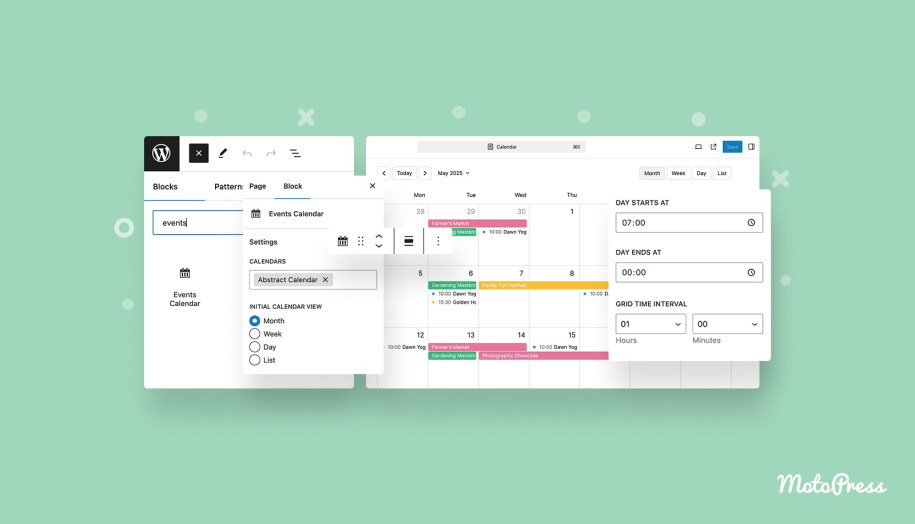
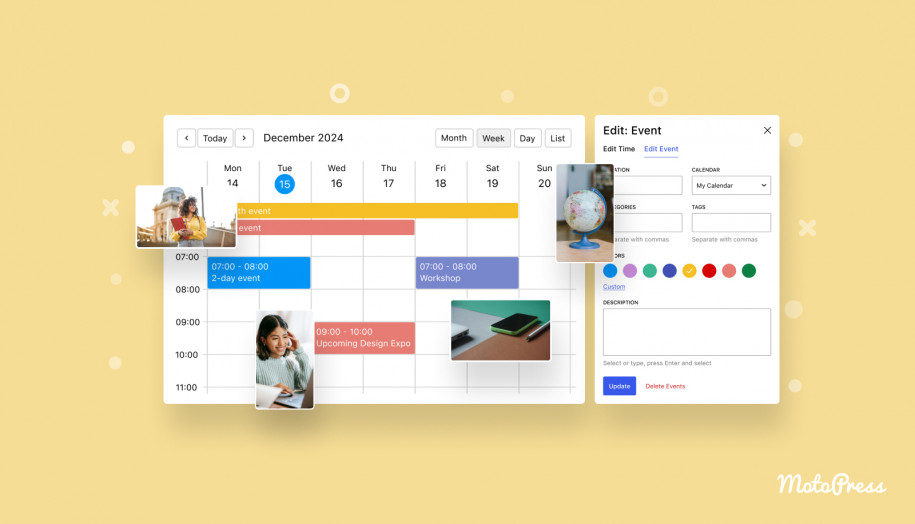
When it comes to the events calendar virtual events can be displayed on, we can’t help but mention the WordPress Events Calendar by MotoPress. This plugin enables you to:
- Click and create one-time or recurring virtual events as easily as in Google Calendar.
- View all events in daily, weekly, monthly, or list views.
- Create unlimited calendars.
- Customize hourly, all-day, or multi-day events.
- Simply import and export events using iCal (a widely supported file format by popular calendar apps like Apple Calendar and Google Calendar app).
7 Best Practices for Hosting Virtual Events
Hosting a virtual event isn’t just about showing up and hitting “Start.” It takes planning, the right tools, and a few insider tips. If you’re going to create virtual events regularly, these tips will set you up for long-term success:
- Offer hybrid events to cater to in-person and remote participants.
- Send clear confirmation emails with links and instructions.
- Prepare your team for virtual hosting.
- Test all tech in advance, including video, audio, and internet connections.
- Add reminders and follow-up emails to reduce no-shows.
- Use branding and visuals on your virtual space.
- Record sessions (with permission) to repurpose content and offer replays.

Conclusion
You’ve now learned how to create and manage virtual events on WordPress with the help of the MotoPress Appointment Booking plugin and its Video Conferencing addon. This tutorial walked you through the essential steps to build a functional and user-friendly system that works for both you and your clients. A well-structured virtual event WordPress solution can increase participation and grow your audience.
Now, you’re ready to put it all into action. Start creating virtual events with MotoPress tools and share your feedback in the comments!
FAQ
Why choose WordPress for the events calendar virtual events website?
How to increase attendees at my virtual events?
Which is better for virtual events: Zoom or Google Meet?