Meet WooCommerce Integration for MotoPress Appointment Booking!
Table of Contents
The MotoPress Appointment Booking plugin for WordPress can now be easily integrated with WooCommerce!
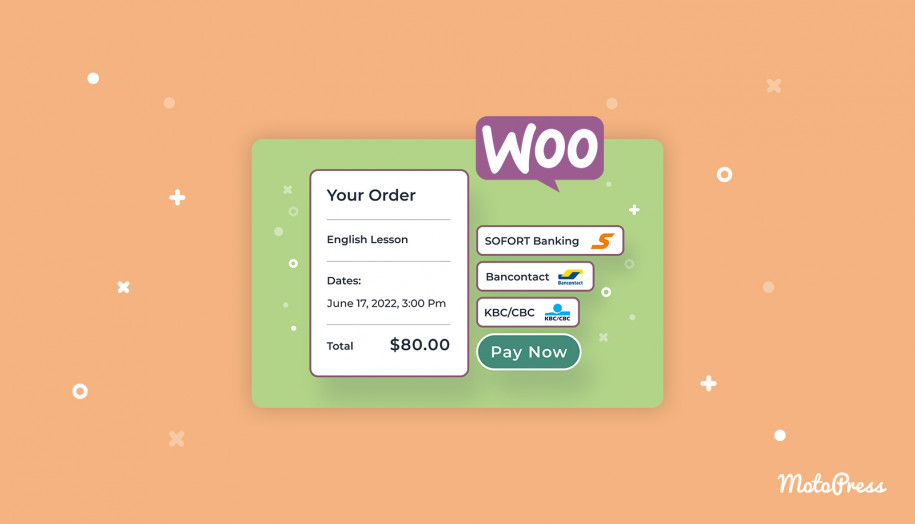
To help you have access to 80+ global payment gateways in your service booking widget, you can get the Appointment Booking WooCommerce Payments addon and use it with your MotoPress WordPress scheduler plugin together, without a need to install any extra Woocommerce booking plugin for WooCommerce.
By connecting the newly released WooCommerce booking & appointment plugin extension, you’ll be able to choose any desired payment gateways popular in your area, enable them in your WooCommerce plugin and then connect to the Appointment Booking plugin in a few clicks.
To use this addon, you must have both the MotoPress Appointment Booking (1.12.0 or greater) and the WooCommerce plugin (6.6.0 or greater) installed and activated.
Then follow the next steps.
Add payment methods to WooCommerce
As you probably know, in WooCommerce, you can use free and paid extensions – just browse the WooCommerce directory to see the price range for payment methods.
Then enable and set up preferable WooCommerce payment gateways via WooCommerce > Settings > Payments.
It’s also necessary to create a WooCommerce product that would serve as a virtual product for appointment payments.
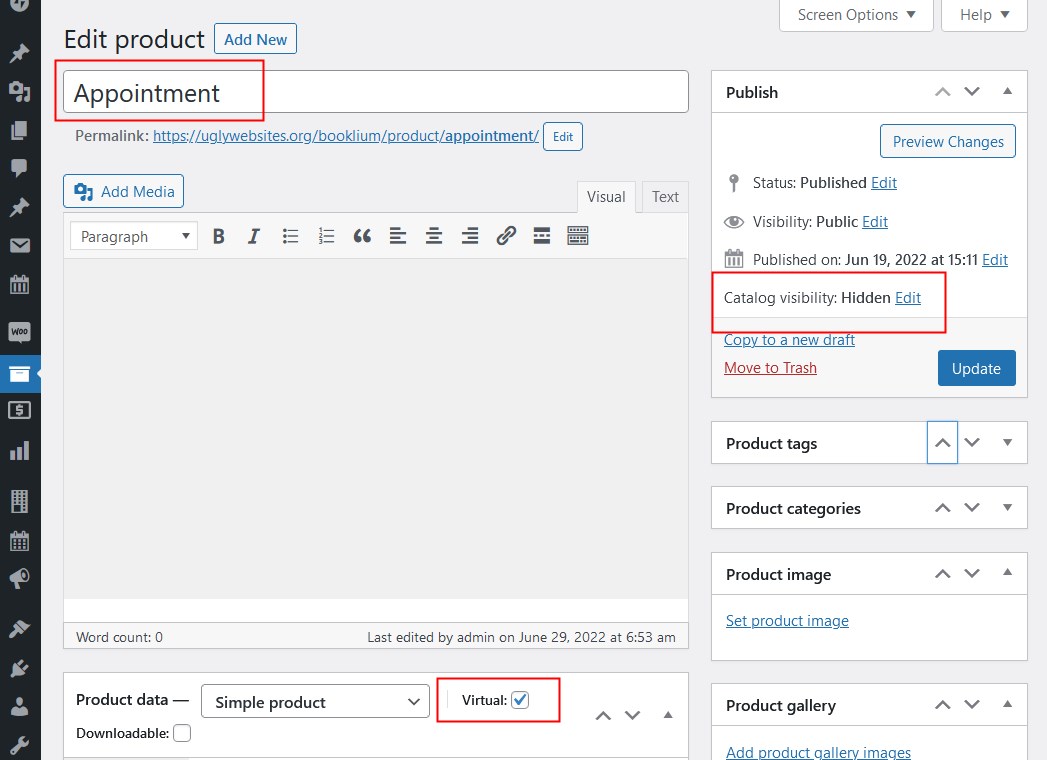
Do that via WordPress dashboard > Products > Add New > label the product the way you want to distinguish it from the others. Don’t forget to hide its category and mark it as virtual.
Now it’s time to set up WooCommerce appointments on the MotoPress Appointment Booking plugin’s side.
Bridge WooCommerce to the Appointment Booking plugin
Now let’s let the Appointment Booking plugin ‘know’ which WooCommerce product to use at checkout so that it can show the entire range of added gateways.
For this, navigate to your WordPress dashboard > Appointments > Settings > Payments > WooCommerce > Manage > Enable this payment method > select the WooCommerce product you created before.
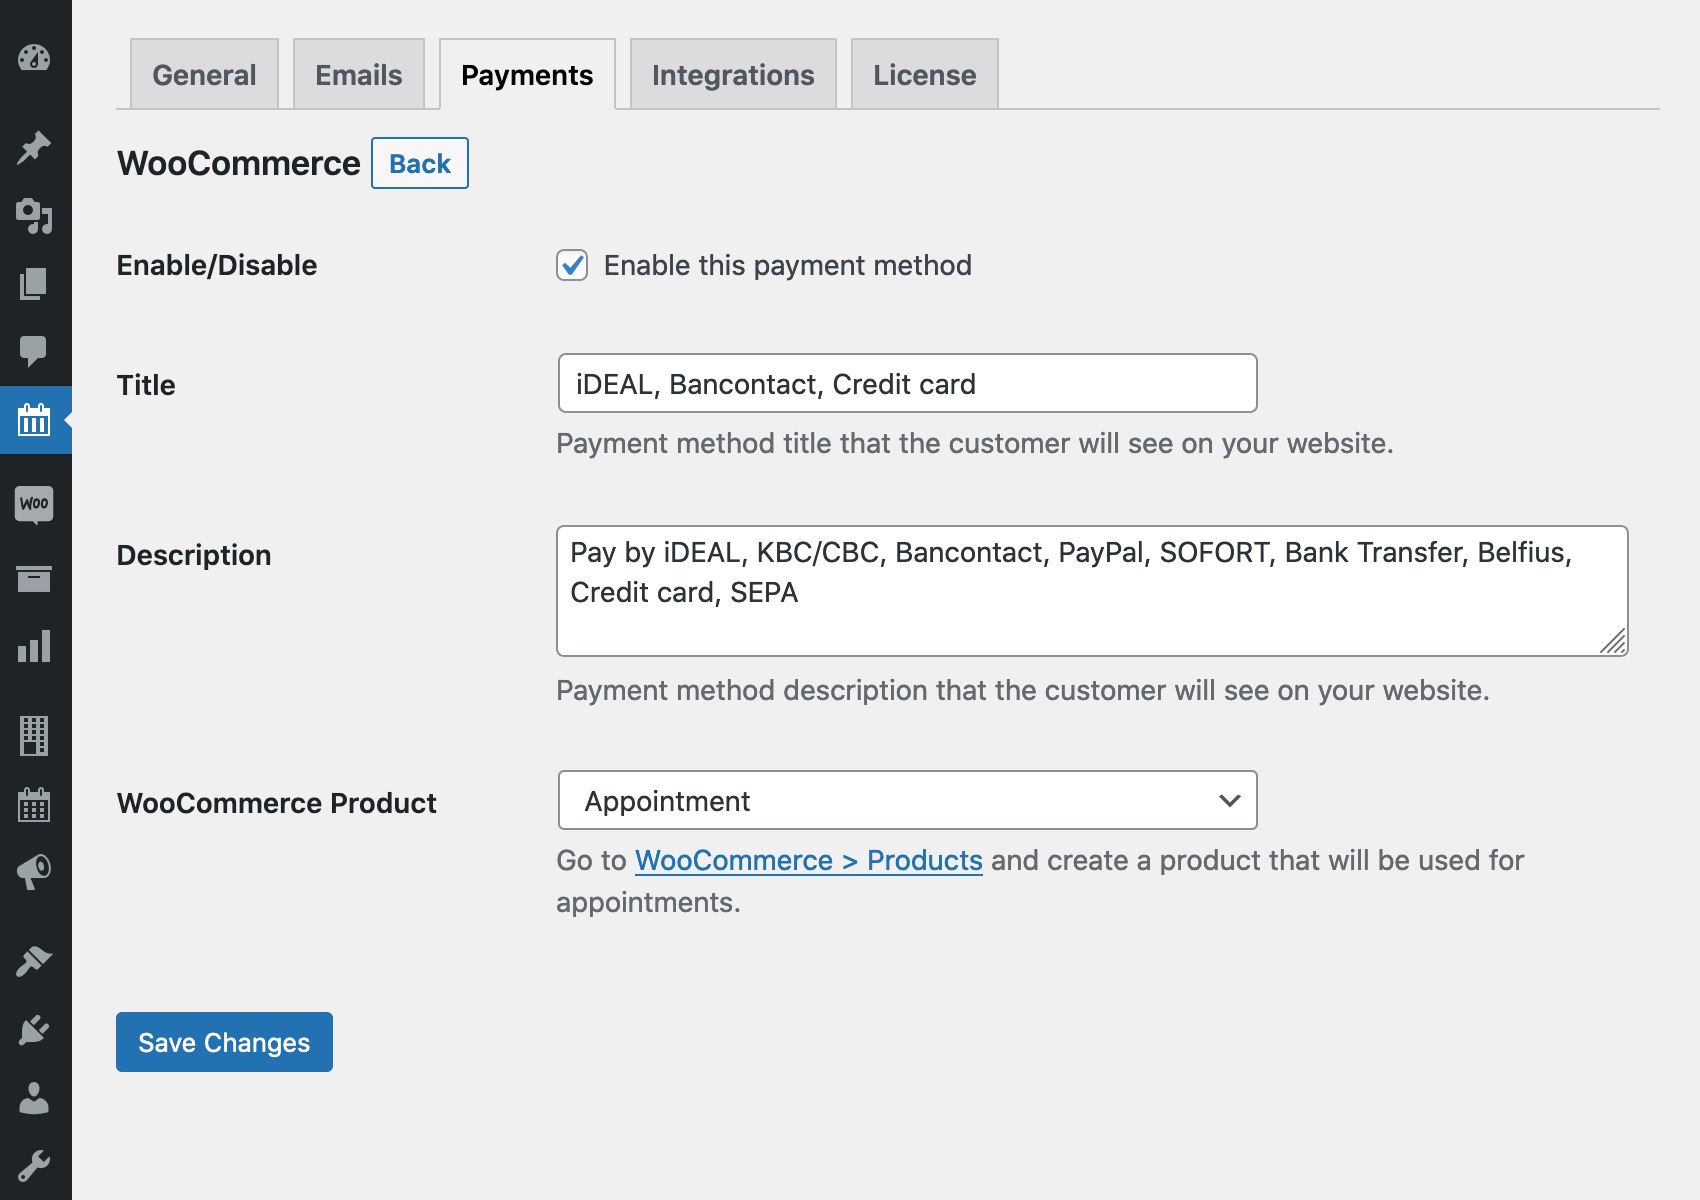
Fill in the rest of the fields to specify what information you want your clients to see at checkout (for example, list those payment gateways they can open and choose) when they use WooCommerce scheduling.
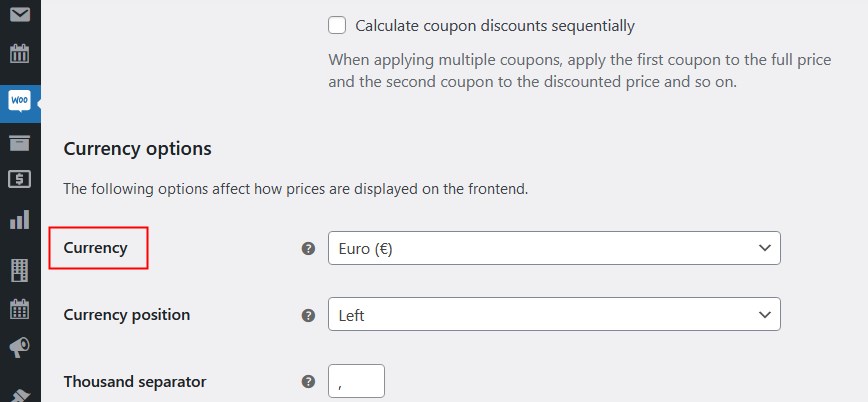
It’s also important to make sure that the currency in WooCommerce is the same as in the Appointment Booking plugin. (WooCommerce > Settings > General > Currency options.)
How clients can pay via the booking plugin for WooCommerce
On the client’s side, almost nothing changes.
They choose an available date & time slot for their appointment, add the needed number of bookings to cart, submit their personal info, and, finally, choose how they want to pay.
The final step is where they can see an option of extra payment gateways.
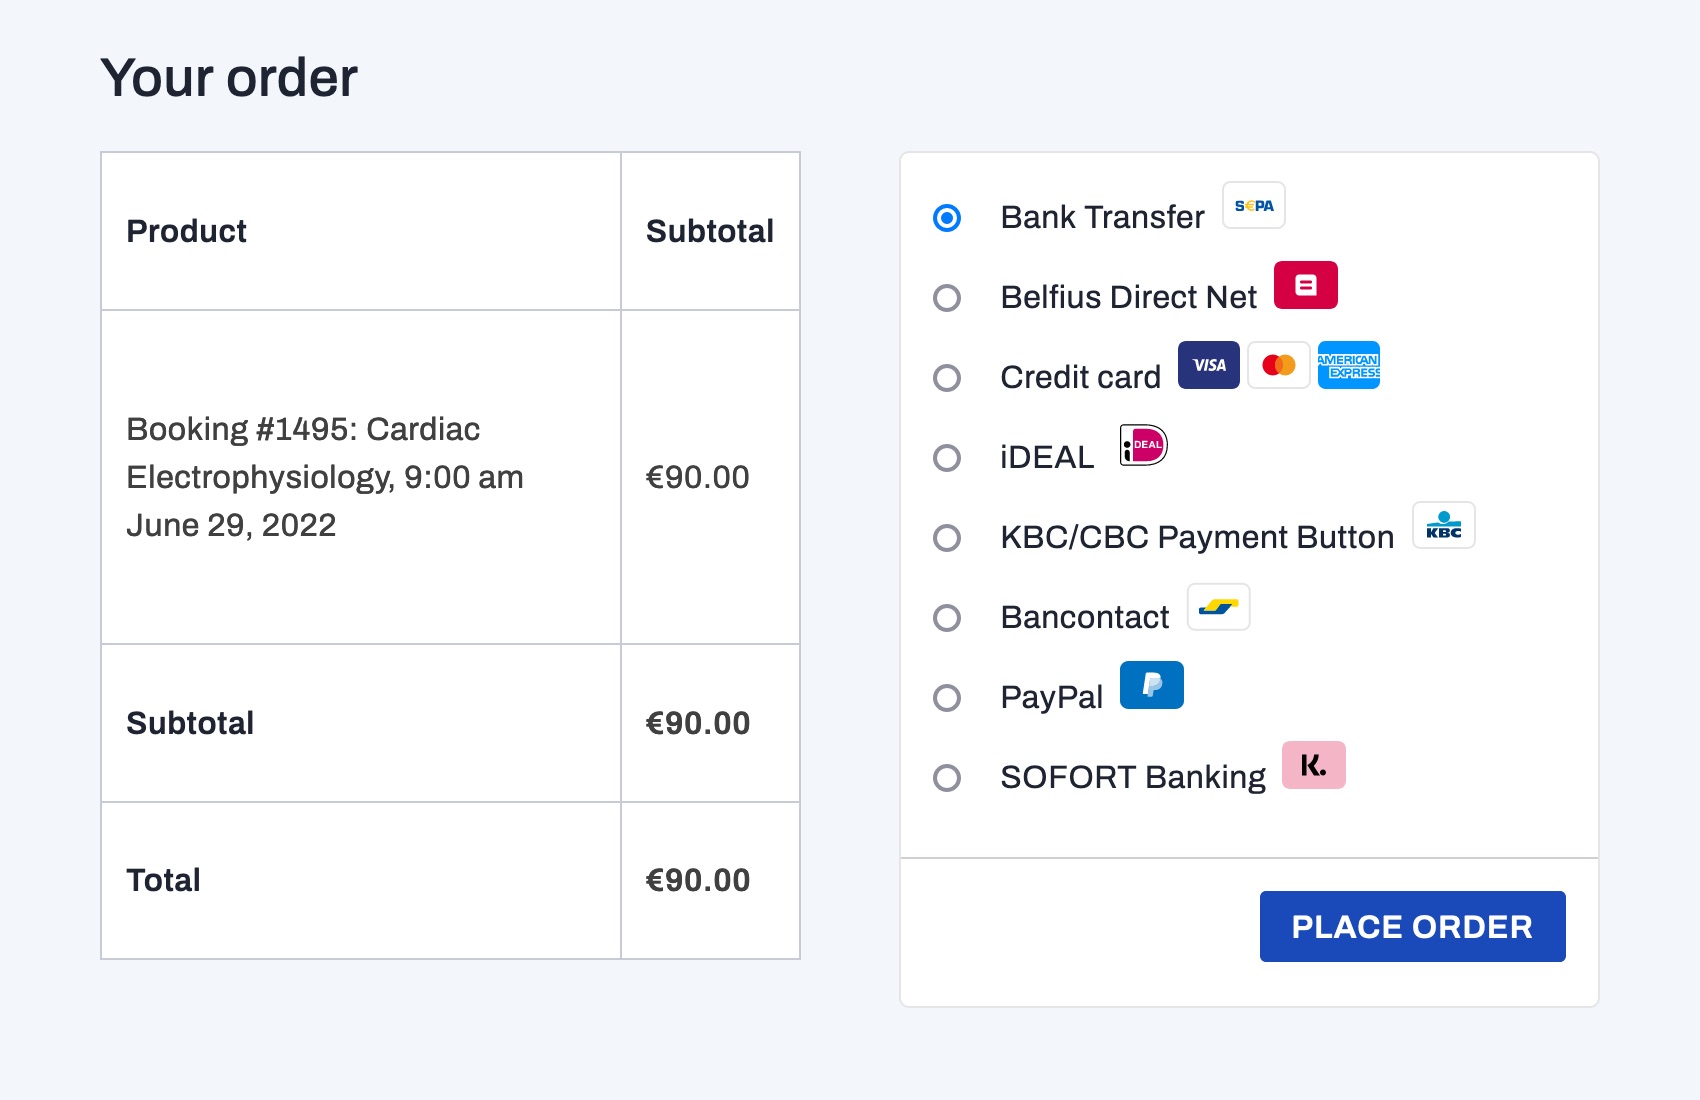
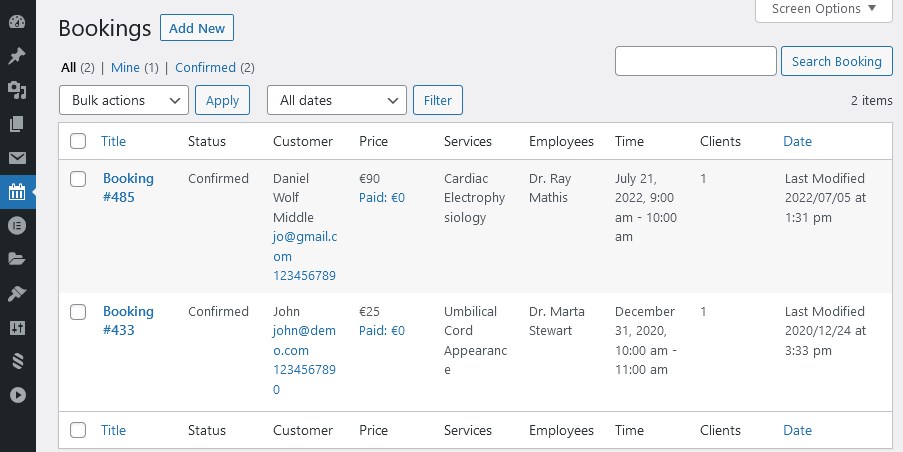
Upon successful payment, a new booking appears in the Bookings database of your MotoPress Appointment Booking plugin. The Orders menu in WooCommerce is also automatically synced with payments and status changes in the Appointment Booking plugin.
Get the WooCommerce appointments plugin with MotoPress and get the freedom of payment gateways.
Hello,
I am looking for themes WordPress using Elementor like “Emarket WordPress Theme”
Let me know some of your suggestions.
Thanks!
Hi Jena,
You may find all our WooCommerce themes by the following link https://motopress.com/products/category/woocommerce-templates/