Table of Contents
Notifications are extra emails that you can send to your staff or customers automatically based on different conditions and events, e.g. send appointment reminders to your clients.
How do add and configure a notification email
To add and configure them, go to Appointments > Notifications > Add New Notification.
You can schedule them for a specific time and condition.
Here are the settings you can choose for each notification:
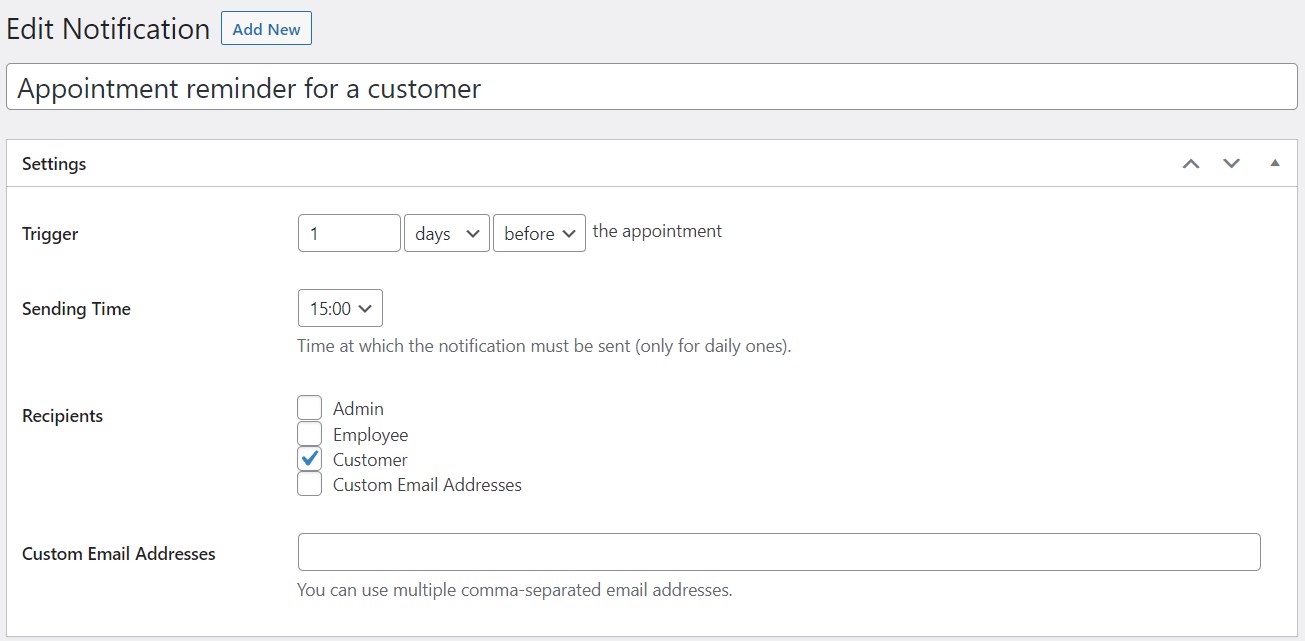
- Notification title.
- Condition of the event: in how many days or hours before / after the appointment it must be sent.
- Sending time: the exact time when the notification must be sent (only for those day-based). Important: Note that notifications won’t be sent for bookings that don’t meet the sending time requirements. For example: if an appointment is scheduled for tomorrow and the notification sending time for the service in this booking is ‘in 3 days before the appointment’, such a reminder won’t be sent.
- Choose to whom to deliver it: Admin, Employee, Customer, Custom Email Addresses. Note: it’s important to make sure that you’ve checked the box for Custom Email Addresses if you list those in the appropriate field.
- Add content for the notification email. You need to fill in the subject, header and message fields. Macros you add will be automatically replaced with the booking details.
To test how notifications work, make sure to use the Test Notification Now box.
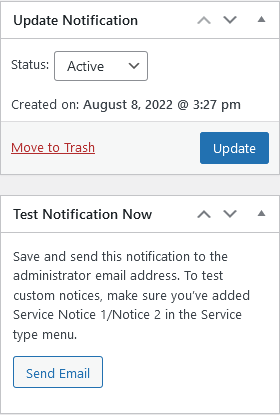
By clicking on the “Send email” button, the system will send a test notification about a random booking with the status ‘Confirmed’ to the admin’s email address (check which one is set on your site via Settings > Emails > Administrator Email).
How to assign notification notices to services
Each service has a special section: “Notification Notices” (“Notification notice 1” and “Notification notice 2”).
They allow you to add service-specific information to automatic email notifications.
How to add service-based notices:
- Go to the needed service via Appointments > Services > choose the needed one > scroll down to Notification Notices > add text > save changes.
- Go to Appointments > Notifications > choose the needed notification (e.g. an appointment reminder) > scroll down to Email template > insert the needed macros for notices where you want (find them in Service tags below the email template).
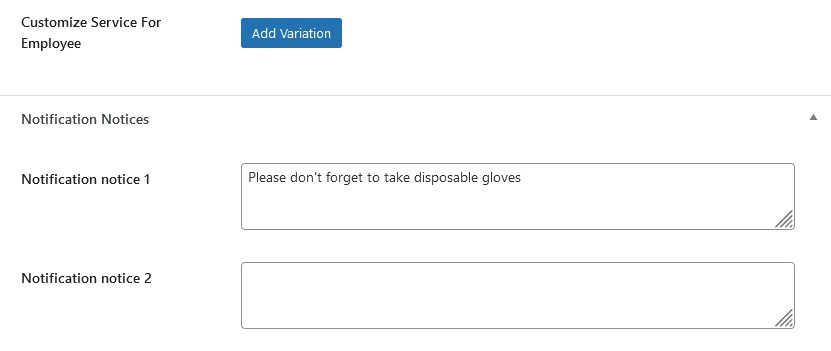
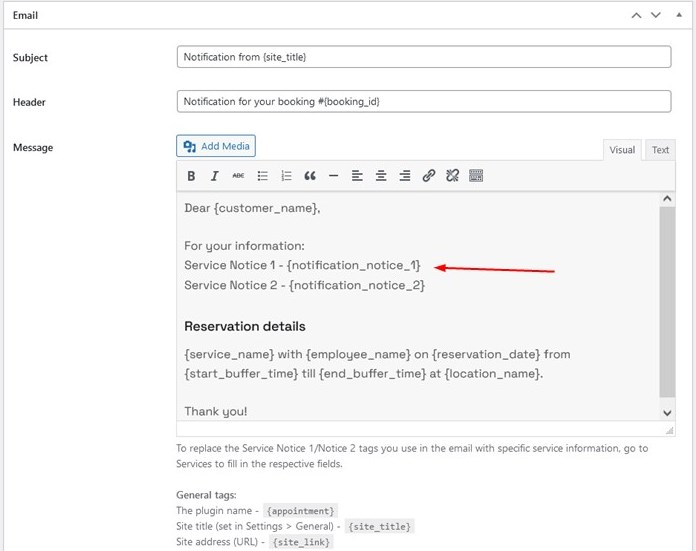
This will allow you to send out automated emails with the service-wise custom information.
How notifications work
All notifications will be sent service-wise since there might be multiple services for different time and date in one booking.
Cron executions are basically system checks that are made every 15 minutes in order to find new booked services and automatically send relevant notifications for them.
Go to the Appointments > Notifications to see how Cron works in real time, i.e. how many notifications were sent, etc.

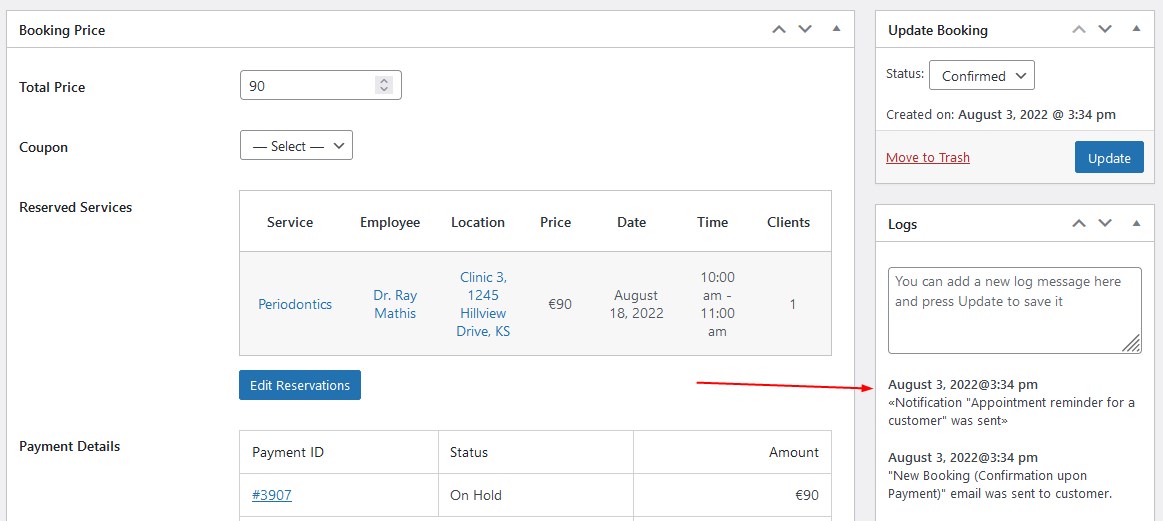
If the notification was sent for the service, this information is recorded in the booking log with the «Notification “%notificaton title%” was sent» title.
