Release of MotoPress 1.5.0 – Introducing New Style Manager
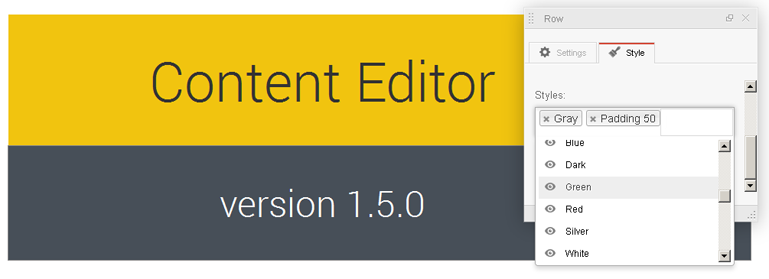
After almost a month of development MotoPress team released the Content Editor version 1.5.0 with many new features and improvements.
Without a doubt this release is the really expecting update. Taking users’ feedback into consideration we’ve rolled out these exciting MotoPress capabilities for you:
- new approach to style objects
- new style manager for rows and columns
- object styles has been transferred to ‘Styles’ tab
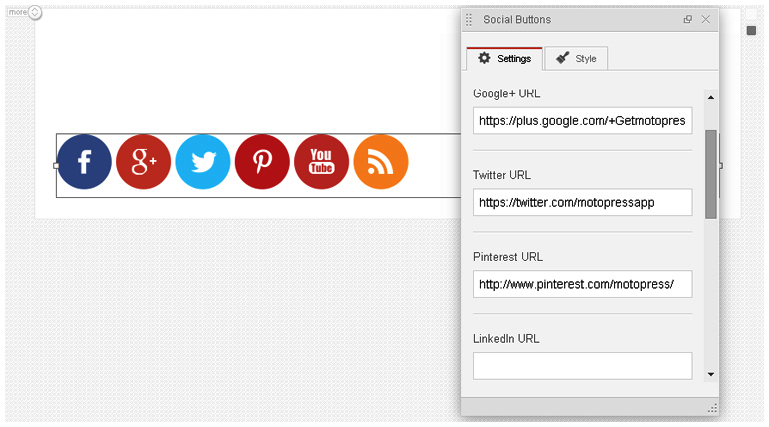
- added new ‘Social buttons’ object to link to social profiles
The appearance of your website has always been on our priority list when we develop our content editor. With our new release, we’ve made a great improvement on how your pages and posts are displayed.
We are pleased to announce that now MotoPress Content Editor makes it possible to apply the custom style to rows and columns by selecting them from the predefined styles.
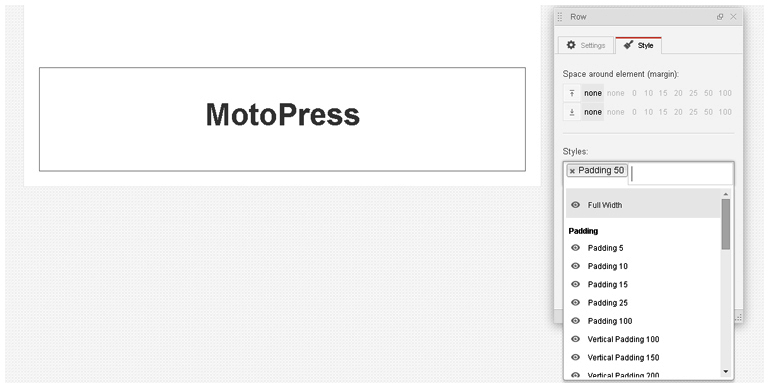
Only with one mouse click, you can fulfill your row or column with the background color you need.
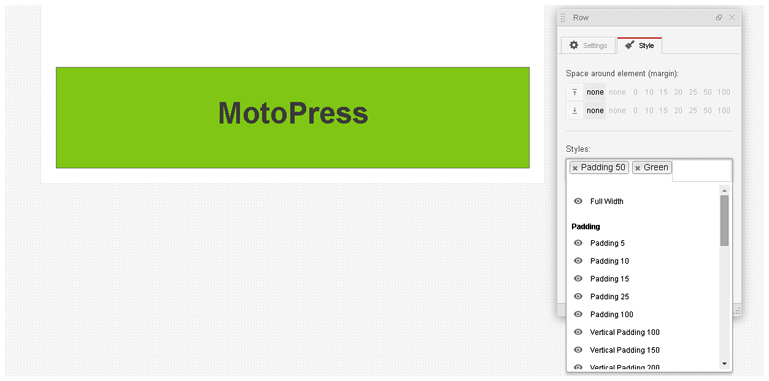
By using the “Full Width” option you are able to extend the background of the row to the full site width. Note: this feature isn’t displayed in the editor it works at the website only.
Thanks to the ‘Full Width’ option it’s possible to create such beautiful pages
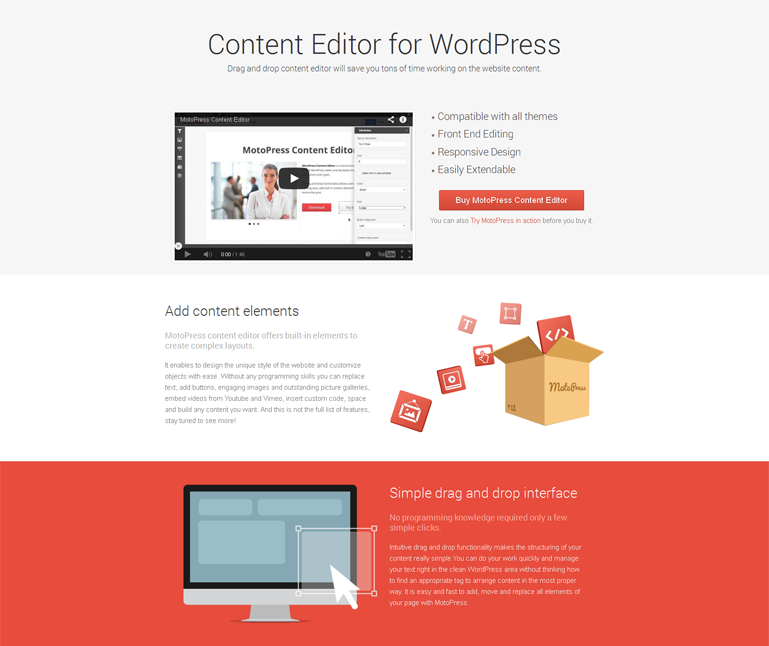
As always, you can try how version 1.5.0 and all its amazing features work using our demo.
Thanks to the MotoPress Style Manager it’s really quickly to modify widgets, as each built-in object has three new style properties:
- Basic class
- Default class
- Predefined class
Basic class provides the minimum options for the content stylization.
Main features:
- Class can’t be changed or deleted in the editor.
- Basic class will be changed both in new and previously created objects.
Default classes are intended for the new object. It’s the set of classes for the initial stylization while adding new object.
Main features:
- Classes are added automatically when you create a new object.
- Can be removed in the editor.
- Generally, can be chosen from the predefined set of class names.
Predefined classes are aimed to be used for object stylization. This set of classes allows users to set or fully change the appearance of the object.
Main features:
- Can be added or removed in the editor.
- Can be grouped in the editor.
- 3.When you choose a class from the group it’s possible to setup whether the class will be added to an object or replaced with the already added class from this group.
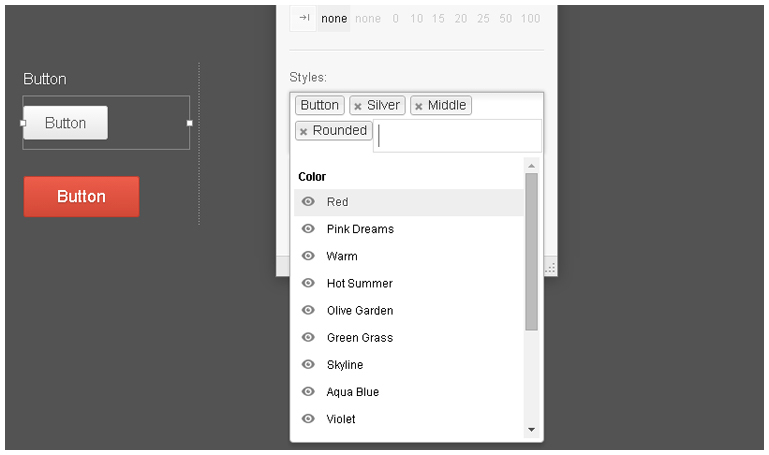
It’s easy to change all three parameters. You can modify them right in the theme or in the plugin using the API.
The example with the ‘Button’ object shows how this works:
The base class ‘motopress-btn’ and the default classes ‘motopress-btn-color-silver’, ‘motopress-btn-size-middle’, ‘motopress-btn-rounded’ are automatically applied to the button when you add it.
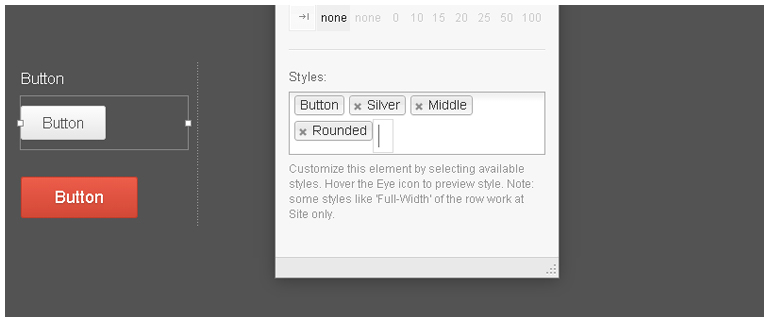
If we delete all default classes we’ll get the button with the base class which is applied automatically.
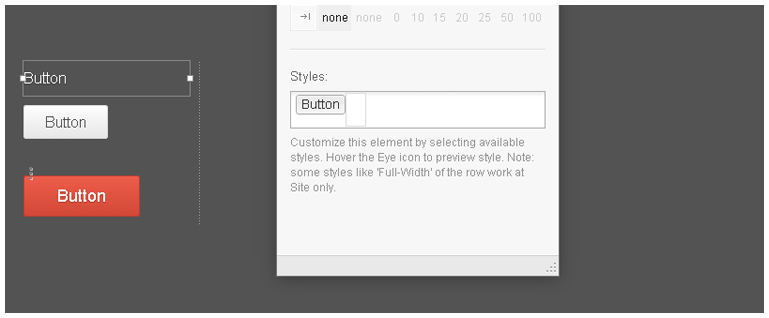
To style the button we need to choose the class from the list of the predefined class names. These class names can be selected from the dropdown menu. To preview the style just hover the ‘Eye’ icon.
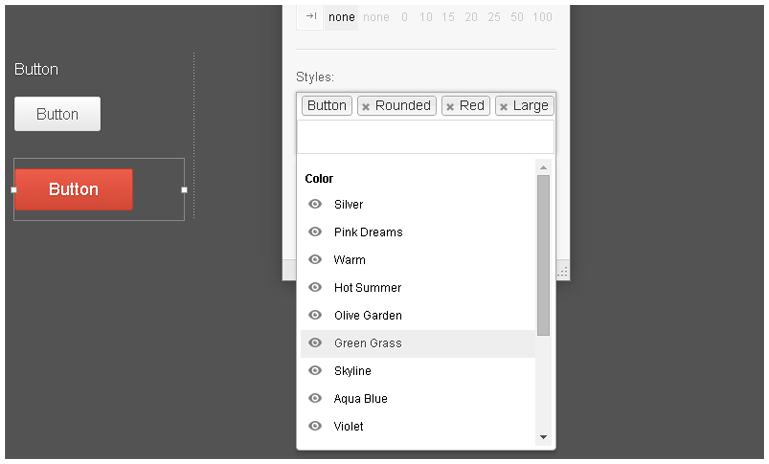
The example below shows how we’ve applied new styles to the button – the color is changed to blue, the size turned to big and the button is not rounded anymore.
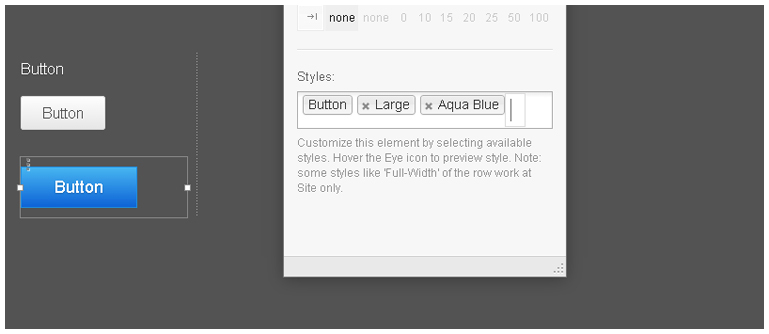
How to add styles to your WordPress theme
To style the object, use the “addStyle” method.
$serviceObj->addStyle(array(
    'mp_style_classes' => array(
        'basic' => array(
            'class' => 'service',
            'label' => __('Service', 'domain')
        ),
        'predefined' => array(
            //group
            'background' => array(
                'label' => __('Background', 'domain'),
                //allow select multiple values
                //'allowMultiple' => true,
                'values' => array(
                    'green' => array(
                        'class' => 'bg-green',
                        'label' => __('Green', 'domain')
                    ),
                    'red' => array(
                        'class' => 'bg-red',
                        'label' => __('Red', 'domain')
                    )
                )
            )
        ),
        'default' => array('bg-red'),
        'selector' => '> span'
    )
));
The ‘selector‘ option is used to set the HTML tag with $mp_style_classes variable.
The example below shows how to edit classes/styles of the object:
function extendStyleClasses($motopressCELibrary) {
    if (isset($motopressCELibrary)) {
        $serviceObj = &$motopressCELibrary->getObject('service');
        if ($serviceObj) {
            $styleClasses = &$serviceObj->getStyle('mp_style_classes');

            //change basic class
            $styleClasses['basic']['class'] = 'my-service';

            //add blue predefined class
             $styleClasses['predefined']['background']['values']['blue'] = array(
                'class' => 'bg-blue',
                'label' => __('Blue', 'domain'),
             );

            //remove green predefined class
            unset($styleClasses['predefined']['background']['values']['green']);
        }
    }
}
add_action('mp_library', 'extendStyleClasses', 11, 1);
To highlight the style priority level you can use the class of parent element . For the button it is motopress-button-obj, so the style should be written as on the example below:
.motopress-button-obj .motopress-btn {
    color: #fff;
}
J’ai peur de pas avoir trouver ce que je cherché dans cet article donc je pose directement la question ici
j’aimerais avoir une classe différente sur chaque image d’une page , comment faire ? il ne semble pas prendre en compte les classe donné :/
merci à vous
Question Translated with Google Translate:
Reply: This guide is out of date. You can style elements using Style Editor visually and save presets for further usage.
Anyway if you need to apply class you can still do it in this way. It still works. You can apply class to element or row. If you have difficulties you can add topic at our forum and describe what you want to achieve and what you do for this.
Hi, Can i give a fixed sized to all the buttons in the button group?Currently its sized according the length of the text in button. Thanks
i found a way.I just used the custom css. Thanks
I’m just curious What happen to the website if i accidentally delete my motor press content editor plug-in?
Hi,
The content that was created using Content Editor will be displayed as shortcodes on the preview when you remove plugin. If you did not use plugin for adding content to your website nothing will be affected while removing a page builder.
Okay thank you. If the plugin was deleted and I’ll buy another motopress plug-in content editor for example. Are the content still not affected?
Hi,
The content won’t be lost if you re-install different licenses of MotoPress Content Editor. Thank you for your question.
Can anyone tell me how I can break up the text to give it a more magazine feel? I want to insert images and mix text like in a magazine .
OR can anyone tell me if there is a way to put an image down and put the text over the top of it?
Hi Daved, try our demo to see how MotoPress styles rows and columns: https://mpcedemo.getmotopress.com/ it’ll help you to understand how to give your website this “magazine feel”.
How do I get the update? I have an outdated version now, but it says I cannot auto update. Where can I find the new files?
In order to update the plugin you should login to your personal MotoPress account. If you forget your login details you can restore them following this link https://motopress.com/wp-login.php?action=lostpassword
Awesome! These are such a nice improvements, thx guys (preparing to buy it for the next project).
Thanks! And more on the way! 🙂