Enable Customer Account Registration since Appointment Booking 1.18.0!
Table of Contents
For the appointment-based business, returning customers is a very common thing. Hairdressing salons, clinics, spas, you name it.
In order to simplify and accelerate the booking process for such clients, you can enable the customer account registration on your website since the Appointment Booking plugin version 1.18.0!
How exactly will account registration benefit your customers?
- They don’t need to manually enter the requested information all over again, such as email address, name, phone number, etc. The data is already pre-populated in the booking widget fields.
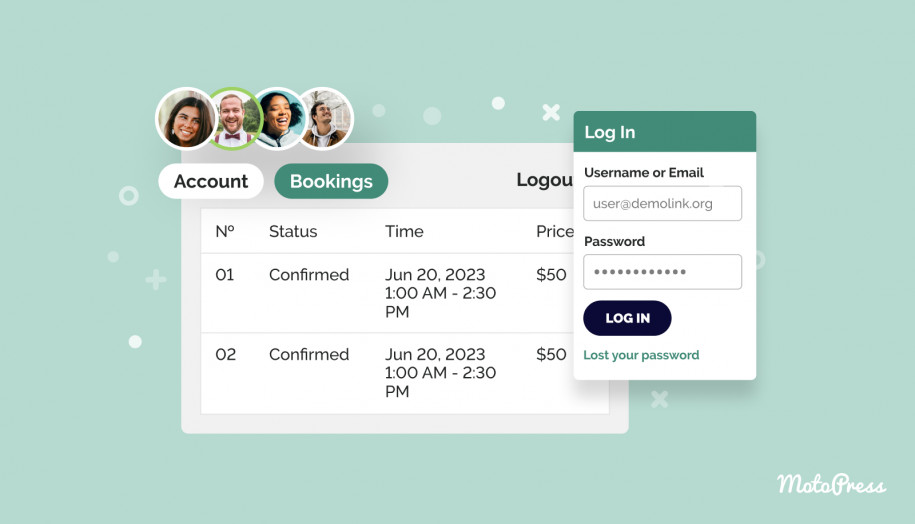
- They can keep track of all their bookings in one place in their account, including the ability to view information on the cost, appointment dates, etc.
Let’s now take a closer look at the new opinions and how you can approach them.
Explore the new Customers menu
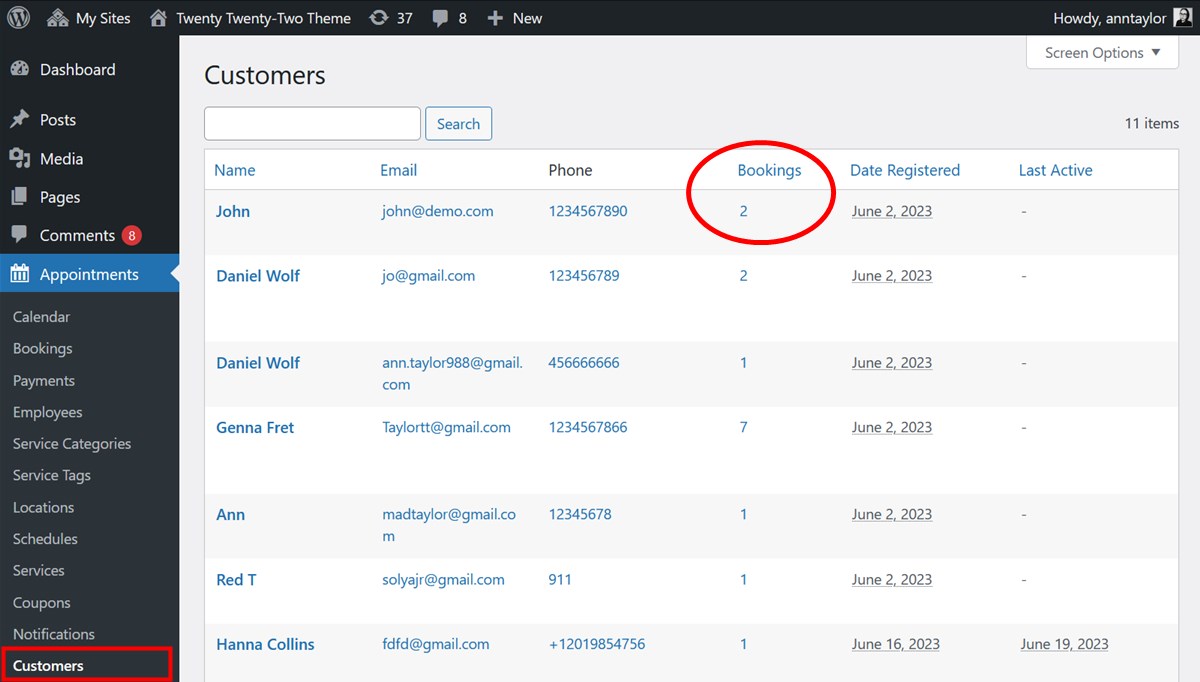 In the newest release, version 1.18.0, you’ll find a brand-new menu called “Customers” nestled within “Appointments”.
It’s important to note that this menu contains a record of all your customers (individuals with assigned past and future bookings) irregardless of whether they have an account on your website or not.
This menu serves a purpose of simplifying your work as administrator with customers’ data and bookings sorted by individuals.
This means it’s up to you to enable account registration on your website, you are free to continue getting bookings without it, yet having control over all customers via this menu.
New customers are added to the list in three situations:
- When they make a booking on your website.
- When you as the site administrator manually add a booking via the Bookings > All bookings > Add Booking.
- When an email address is modified in the existing booking.
In the Customers menu, you can view information on every customer individually or click on the number identifier to see all the bookings by customer.
Moreover, you can view the date registered (the date of the first booking) and last active (shows the time of the last booking) in the table.
Compared to the information you see about your customers in the Bookings menu, the Customers menu gives you more details about every customer and their bookings.
You can make changes to customer information without losing their identity, such as updating their email address or phone number.
How to enable customer account registration
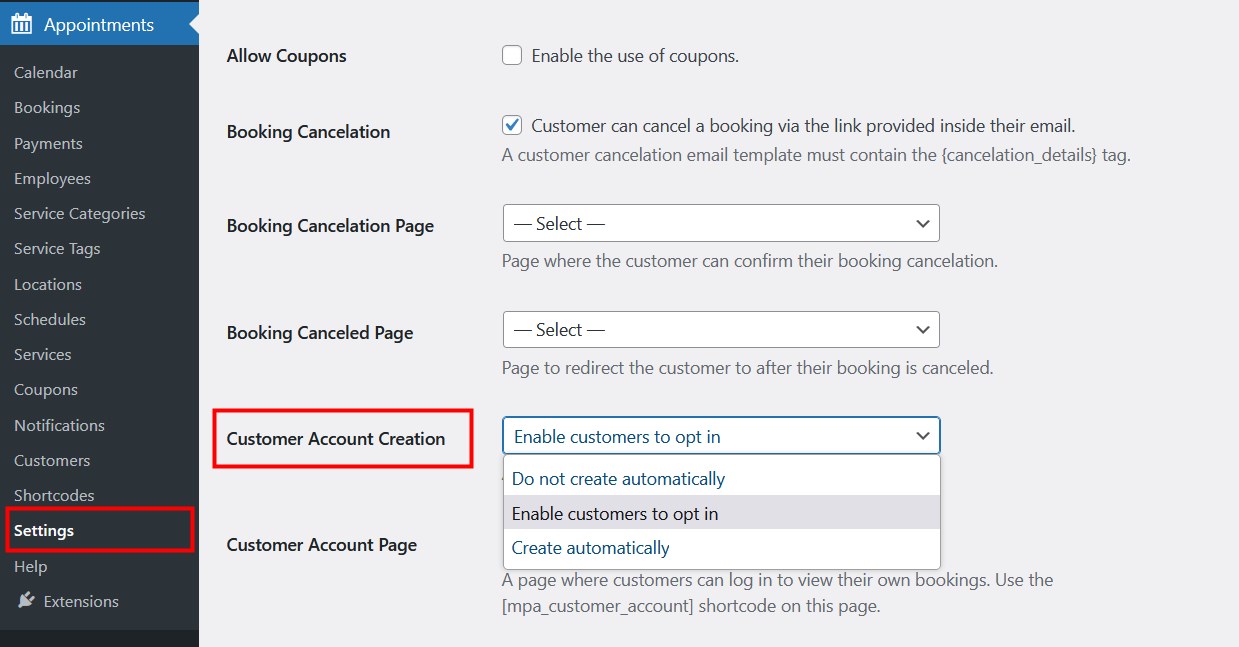 If you decide to enable customer account registration on your website, it’s really easy to do so. You just have to choose whether it’s up to a client to create it or force account registration.
On your WordPress dashboard, head to Appointments > Settings > Customer Account Creation.
- Do not create automatically: Simply disable automatic account creation.
- Enable customers to opt in: During the booking process, customers will encounter an optional checkbox at checkout. If they choose to opt in, clients will receive login credentials via email upon account creation.
- Create automatically: This option enforces user account creation for everyone making a booking through the booking widget.
Customize an email template with login credentials
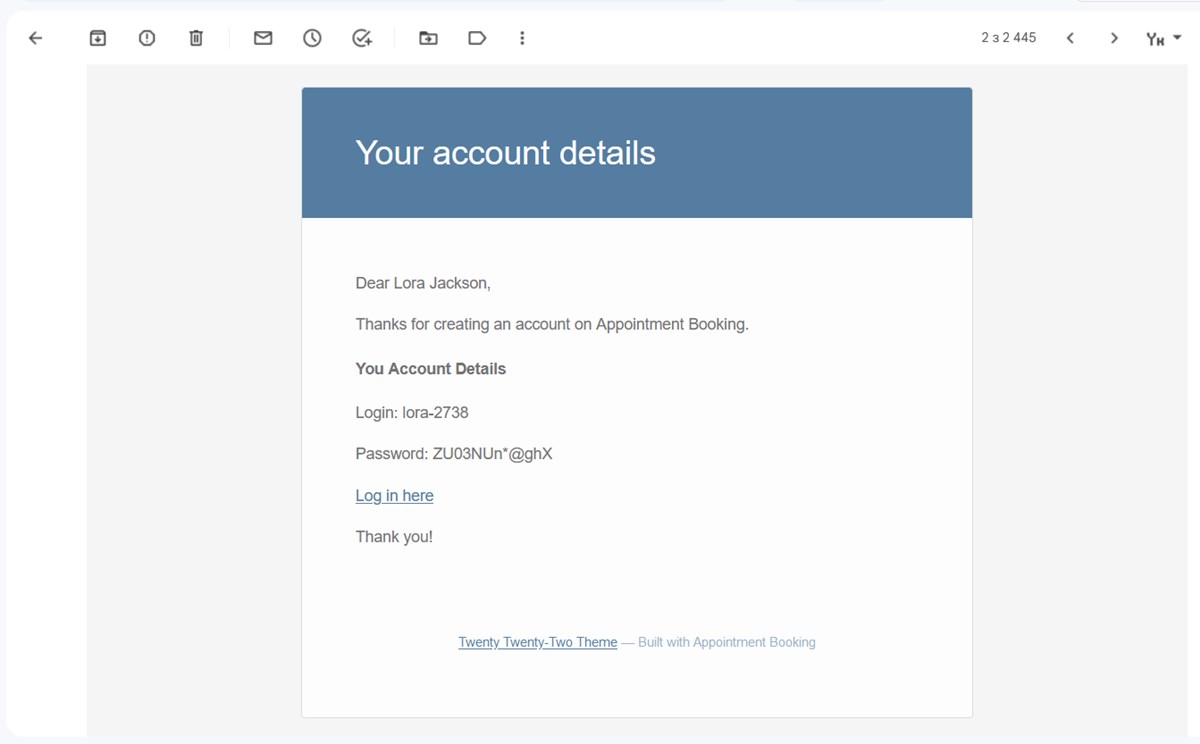
There is an automated email template that is sent upon the account creation. It basically sends a login link with unique username and password details.
You can customize its content from here: Settings > Emails > Customer Emails > Customer Account Creation
Here is a default email template:
A look at the customer account
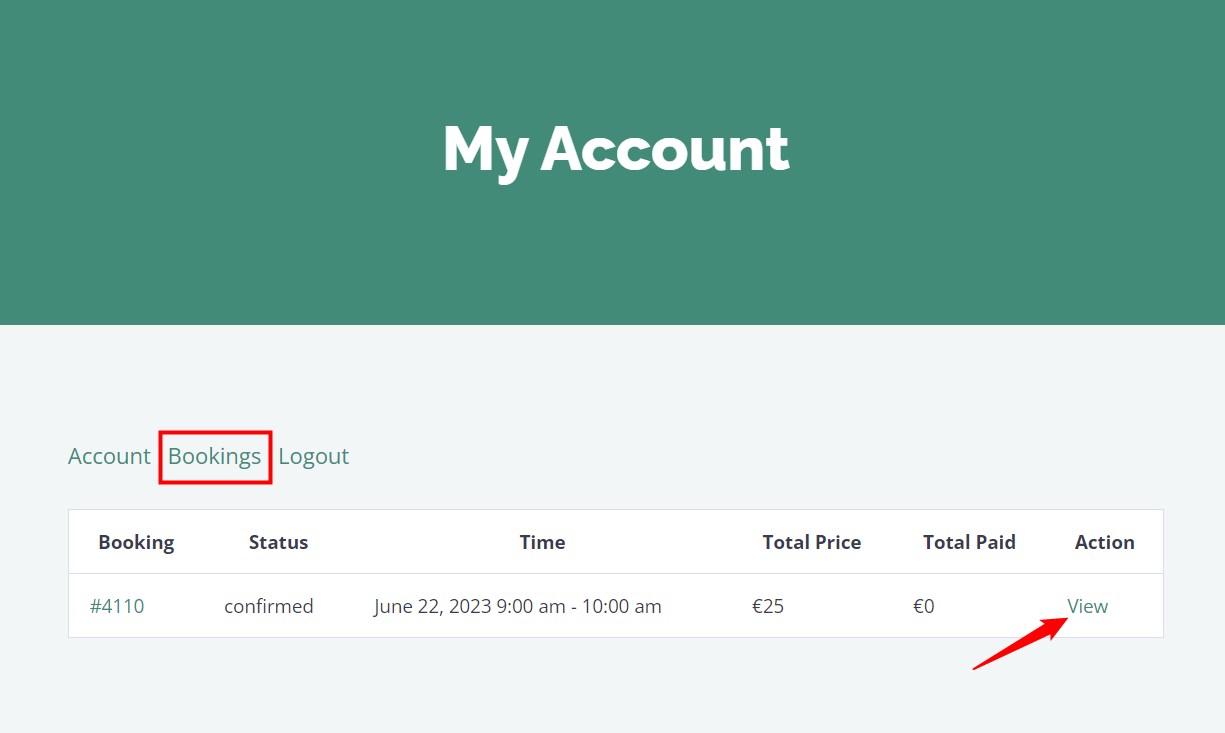
A customer account is very straightforward, with just basic menus to help customers easily navigate it.
The look of the account will depend on the WordPress theme you use; we’re at the moment making sure the account’s interface blends well with the visual styling of our appointment WordPress themes.
Here are basic functionalities inside the customer account:
- View personal details.
- View all bookings.
- View details of individual bookings.
How to add a dedicated login area to your site
You may allow only those users to log in who have received a sign-in link in their personal email.
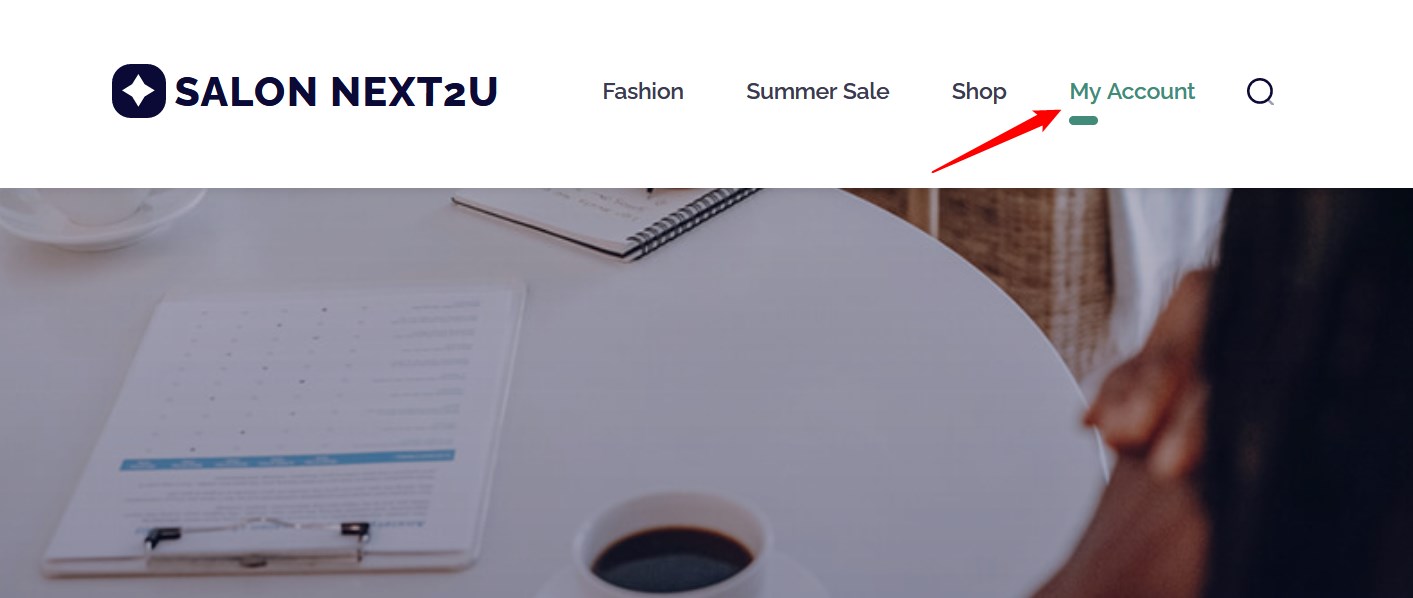
Alternatively, you can add a dedicated login area to any part of your website, such as navigation menus, sidebar or any other widgets area (depending on your theme’s possibilities).
Adding such an area will simplify the log-in process for returning customers since they won’t need to search for the login link through their entire email inbox.
To create a public customer login area on your website, follow these steps.
- Create a new page in WordPress and paste the dedicated
[mpa_customer_account]shortcode to it. Title it in any preferable way (Log in, My account, etc.) and save the page. - Go to Appointments > General > Settings > Customer Account Page and select the page you’ve created in the drop-down menu.
- Add the link to this page to your site, for example, via the WordPress Customizer, navigating to the menus or widgets sections.
That’s it!
Find and work with all shortcodes via Appointments > Help.
Managing customer bookings
 In your day-to-day operations, you don’t need to do much work here. Customers can work in their accounts independently, you might only need to do some work when you add bookings by hand via the plugin’s dashboard.
Here is more nuance related to the booking process via customer accounts for you to understand:
- If a customer who is already logged in makes a booking using a different email address and name, a new booking will be created and you can view it in the list of all Bookings. However, a new customer will not be created; instead, the booking will be associated with the logged-in customer.
- In case you need to modify an email address in the customer details, it will result in the creation of a new customer entry.
To assign an existing booking to a different customer, follow these steps:
- Go to the Customers menu.
- Select the desired customer from the list.
- Click on the number of bookings to view the complete list of bookings associated with that customer.
- Locate the specific booking you want to edit and click on ‘Edit’.
- Update the email address in the booking with the email address assigned to the existing customer.
It’s also important to understand the difference between WordPress users and Customers.
The former is a regular default WordPress functionality, while the latter refers to all individuals with assigned bookings, with or without an account you can locate in the Customers menu.
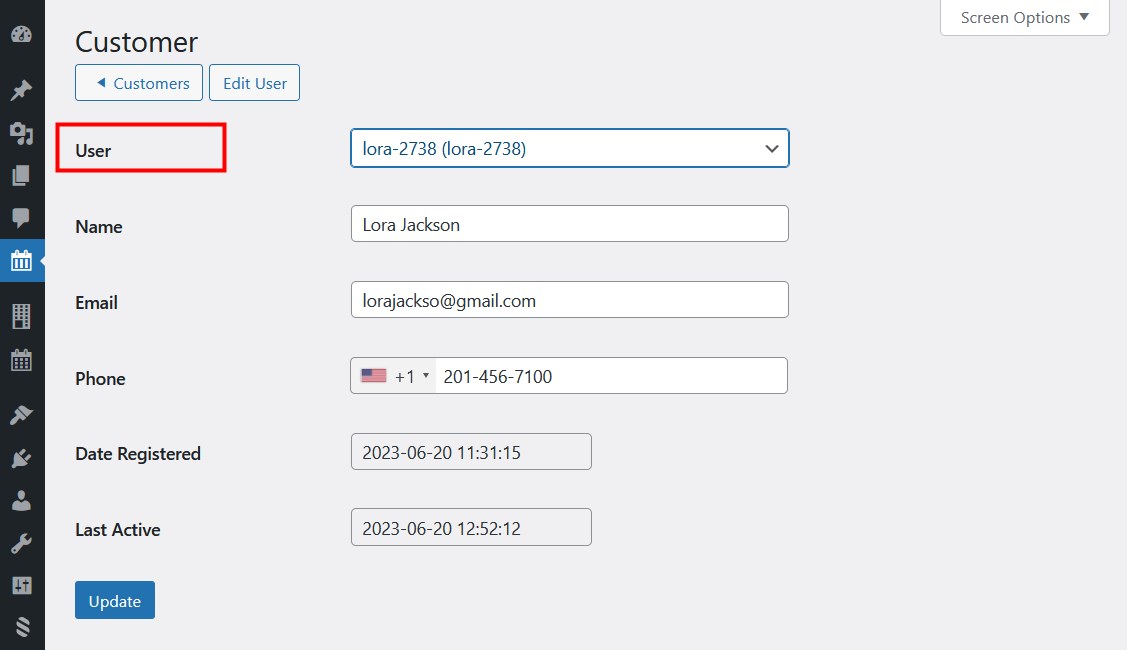
If your client has an account on your site, they must have a WordPress user assigned to them. Here is how it works:
- When a customer creates an account on your site website, a WordPress user is created and assigned to this customer automatically.
- If you want to assign a WordPress user by hand, you firstly need to create a new WordPress user via WordPress dashboard > Users > Add new and then assign it to the chosen Customer.
- When a WordPress user is deleted, the associated customer will no longer have access to their account. However, the customer information will be retained in the admin dashboard.
Enhance the booking process for customers with the new account registration options
To sum up, we hope we’ve managed to deliver the new customer experiences options you can implement on your website if you upgrade to Appointment Booking plugin version 1.18.0.
All in all, by enabling customer account registration, you’ll help your clients establish a new habit of effortless appointment scheduling.
Thus, you won’t just streamline and improve the overall user experience related to booking appointments on your website, but will also increase loyalty towards your service business altogether as people tend to stick with familiar and positive habits rather than seeking alternatives.
