This quick guide will help you get started easily:
- Start by going to the Settings menu to configure basic plugin parameters, such as currency, a default time slot for bookings, etc.
- Add Employees via the Employees menu.
- Add a database of locations via the Locations menu (e.g. cities, areas, shops, rooms, etc.).
- Create schedules for individual employees via the Schedules menu (e.g. add working hours, lunchtimes, days off, etc.).
- Add and customize the list of services you offer (e.g. classes, doctor appointments, fitness training, etc.) via the Services menu.
- Categorize services by Tags and Categories via the respective menus.
- Set up email notifications.
- Add a shortcode to display a booking wizard on your site.
- Get and edit bookings on the admin dashboard.
For the first installations, optionally run a wizard that will guide you through the initial plugin setup process.
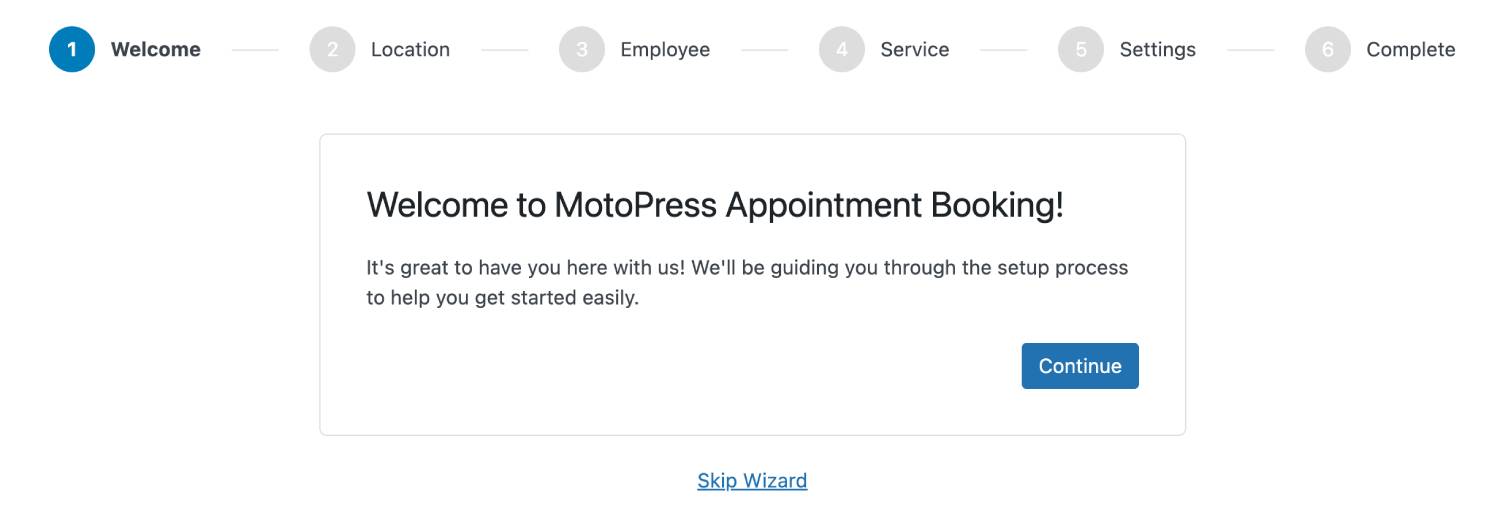
Moreover, you can run the wizard at any moment by going to Appointments > Help > Run Wizard.