You can enable payment gateways at checkout in the MotoPress Appointment WordPress booking plugin by choosing the ‘Confirmation upon payment’ mode via Appointments > Settings > Confirmation mode.
Payment methods
Specific payment methods can be enabled via Appointments > Settings > Payments.
To enable and configure a preferable payment gateway, click on the ‘Manage’ button next to it.
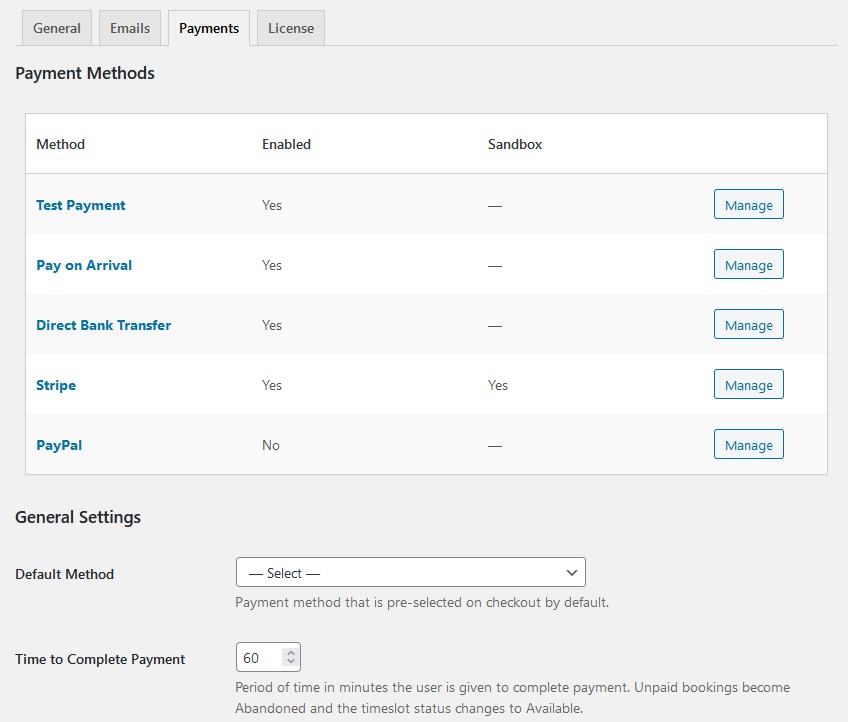
Test payment. This is a plain sandbox that allows you to test email notifications and the booking process.
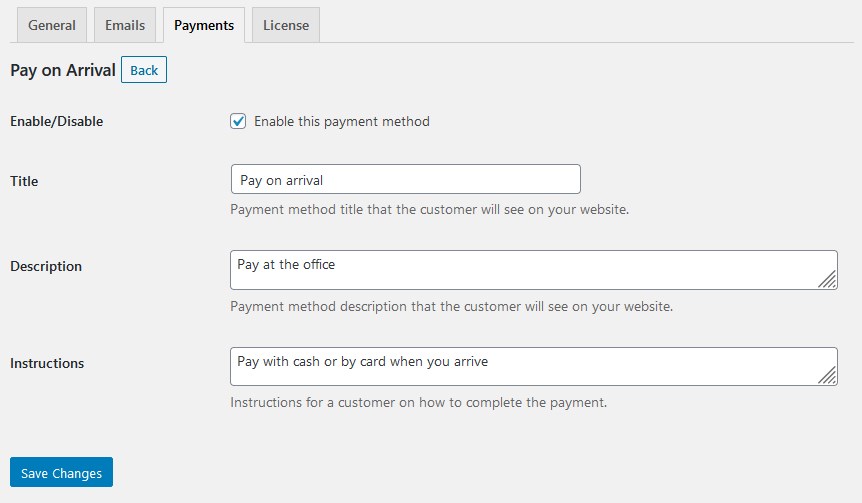
Pay on-site. This method allows you to provide clients with instructions on how they can pay after arrival. Their bookings are added with the status ‘Confirmed’ automatically. Once they arrive, they can pay with cash or card; you need to open the needed booking and click ‘Add payment manually’ to record it.
Direct bank transfer. This payment method allows you to provide clients with instructions on how to pay for their appointment via a wire bank transfer. Their bookings are added with the status ‘Confirmed’ automatically. Once they transferred you the money, you need to open the needed booking and click ‘Add payment manually’ to record the payment.
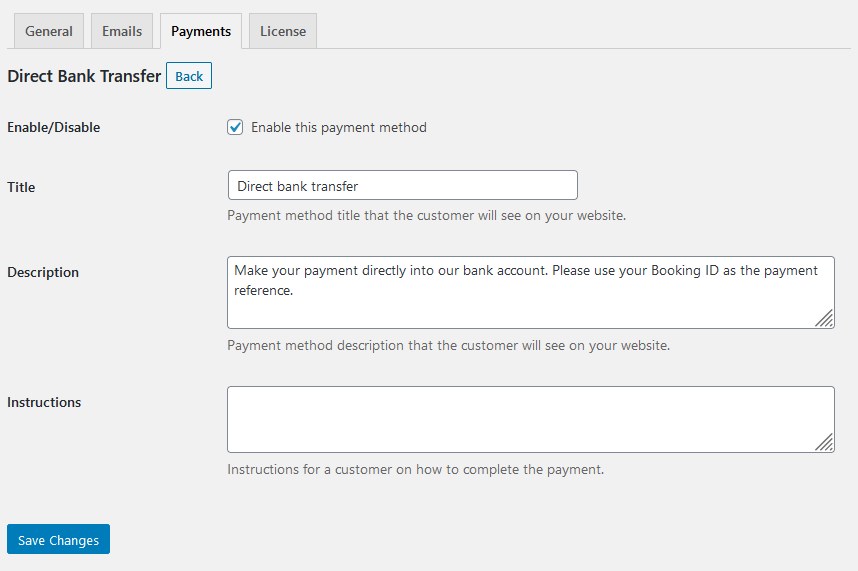
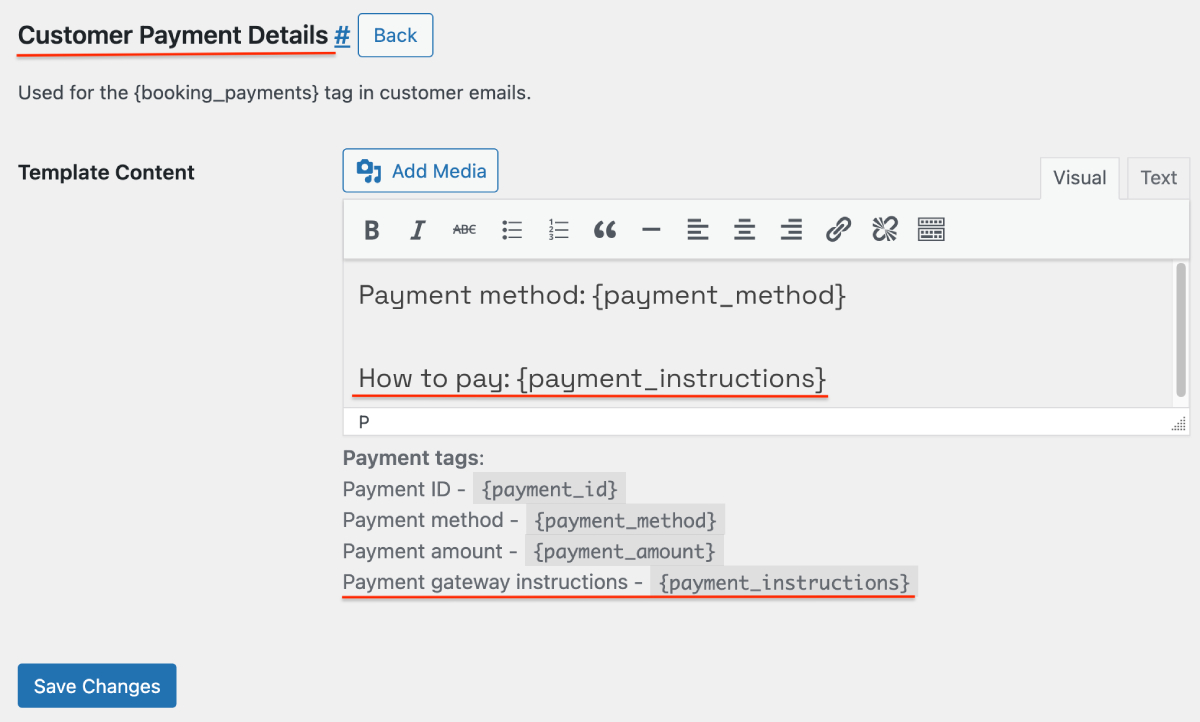
If you want to duplicate payment instructions to the customer email, go to Appointments > Settings > Emails > Template Parts > Customer payment details > find the payment_instructions tag and paste it into the email template.
Stripe, PayPal and other methods. For the online payment processing services, you need to add your tokens and configure the settings. For each of them, you can also enable a sandbox to test how the payments are processed. It’s really easy to do that by creating test sandbox accounts that will generate sample details for processing payments.
In Stripe, you have 2 options:
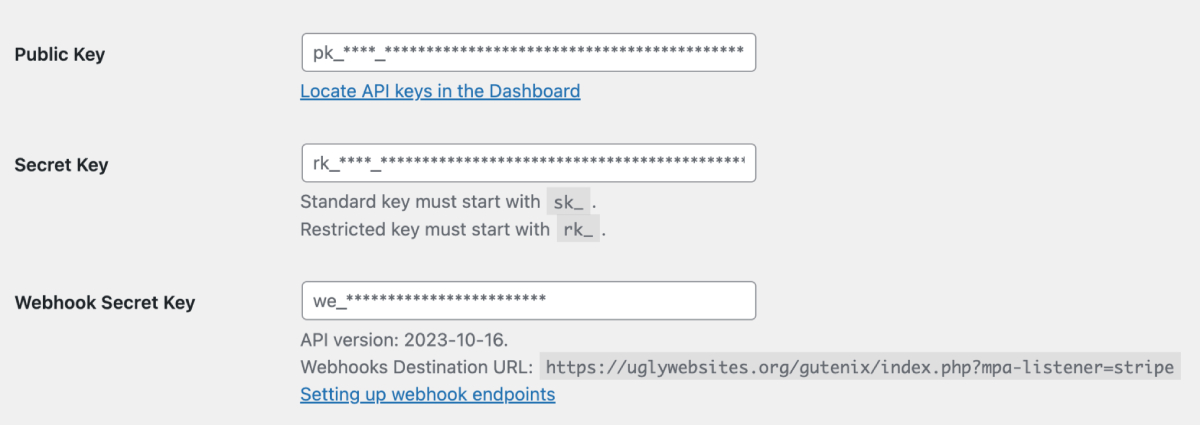
Option 1. (Recommended) Manage payment methods entirely through your Stripe account – supports ALL payment gateways in Stripe. Requires adding your Stripe Public Key, Secret Key, Webhook Secret Key, and Stripe Configuration ID. The available payment methods depend on the country chosen in your Stripe settings.
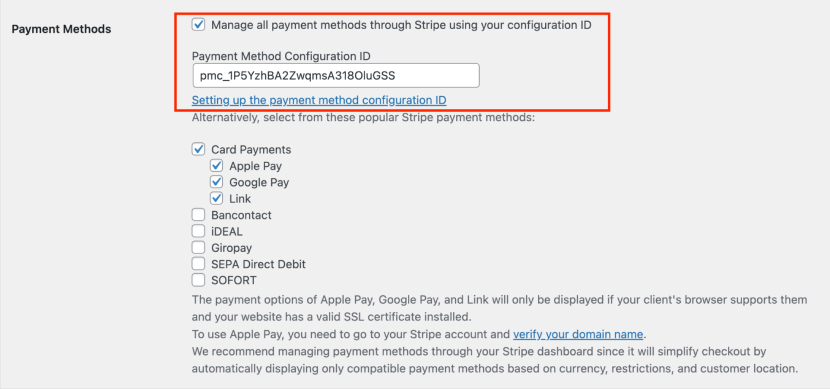
Option 2. Enable payment methods directly within the Appointment Booking plugin settings – supports only a few Stripe methods. Requires adding your Stripe Public Key, Secret Key, Webhook Secret Key and selecting payment methods in the plugin dashboard. The list shows all payment gateways supported by the currency you selected in the Appointment Booking plugin settings.
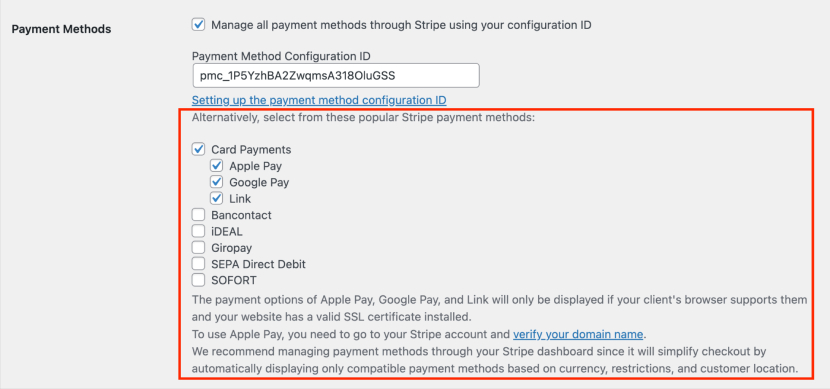
Ensure your Appointment Booking currency matches the supported currencies of your enabled Stripe methods. For instance, a USD-only Stripe method won’t show with Euros set in the plugin.
Note more restrictions for Stripe-powered methods:
- Bancontact, iDEAL, Giropay, SEPA Direct Debit and SOFORT have the EUR currency requirement.
- The SOFORT payment method is only available in the following countries: Austria, Belgium, Germany, Spain, Italy and Netherlands.
Please note that even if you enable all payment options, the payment method displayed at checkout will depend on the client’s browser and device. Find more details on which wallet is displayed at checkout based on the browser and device. It’s also important to note that to use Apply Pay, you need to verify your domain name in Stripe.
Also, you can accept card payments via PayPal as well as allow clients to pay by logging in to their accounts.
General settings

In this menu, you can choose which of the enabled payment methods will be pre-selected at checkout and the period of time in minutes required to complete the payment.
Pages
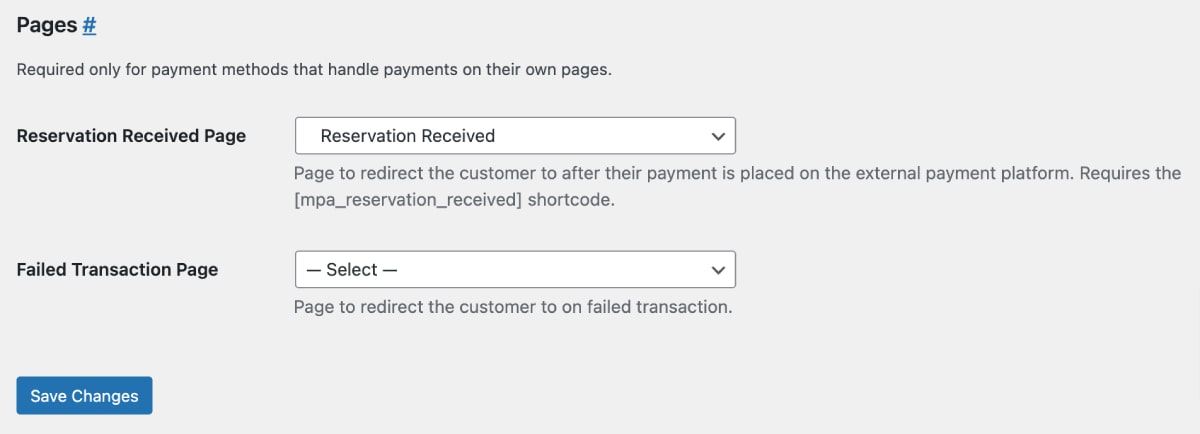
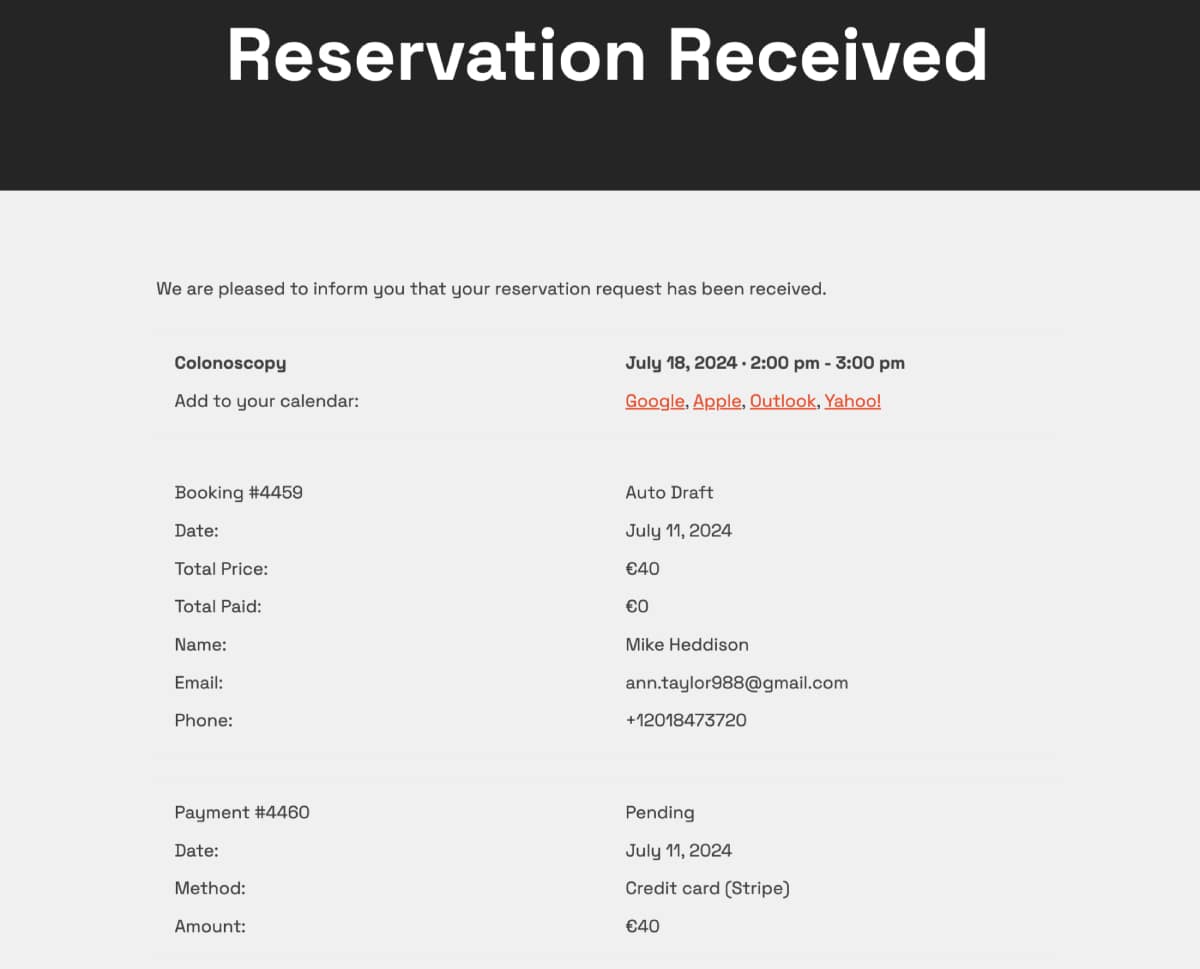
If you use any of the payment methods that process payments on their own pages, you can choose where to redirect clients after their payment is made using the ‘Reservation Received Page’ menu.
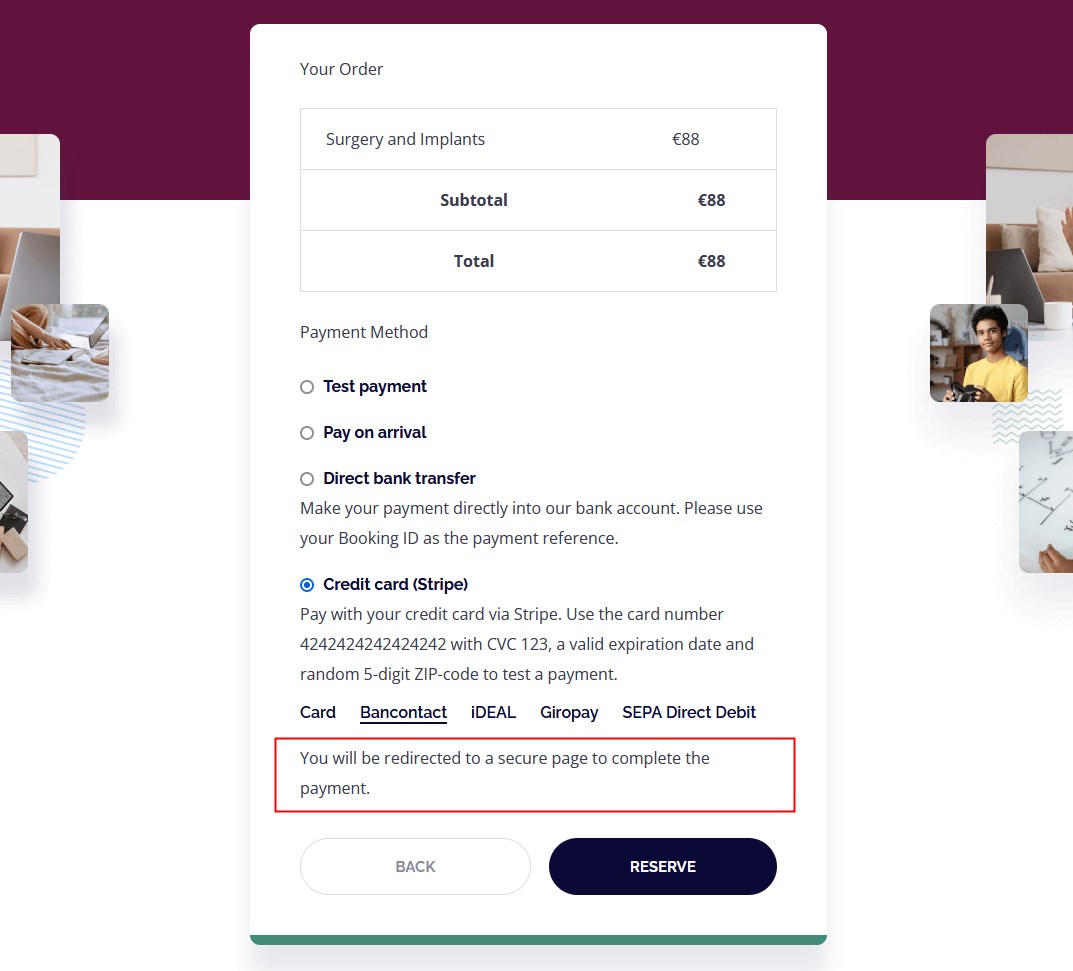
Simply choose or create a normal WordPress page with the needed text message for a successful payment.
You can either create your custom page with the shortcode or use default pages. You can do the same but for the failed transaction page.
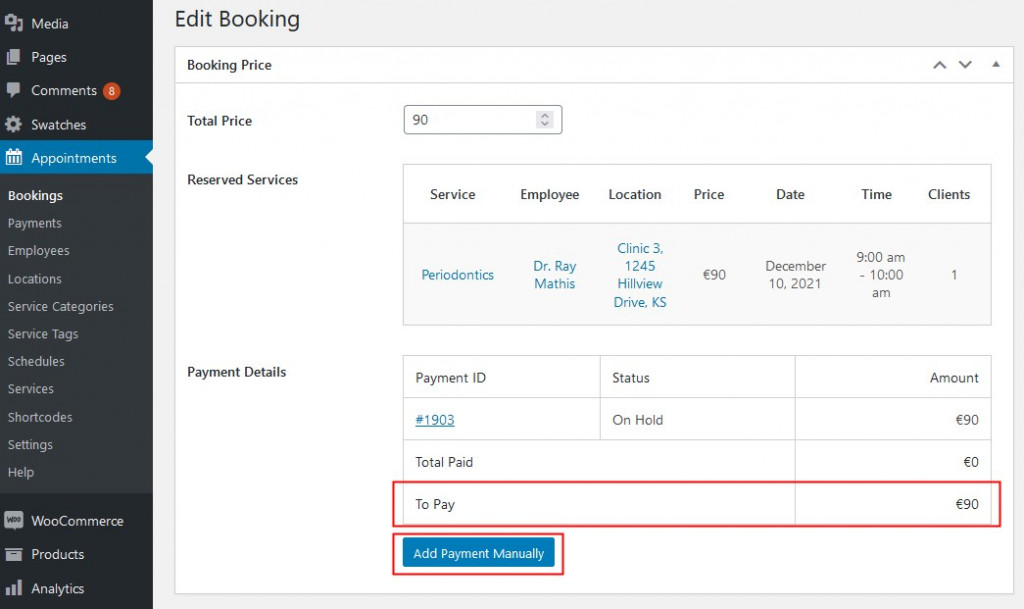
For bookings you add payments manually to, choose the needed booking ID, click ‘Edit’, and click on the ‘Add Payment Manually’ button.
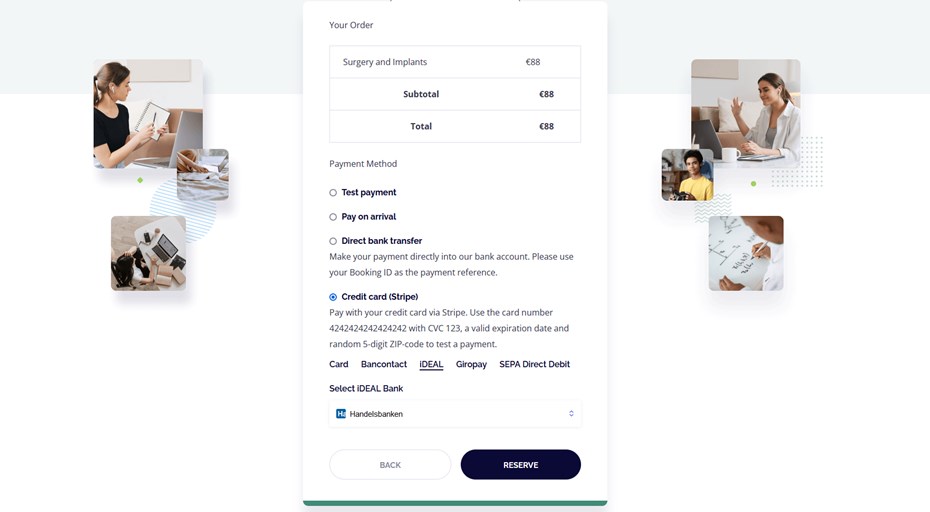
Clients will choose the payment method on the final step of the booking submission process:
To see and manage all received appointments, go to Appointments > Payments.

