Events Calendar 2.0.0 – Build Gutenberg-Powered Event Pages
Table of Contents
We’re actively working on many new features for the MotoPress Events Calendar plugin, your go-to tool for creating public event schedules with user-friendly tools.
Meanwhile, in this post, we’re sharing some recent updates that have been released in the version 2.0 and you can give them a try right away!
The initial WordPress events plugin version aimed to offer “the maximum in the simplest view,” meaning we wanted to give you tools to create schedules quickly but keeping the front end compact and clean.
This also meant event previews were simple: when visitors clicked an event in the calendar, categorized details appeared in a pop-up, like so:
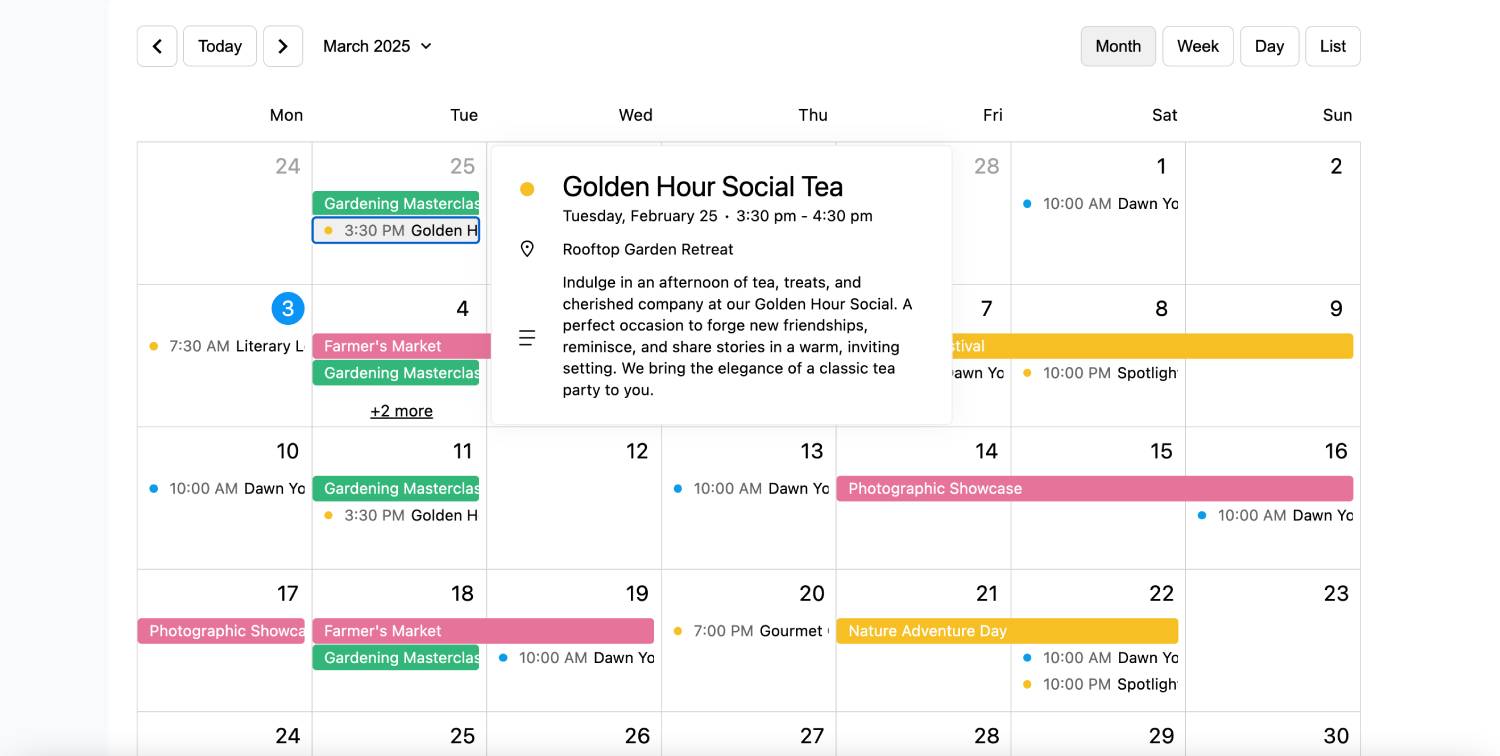
However, we understand that many calendars need more space to showcase events and share details! That’s why we’ve fulfilled our plan and released full-scale event pages, relying on the power of the WordPress block editor for further content customization.
So, what do you get in the latest Events Calendar plugin version?
- Stick to the event info pop-up only.
- Create a dedicated event page.
- Link an event page to a custom URL.
- Use a new Event Schedule block on any page.
No, when clicking on the event in the calendar, there is one more link under the event details: View Event.
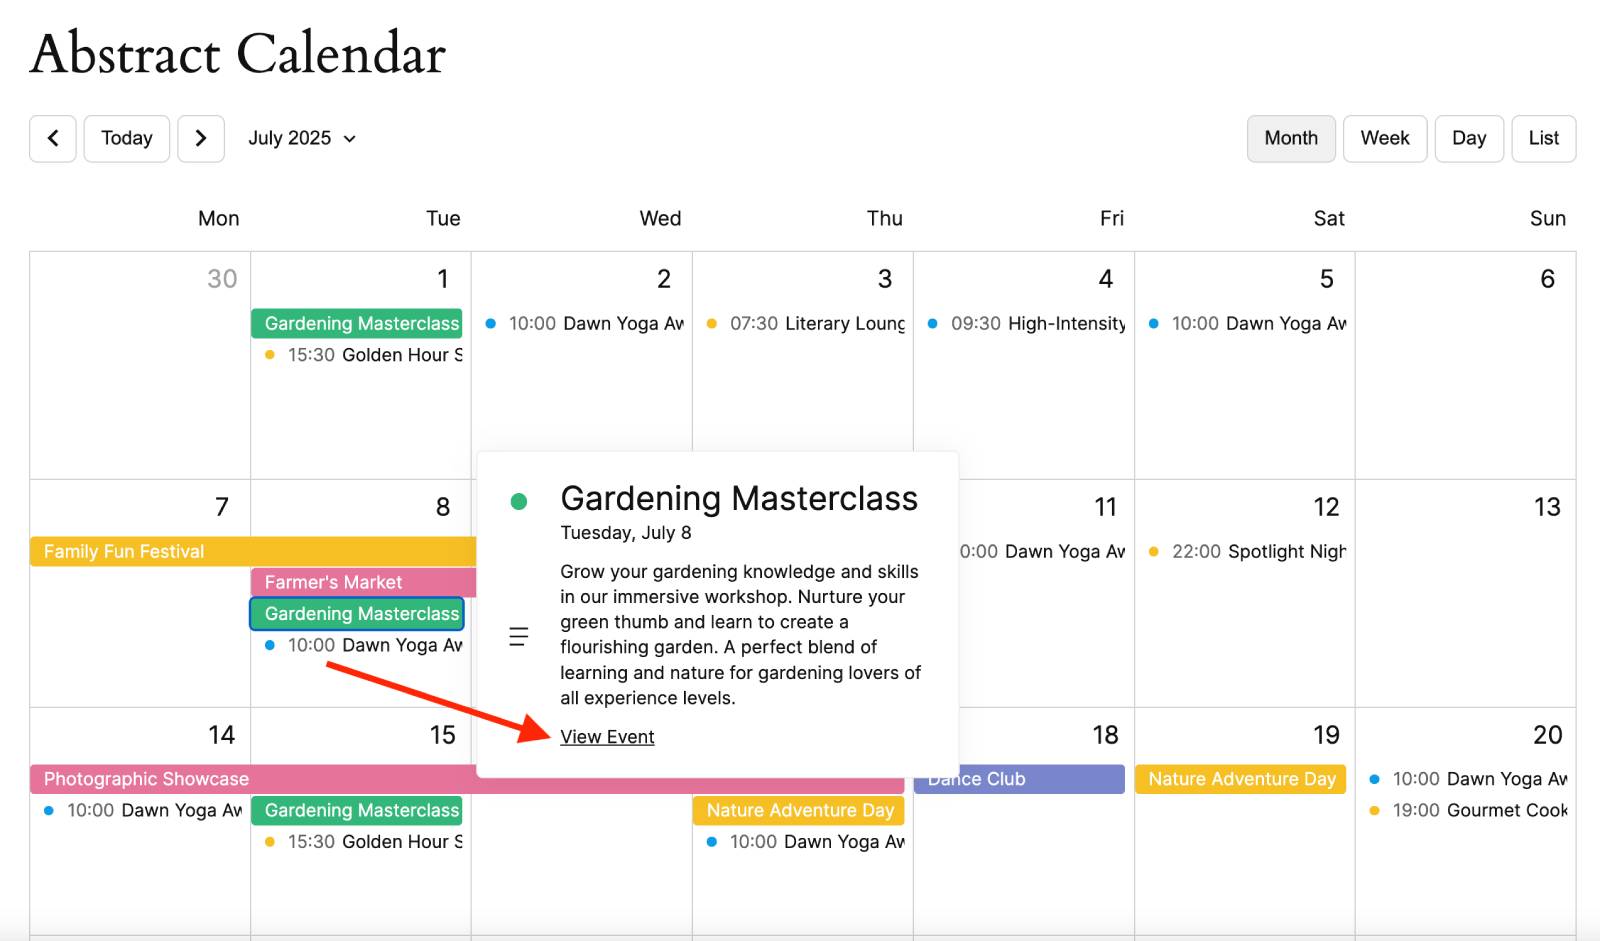
But what will the customer see when clicking that link? Let’s now review the details.
How to customize event information display
When you create a new event in the calendar (not adding the time to the current one), find the new toggle under the event description: Create a public page for this event.
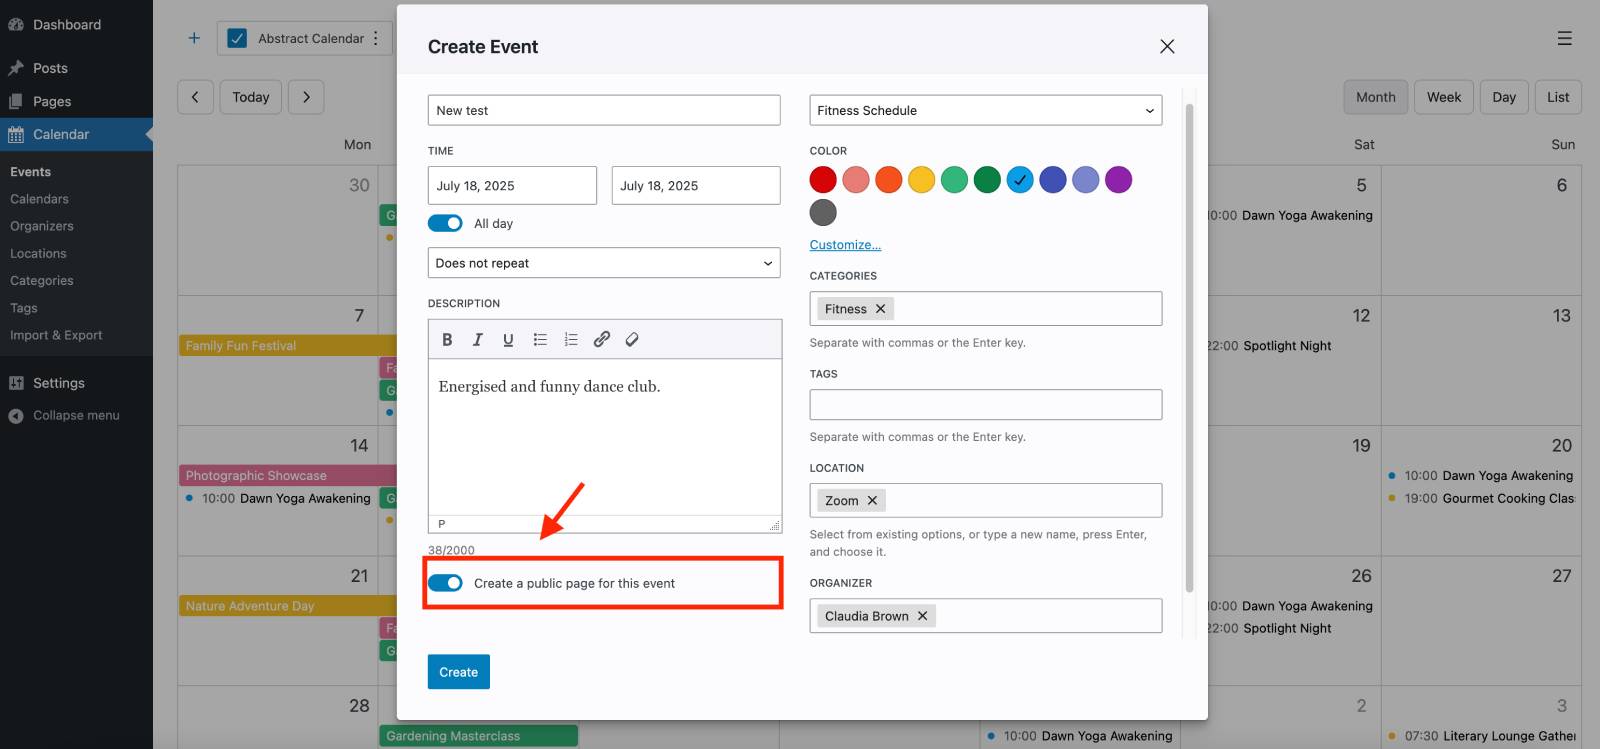
Once you add all the event details, turn this toggle on, and save the changes, a new event page will be added.
To customize its settings further, here is what you need to do:
- Choose an event in the calendar.
- Click ‘Edit’.
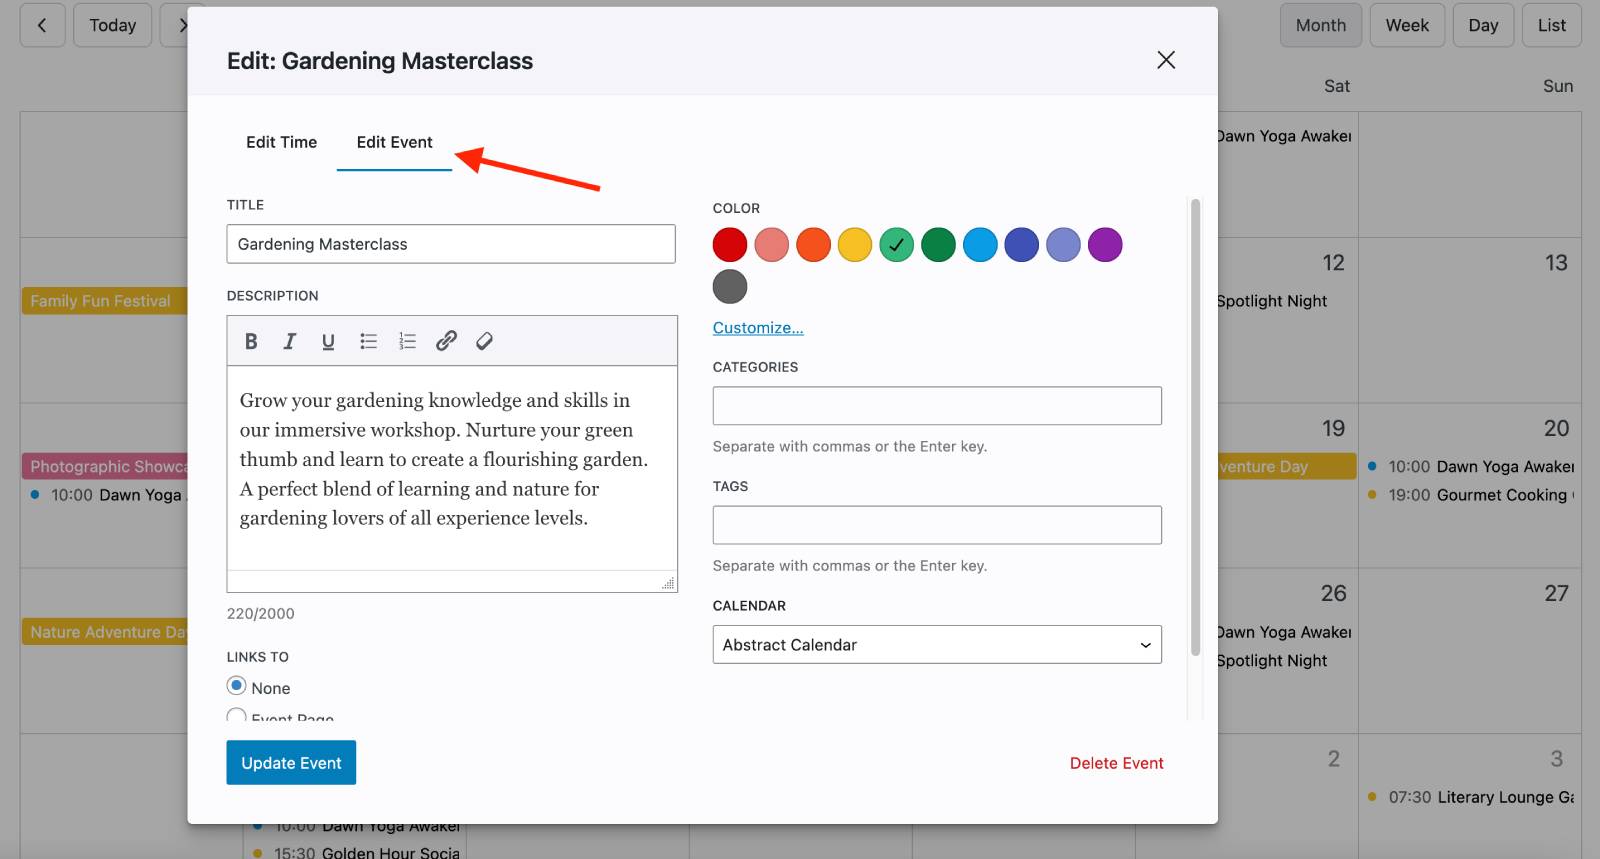
- Click ‘Edit Event’.
- Scroll down to the new Links to section.
- Choose one of the following options:
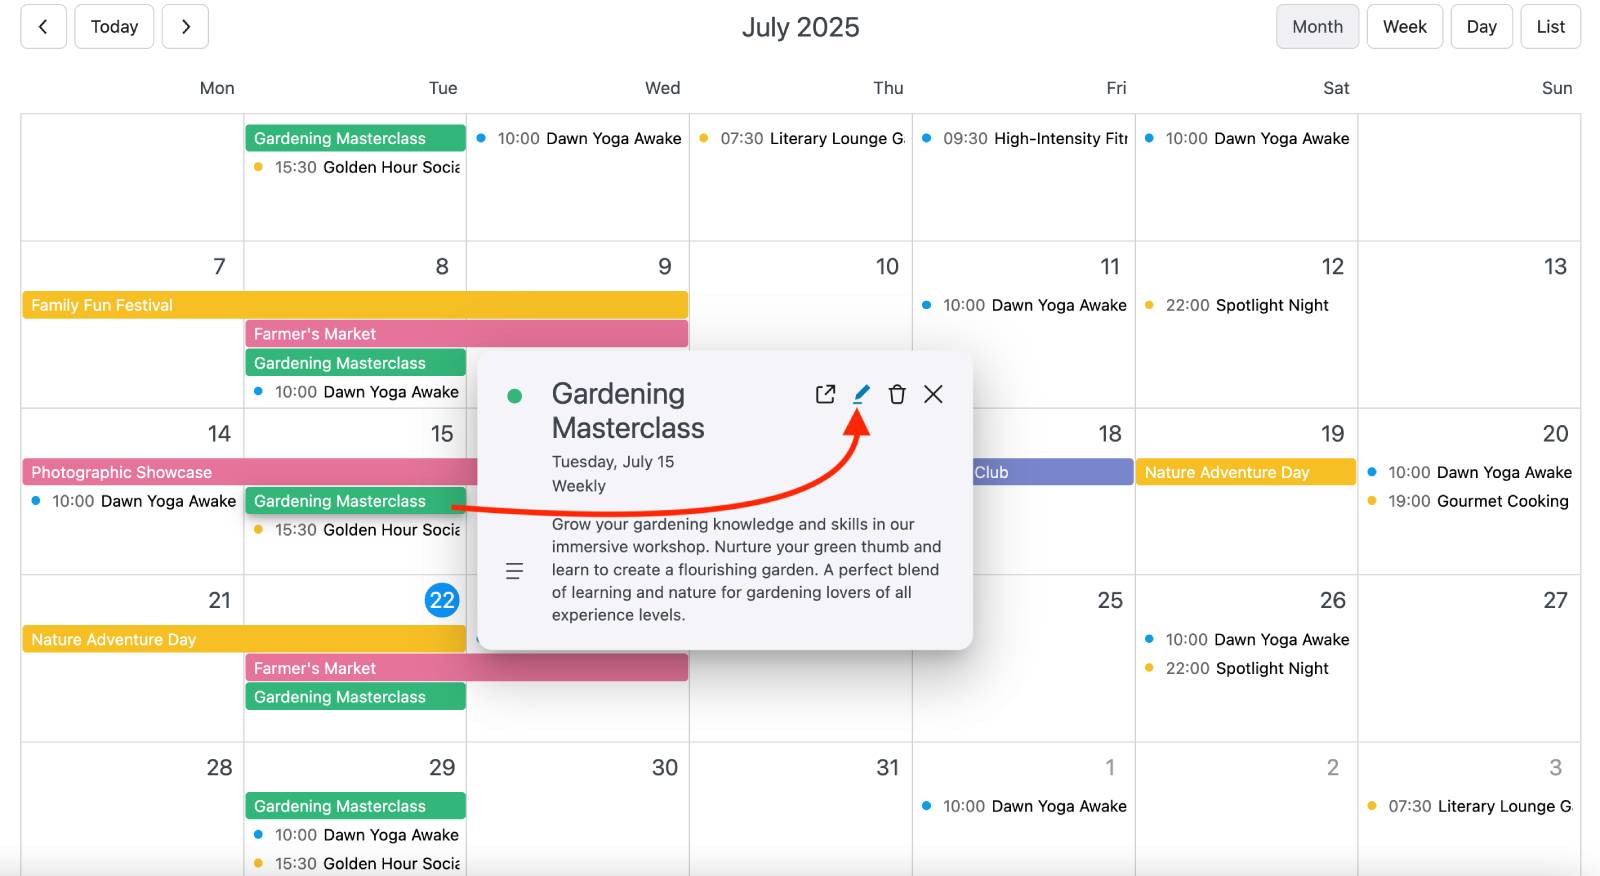
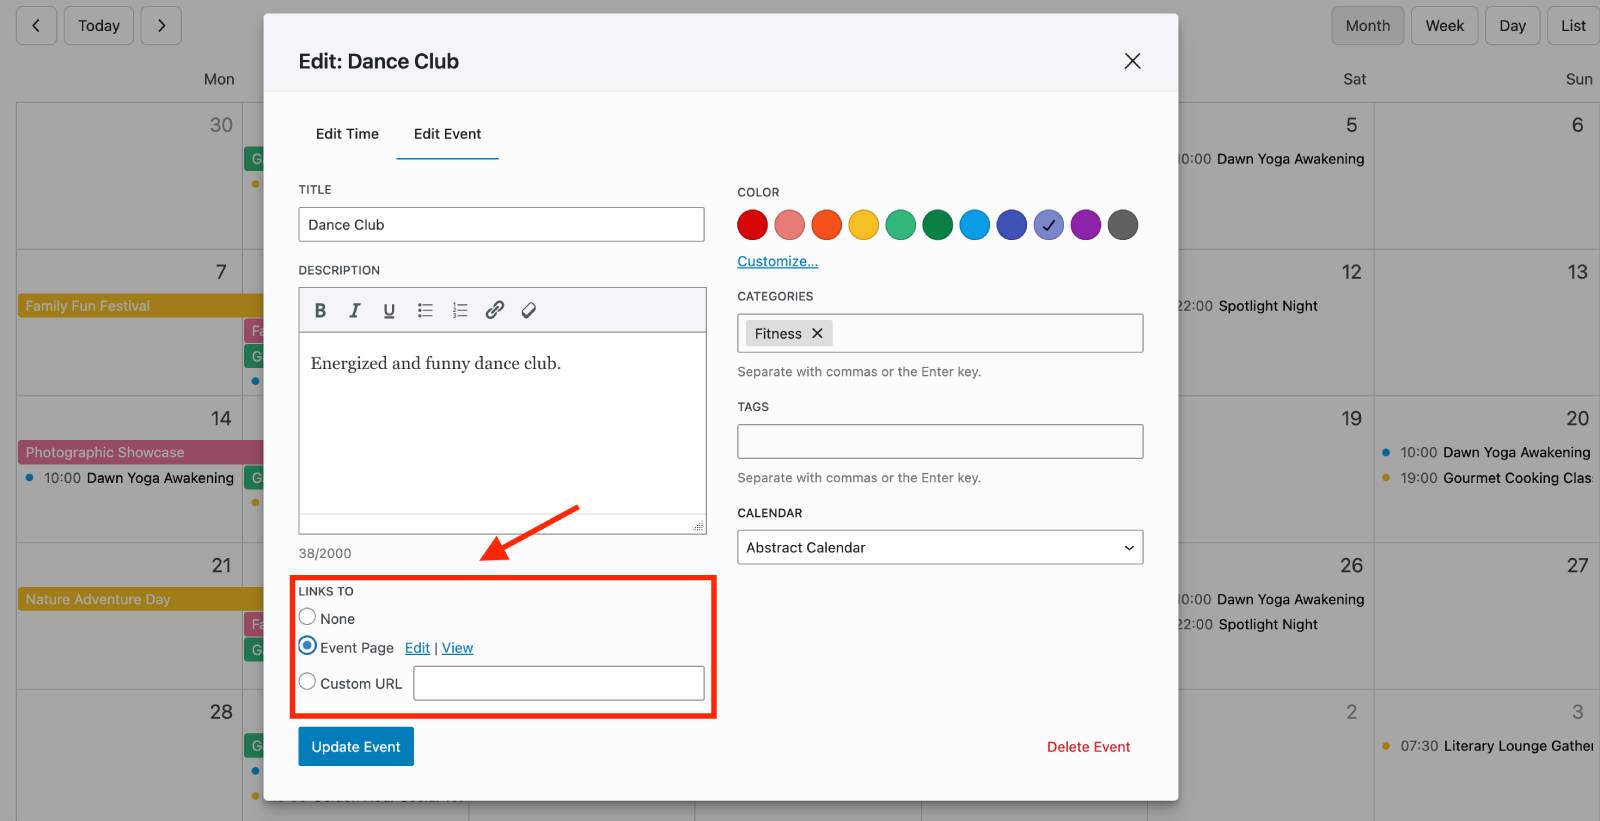
– Event page (default): opens a dedicated event page on your site.
– Custom URL: redirects to any URL you specify.
Event page
If you choose an event page, you can click ‘View’ to preview it instantly on your site or click ‘Edit’ to jump to the event page in Gutenberg.
On such an event page, the Event Schedule block from the Events Calendar plugin is added automatically. In the drop-down settings, you can choose which event exactly to show.
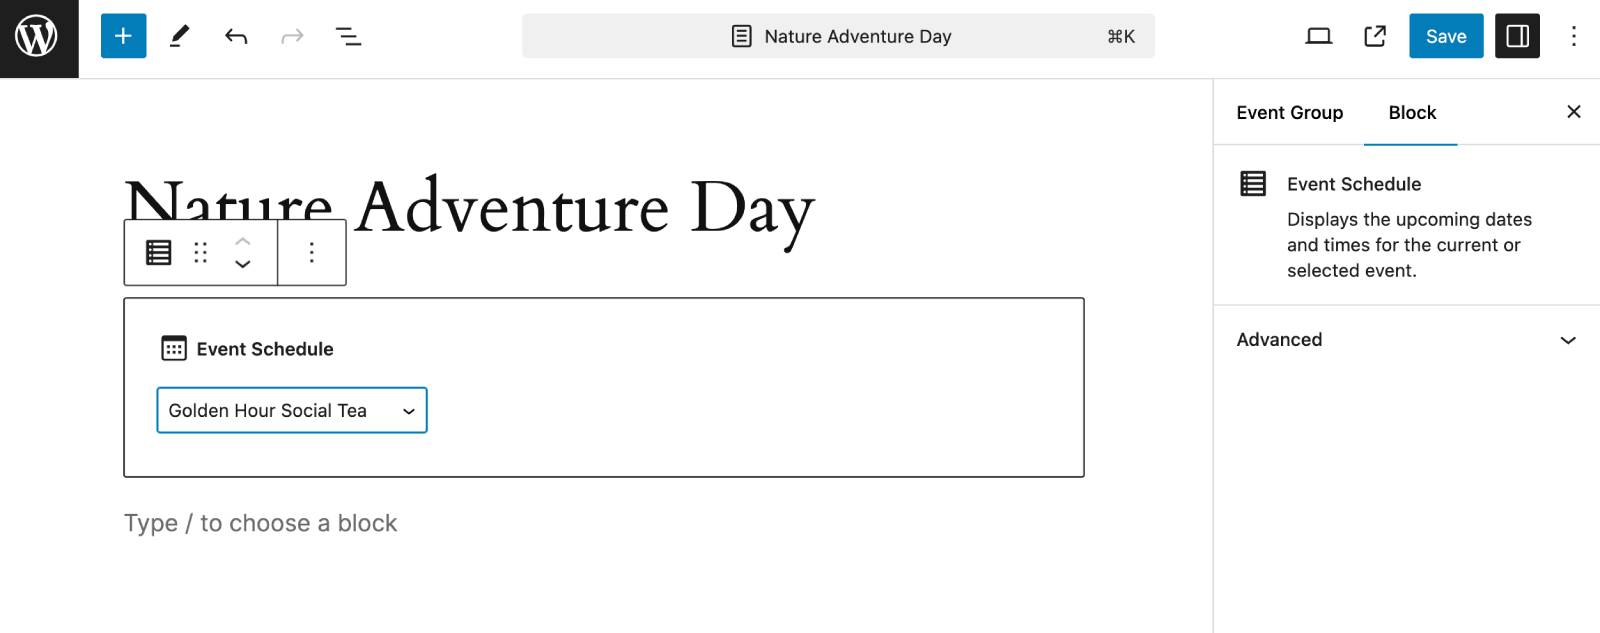
By default, this block shows upcoming events of the chosen one on the page. The example below shows the same recurring event on multiple dates.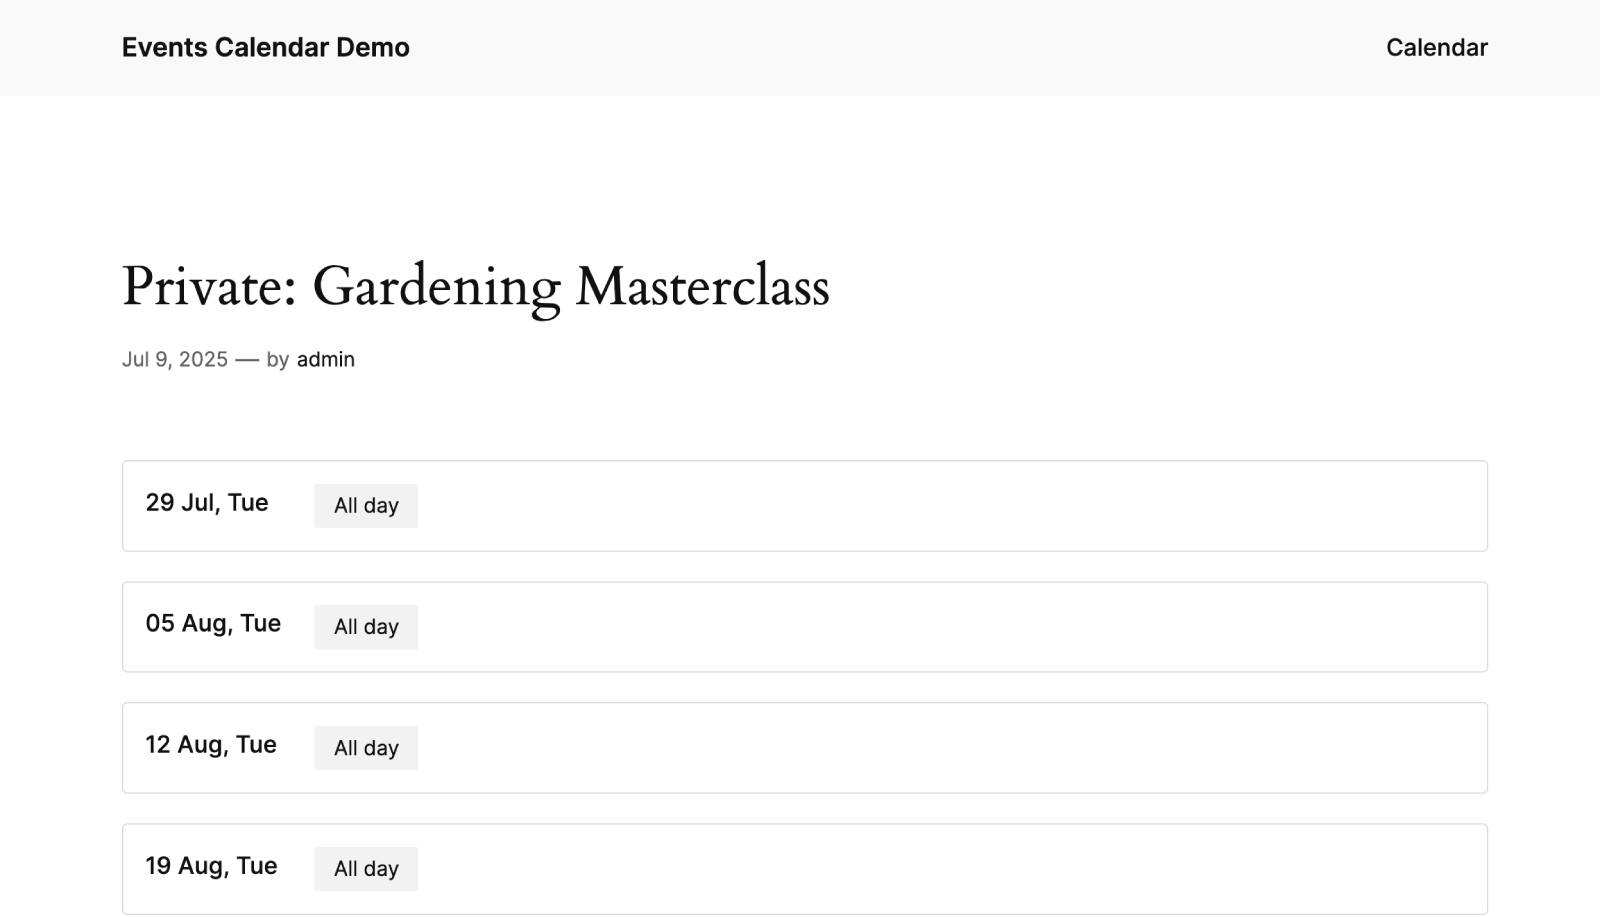
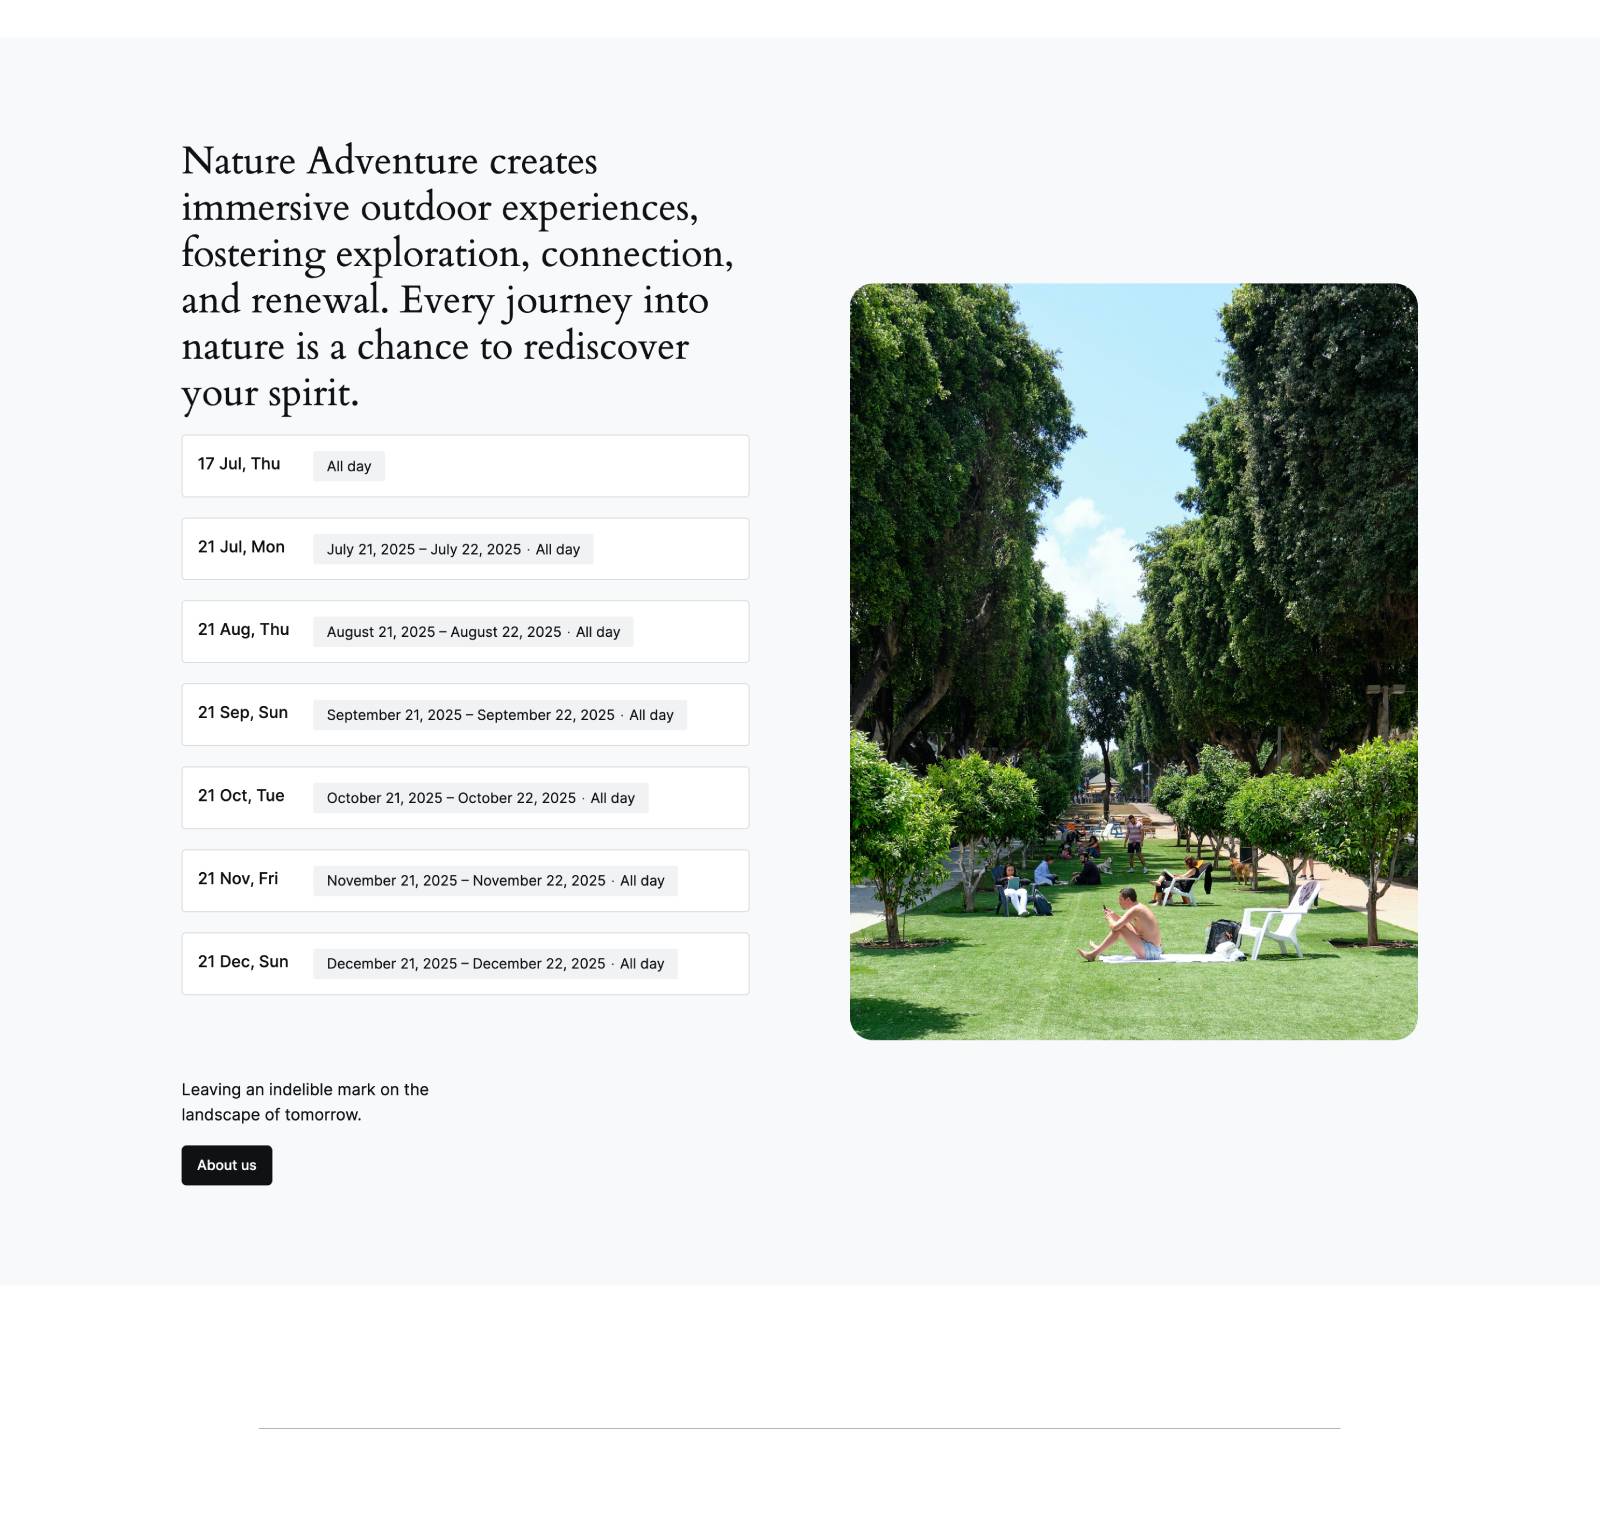
Take advantage of the WordPress block editor to tailor the layout and presentation of your event page, using WordPress patterns, blocks, and other Gutenberg features to match your site! For example, here is one of the ready-to-go patterns used along with the block.
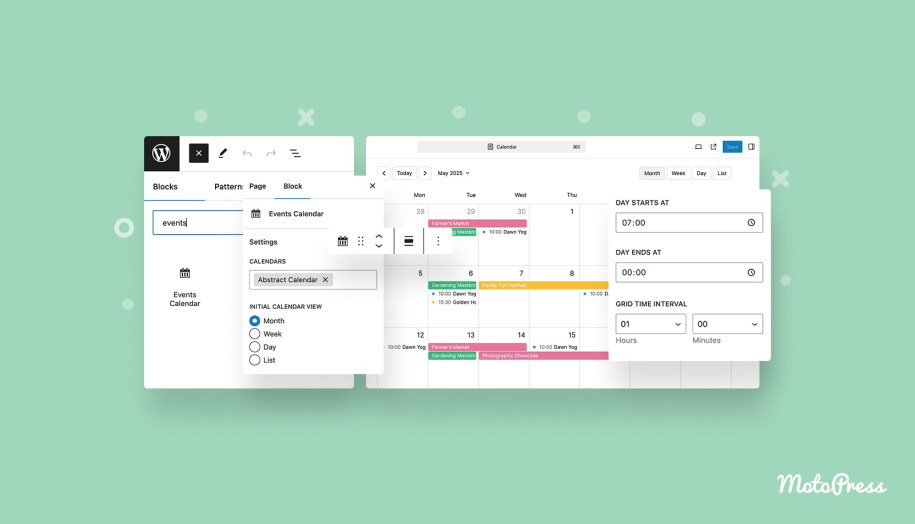
Needless to say, if you don’t need to show upcoming events, simply delete the default block and customize the event page the way you want. Then your new page will open by the link. You can also re-use the block on any other page across your WordPress site!
Event URL
Very simple! If you set a custom URL, clicking View Event under the event details in the calendar will open that URL directly.

In short, the client first clicks the event in the calendar, then View Event, and they are redirected to the event page or custom URL you have configured.
Things to keep in mind:
– If this is a repeating event, the same event display settings apply to all of them.
– You can easily update the event page or URL for events created before the plugin update.
Final word
So, your best WordPress events plugin now has better support for event pages!
You can:
- Generate default event pages with an upcoming events block automatically added.
- Fully customize event pages using the block editor.
- Set event URL redirects if you prefer linking to external or custom pages.
Besides using pop-up event details, you can now take advantage of full event pages. These can be used as-is, with upcoming events displayed automatically, or turn them into dedicated landing pages to showcase and promote your events super effectively!