WooCommerce Shipping Explained: Setup & Plugins
Table of Contents
Shipping policy and delivery options can make or break the customer journey in your WooCommerce store. A clear and convenient shipping experience might affect a visitor’s final decision of whether to buy your product or abandon the cart. Are you looking for the ultimate guide to set up WooCommerce shipping? Look into all the settings and helpful tools in the article below!
So, how to set up shipping on WooCommerce? To cover all the related aspects, we’ve included:
- Walkthrough of the available settings;
- Step-by-step instructions on how to integrate different shipping options;
- The list of powerful WooCommerce shipping plugins & extensions.
Without further ado, let’s get down to the nitty-gritty details!
WooCommerce Shipping Options: Quick Overview
Building a comprehensive shipping strategy is essential for a smooth online shopping experience. So, you should get the most out of the WooCommerce capabilities for your store. Out of the box, you can work with such WooCommerce shipping options as:
- Shipping location which lets you define the area where your store sells products from.
- Shipping zones to apply a dedicated set of shipping methods and rates for a certain geographic area. Thus, customers will see the methods available for their shipping address.
- Shipping methods including flat rate, free shipping, and local pickup.
- Shipping classes to customize the shipping rates for different groups of products.
WooCommerce Shipping Setup: Step-by-Step Guide
How to set up shipping in WooCommerce? We’ll outline the main steps since there is no one-size-fits-all shipping strategy. You can get started once you’ve installed and activated WooCommerce in your dashboard.
Step 1: Define Shipping Location
You should go to WooCommerce > Settings > General.
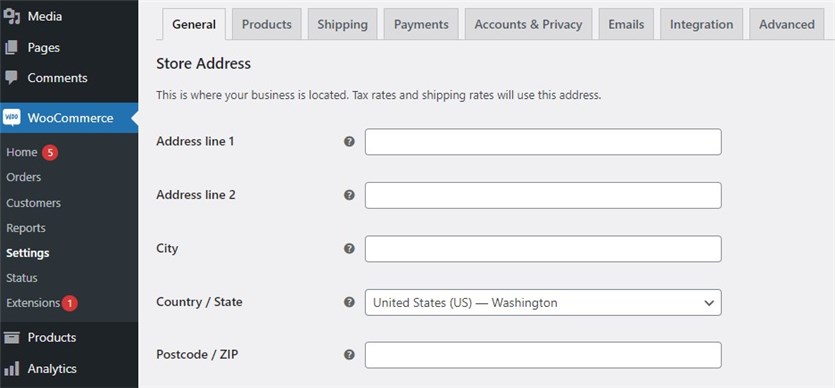
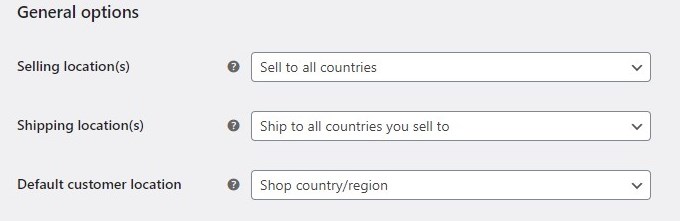
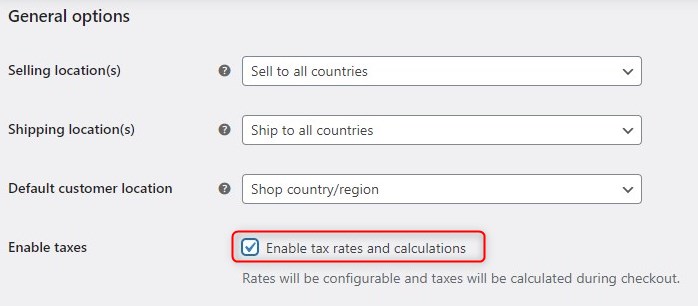
Once you define your store address, you can navigate to the General Options menu and set up:
1. Selling location(s):
- Sell to all countries;
- Sell to all countries, except from;
- Sell to specific countries.
2. Shipping location(s):
- Ship to all countries you sell to;
- Ship to all countries;
- Ship to specific countries only;
- Disable shipping and shipping calculations.
3. Default customer location:
- No location by default;
- Shop country/region;
- Geolocate;
- Geolocate (with page caching support).
Step 2: Configure Shipping Settings
The next step is to go to WooCommerce > Settings > Shipping > Shipping Settings.
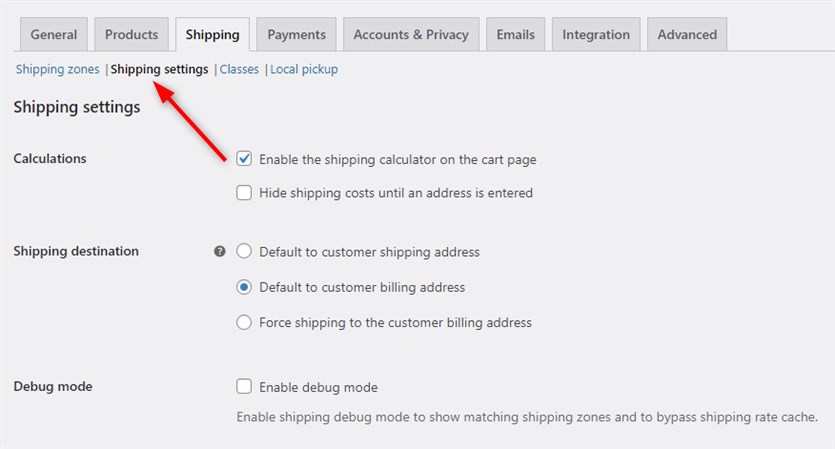
This page allows you to:
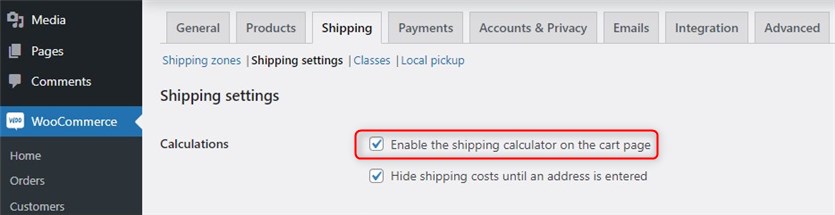
- Enable the shipping calculator on the cart page;
- Hide shipping costs until an address is entered;
- Set Shipping Destination to:
- Default to customer shipping address;
- Default to customer billing address;
- Force shipping to the customer billing address.
- Enable the Debug mode.
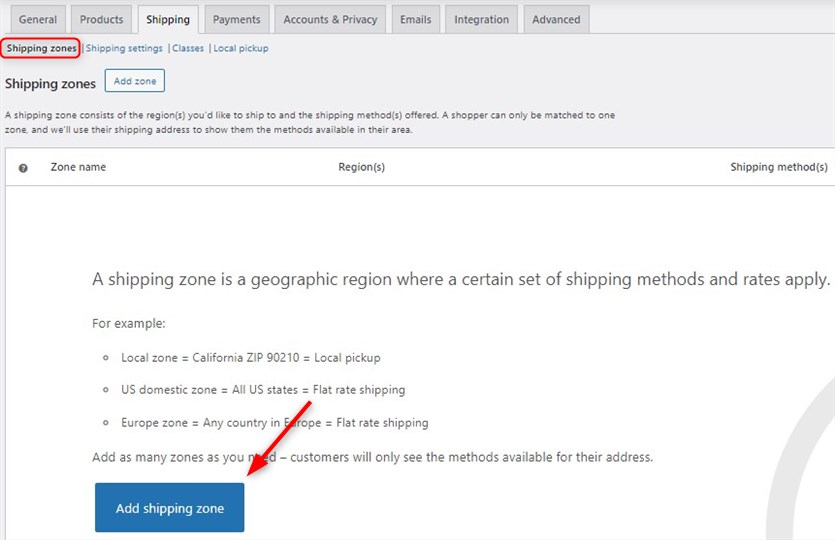
Step 3: Create Shipping Zones
A shipping zone deals with the area(s) you’d like to ship to and the shipping method(s) provided there. To add Shipping Zones, navigate to WooCommerce > Settings > Shipping > Shipping zones and click the ‘Add Shipping Zone’ button.
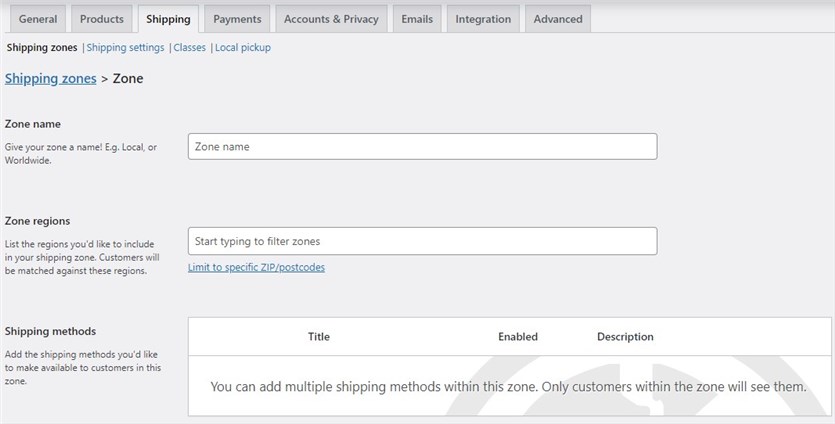
At this stage, you’ll be able to:
- Input a Zone Name.
- List Zone Regions, filter them by continent, country, and city, and limit your locations by ZIP/postcodes.
- Add Shipping methods available within the zone.
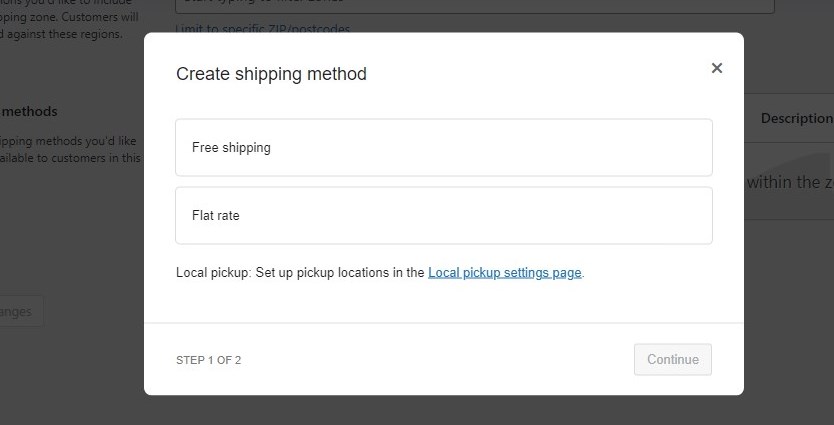
Step 4: Add Shipping Methods
When you click the ‘Add shipping method’ button, you’ll see a popup window with 2 available options:
- Free shipping;
- Flat rate.
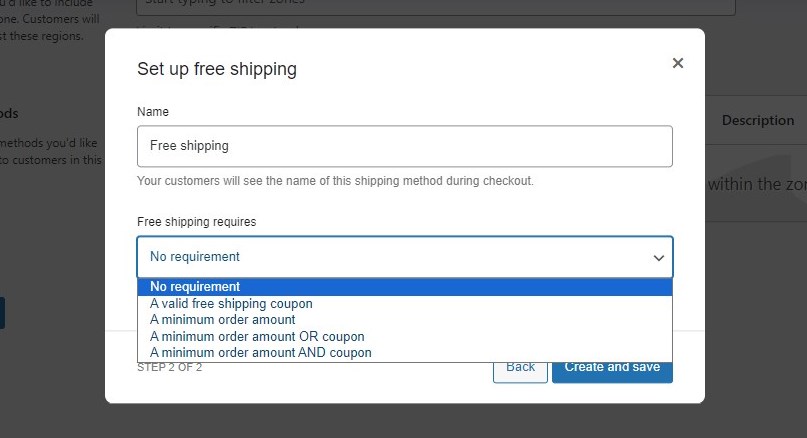
If you proceed with Free Shipping, you’ll be allowed to customize the name and choose among multiple conditions to apply this method:
- No requirement.
- A valid free shipping coupon.
- A minimum order amount.
- A valid free shipping coupon OR a minimum order amount.
- A valid free shipping coupon AND a minimum order amount.
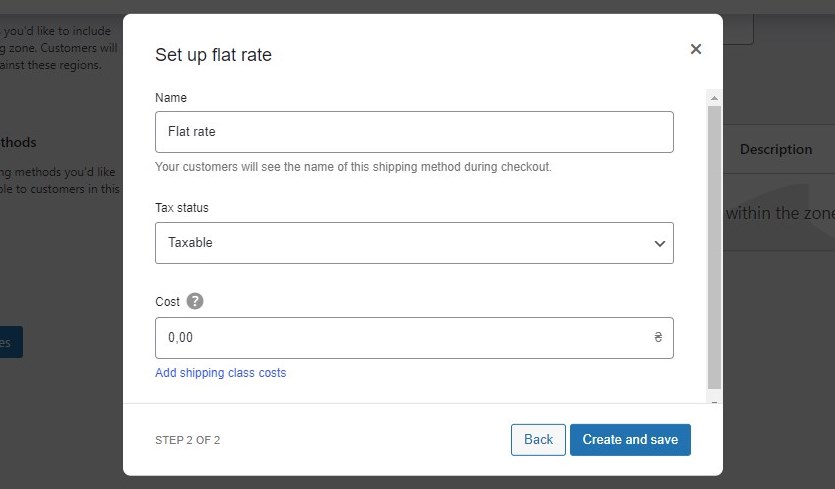
The Flat Rate method lets you charge a fixed rate for shipping while offering such options as:
- Custom name.
- Tax Status.
- Cost.
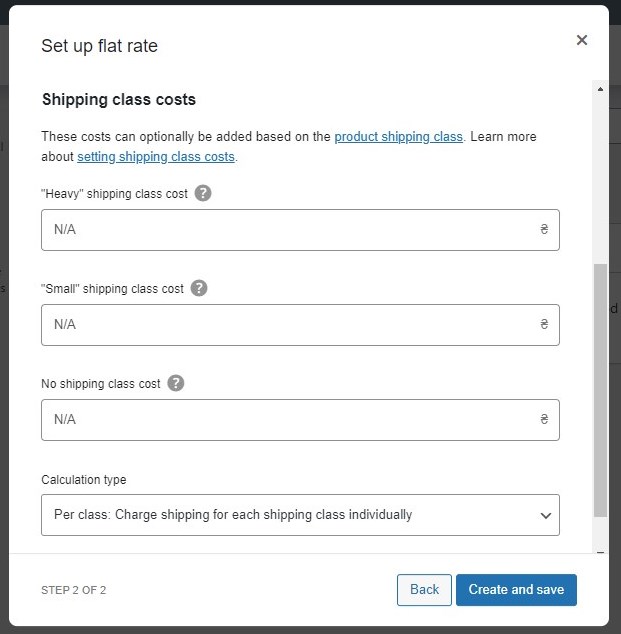
When setting up the flat rate, you can also add extra costs for WooCommerce shipping classes.
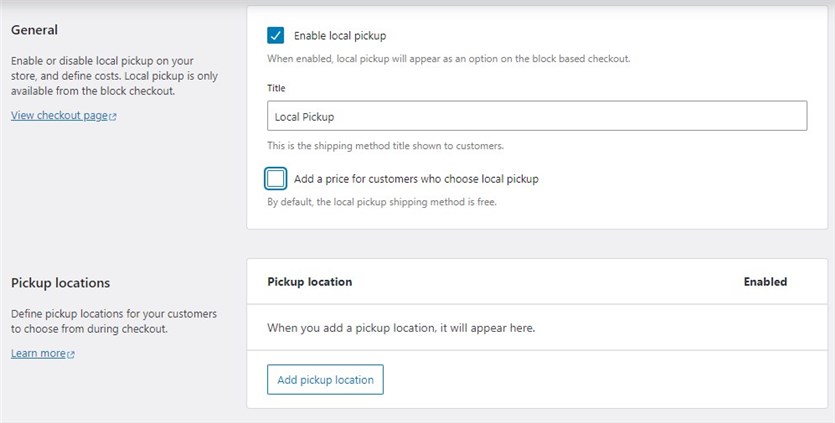
WooCommerce enables you to add the Local Pickup method via a separate tab.
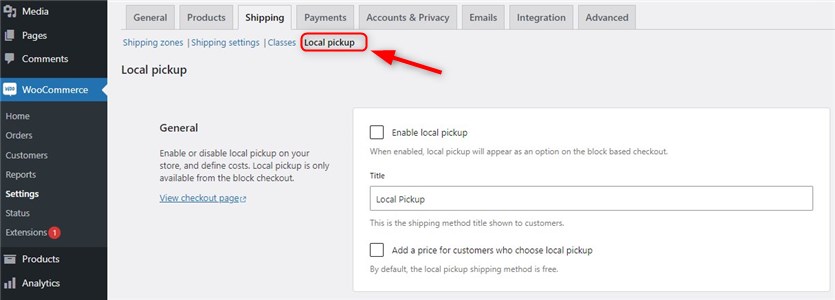
Navigate to WooCommerce > Settings > Shipping > Local pickup where it’s possible to:
- Enable or disable this method on your store.
- Set its name.
- Add method cost.
- Define pickup locations for customers to select from.
Step 5: Set Up the Rest of the World Shipping Zone
You can configure this optional WooCommerce shipping zone to set the shipping method(s) available to any regions not covered by other zones.
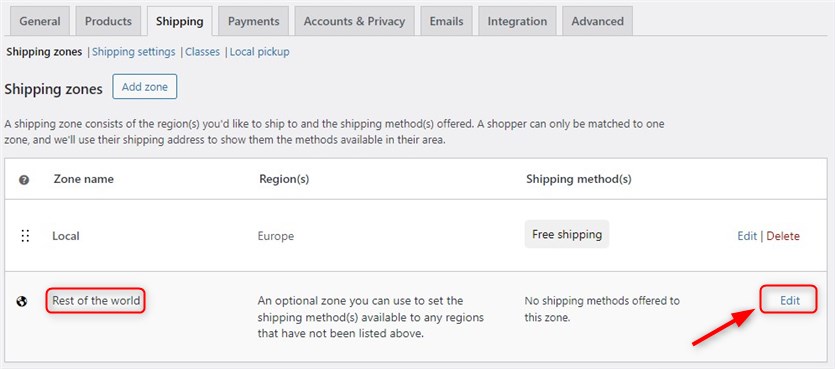
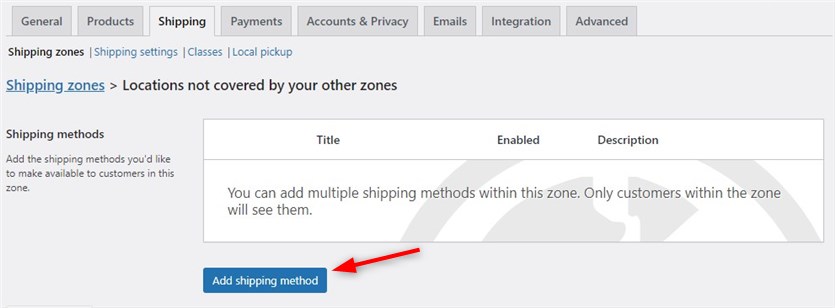
Click on the ‘Edit’ button and add shipping methods that will be available within this zone.
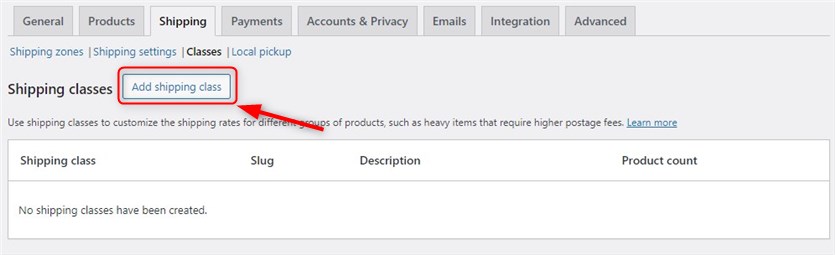
Step 6: Add Shipping Classes (If Necessary)
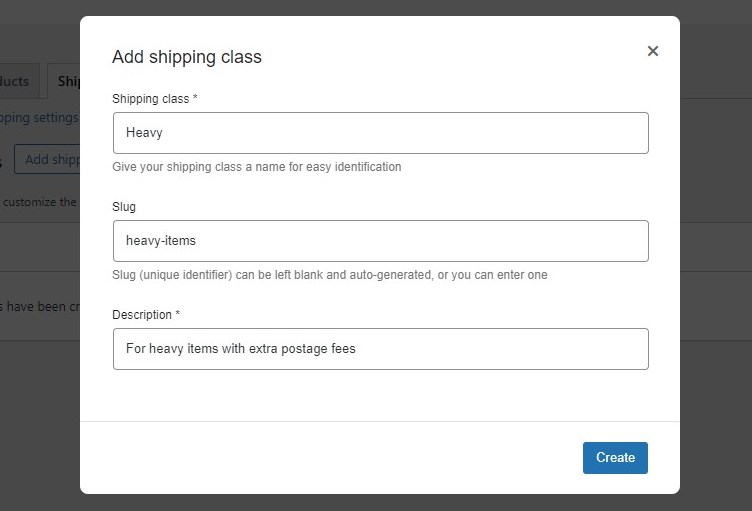
WooCommerce Shipping Classes are used to categorize products into groups based on similar characteristics and apply specific shipping costs for certain classes. For example, heavy items may require higher postage fees. You can create classes in the dedicated tab: WooCommerce > Settings > Shipping > Classes > Add shipping class.
Then, you should add a class name, slug, and description.
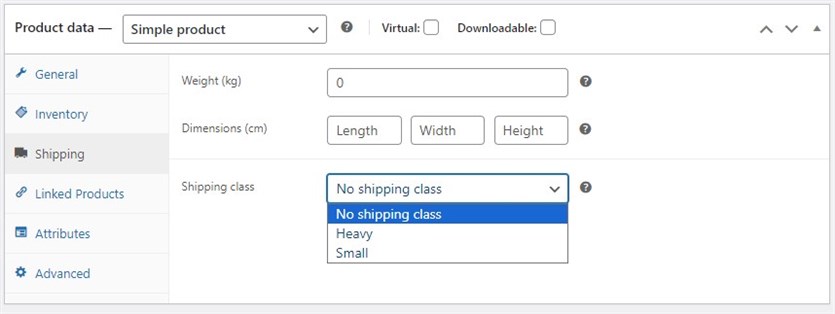
Once classes are added, you need to assign products to them. Open the product page, scroll down to Product Data > Shipping > Shipping Class, and define the class.
The next step is to define the cost of these shipping classes. Navigate to WooCommerce > Settings > Shipping > Shipping zones, choose the required zone, and click on the Flat Rate option. Now, you can set up Shipping class options and a calculation type (per class or order).
Once the WooCommerce shipping setup is done, you can test-drive how customers will see these options on the frontend.


How to Enable a WooCommerce Shipping Calculator?
By default, the WooCommerce shipping calculator is enabled on the cart page. You can change it by navigating to WooCommerce > Settings > Shipping > Shipping settings > Calculations. Also, the plugin allows you to hide shipping costs until an address is entered in this menu.
How to Set Up WooCommerce International Shipping?
As WooCommerce offers flexible options to ensure the global reach of your online store, we’d like to walk you through the WooCommerce international shipping setup process.
Step 1
You should start with WooCommerce shipping & tax settings in WooCommerce > Settings > General. In addition to the steps described above, you need to enable tax rates and calculations.
Step 2
In the Tax tab, you can configure:
- Tax options.
- Standard rates.
- Reduced rate rates.
- Zero rate rates.

Step 3
While configuring international shipping, you should add dedicated shipping zones and countries/cities you want to ship to. Then, choose a Flat rate or Free shipping method for this zone.

How To Configure WooCommerce Shipping by Weight?
Are you going to implement weight-based shipping with WooCommerce? This calculating method lets you charge accurate shipping costs based on the weight of the products your customers order.
If you prefer using built-in WooCommerce tools rather than third-party plugins, you can create different classes for weight ranges. Then, it takes a few clicks to assign the classes to the products according to their weight categories and set up flat rate methods for each of them.

5 WooCommerce Shipping Plugins & Extensions
Are you looking for a WooCommerce shipping plugin to enhance your online store with advanced functionality? We’ve compiled a list of the most popular solutions. Let’s dive in!
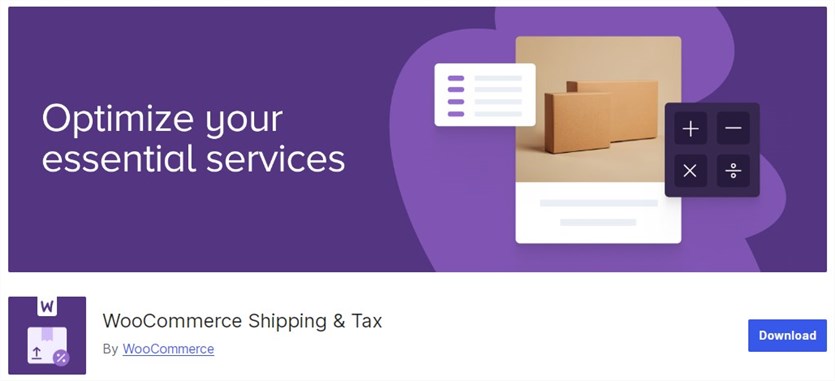
WooCommerce Shipping
| Name | Provider | Free/Premium |
|---|---|---|
| WooCommerce Shipping | Woo | Free |
The first extension from this list enables you to print WooCommerce shipping labels from your admin dashboard. Free to use, this extension can be installed and activated in a few clicks to help you optimize your e-commerce services. Thus, you won’t need to print USPS and DHL labels at the post office.
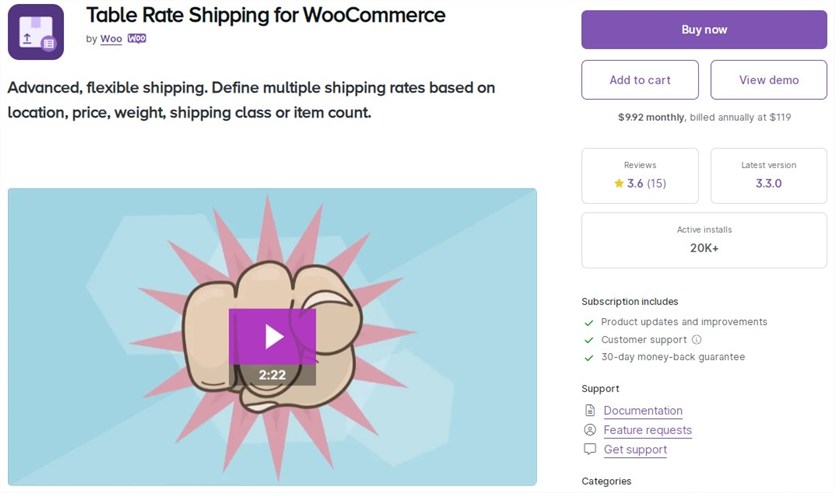
Table Rate Shipping
| Name | Provider | Free/Premium |
|---|---|---|
| Table Rate Shipping for WooCommerce | Woo | Premium |
Table Rate Shipping is a premium solution to add multiple rates per shipping zone. They are based on location, price, weight, or item count. Also, you can apply different types of rate calculations and shipping rules.
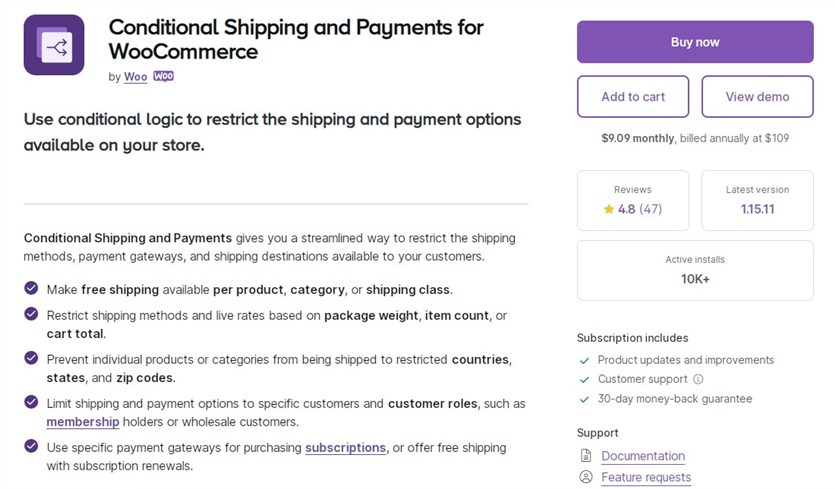
Conditional Shipping and Payments for WooCommerce
| Name | Provider | Free/Premium |
|---|---|---|
| Conditional Shipping and Payments for WooCommerce | Woo | Premium |
This addon is considered the best shipping plugin for WooCommerce to set up WooCommerce conditional shipping and payments. You can set up global or per-product restrictions for shipping methods, payment options, and available shipping locations. The list of its integrations includes Subscriptions, Memberships, and Gift Cards.

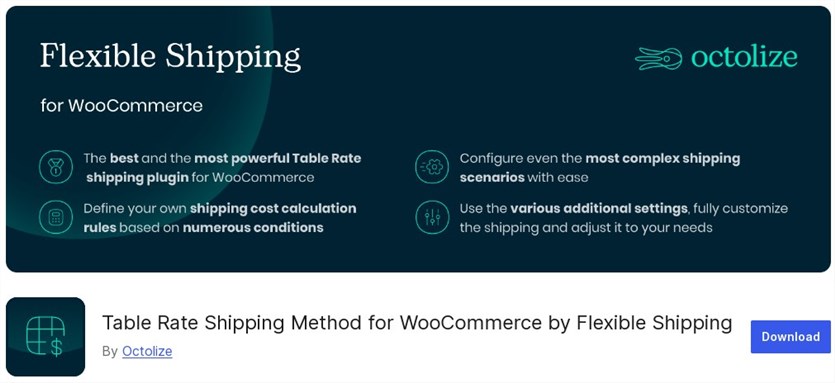
Flexible Shipping
| Name | Provider | Free/Premium |
|---|---|---|
| Flexible Shipping | Octolize | Free |
Flexible Shipping is a free WordPress plugin that extends your shipping options with a table rate shipping method for WooCommerce. It allows you to add unlimited methods & calculation rules. Also, it’s possible to set cart total or weight-based shipping costs and sum up costs for different rules. There are built-in possible shipping scenarios and tutorials to get started with no hassle.
The premium version supports shipping classes, conditional rules for shipping methods, shipping coupons, and more features.
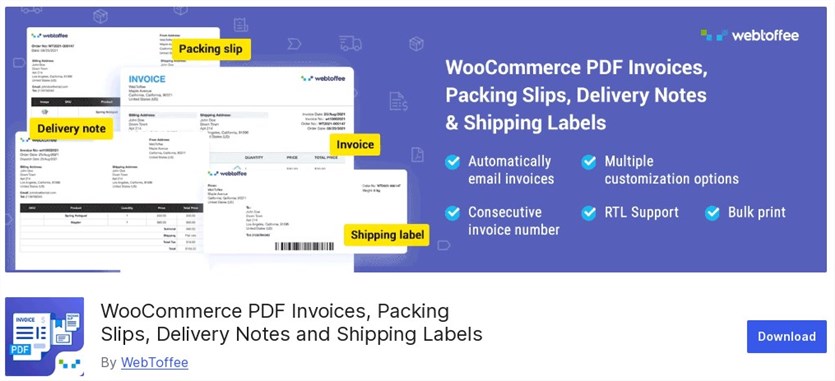
WooCommerce PDF Invoices, Packing Slips, Delivery Notes and Shipping Labels
| Name | Provider | Free/Premium |
|---|---|---|
| WooCommerce PDF Invoices, Packing Slips, Delivery Notes and Shipping Labels | WebToffee | Free |
As seen from its name, this free WordPress plugin aims to equip your online store with PDF invoices, packing slips, delivery notes, and shipping labels. It comes in handy to provide them while delivering a package. This plugin supports multiple document types, customization options, and flexible pricing settings. On top of that, it involves ready-to-use invoice templates.
Appointment Booking WooCommerce Payments
Integrates WooCommerce payment gateways with the Appointment Booking plugin.
Hotel Booking WooCommerce Payments
Integrate WooCommerce payment gateways with Hotel Booking plugin.
5 WooCommerce Themes with Shipping Options
Do you need professionally designed store website templates compatible with WooCommerce shipping options? The MotoPress lineup includes WooCommerce themes dedicated to various e-commerce niches. Let’s explore them in more detail!
Laveri

Laveri is geared towards clothing, accessories, furniture, and fabrics stores. This WordPress theme comes with product sliders, image galleries, shop items, and other content sections. You can customize Laveri and add new shop elements with Elementor and a Stratum addon. Use Stratum Mega Menu to facilitate navigation on your website.
In terms of a smooth integration with WooCommerce, this theme lets you add product descriptions, categorize products, enable payments, and set up shipping options.
Carni Rosso

Carni Rosso is a premium WooCommerce theme suitable for butcher shops, farms, fish stores, etc. It features pre-made page designs and compatibility with the WooCommerce plugin. Carni Rosso ensures visual customization with the Gutenberg editor and Getwid extension. You’ll have access to various options and templates.
Frutta Verde

Build a well-designed grocery store website and set up WooCommerce functionality with Frutta Verde! This WooCommerce shop theme equips you with eCommerce-focused pages and a set of Getwid blocks and templates. Frutta Verde makes it easy to categorize products, set up shipping services, and configure built-in payment gateways.


Vite Nera

Vite Nera is the ultimate choice among WordPress themes for creating a modern wine shop website. It’s easy to showcase wine lists, products, branded images, etc. Vite Nera is crafted with Gutenberg and Getwid to enable hassle-free content creation. With WooCommerce, you can rely on product sorting & filtering options, online payments, and delivery options.
Bimba

Bimba is a stylish handmade store WooCommerce theme built with Gutenberg and Getwid blocks. Like other e-commerce themes in this roundup, Bimba deals with ready-mady page templates and WooCommerce-related settings. Enjoy visual site customization and fully responsive design with this craft WordPress theme.
Get access to ALL themes & plugins by MotoPress with a Membership Subscription.
Wrapping Up
Last but not least, WooCommerce shipping might seem a daunting task. However, you can streamline this process by following comprehensive tutorials and using third-party tools to customize options on your online store website. It’s worth noting that a well-configured shipping system may lead to increased customer satisfaction and business growth.
What challenges have you faced in setting up shipping for your store? Have you used any specific WooCommerce plugins?
Disclosure: this article may contain affiliate links for third-party products. If you click a link and later make a purchase, we may earn an affiliate commission that doesn’t result in additional charges to you.
FAQ
How does shipping work with WooCommerce?
Is WooCommerce shipping free?
How to get a shipping method in WooCommerce?
How do I charge for shipping on WooCommerce?