How to Take Paid Appointments with Google Calendar
Table of Contents
Looking for an appointment booking Google Calendar? Whether you are a freelancer or professional business, you might request upfront appointment payment via Google Calendar.
In this quick tutorial, we’re taking a closer look at how Google Calendar appointment schedule works, how to accept paid appointments right from your event calendar, and what requirements you should know.
How Google Calendar appointment scheduling works
The appointment scheduling feature by Google Calendar allows you to create a personal service or booking page and to enable your clients to book your time online. So, how to set up appointment slots in google calendar?
You can create shareable booking pages by setting up your availability (known as appointment slots in Google Calendar), add a meeting location, set limitations for last-minute bookings, include buffer times, and designate how many appointments per day you can accept.
Having set up your preferences for Google Calendar appointment scheduling, you can share your booking page that updates available and unavailable slots dynamically.
Creating an appointment schedule requires 3 steps:
- Hit ‘+’ in your calendar and choose ‘Appointment Schedule’.
- Add your appointment details (location, photo, etc.).
- Upon the creation, you get a shareable link you can send to others.
Learn how to customize your appointment schedule.
How to take paid appointment via your Google Calendar
Since July, 2023, the appointment scheduling capabilities of Google Calendar have been extended with paid appointments.
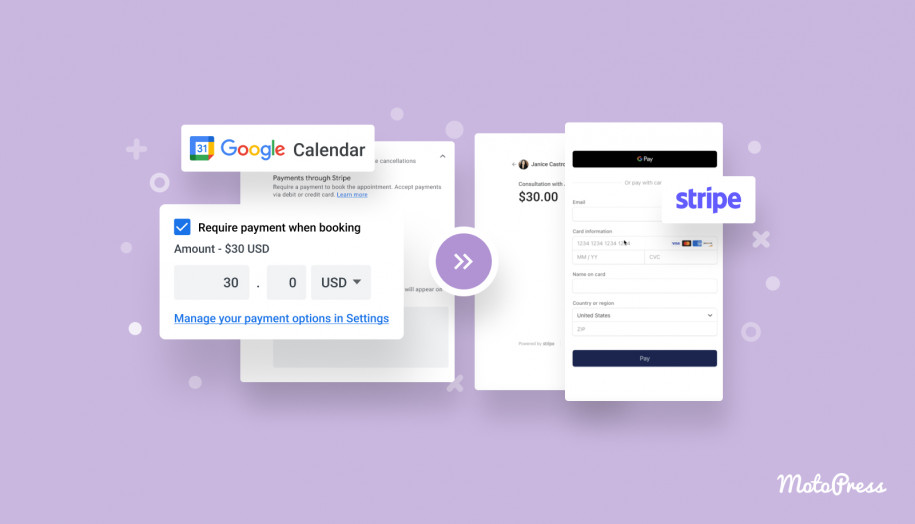
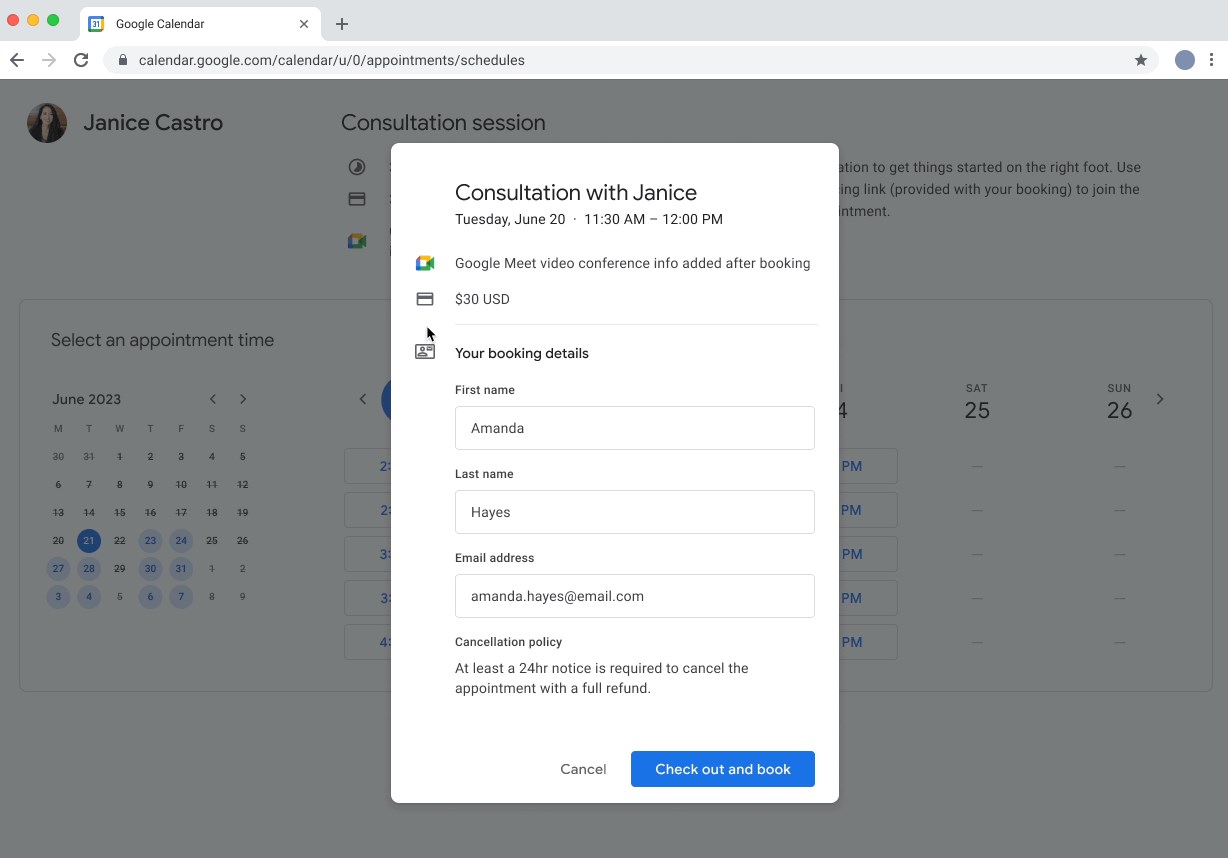
The paid appointments with Google Calendar feature allows you to require payment from people who make bookings.
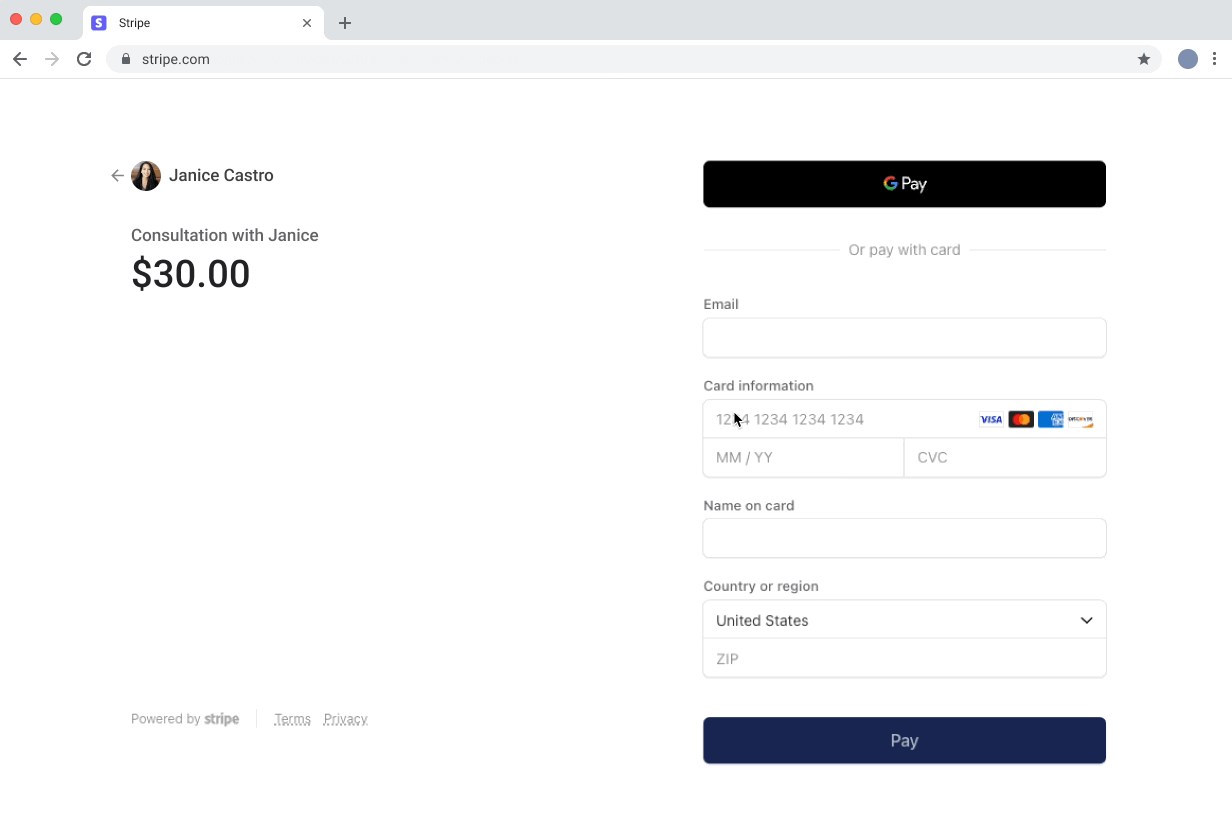 Image source: Google Workspace
Requirements:
1. Appointment schedule Google Calendar payments require Stripe integration.
That means you need to firstly create an account with Stripe and then connect it to your Google Calendar.
2. You need to have a Google Workspace subscription.
It unlocks premium options, such as unlimited number of booking pages, payment collection through Stripe, automated email reminders, and multiple availability calendars. Supported plans include: Business Standard, Business Plus, Enterprise Standard, Enterprise Plus, Education Fundamentals, Education Standard, Education Plus, Nonprofits and Workspace Individual.
Note: You can also test Google Workspace for free with a 14-day trial account. But keep in mind that you will still need to use your domain name business information or purchase one from the Squarespace partner during the registration process. Prior to accessing the Google Workspace trial, payment setup is required. Your payment method will only be charged once the free trial period ends.
Setting up paid appointments with Google Calendar Appointment Scheduling
- Sign in to your Google Admin console.
- Open Google Calendar on your PC (Menu > Apps > Google Workspace > Calendar).
- Go to Settings on the right.
- On the left, click General > Appointment schedules > click On.
- Connect to Stripe if it’s not connected yet (follow the Stripe wizard to finish the setup process).
- Click Save.
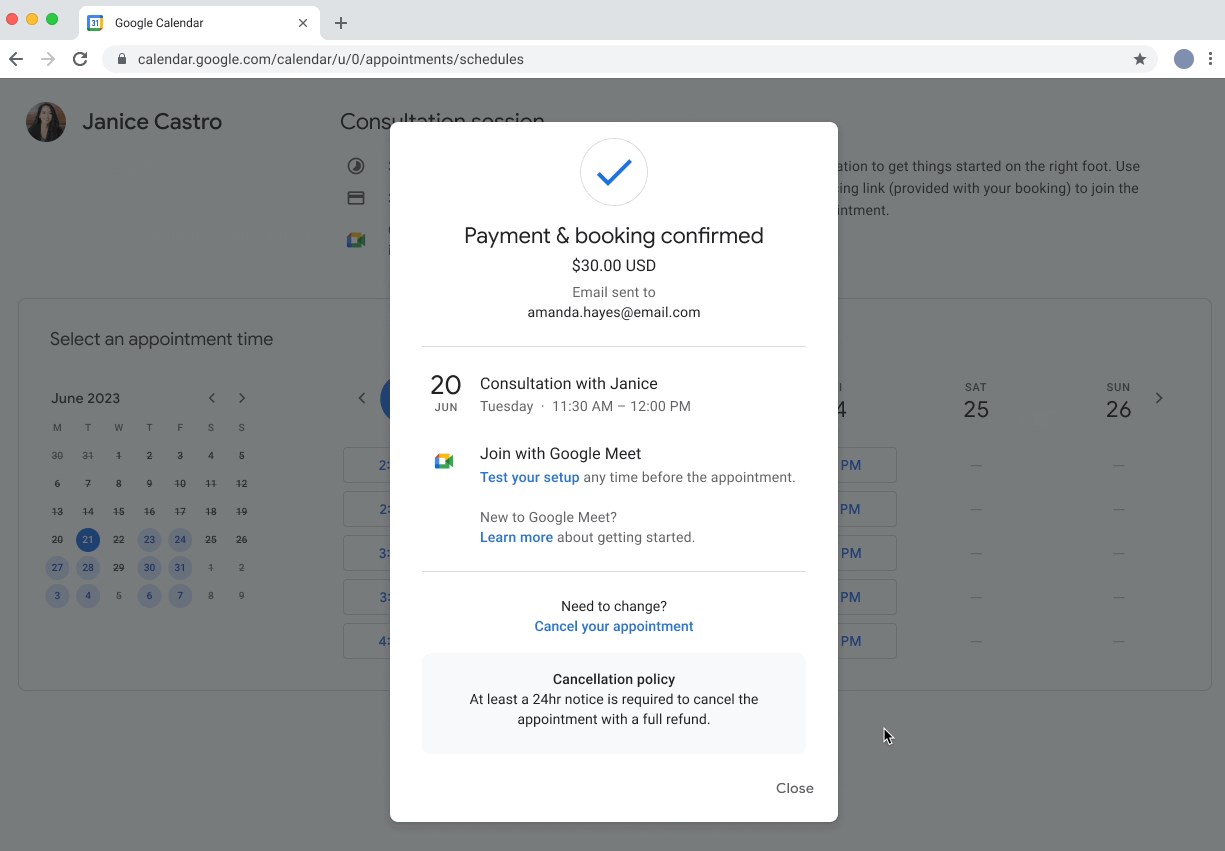 Image source: Google Workspace
Setting up your payments & cancellation policy
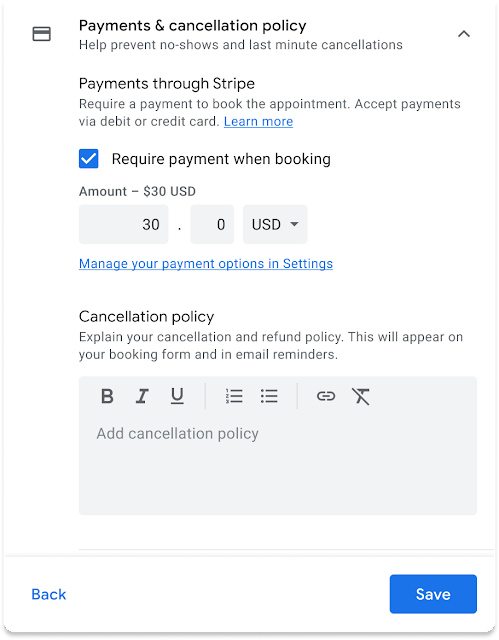
To take paid appointments with Google Calendar appointment scheduling, it’s recommended to set your payment and cancellation policies and make customers aware of them.
- Create or edit an appointment schedule in your Google Calendar.
- Go to Payments & cancellation policy.
- Tick the box “Require payment when booking.”
4. Specify appointmen’s currency and amount. Currencies accepted on Stripe.
5. Add your cancellation policy. It is displayed on your booking form and in email reminders.
6. Save the changes.
Google Calendar shares information with Stripe, including price, appointment title, and time slot. All the financial information, such as credit card numbers, is processed via Stripe and not stored in Google Calendar.
How to accept paid appointments on your own website (WordPress)
There are other ways to get paid online for appointments, and one of the most secure and scalable ones is via your own website.
Here at MotoPress our primary focus of interest is WordPress (the most used website builder platform in the world), so we’re going to tell you how to accept appointment payments online on your WP website using the dedicated Appointment Booking plugin (cost: $59 per year).
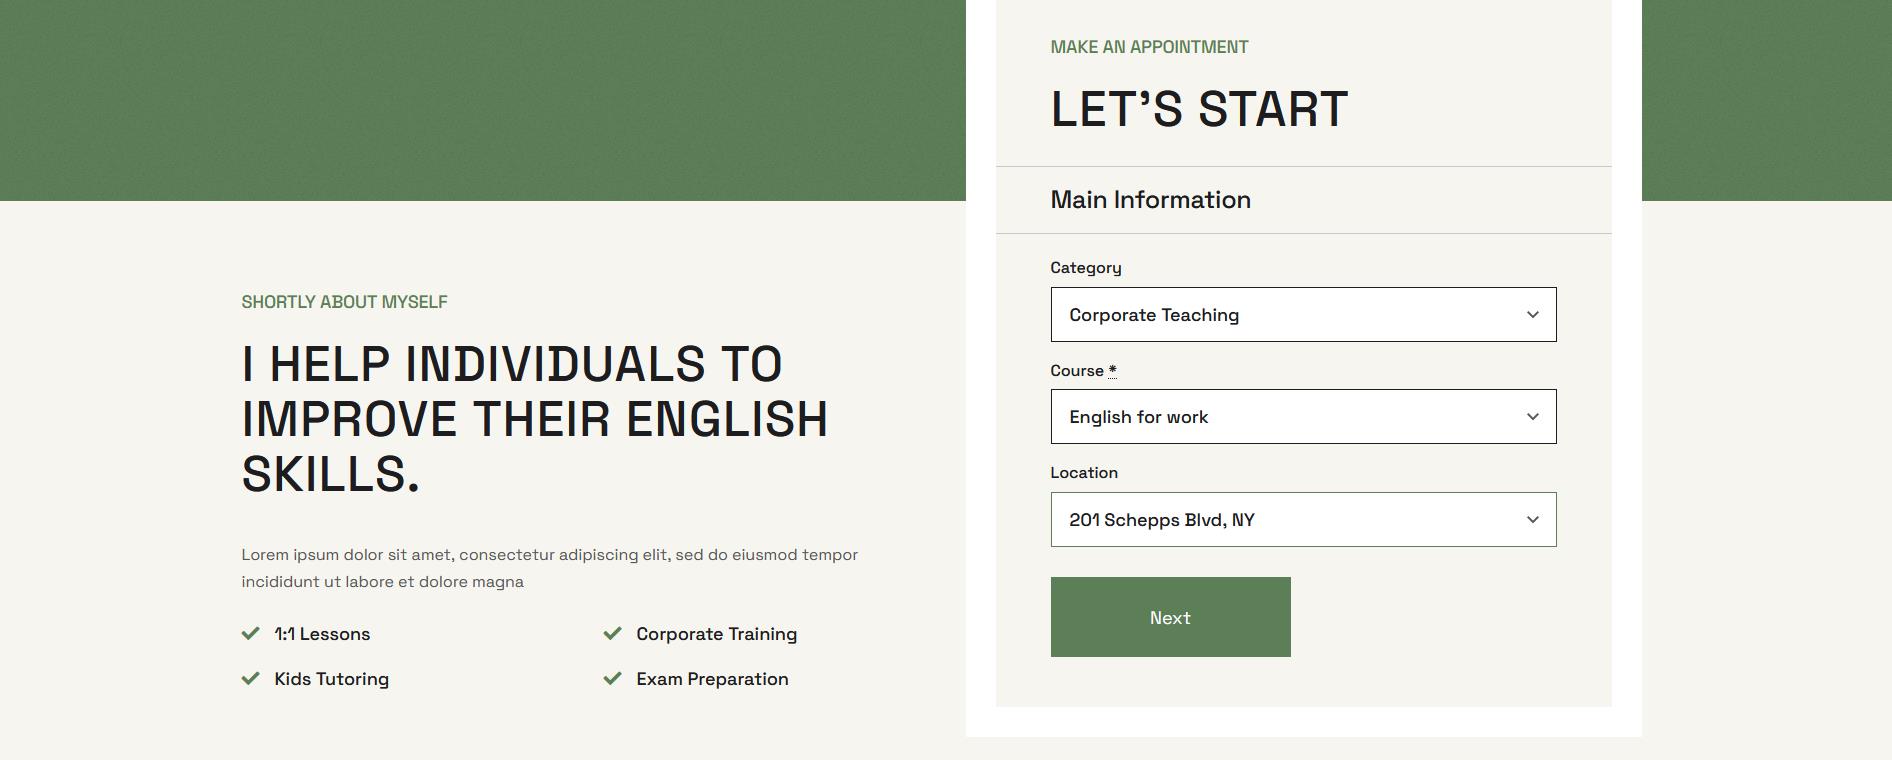
Since it might be really easy and beneficial to use Google Calendar for taking online payments, there are undeniable benefits of accepting appointments on your own WP website, such as:
- An independent website creates a more professional brand image for your business.
- An integrated online booking plugin for WordPress gives you many more marketing, payment and analytics tools for working with your availability and appointments. That is, it goes beyond just Stripe.
- You can operate in different locations and work with different staff members.
- You can start your website with a pre-made appointment design.
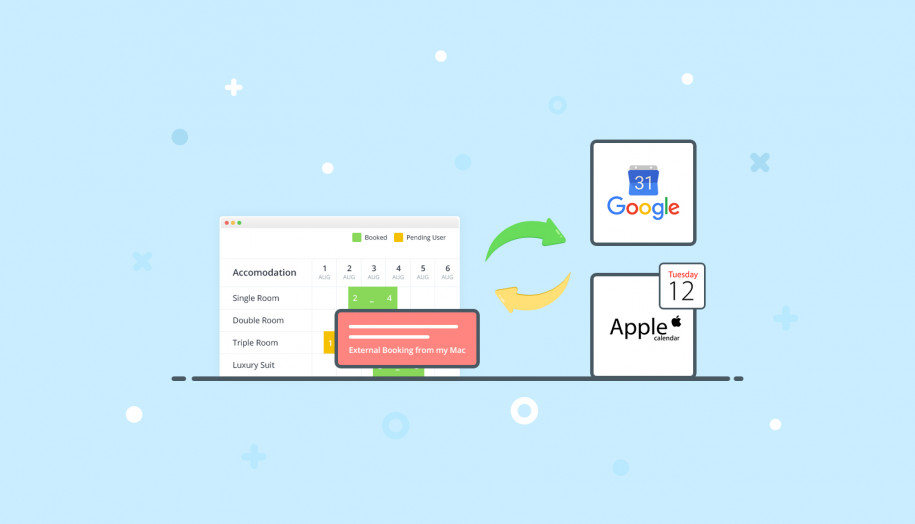
- You can also easily connect Google Calendar to sync appointments from your website.
So, how can you take paid appointments on WordPress with Appointment Booking? This is a short tutorial on how to use google calendar to schedule appointments in general:
- Add your staff members and locations.
- Create an individual schedule for everyone with the break and holiday flexibility.
- Add all your services and assign them to staff members.
- Set up automated payment notifications and payment gateways.
- Add a smart booking wizard to your WordPress!
FAQ for the appointment scheduler Google features
How to set the price for the appointment in Google Calendar?
How do customers pay for appointments?
Can I take appointments via my personal Google Calendar?
How to make appointment slots in Google Calendar?
